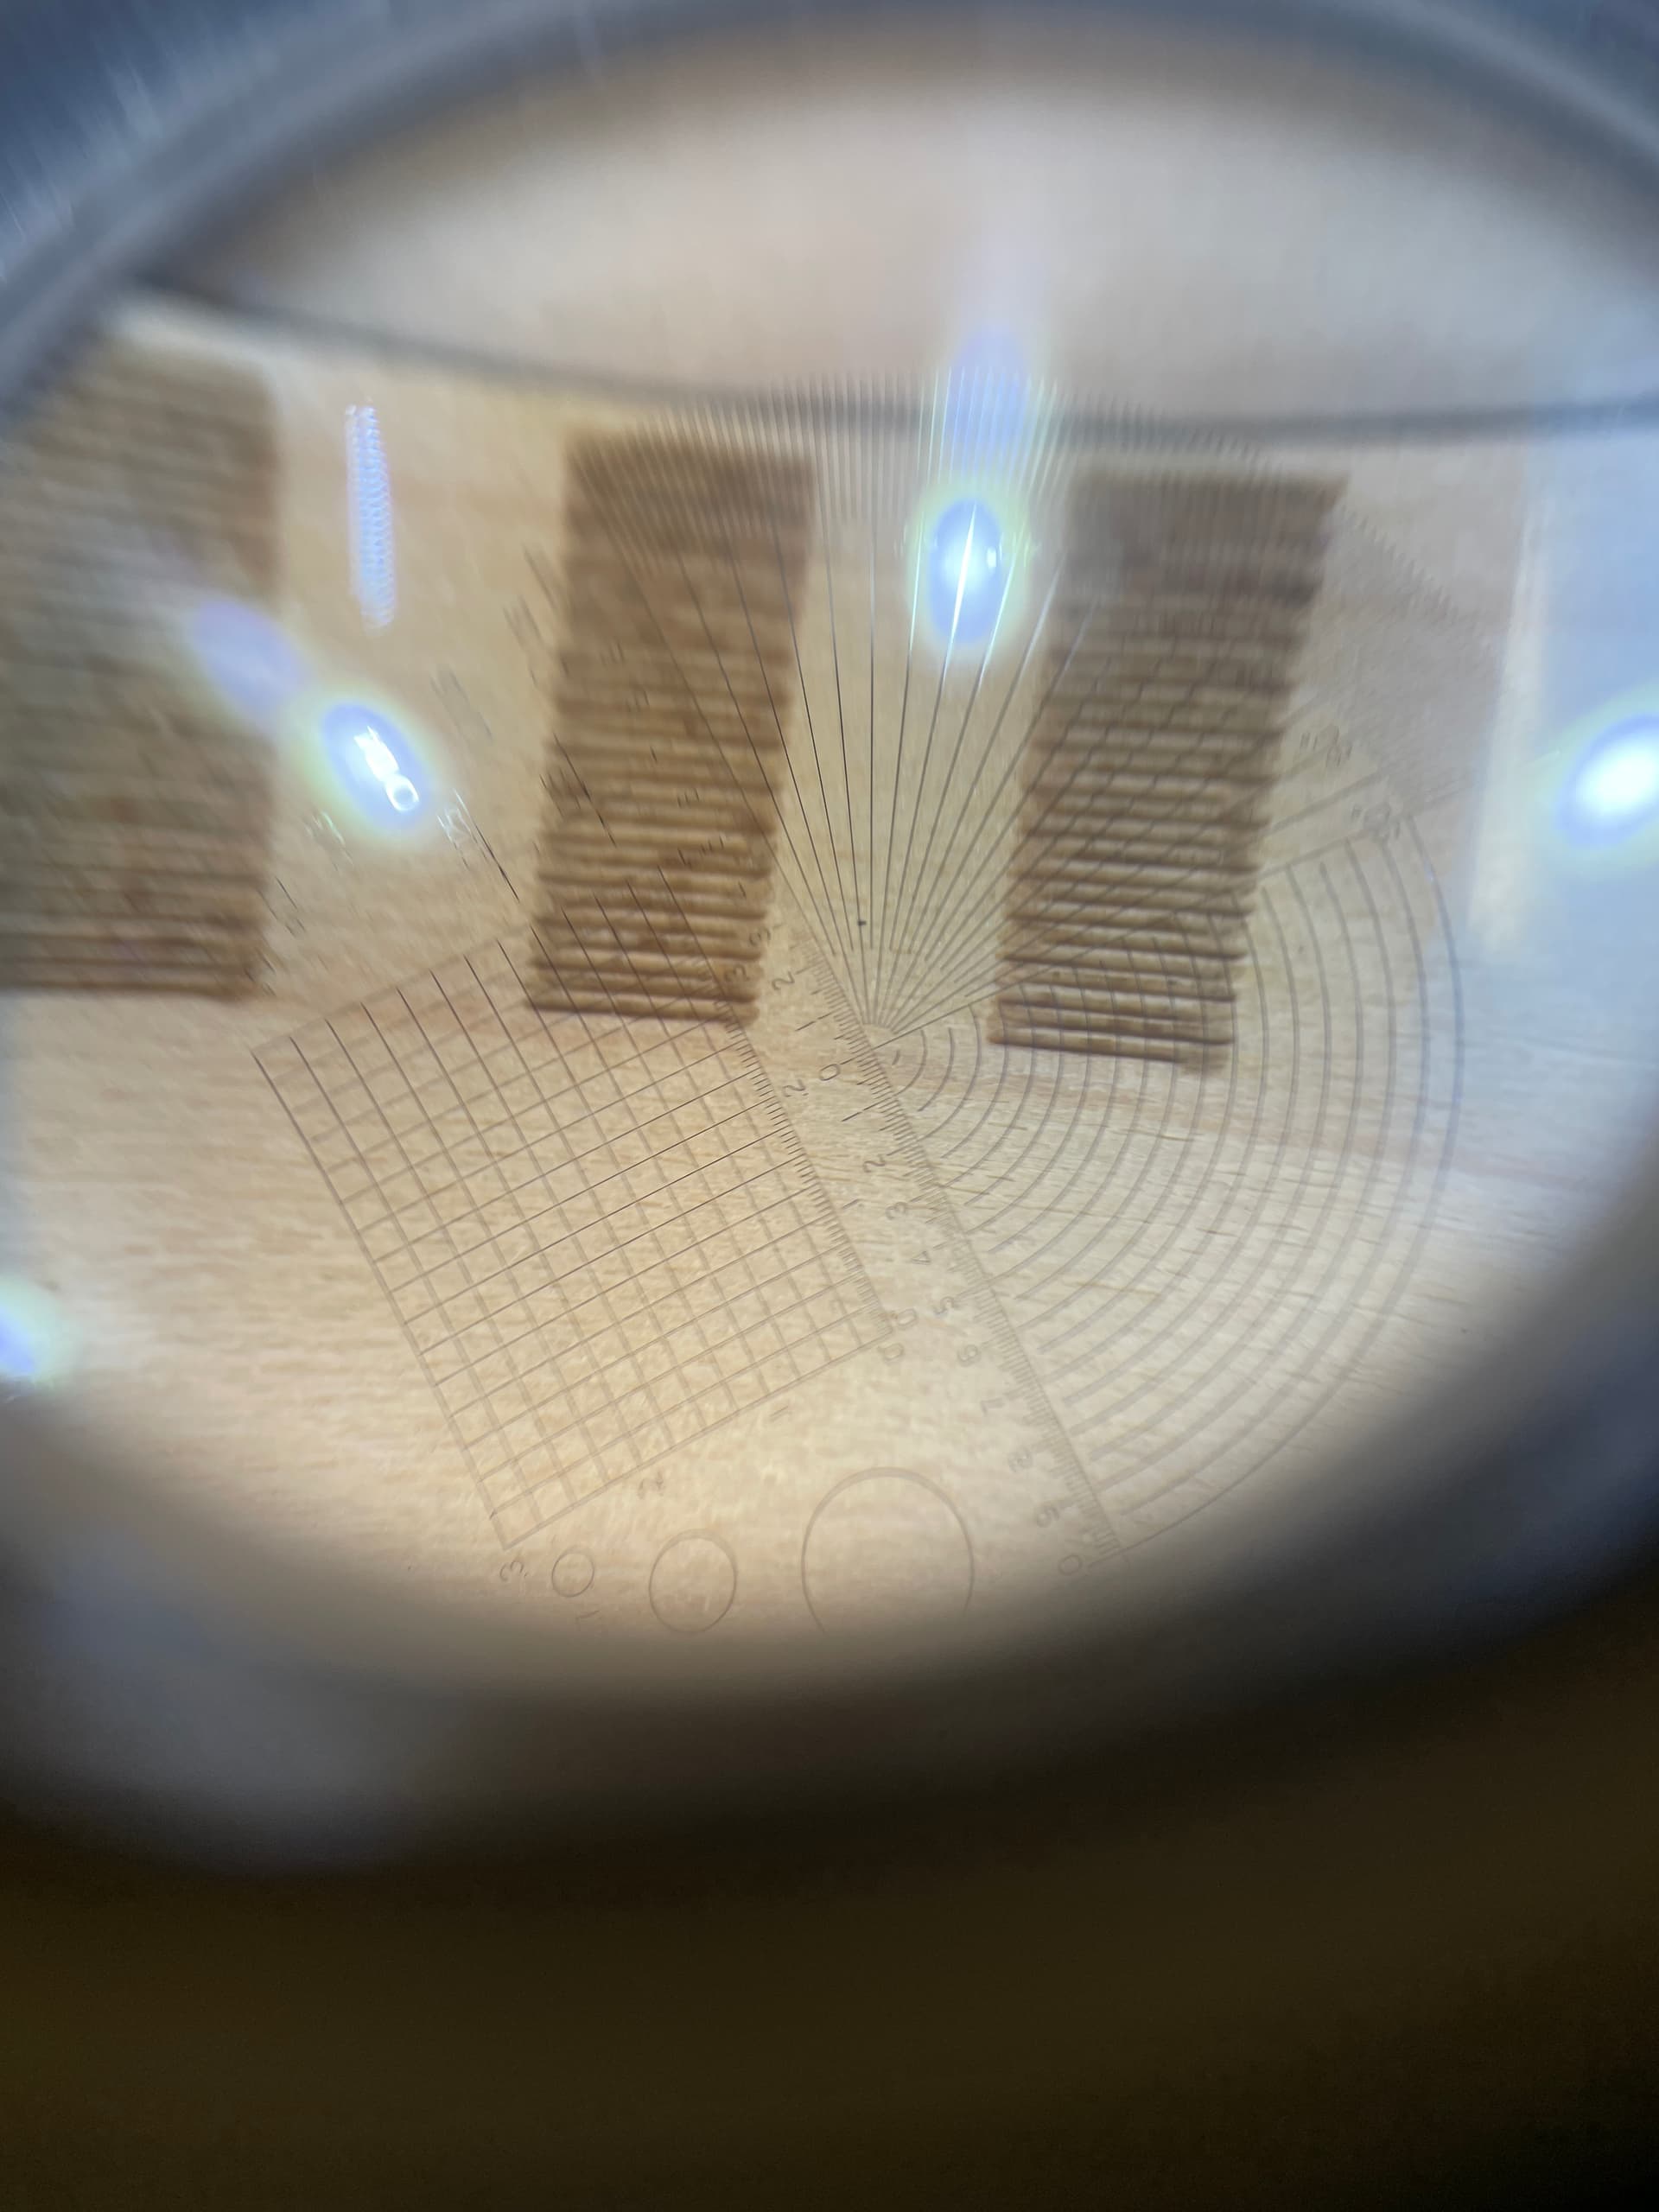
I noticed recently when performing a scanning offset test, that at the start of each line, the engraving is fuzzy. It’s always thicker and lighter than the rest of the line. Below is a picture showing what I mean. This is on plywood. Sorry for the poor quality, the picture was taken through a loupe.
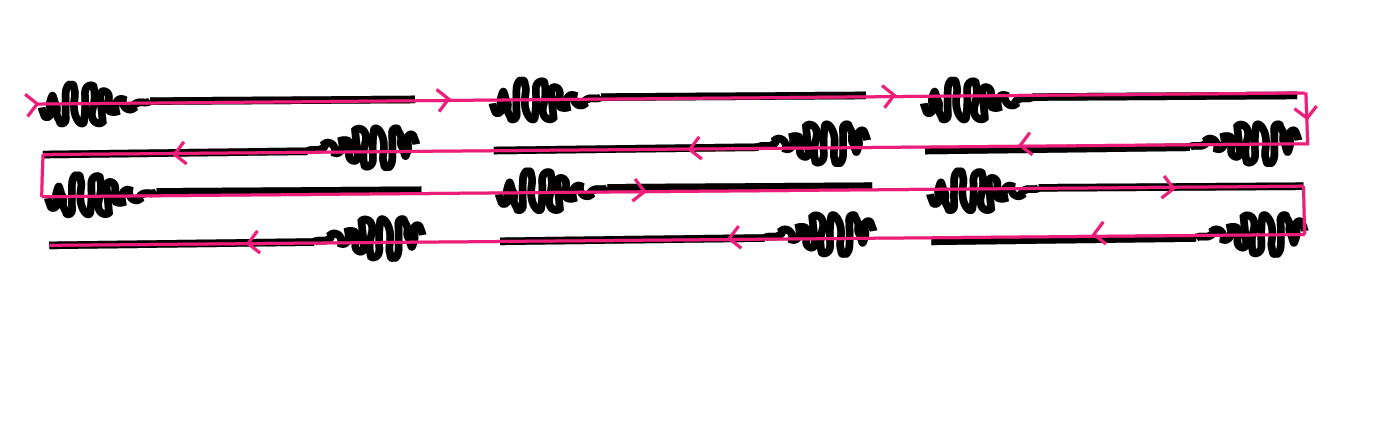
This isn’t an issue having to do with the line shift speed. If I have it engrave 3 separate sections at once it happens at the start of each engrave line. It’s not just happening on the ends where it shifted. I made a drawing showing what is happening (obviously exaggerated) and the red line shows the path of the laser head.
It’s always at the very start of the line, no matter which direction it’s moving along the x axis. It’s as though the firing of the laser is somehow causing this.
Could it be laser pre-ignition %? I moved it up a small amount from 1% to 2 and 3% and didn’t see any improvement. But I could go more, if that’s recommended.
Or maybe it’s because the wood isn’t hot enough at the start and the heat is being dispersed?? If so, how do I counteract this?
Other than that, I’m stumped. Has anyone ever seen this or does anyone have any suggestions for me?
No, this isn’t it. It’s not just happening where the line shifts, it’s happening at each section where there is a new engraving, even on the same y-axis. It’s not wobble like that either.
It worked though! I’m talking about the start delay settings under device settings. If that’s the setting you’re refering to, it must not only be for metal tubes, because it’s making a clear difference.
My current settings are 350mm/s and 24 power with a 60 watt tube.
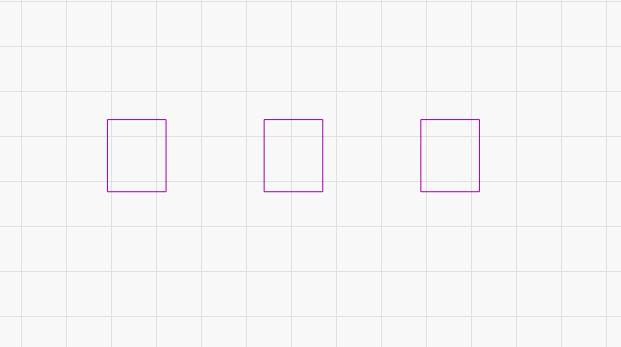
It’s not happening in the middle of a line. I have my scan offset test set up where there are 3 separate blocks next to each other, the image below is what the file would look like. This way I can see the difference of the offsets from when the line is starting, at full speed and when it is ending. And at the start of each engraving is where the issue occurs. If you do this yourself, you’ll probably see a slight variation in the scanning offsets between the different phases of the engraving.
The doc says the Start Delay time occurs at the beginning of the entire job, not on a per-line basis during engraving, so it’s not clear how that could affect during-each-line engraving results.
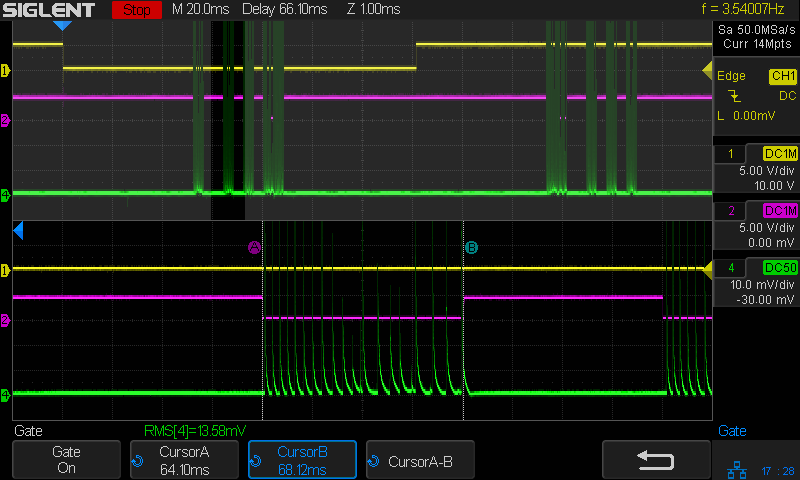
That seems due to the tube ignition delay, which isn’t particularly well controlled and is affected by its recent activity. A 60 W tube at 24% is running near the low end of its firing, so the startup will be even more erratic.
The green trace in this oscilloscope shot shows the tube current at 10 mA/div with power at 20%:
That’s from a post I made a while back while measuring RMS tube current; it has scope shots with other power levels.
Obviously, the tube doesn’t simply light up at the start of the pulse and fire continuously until the end.
A coarse-grained material like wood makes exact measurements difficult. If you have some white cardboard lying around, photos of that will make small features easier to see.
I’m confused then, why did the problem get almost completely fixed?..There is one other thing I did, but I can’t remember at what point I did it. I bought this dampening stuff called Sorbothane and put it on mirror 1’s mount. It always seems to be vibrating at a high frequency. If I gently touch my finger to the piece that holds the mirror, I can feel it vibrating. Of course, the way those are designed with the long skinny pole supporting the piece that holds the mirror, something like that is always going to vibrate. It’s almost a tuning fork.
Maybe adding that sorbothane fixed it. But what was making it vibrate at the start of the middle block of engraving? Maybe the RMS pulse like you mentioned. I’m not really following what’s taking place with that though. I understand it’s less stable as it first fires, but what is the oscilloscope showing? I went to your page describing it. I may have to read it again. Or another 5 times.
We humans like a tidy story, but the thing you don’t remember doing seems much more closely related to the problem than the most recent thing you did.
Happens to me all the [mumble] time.
Definitely a step in the right direction!
Adding damping makes more sense than enlarging the column, as it may be shaking due to resonances in the laser cabinet, too.
I think I saw some heavy sound-deadening foam in the pile, so I’ll follow your lead and see what happens to the wobbulations in my machine.
Without more data there’s no way to tell: blurry marks on wood does not a convincing story tell.
I’d start by measuring the actual times / amplitudes / positions and seeing if those match up with bearing / support / pulley / whatever spacing / circumference / speeds. Coincidence is a powerful confounding factor, so testing any assumptions & conclusions is important.
That post sits in the middle of a long-drawn-out series of measurements and tinkerings. Unfortunately, a blog doesn’t lend itself to excavating the backstory in any coherent way, but, if you’re interested these are starting points:
Read forward while ignoring random digressions and it might explain a bit more. Or bore you to tears, which seems more likely.