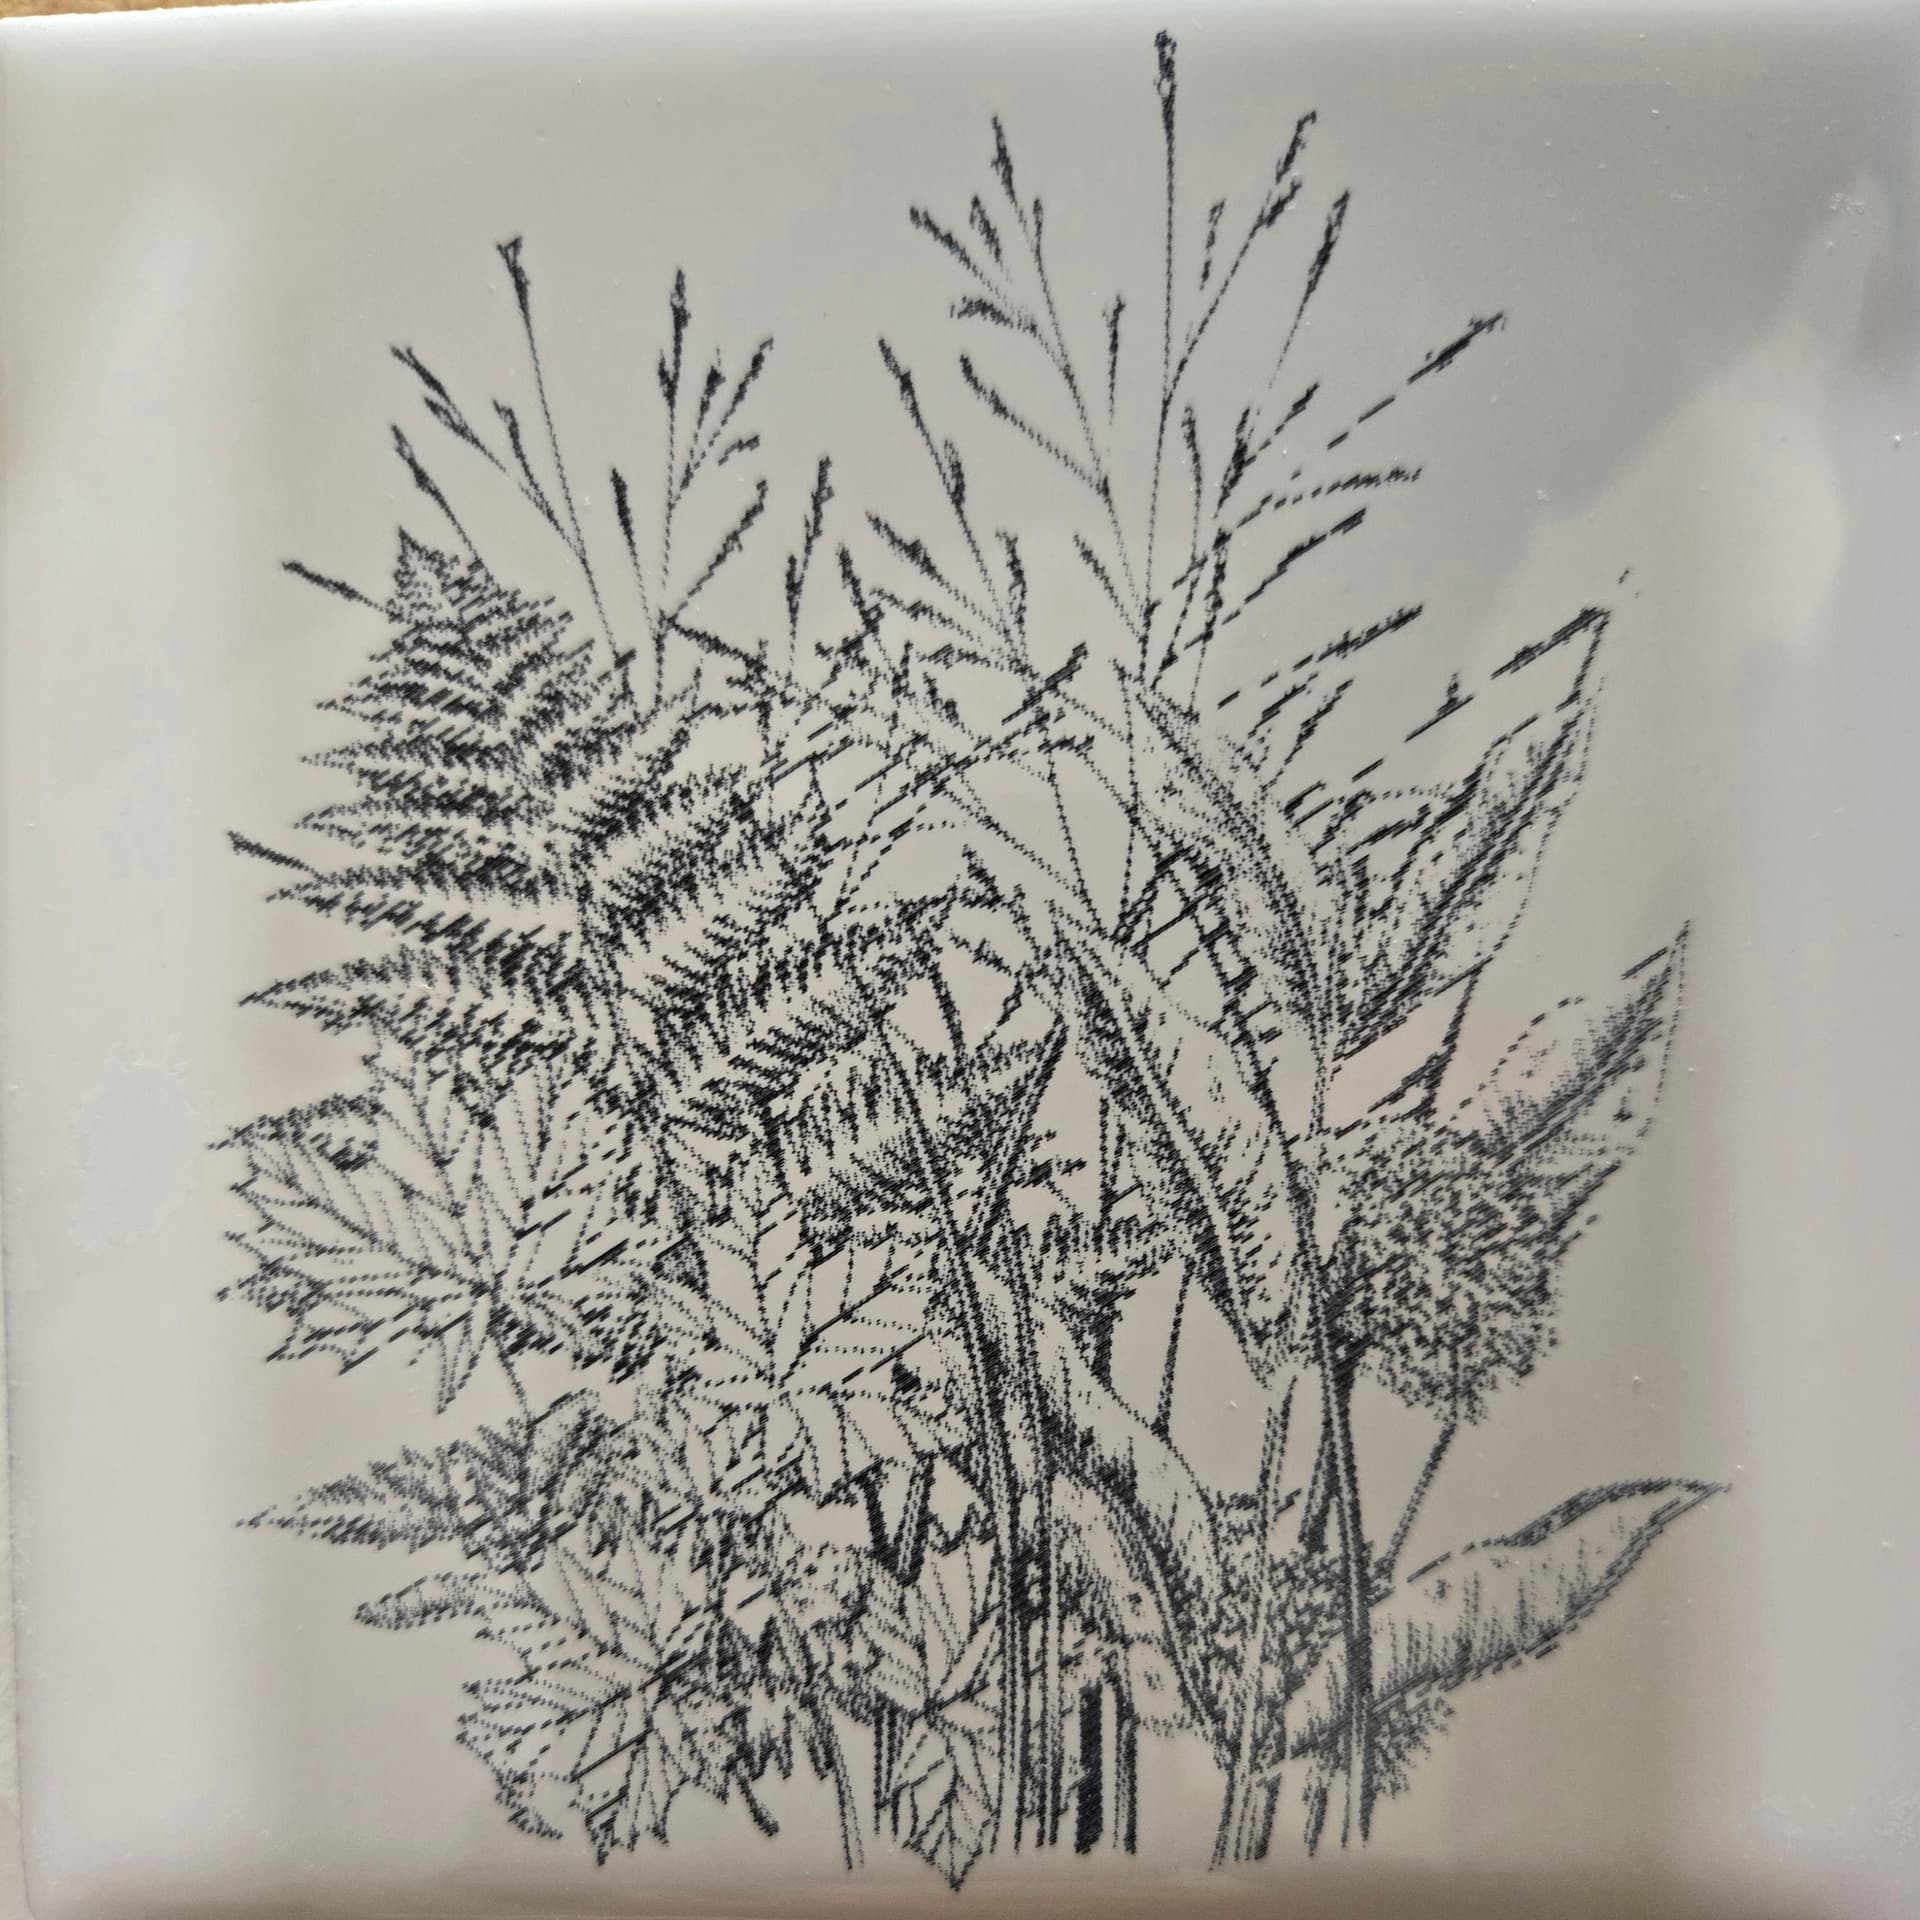
Using J-Tech Photonics 4.2 laser on my Shapeoko Pro XXL.

2 Likes
Seems to lac a little bit of contrast. What method are you using?
Rustolium white paint coated tile. I ran a test file but that too had little contrast.
I was going to try a Borax solution next on top of the painted surface.
I am thinking it may be the 4.2 watt laser, but this is the first laser I ever had so not sure.
This was run at 1000mm/min at 80% power. This too may nee fine tuning.
Its all new to me so trial and error is the route.
Still I am pleased with the results so far.
I think there is a lot there to pleased about! Hard to tell from the pic, but was it a fairly low resolution raster image?
I assume the beam on that module is pretty little. Might want to try an image with at LEAST 400 DPI (scaled 1:1 in LB) and a line interval about the same. Testing would be required to know for sure.
2 Likes
Question:
Line Interval and Lines Per Inch, how are these different and how do they affect each other?
![]()
They’re directly connected.
If you reduce the line spacing you get more lines per inch and the reverse is also true.
Basically if your laser has a 1mm spot and you set a LI=1.5 you get “blank” lines in your Fill, if you set LI=0,5 the Fill lines will overlap.
You have to find the sweet spot for your laser.
1 Like
This is my 3rd attempt.
Contrast is better. run at 400mm/min and 80% power. I also increased the lines per inch to 90.
3 Likes
Much better.
90 LPI is your laser hardware specs.
It’s my fault for not telling you that you can do an interval test with Lightburn.
.
Does your Shapeoko work without problems with Lightburn?
Would you mind creating a “How to setup a Shapeoko XXL Pro” topic to help others with their issues?
I saw that in the docs but chose to try to do it on my own and not waste more tiles.
How about this? This is the instructions I used for my laser setup. Click the blue text.
This is on my YouTube channel.
2 Likes
Take a few and watch this video by Laser Everything on photo engraving… Although done with a fiber laser, the the same idea applies to any size tool or laser spot size.
Interval is usually specified in mm and dpi/lpi, obviously inches. Interval of 1mm is the same as a 25.4 dpi/lpi as there are 25.4 mm/inch. MM → inches… an Interval of 0.10 is 254 dpi/lpi.
In the end, your lasers spot size usually determines available resolution.
If you’re doing a photo or just using the machine, it explains interval (dpi/lpi) very well. It gives you a procedure on how to determine the best interval for any laser using any material…

Good luck - Have fun
![]()
2 Likes
Digest the info in that video Jack provided and set aside at least one tile for testing.
Test patterns can be quite small. A useful bespoke interval test could be under 1" square. You can also use the white space on previously used tiles. I’m not familiar with this engraving technique but you may also be able clean and reuse tiles.
Jtech claims your spot size is .008"x.011" which seems unexpectedly large. Used as a rough starting point, that puts your LPI at around 127. I would expect the test results to show a smaller spot on tile so LPI could be much higher. 254 is a common value, so anything 127-254 would seem reasonable range for testing.