First attempt at tiles

Having been inspired by others creations I thought I would try to engrave white ceramic tiles.

Managed to get 44 tiles for £6 from B&Q here in the UK so it was worth a punt at least.

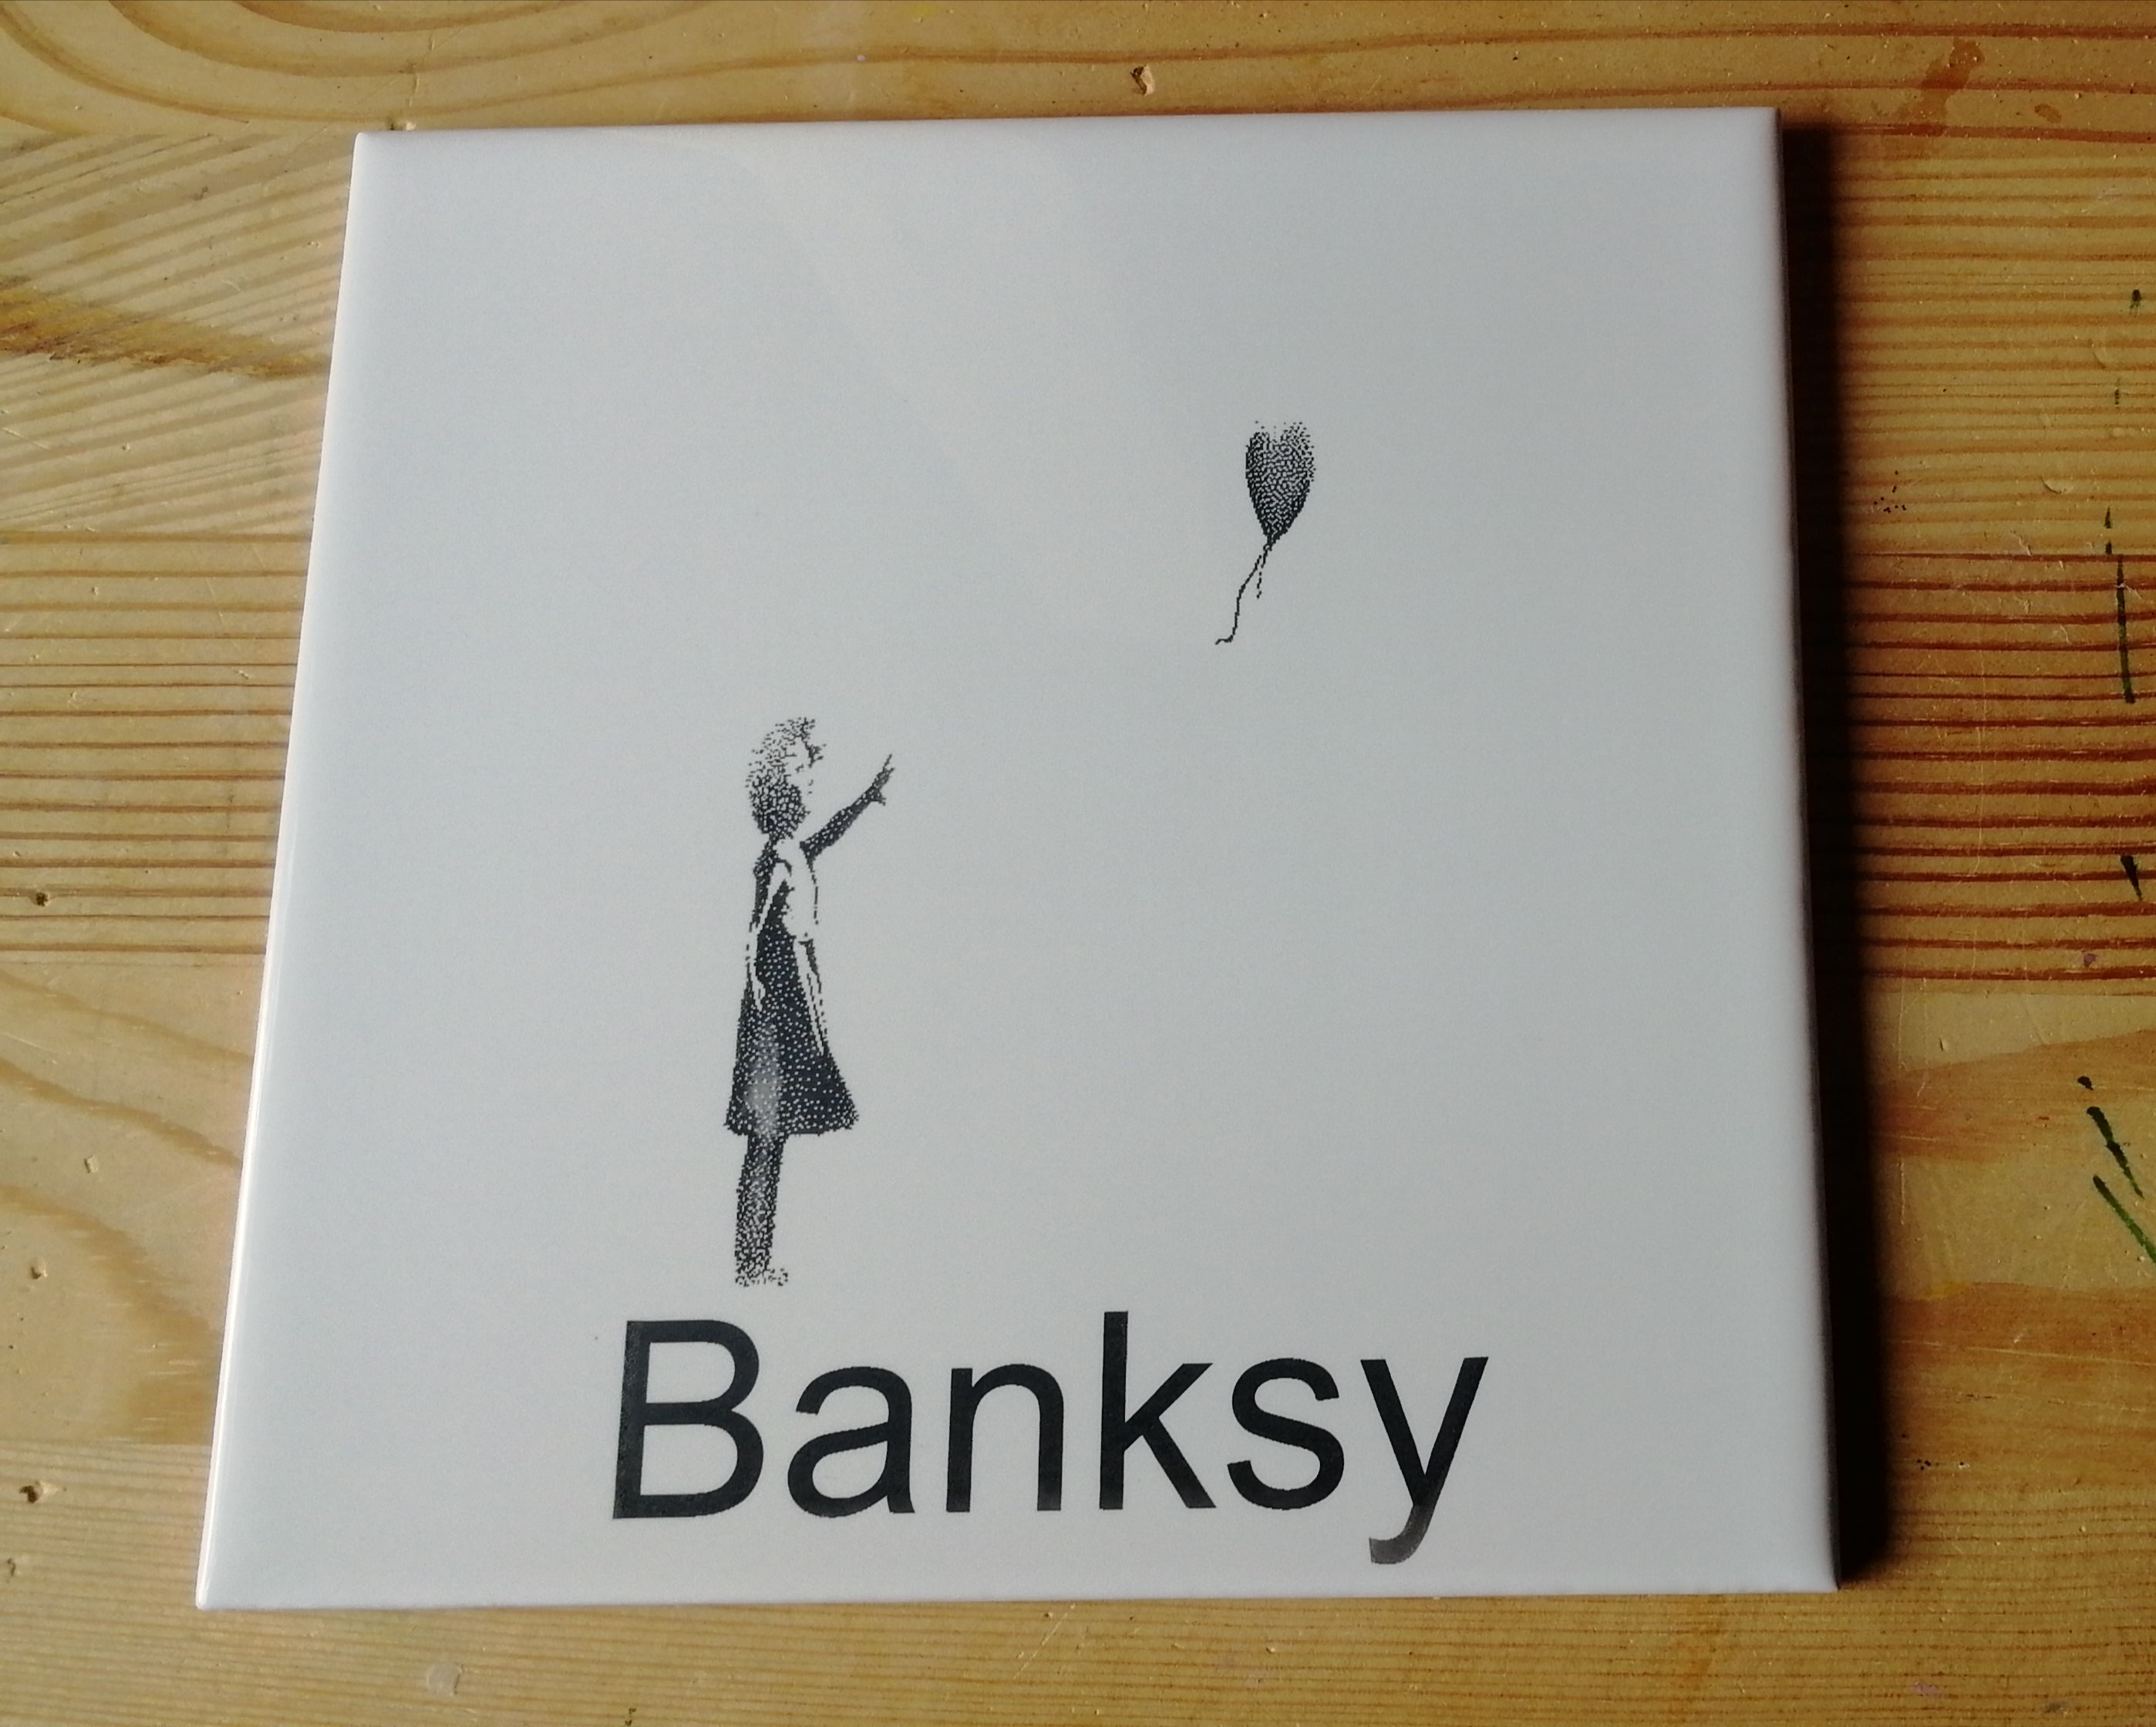
I tried engraving straight onto the tile and nothing happened, which was unsurprising. So I then covered a tile with painters touch primer and left it to dry for a day.

I’m pleased with the outcome after rubbing the tile down with white spirit to remove the excess paint.

3.5w diode laser
Speed 6000
Power 100%

1 Like

So is the primer “sublimating” and giving you the pattern?

If I’m honest I don’t know🤪

I’m sure others will confirm how it works!

I wonder if you could then use a second colour?
Was it a particular specialist primer?

Nope rustoleum painters touch.

I was just following the process used (to a far higher standard) by Bulldog

Nortons method for etching white ceramic Tile or Glass or Cups or Plates(for Diode Laser)

NICKY NORTON·FRIDAY, MARCH 6, 2020·

AIR ASSIST… will reduce “Blacks” (but on some Co2 Lasers you will need air assist to keep lens clean)

DO NOT USE GREYSCALE

1…Prepare Photo with a photo Editor…(LightBurn now has photo prep under shape properties)

2…set size of photo to size you will laser on tile

3…set DPI to around 300 (this really depends on the size of your Laser Beam)

4…clean white tile with Lacquer thinner

5…paint tile / Glass Flat White…allow to dry (one light coating should do)

6…fine focus Laser beam

7…pick Image Mode to use ( I prefer Jarvis Dither and have had some success with Stucki Dither…Available with LightBurn software…this preference takes some trial runs and documentation …if preDithered use LightBurn “Passthrough”

8…for my 2.5 watt diode…speed 1200 mm/min…power 85% (my S-value in LightBurn =255) Line Interval = 0.085

9 takes approximately 50-70 minutes to complete

10…clean off all paint with Lacquer Thinner…

11…place felt pads on bottom to prevent scratching

Video

How to Focus Diode

Prepping Photos to Laser

1 Like