My CO2 Laser has a Ruida 6445S controller and when I turn on frame continuously it is framing once then returns home and frames again and returns home. Does anybody have any idea how I can stop it from doing the return to home step during the frame continuously process. Thanks
I don’t know of a frame continuously option, where is this? I have a 6442g controller, but still run 1.4.

It’s under device settings > Basic settings
This may be a Ruida thing, but I am not sure. My diode lasers all run a continuous loop until I stop it.
Hi Mike, so on your diode laser you set the laser to a very low setting, right? Mine is a CO2 laser so I haven’t done that part, but it has a dual red dot focusing system so I am using that when it is focused.
But yeah I’m not sure if it is the controller or due to something else with the way I have set something up. More than likely it is down to something I have done. 
You do not have the Fire feature because your beam is invisible. That is why the red dot method.
I do not have a Ruida controller, so I do not know what normal framing is on yours. Maybe @jkwilborn can help with this part?
As in the original post, I’ve never heard of this on a Ruida.
One of the issues is that you usually send the whole block of code to it, unlike a grbl machine that has a limited buffer.
I know it can frame, once, but I’ve never wanted it to frame continuously.
I’d think the software would have to send a job for each frame operation… I know of no continuous frame option. Doesn’t mean it doesn’t exist, but I don’t know about it.
My KT332N returns the laser head to wherever it was before framing, so you (well, I) could reduce the travel by positioning the head near the design-to-be-framed before framing it.
That said, I rarely use framing to align the material under the pattern. I generally use Position Laser to put the head at a useful part of the pattern, skootch the material to suit, pick another useful point, and repeat. Depending on how fussy you are, that will be faster and more precise.
Yes, that is correct.
Thanks for responding. Sorry I should have been clearer in my original question. I am not really doing this for material alignment, it’s more for the honeycomb bed alignment. My laser just has the honeycomb bed plonked on top with nothing for positioning. I wanted to see if I could get it a little more centered by having the framing continuous feature go around the limits of my bed and shift the bed slightly. Yeah it might sound a bit OCD.
Anyway I did find a way to make it work, and maybe it is the way it is supposed to be done? I used position laser to position the laser head to the outer limit and then used frame continuously and obviously it did not return home during this process. Madness resolved I guess. Thanks.
Make that problem Go Away Forever:
- Drill a pair of holes through the honeycomb frame
- Match-drill holes in the machine platform
- Squeeze rivnuts into the platform holes
- Screw the platform down
You could get much the same result by fastening / taping a pair of (laser cut!) L brackets on opposite corners of the platform to align the honeycomb.
The honeycomb in my machine came with crudely drilled holes that kinda matched two crudely tapped platform holes, so I cleaned things up, installed rivnuts, and put cute knobs on the screws:
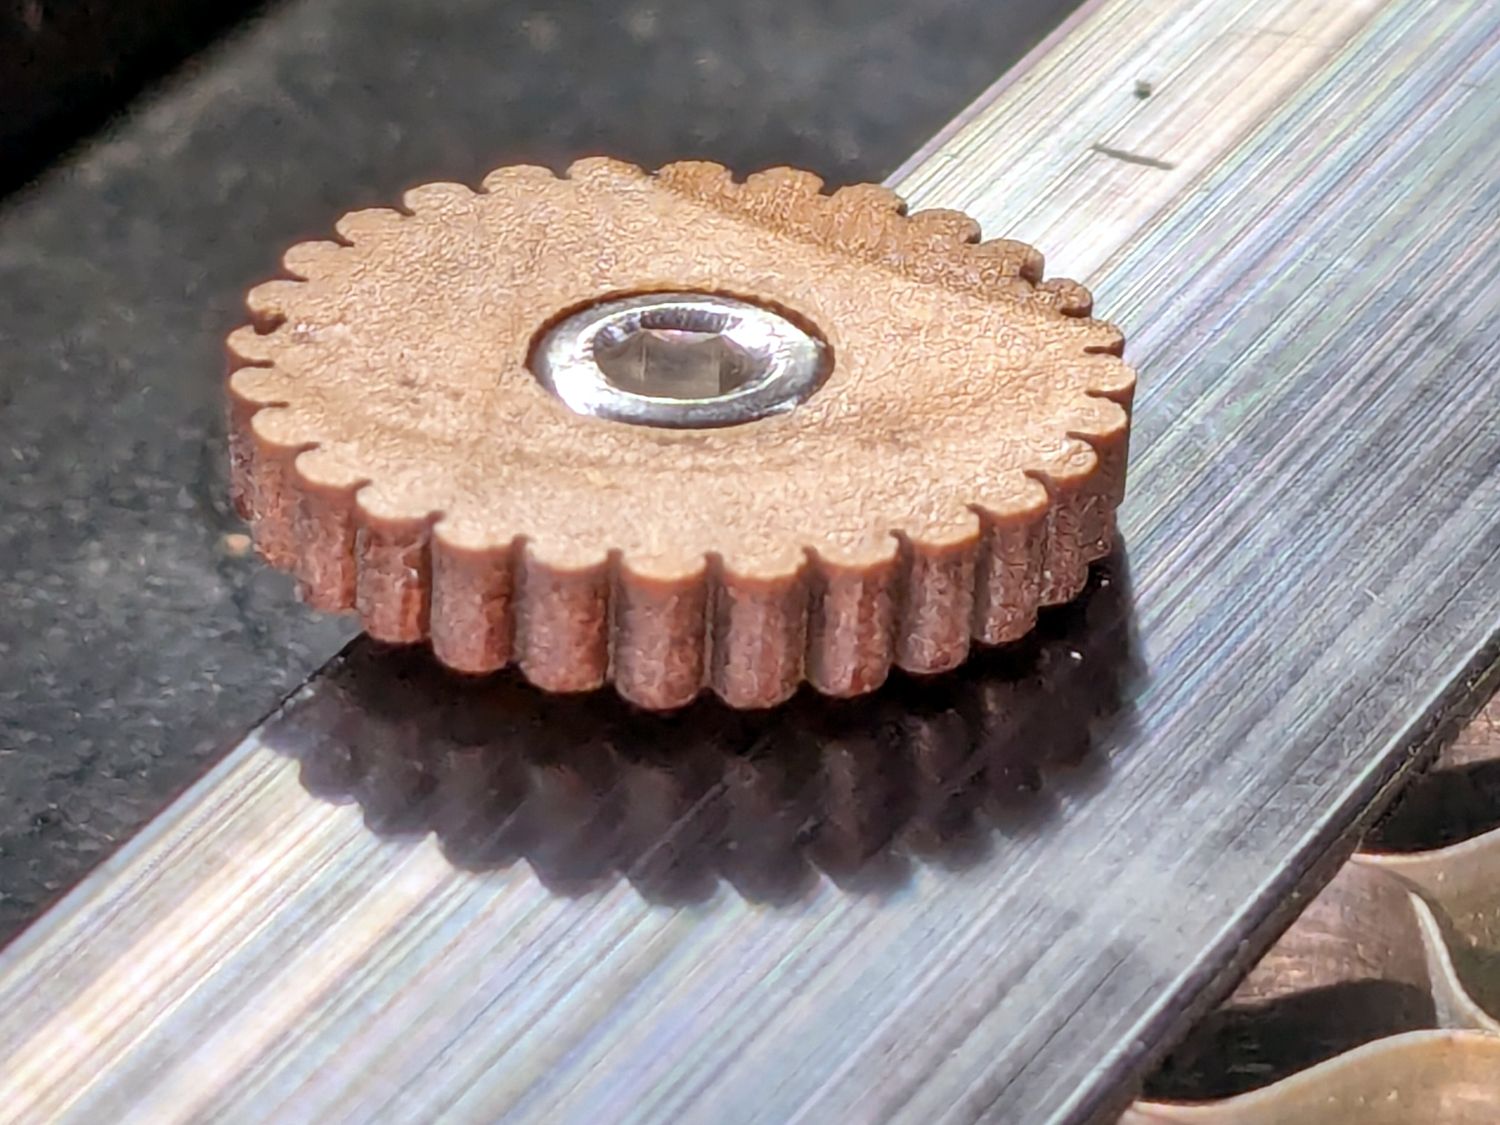
Basically, fasten the honeycomb down and move on.
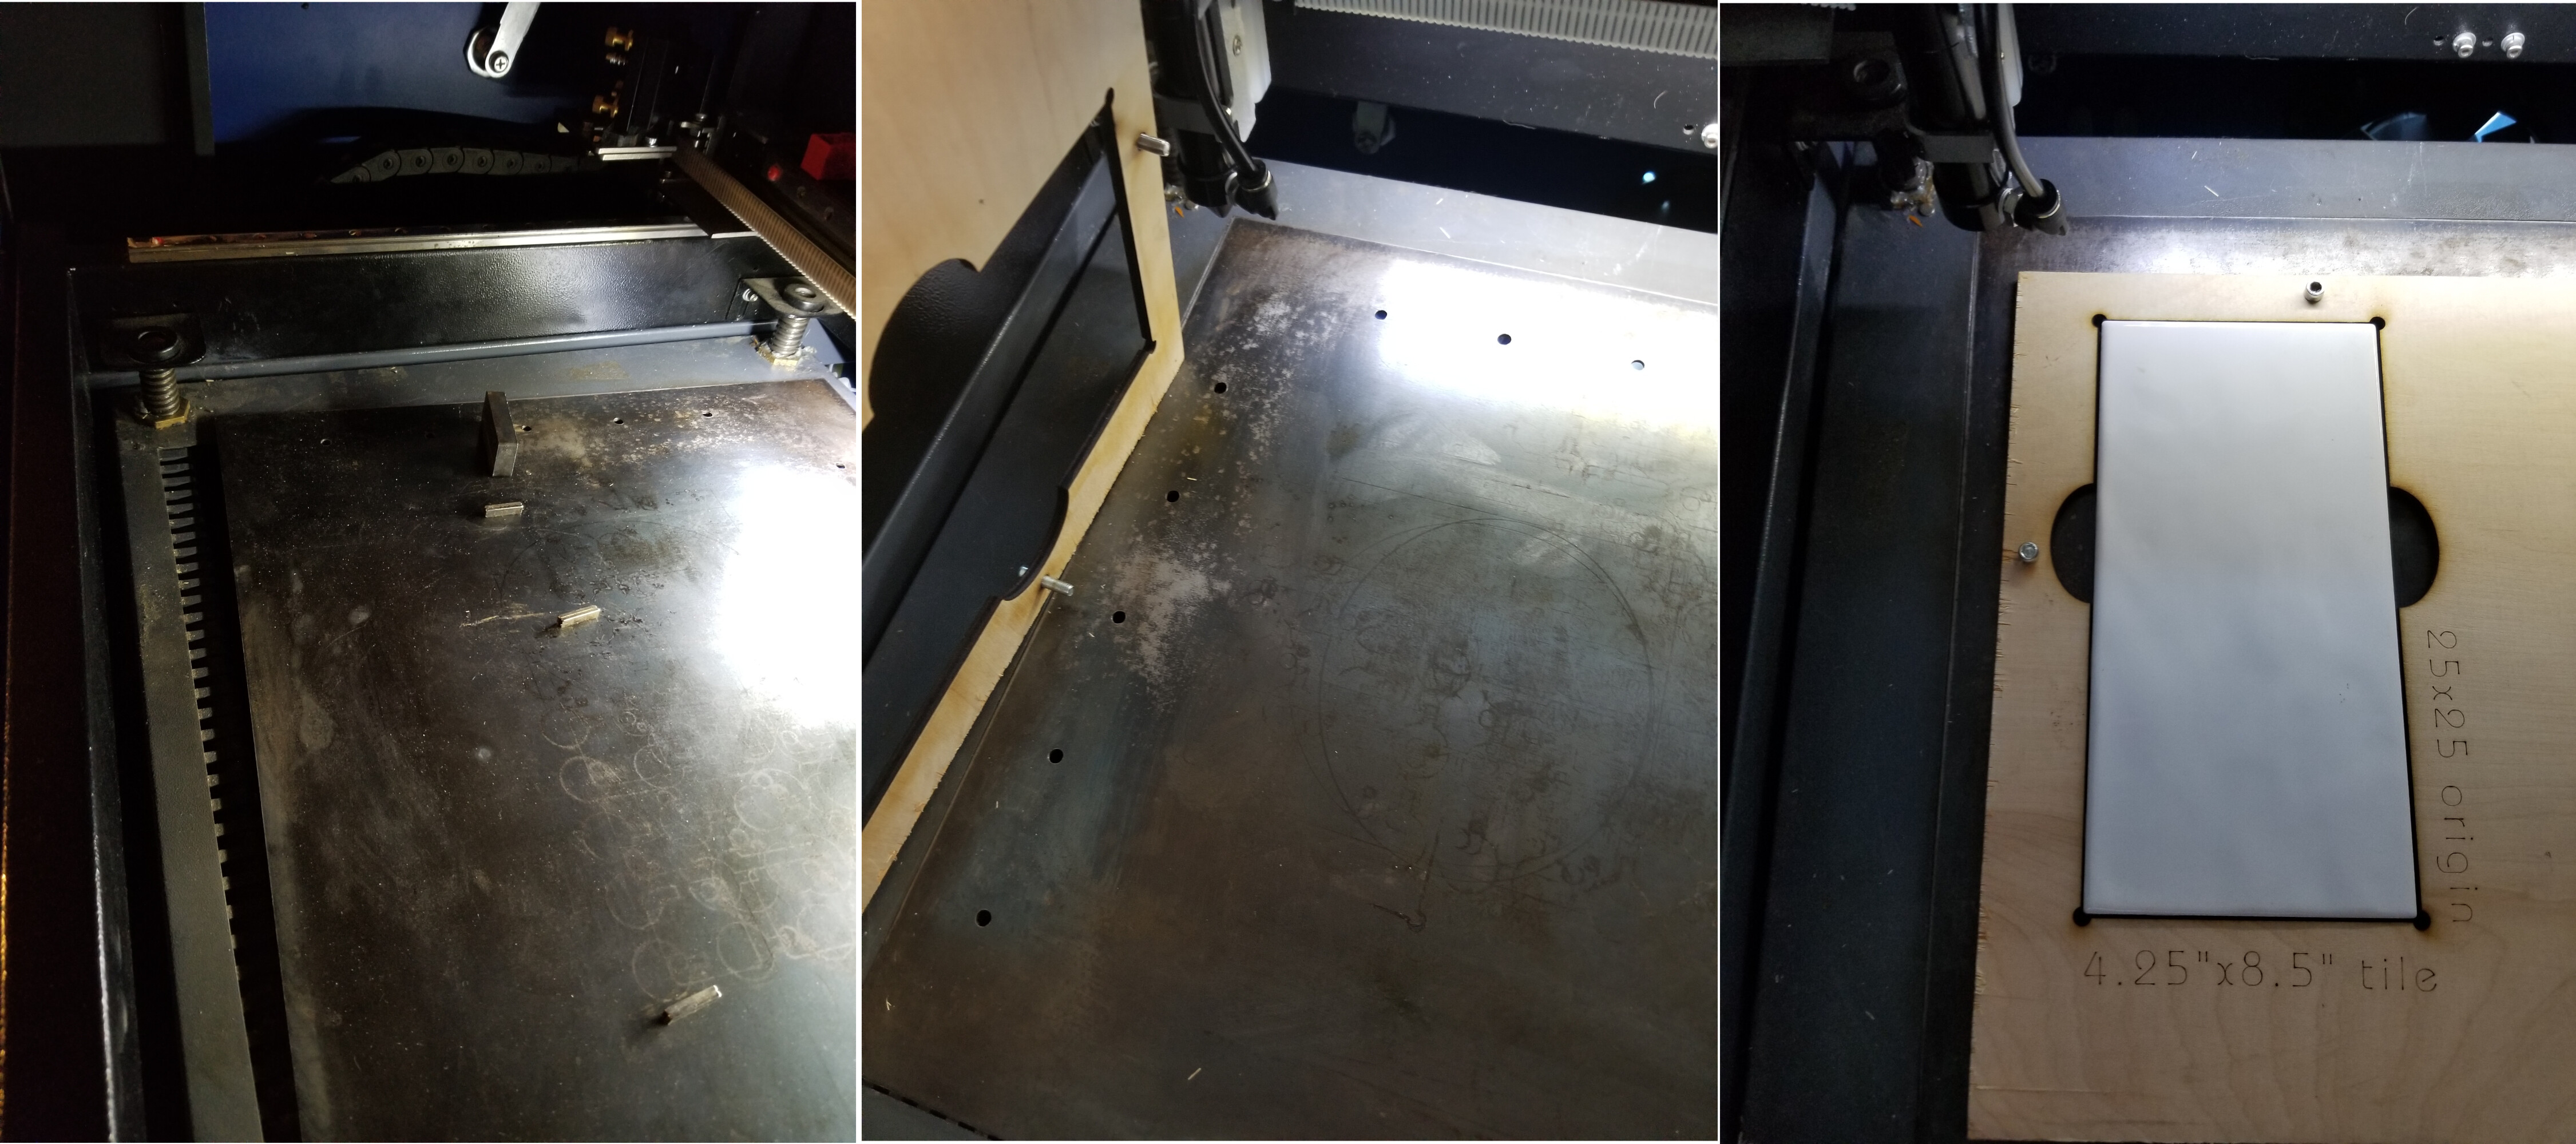
My honeycomb has the front right corner (inside the frame) at the Home position, so going to Home on each pass would have been a non-issue. The honeycomb is on added legs, which are aligned in position with guide blocks at the feet. Laser position secured, honeycomb position secures, so Home is always in the corner.
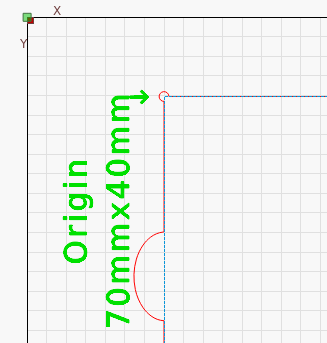
I only use absolute coordinates when I create jigs, otherwise I most commonly, have Lightburn set to User Origin and set a user origin on the machines console.
The Ruida keeps the set origin throughout a power or reset cycle. On my jigs I usually indicate the user origin, so it can set it through Lightburn, if for some reason I’ve changed it.
This is from one of the jigs original artwork.
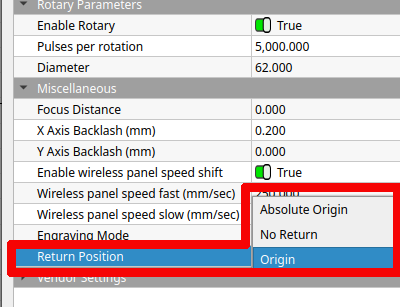
On mine you can set where it will return, at least you have three options. In the controller there is a return position.
This is a great idea. I will have to take a look into this.
Yes, this is very useful information. I think using this is definitely going to help big time.