I am using a Boss Laser 70w CO2 machine and I had to recently input the correct settings for the laser in Lightburn. Now the machine will “home” again, but I’m having issues with the project framing larger on the roller rotary than the measurements in LB. I have engraved this image before and it did not act like this. My customer wants to have more cups engraved and now I’m getting this framing issue. I have read about a “stain” in the image, but I’m not seeing any “stains” in the image. I think other jobs may be ok, based off of some other testing, but this image has me stumped. It says it wants to take ~17 minutes, where this was typically done ~10 minutes. Please let me know if you need any other information with these files. We think it may be a steps per rotation issue too, but now that I’ve researched more, it could be a “stain”.
Boss makes a few different lasers. Your 70W laser may have the more advanced controller. Does your Ruida controller use a separate rotary U-axis or do you unplug the Y-axis motor to plug in the Rotary motor? Sharing the model number of the controller (or putting it in your profile) is pretty helpful for knowing how best to proceed. Some rotary set ups really mess with homing.
Is the engraver framing the image about 4" tall (sideways) on the rotary and too wide around the tumbler? This could be caused by the rotary settings not being enabled.
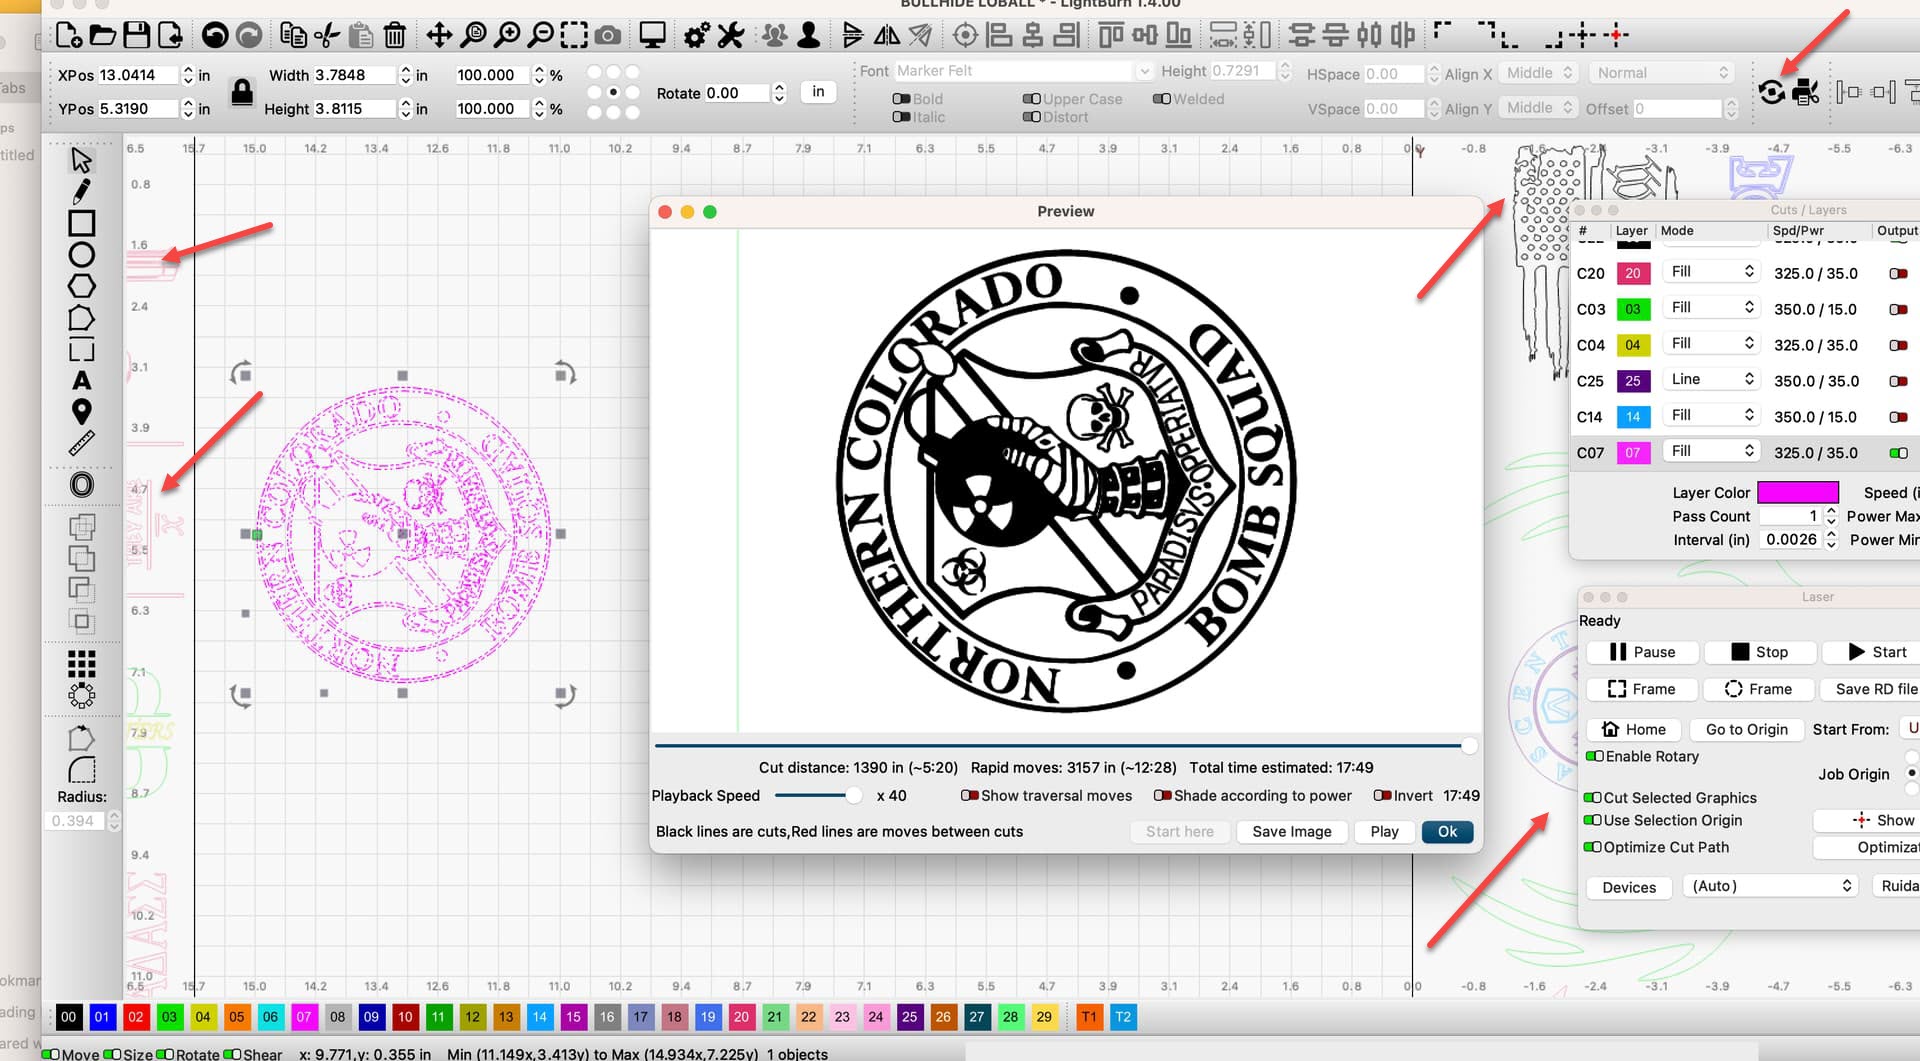
If you’re using the rotary tool, the green dot beside the rotary tool indicator ( red arrow - Top Right ) is missing, showing that LightBurn isn’t running in the rotary mode. This may have contributed to your change in estimated elapsed time.
If you do enable the rotary settings you may have to turn the Ruida controller off and on again to get the modified settings to stick.
This may be worth review.
If the Framing is much larger than what I described above I’d be concerned with the settings that were changed previously and then the art outside the workspace.
In your Preview window, click the switch that says ‘Show travel moves’. The pink lines in the preview show the predicted motion of the engrave head - if other art is involved it will show a pink travel line leading you to something that may have been overlooked.
I see that you have also selected a 0.0026" interval. If that’s what you arrived at with an interval test that’s pretty great.
My Ruida rotary is a 644XS. I have to plug/unplug my roller rotary in and flip a switch to turn it on. I know that I have to shut the roller rotary off after every use because it won’t regime.
The engraver is framing the image longer than wider, when sideways. The image appears like it is going to get stretched since it wants to engrave the cup outside of my determined measurements. The sideways measurement appears to be correct when it’s framing. I had shut off the rotary when I made this posting. Normally, it will show a green dot in that upper right hand location and also show that my “Enable Rotary” box is turned on.
Could this be a steps per rotation settings issue? I was going to try and work on another project and get it set up for another customer. Maybe it is the file that is having issues. I’ll check out the link you have posted in this thread. Here is a screenshot of the “Show Travel Moves”.