Hello all.
I’m a newb. Yep, and I’m cutting my teeth.
I have a 55w Monport laser. Been using it. It works great. Here’s my issue.
I’m trying to create job templates so I don’t have to guess where my job will run for mass production.
My machine X0 and Y0 is located top right if your looking down at my working bed.
I have a 5x7 piece of work lower left. I’m using absolute coords, which in my mind should tell the laser to go find my 5x7 piece of work. It does, kind of.
Any thoughts on what I’m missing? I also watched this video from LB 5 times and I cannot replicate what his framing. I always get slop error warnings as well.
Are you certain there’s a problem? Are you sure the path travelled does not correlate to your design location?
I’m assuming the video is of a framing operation. If not, please correct.
If you use the tool that looks like a map pin from the toolbar on the left of the screen (by default), you can click on places on the workspace. The laser head should then move to that position. Can you try this for every corner of the machine? Does it freely move everywhere and does it cover the area you expect? It’s possible that your machine may not be configured to try to eke out every last millimeter of available space.
Hello Berain. Thanks for commenting.
This was just a framing test. Having said that, I didn’t have any artwork selected if memory serves me correctly. In addition, I found out this a.m that my official work area is 16x24. I was physically measuring the honeycomb bed with a tape measure. I’m going input those dimensions in when I get there later this afternoon and see what happens.
BTW, that piece of wood is 5x7 in size.
I’ve watched a few more vids this a.m. about Machine Origin and Job origin. I’m really just wanting to setup and cut some templates for different items such as Coasters, Bookmarks, Keychains, etc.
I don’t want to waste 4 coasters to get 2 right
You only need to select something if you’ve enabled “Cut selected graphics” in the Laser window. If not, then all items in your design will be burned.
I suggest you create a rectangle the full size of your work area. Then attempt a frame around that and check the path of the rectangle. That will tell you what your laser believes the boundary of the work area is.
The approach is solid and should simplify repeatability.
I found out from Monport tech support that my machine has a working space of 24x16.
I cut a piece of cardboard out, and created a rectangle 24x16, and did a frame. It always pad the operator x-asis side by 2" for what ever reason.
Anyway, I just wanted to follow up. It’s not a deal breaker, but really would like to start all my jobs down in the lower left corner. I’m just going to cut a jig to block off that bottom portion of the bed, and move on. I’m thinking in the back of my head, it’s nothing more than a setting within lightburn I don’t have right. Look how it frames to the top part of the cardboard. Almost the same distance as the bottom.
So sounds like this wasn’t a framing issue, just that your defined work area doesn’t cover the entire available range of your laser.
Are you now looking to maximize the area of your laser?
If so, then two things you need to do:
Increase “Max Travel” for X and Y Axis Settings in Machine Settings
Increase Working size to match in Device Settings.
Note that these are typically done in millimeters so you may want to switch to mm before attempting this.
Before you do this you should consider validating your axis calibration if you haven’t already done so. As in confirm that your laser is able to burn dimensionally accurate parts (e.g. 300x300 mm square measures 300x300mm). I say this in case you’re just dealing with a calibration issue, not an actual defined work area issue.
All I really just want to do, is start all my work, at the lower left corner near me. If I leave it like this, I’ll just have to make some type of jig to place my work against. It’s not a show stopper. Just annoying.
When the machine completes it’s homing, you can move either of the axes to maximum and see how far it will let you go. It will stop at the edge of the ‘work area’ defined in the controller. If it looks like it can move further then you can increase the size in that direction. With the Ruida, you can press ‘esc’ and interrupt the home process, then you can see how far it will go. It will reset to maximum x and y values.
Sounds like you are right with the jig setup and it sounds like how you have it set up…
I have a few jigs that I use…
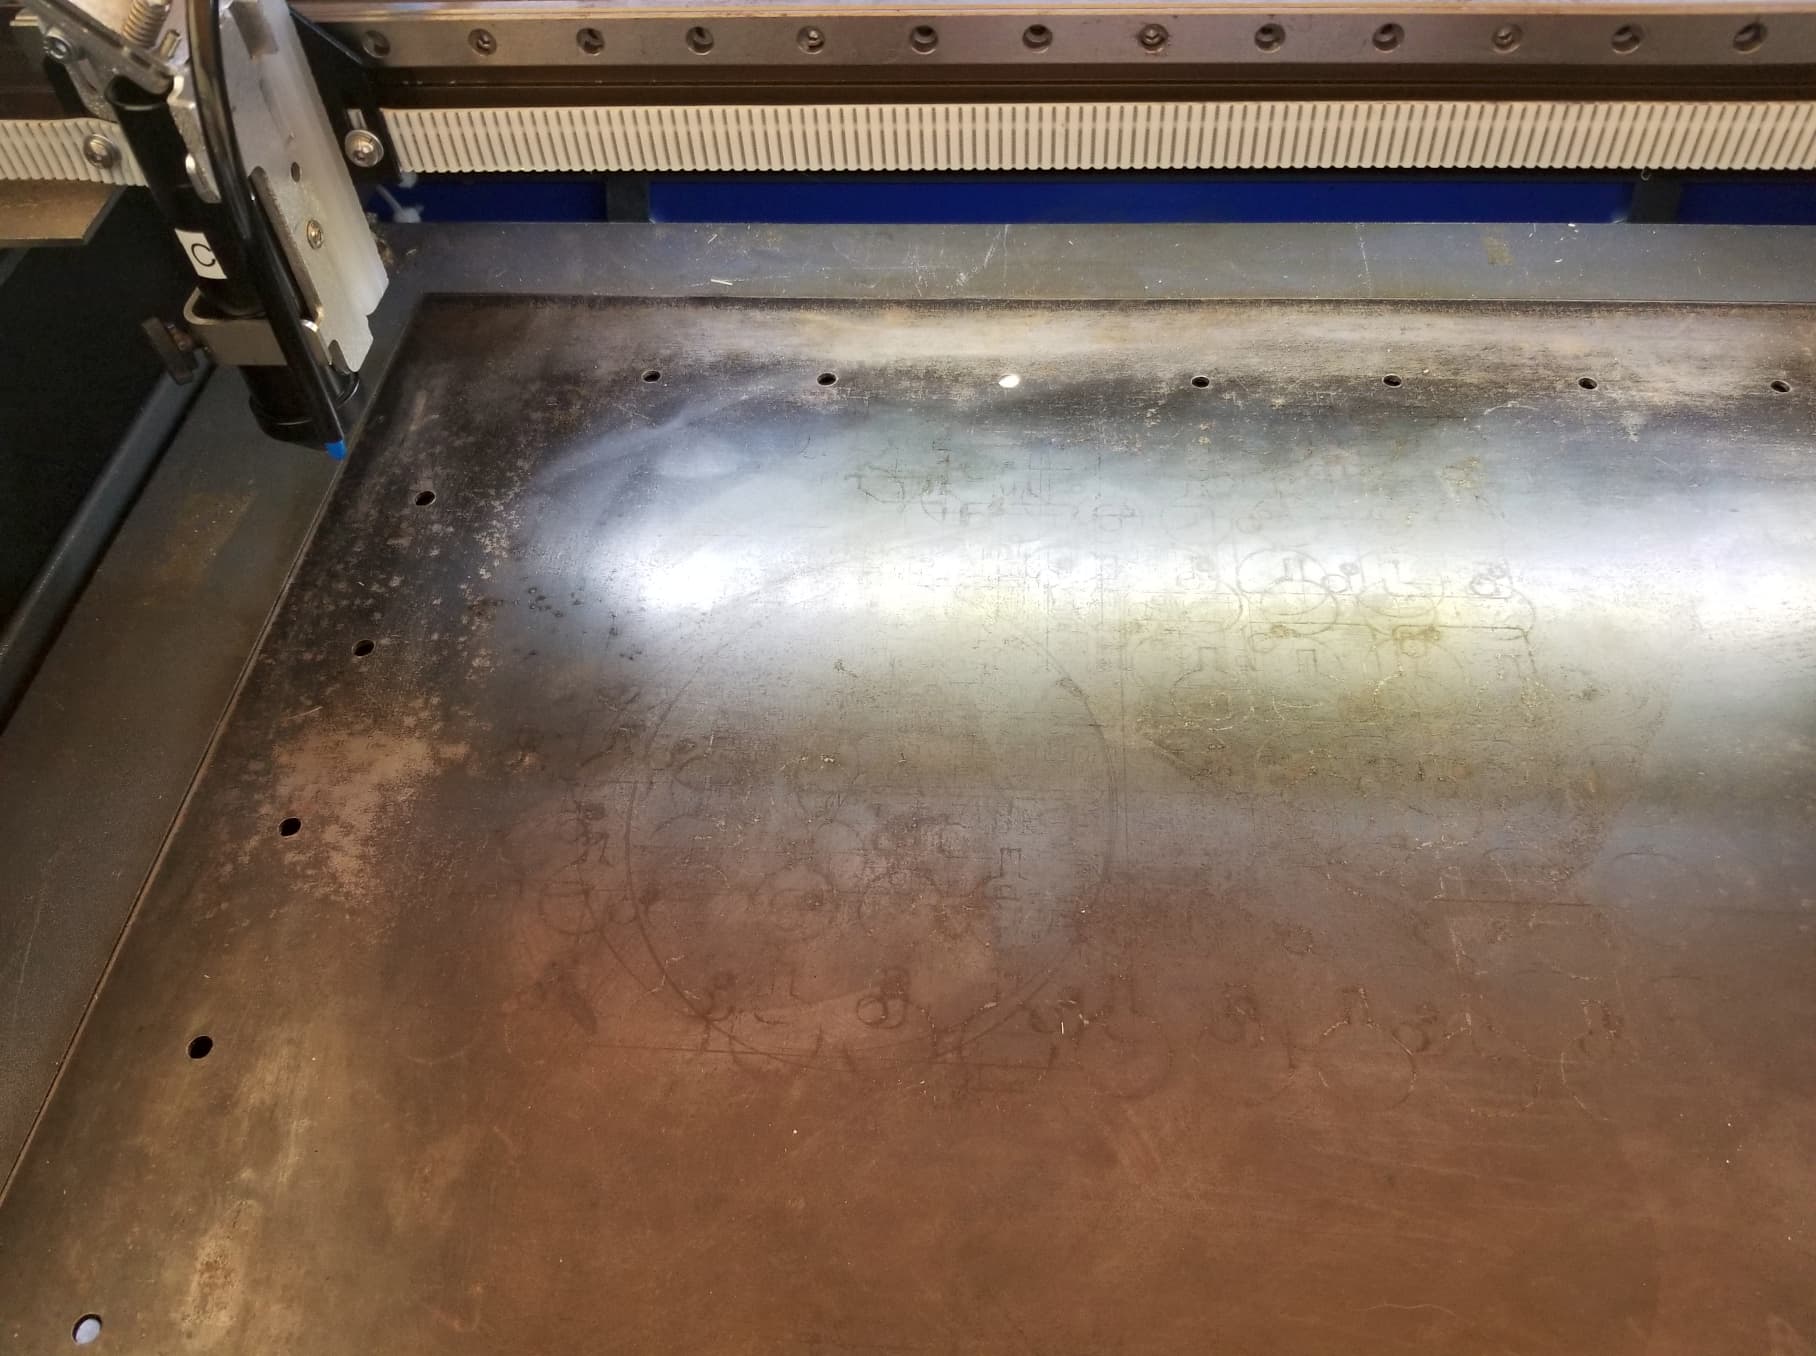
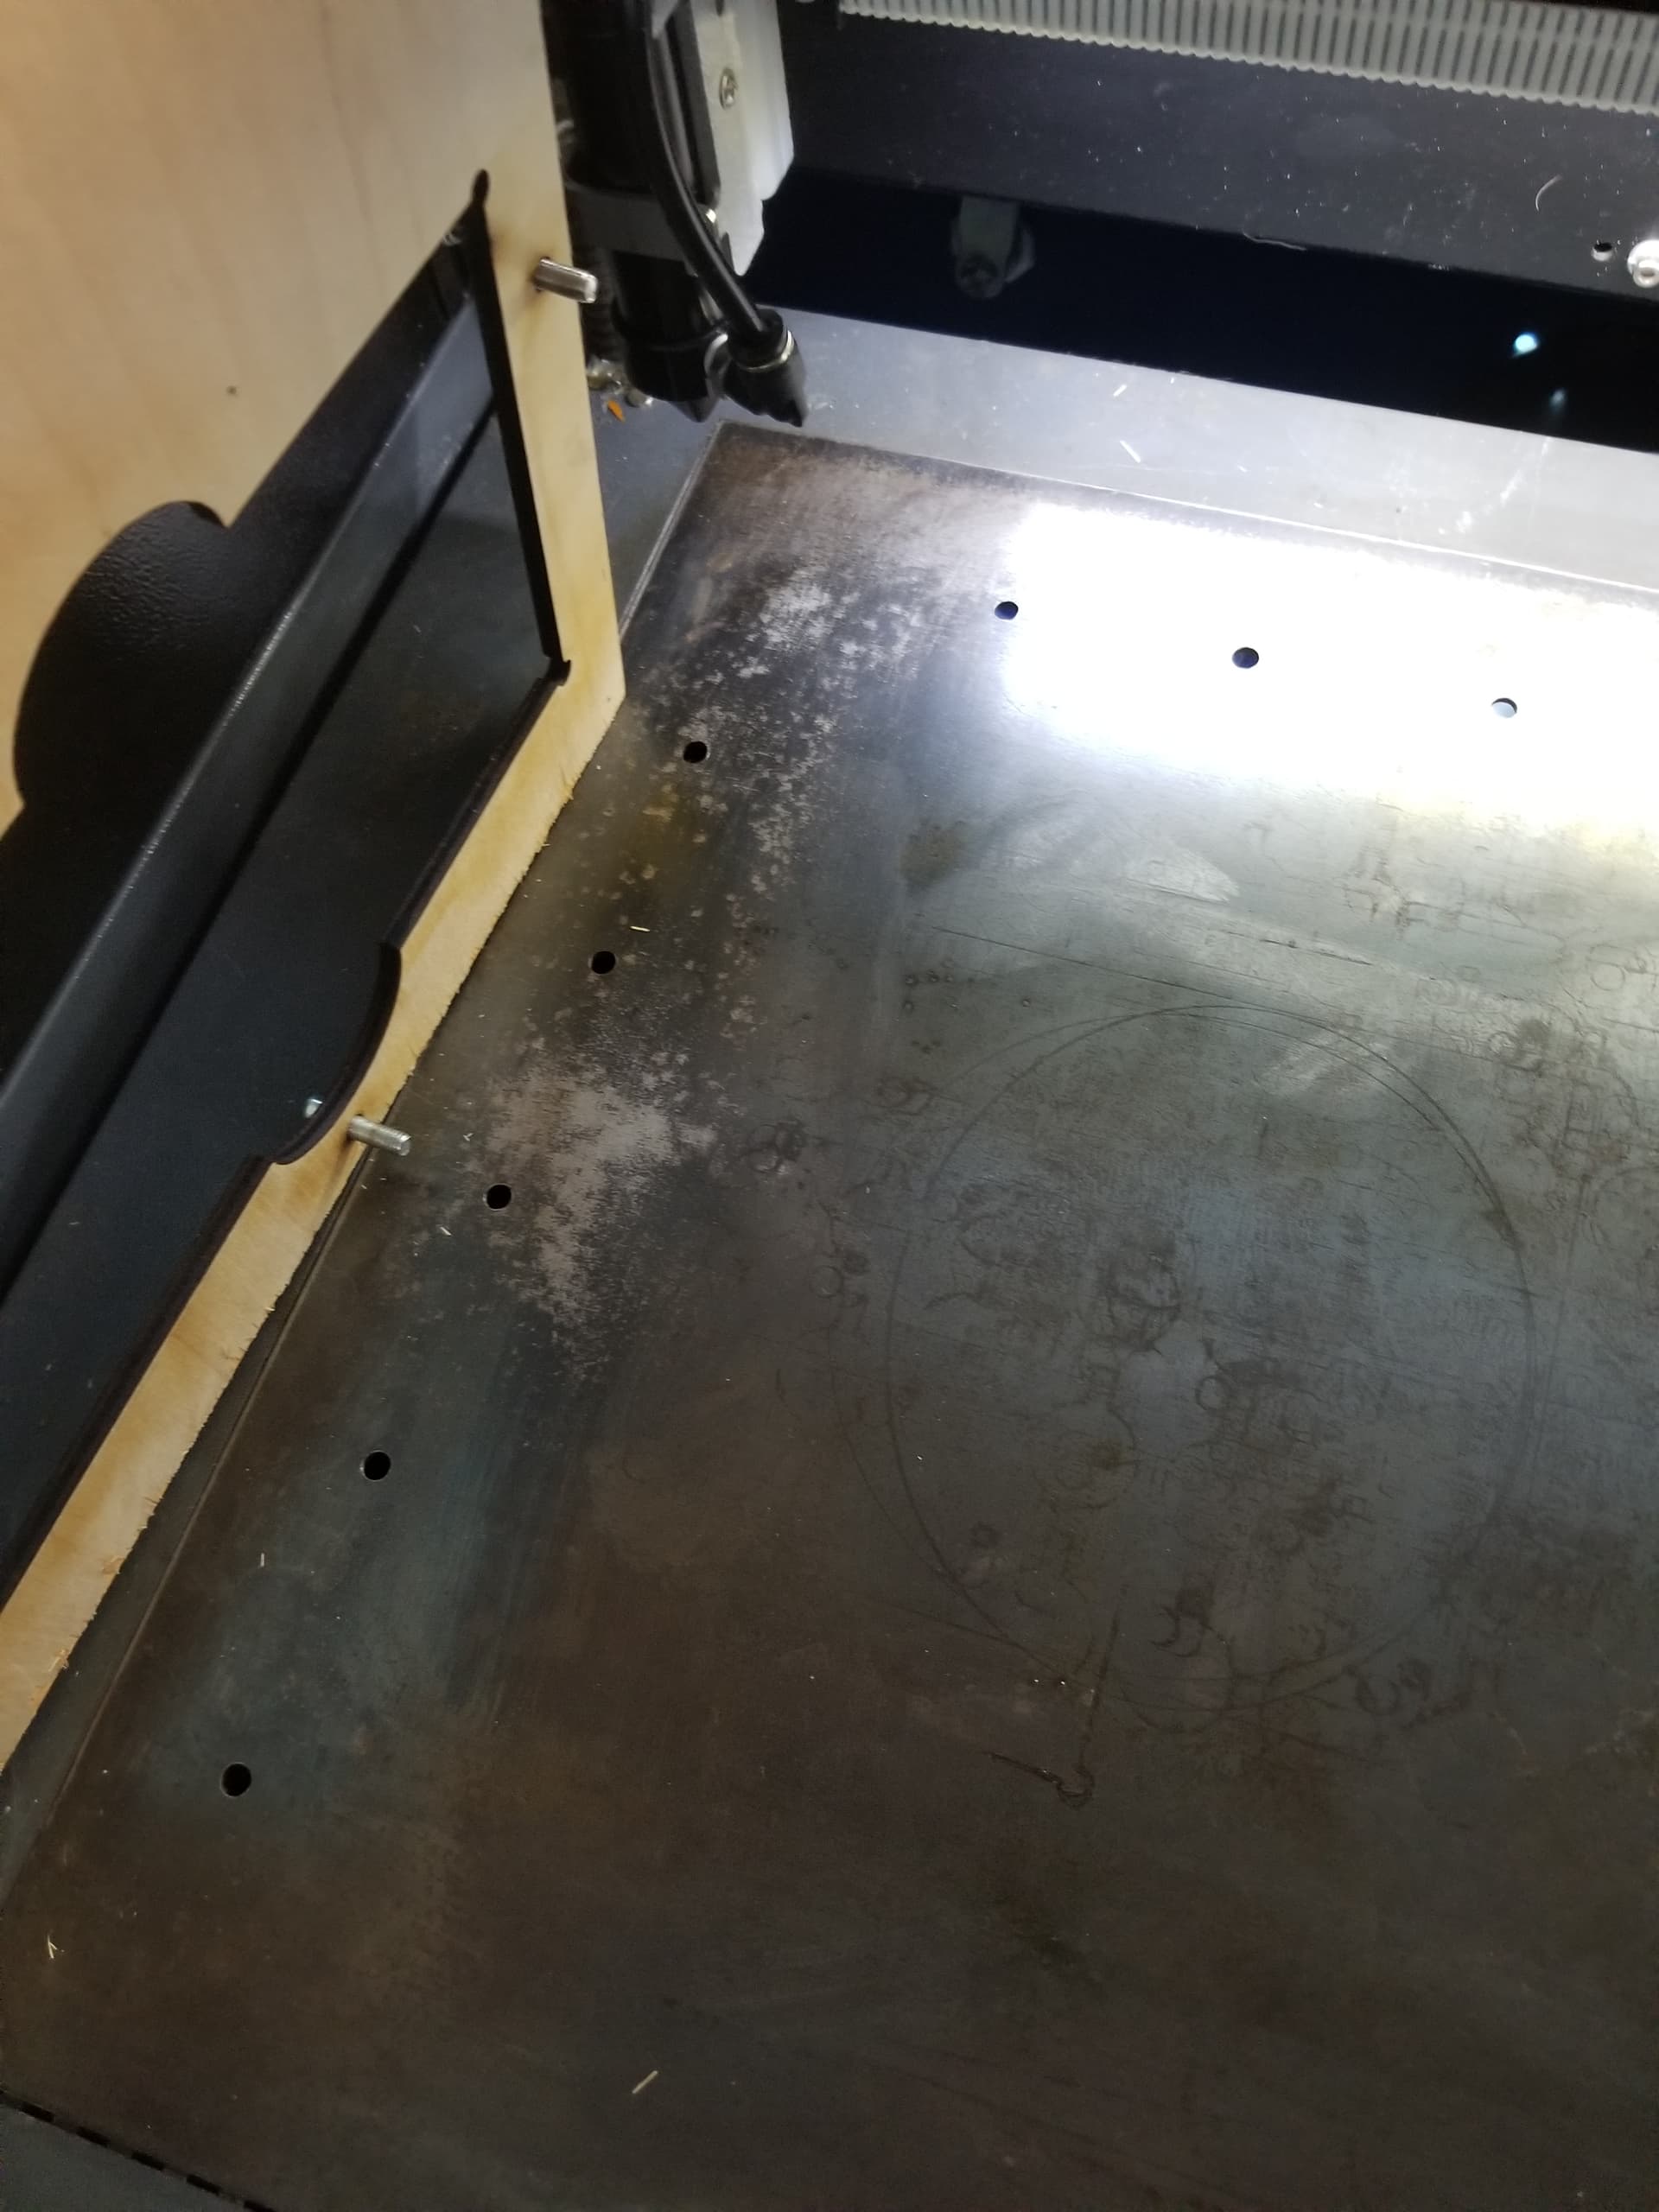
I removed the honeycomb and replaced it with a sheet of rolled steel. Marked it best I could with the laser and drilled it on my drill press. I know where the holes are…
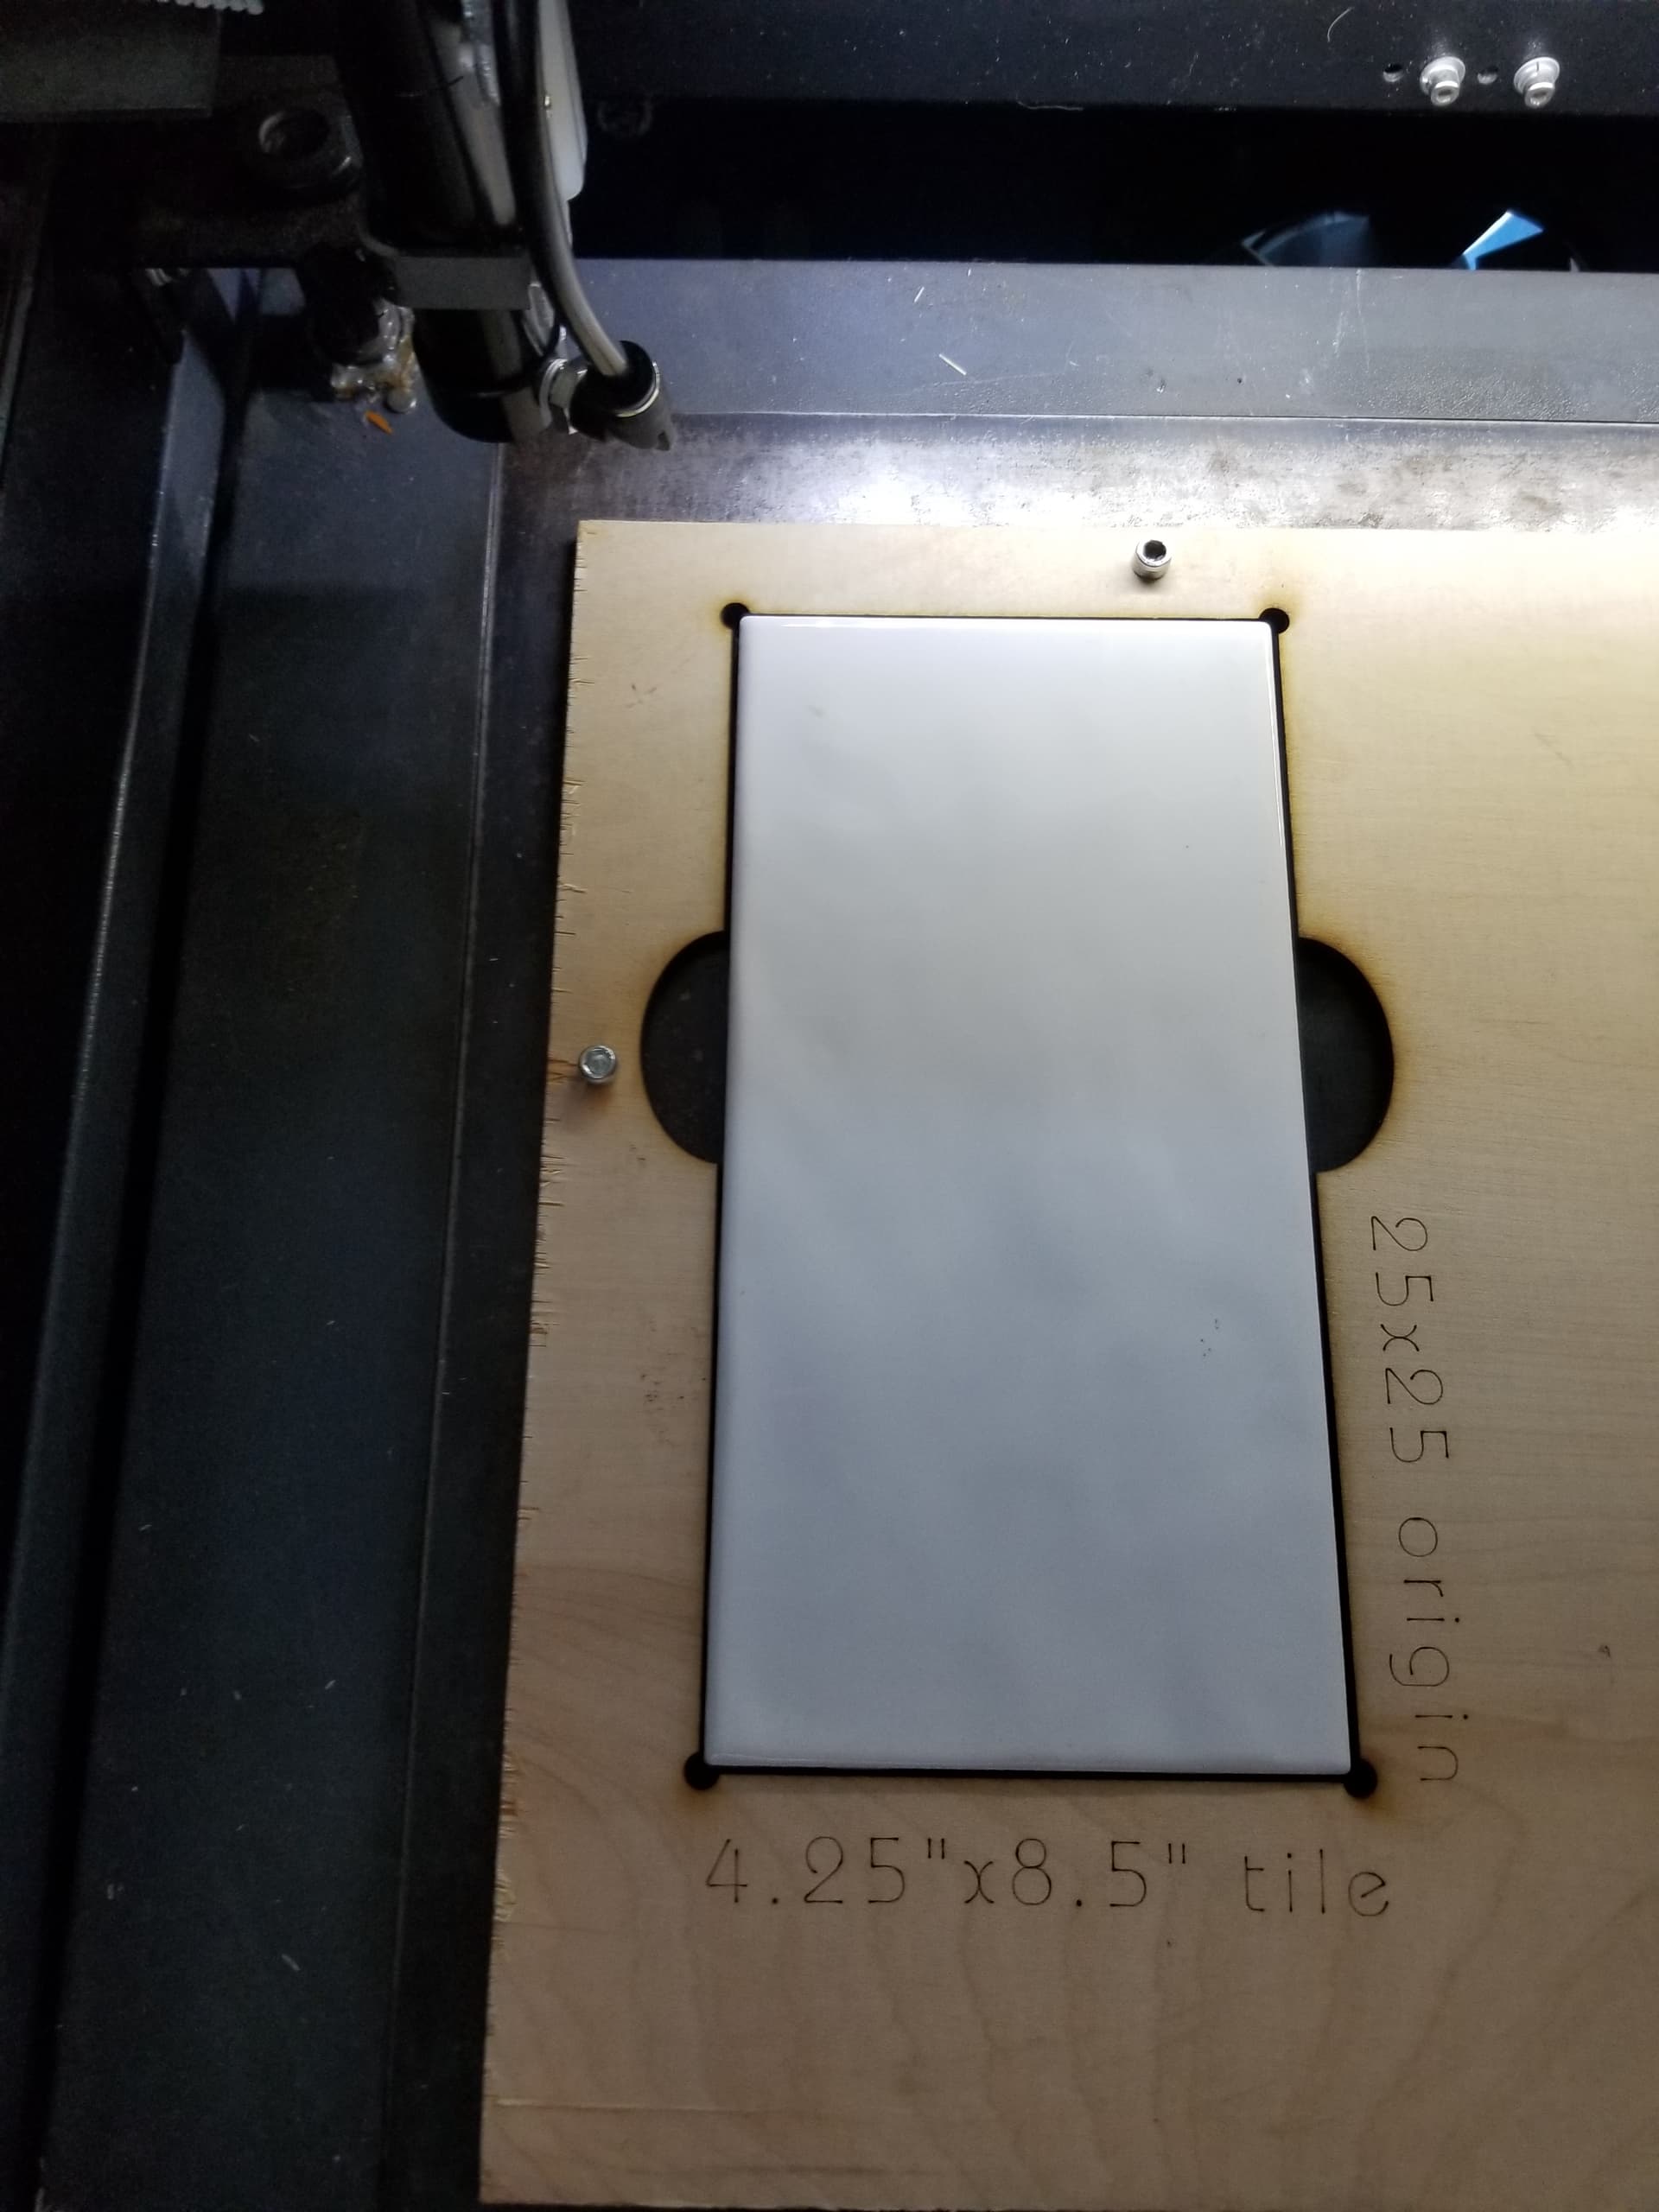
I take the file that marked the holes and use that to punch the holes in the material I’m using for the template, usually some kind of mdf or acrylic. This is how it get it’s alignment…
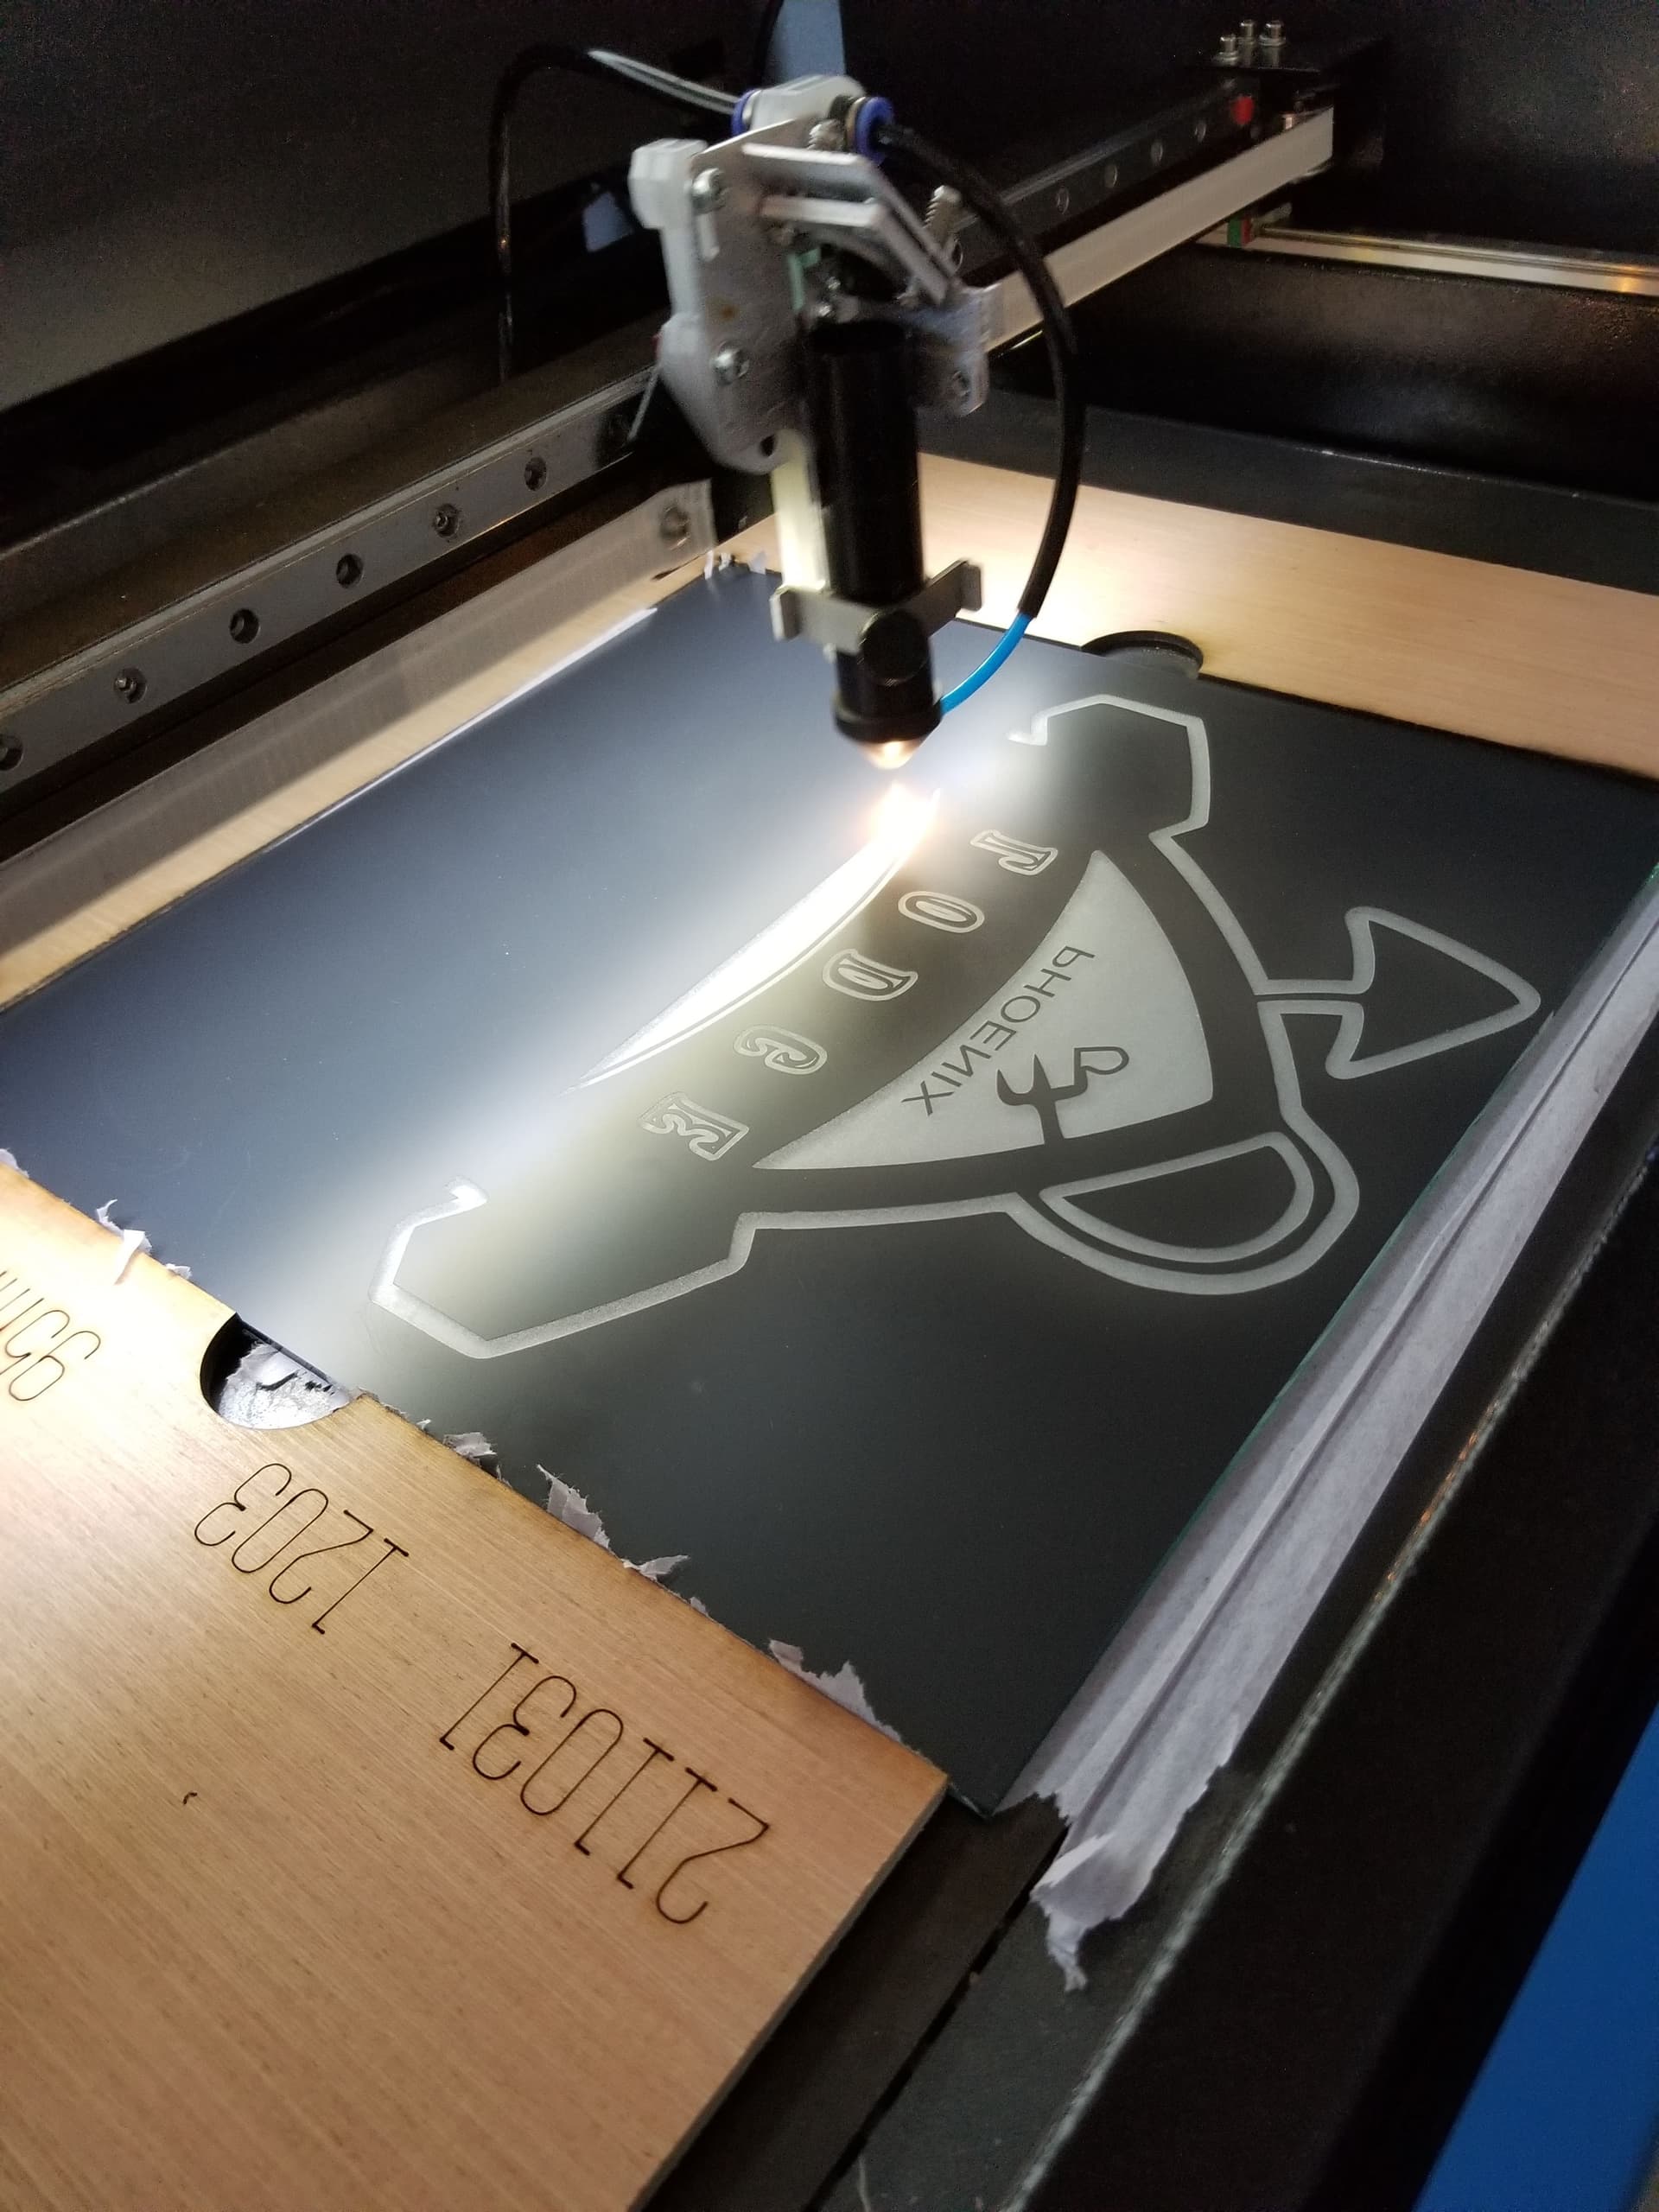
Put pins in the ‘jig’ and put it in the machine to cut the outlines for the parts. I raise it up off the table about 5mm for airflow/debris removal when doing the cutouts.
Remove the jig, wipe off the table, remove standoffs and you can drop the jig into the hole and it’s aligned…
I like ‘user origin’ for single item jobs… send the head to a ‘known’ user origin, press ‘origin’ and I can place it anywhere… I put the origin on the jig… they can stack up…
It takes some getting used to… especially when you’re a couple mm off and you can’t figure out where you went wrong… don’t work on it when tired or frustrated… Your brain will ‘percolate’ on it while you do something else that will lower your blood pressure…