I am struggling with configuring a camera but I think that I have found a way around some of the issues. But first;
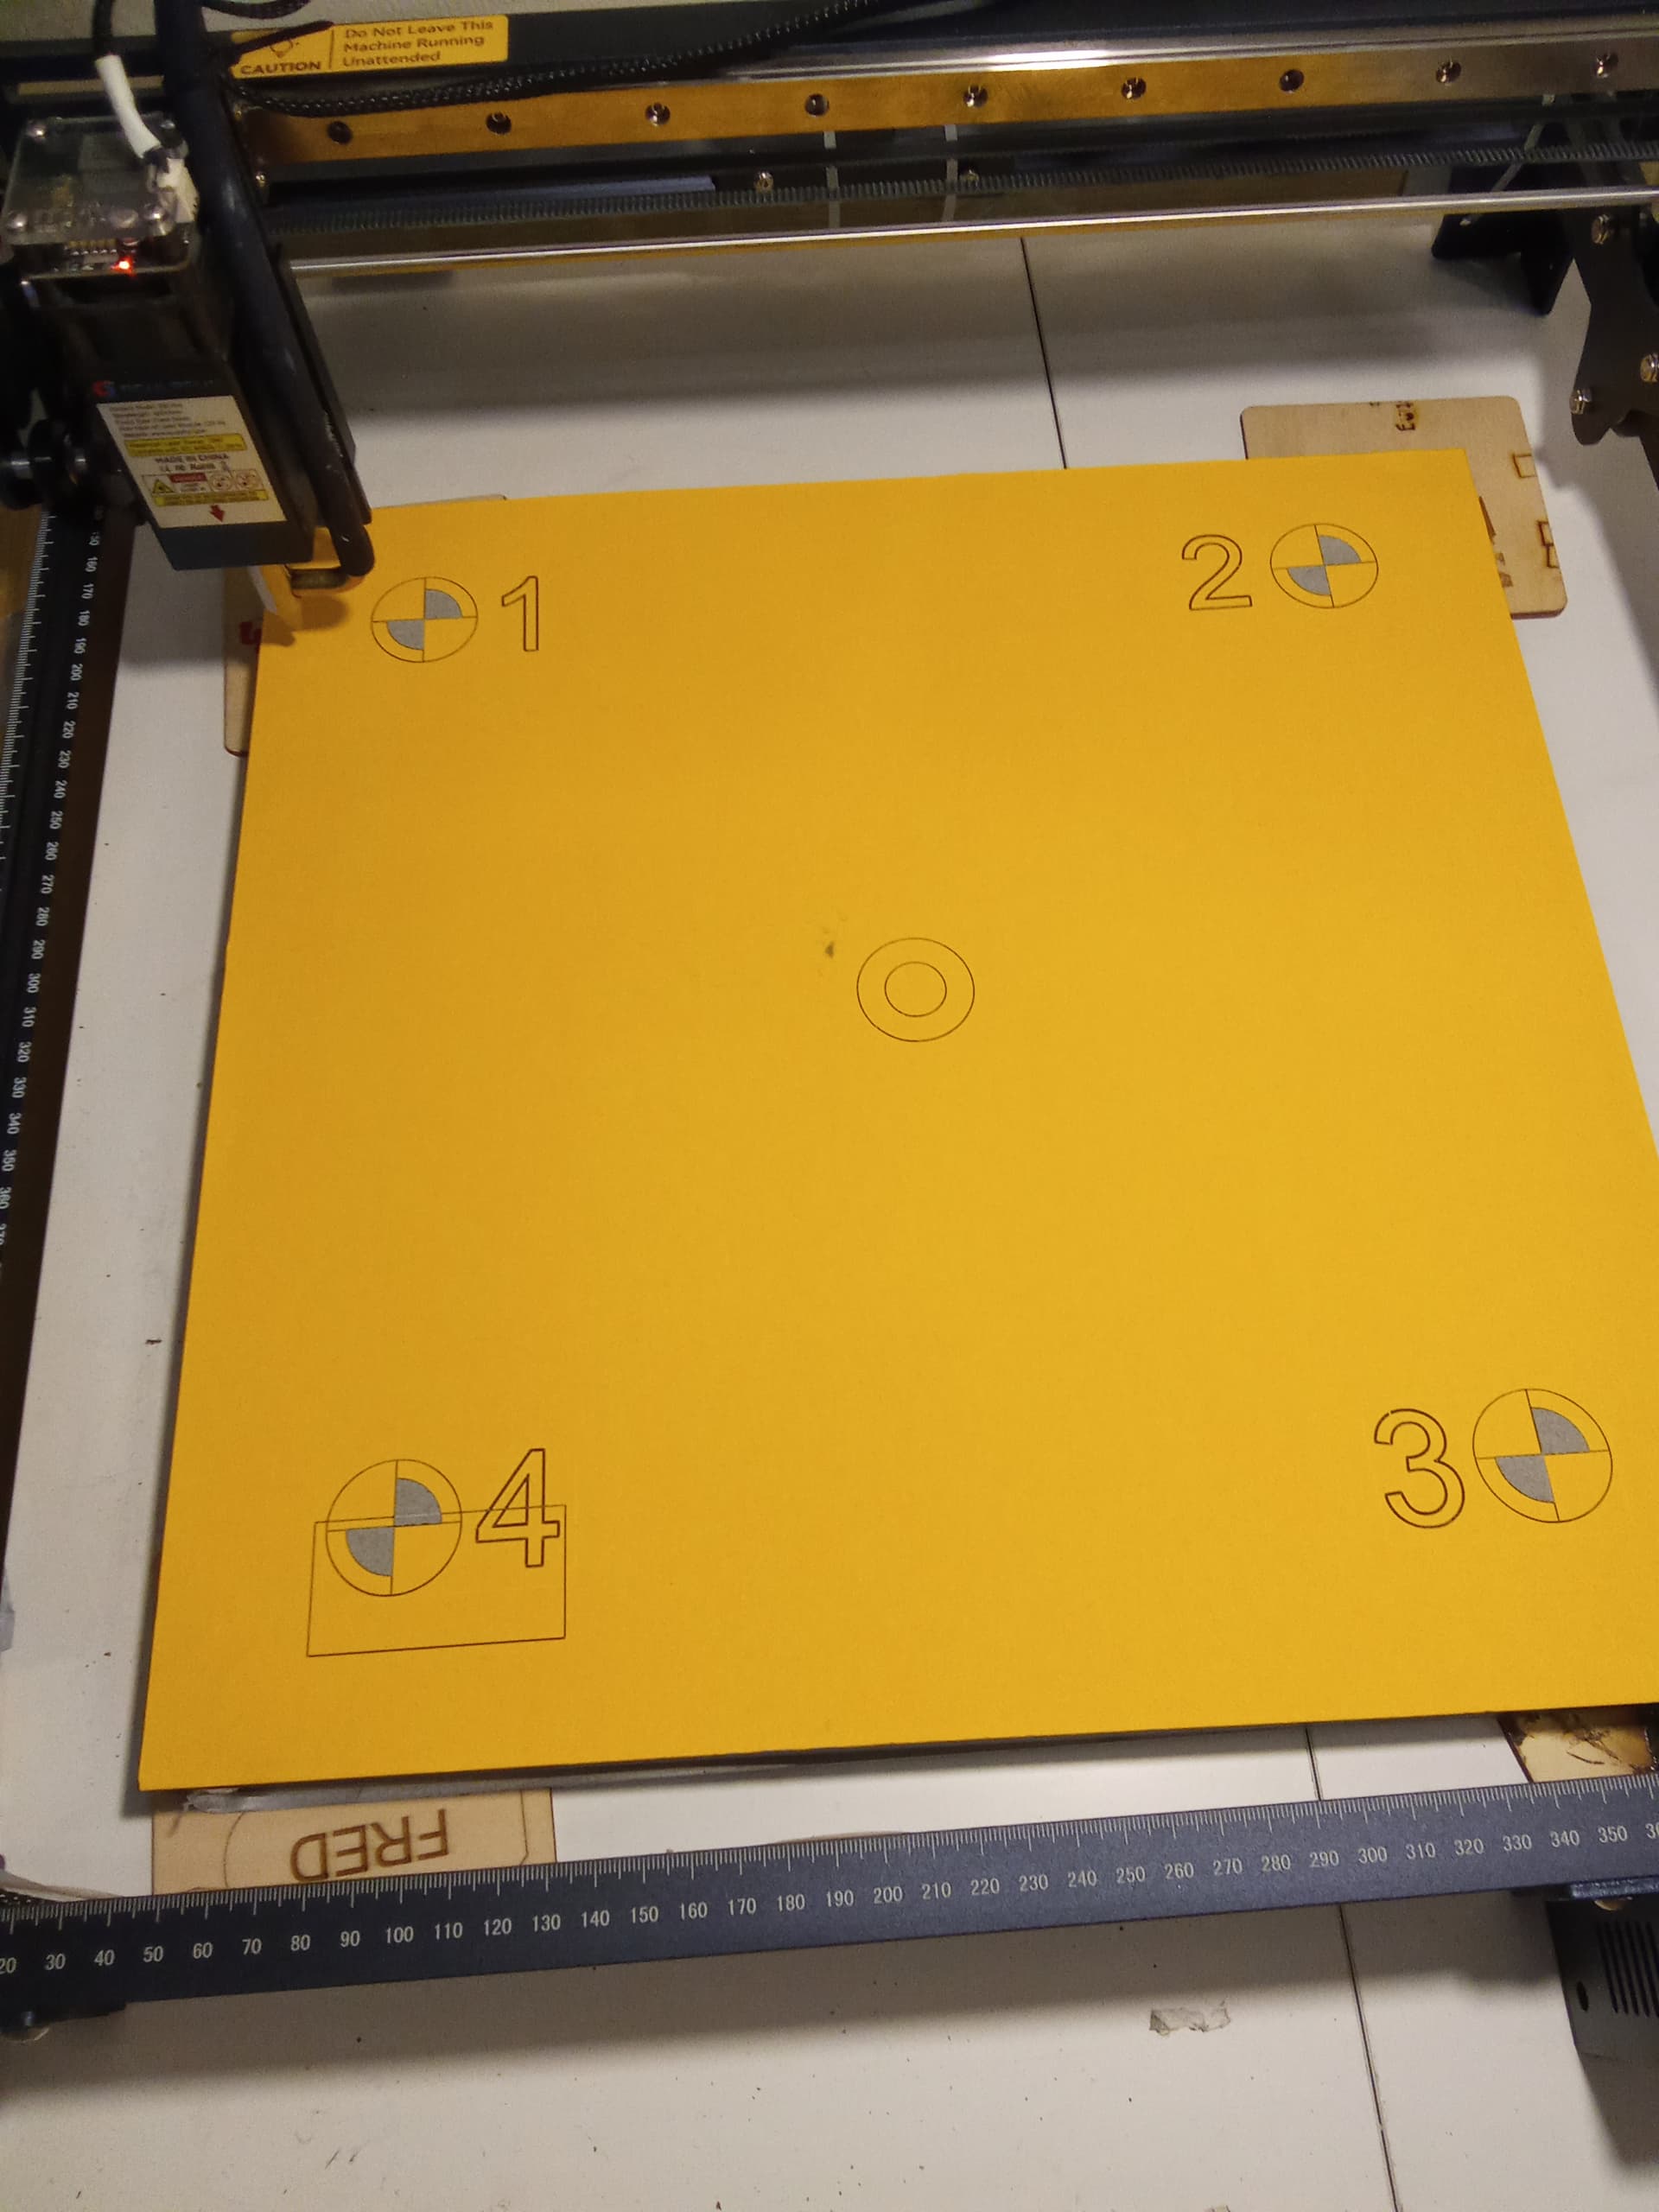
I set up the area to be engraved in “calibrate alignment” and the framing was OK.
I then went to test the alignment in lightburn and noticed that this alignment is different to the one in the alignment set up. It is lower and has moved to the left.
In addition to this the frame test isn’t completing it’s cycle it is doing 3 sides and stopping at the top left (See attached Photo).
I’ve tried switching on and off but that hasn’t worked.
With regards to alignment:
I tried white paper and a very light grey paper with no luck. I decided to use a contrasting colour and chose yellow. That works with regards to getting a good overlay view.
I noticed that on my settings and in despite using air assist that there was loose soot on top of the engraved area (I smudged one).
I changed my settings so that the filled areas were more of a dark grey (soot free). It resulted in much sharper alignment images.
I’ve tried checking for accuracy but I am unable to tell as the frame is different to the one used in alignment. It’s accurate to the sides but the top is lower by about the same height as the difference between the two frames.
What was your homing process before calibrating the camera and running the file?
The diode gets bounced off of the white paper, so you need to use colors that absorb the wavelength.
In addition to this the frame test isn’t completing it’s cycle it is doing 3 sides and stopping at the top left
We need more information about what start from position you are using in your laser window. Do you understand the difference between the 3 options? You need to manually home your laser before turning it on if the laser doesn’t have limit switches installed.
I’ve decided to give myself a break from setting up my camera. It might turn out to be a permanent one
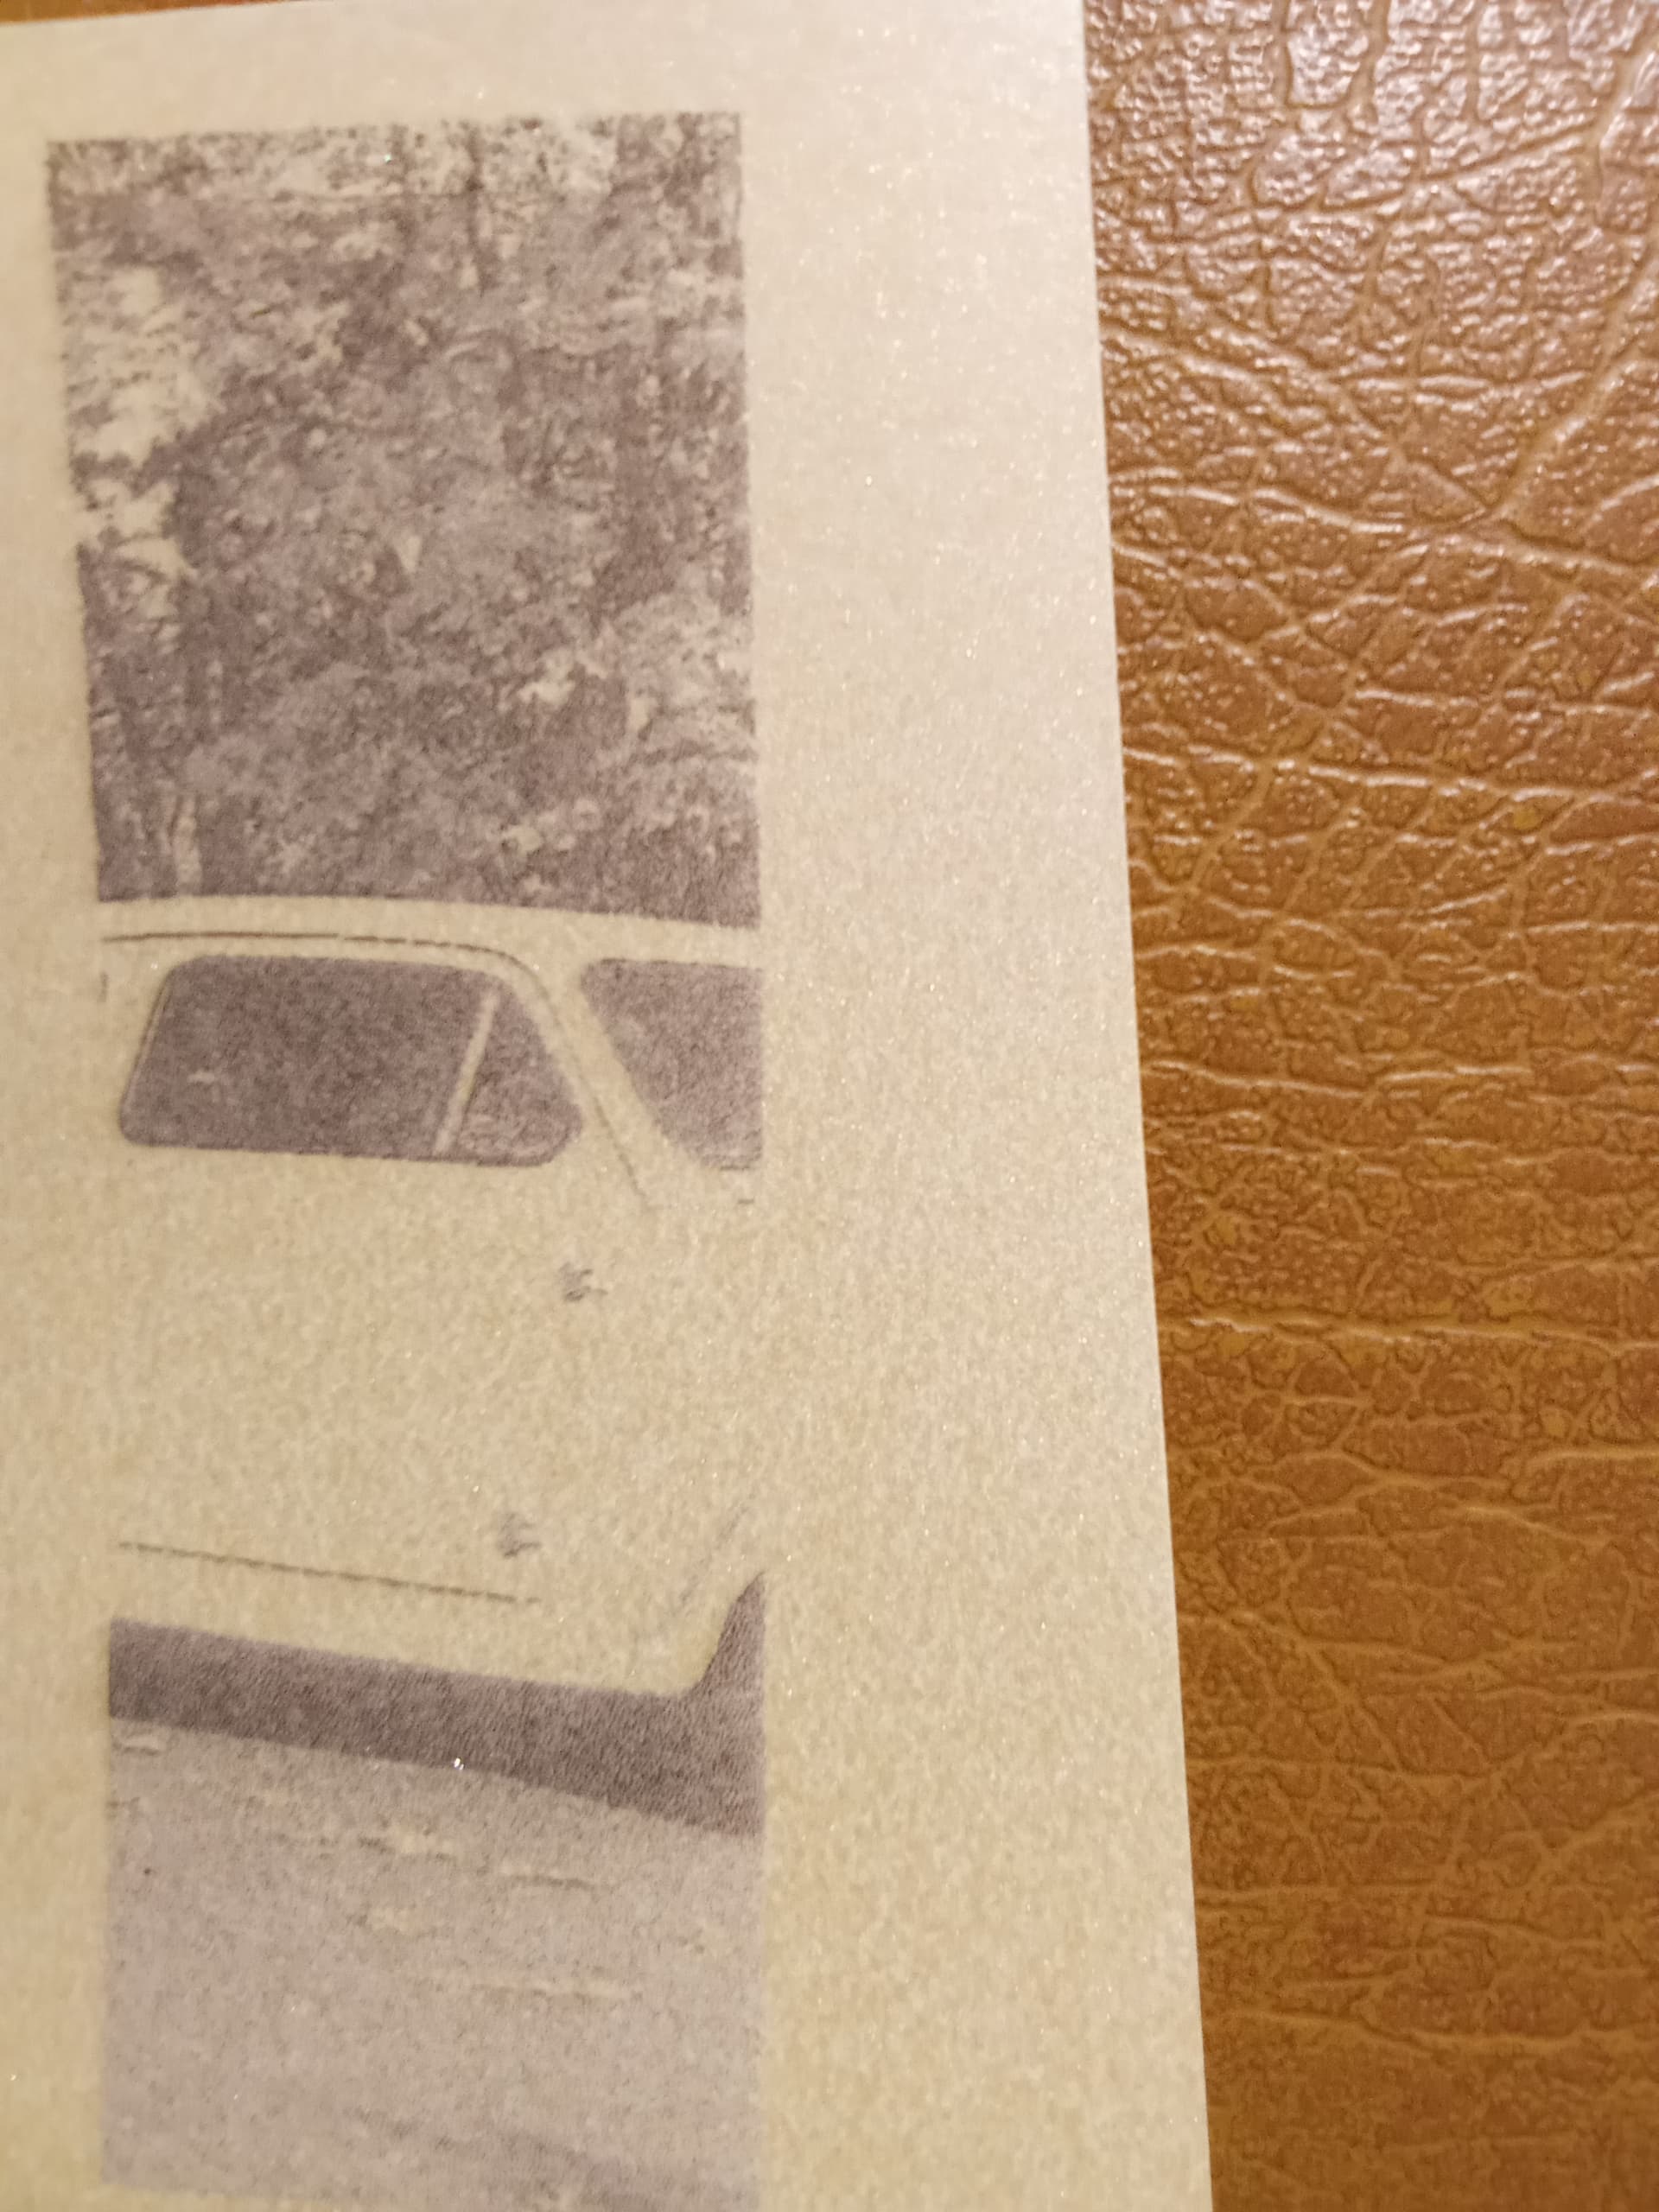
Before using lightburn I researched how to laser cut photos and adjusted one of mine. It needed what was called in the good old days some dodging and burning (areas darkened and lightened).
From what I researched I was led to believe that a laser camera would simplify life! I’ve just discovered that it isn’t the case. I had no problems setting up and printing a photo manually.
I cut it onto some light coloured card this evening and am very impressed with the result. There’s a lot of detail in it and a good range of tones.