jkwilborn
March 17, 2023, 6:51pm
21
Looks like you are gaining on it…
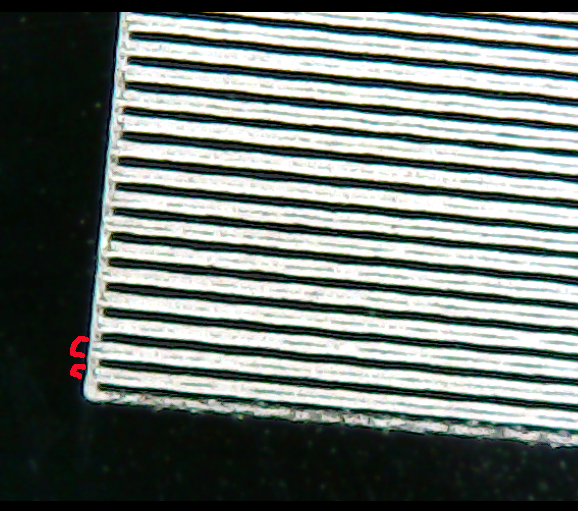
Any idea of how to make my Y axes lines closer…? The red marks show a pair of scans… All of them are pairs…
It’s scanned bidirectionally… two scan near each other then a gap, two more lines and a gap… 330dpi
I’ve done some of the timing, but don’t know how to correct this one.
Bigjohn
March 17, 2023, 7:35pm
22
from what I saw on a youtube video you lower the interval. looks like 600 might be your number?
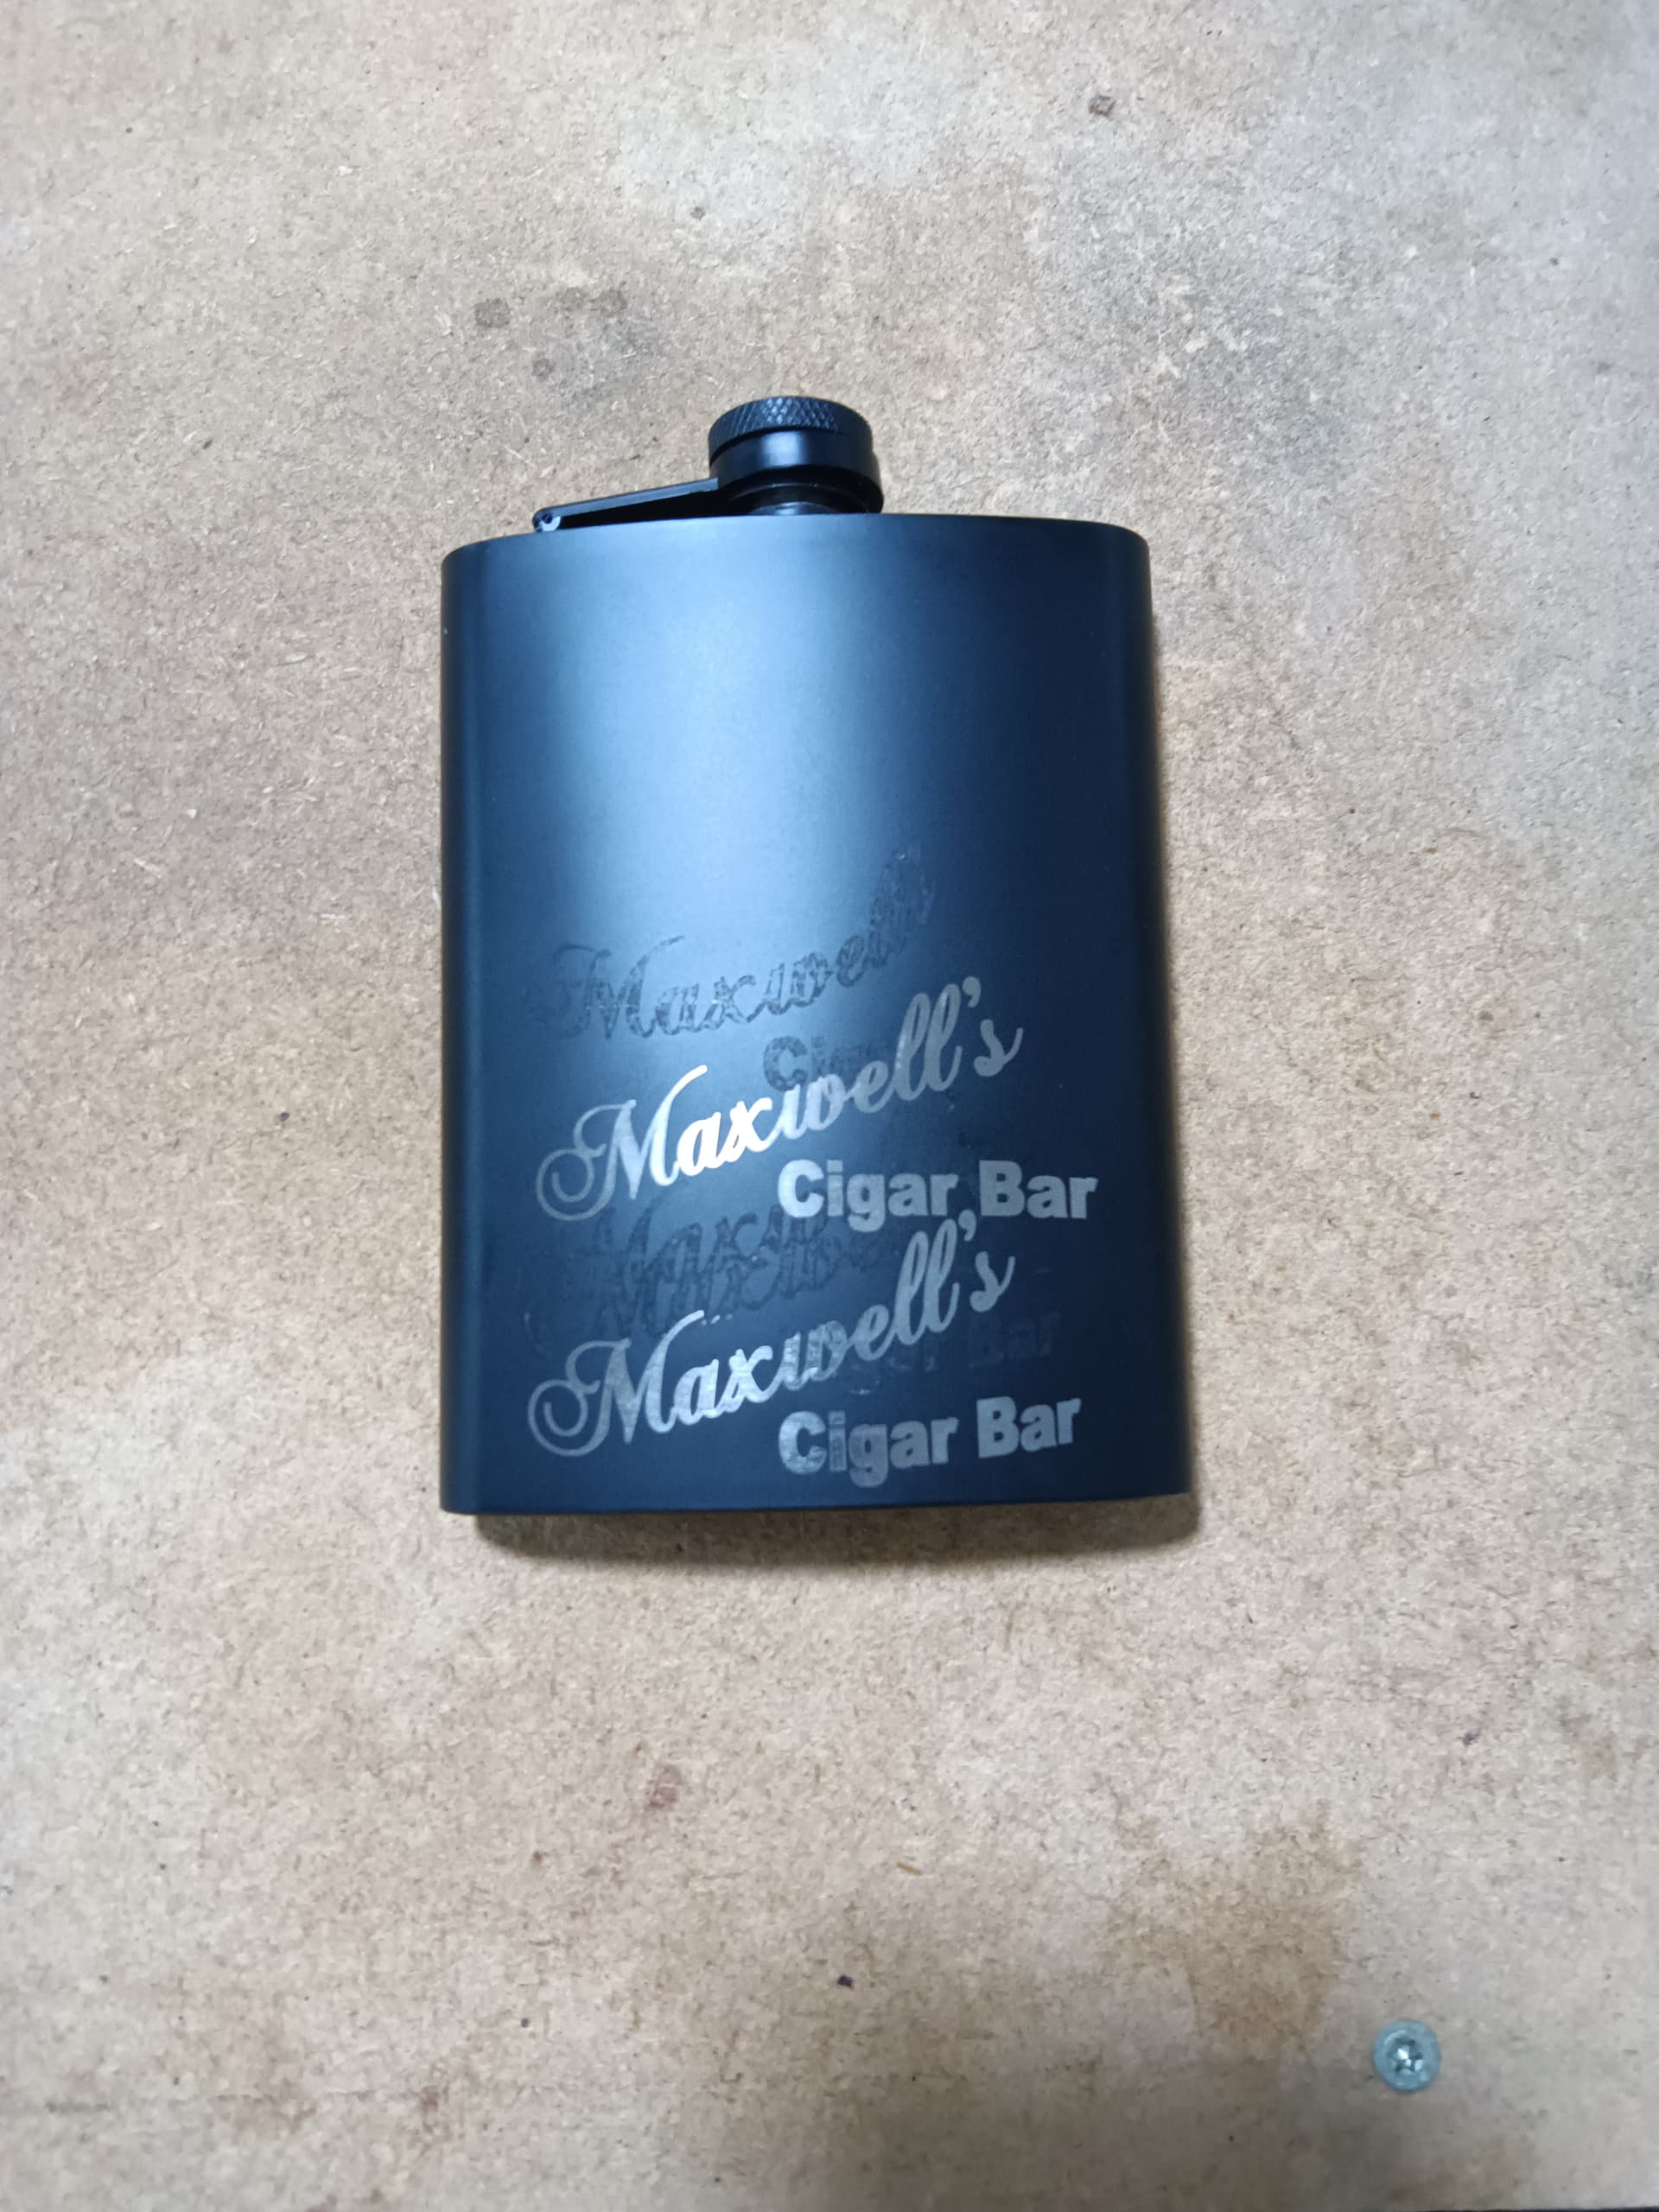
I also discovered that my MOPA ignores the tape and literally hit the metal under! So that tester flask is FUBAR.
jkwilborn
March 17, 2023, 8:21pm
23
The problem is the gap between the pair.
I put down two line (red marks), they are next to each other… then there is a gap before the next scan line…
So I have two close and touching, then an empty looking line, then the next pair of scans…
I need a way to adjust the distance between each scan line. Since they are not equal, I’m not sure what to do…
Maybe I’ll post a photo on the Laser Everything board …
I will have to get a flask or something similar a mess with it…
Most of the tape I’ve used the fiber just goes through it… If it was black you might have better luck… Some people use black masking take for this…
It’s also probably related to thickness of the tape itself.
Bigjohn
March 18, 2023, 2:18pm
24
oh I see what you’re talking about. Does that happen with unidirectional scan?
Bigjohn
March 18, 2023, 4:42pm
25
Top picture = no correction
I have space to try 2 more times before I have to buy another test flask or 2…
jkwilborn
March 18, 2023, 4:59pm
26
I got a diameter of 97.26…
Bigjohn
March 18, 2023, 9:11pm
27
The larger the number I use the closer it gets to looking good. Obviously straight, you can see the distortion as well.
jkwilborn
March 18, 2023, 9:34pm
28
Measurements are not right or we aren’t putting them into the equation properly… with only two, I don’t know how far off we could be…
Ever try aluminum foil, to see if you can lase at low enough power to just mark it?
Bigjohn
March 19, 2023, 2:13am
29
Yeah it doesn’t make sense. I’ll try foil next time I have a few minutes to play
jkwilborn
March 19, 2023, 2:30pm
30
I only suggest aluminum foil since it metal, cheap, easy to form to something and I know you can mark it…
Good luck… let us know how it works…
Bigjohn
March 19, 2023, 3:17pm
31
Don’t know why I didn’t think of that. Too much time farting around with a CO2 made me go right to tape.
jkwilborn
March 19, 2023, 3:34pm
32
Hard to break old habits…
Bigjohn
March 19, 2023, 7:42pm
33
I might be able to fiddle with this tonight - what settings would you suggest for hitting that foil without burning through?
jkwilborn
March 19, 2023, 7:47pm
34
I’d start fast, with a short pulse duration and a higher frequency…
Put a sheet down on a metal surface and test on it…
When I get some time, I might try it…
Good luck… let us know what you find out.
Bigjohn
March 19, 2023, 7:59pm
35
like frequency 100 / qpuls 200? power level?
jkwilborn
March 19, 2023, 8:59pm
36
I ran this at 750mm/s@35%, Q-pulse 200, frequency 60 with a F254 lens… on aluminum foil.
I got this type of output from a 30mm square with a dpi of 0.50mm. Makes a pretty crisp line without passing through…
Should wrap easily around the flask and give you good detail… while keeping the test costs low…
Bigjohn
March 20, 2023, 2:19pm
37
So the shiny side not the dull side of the foil. White marks. Cool.lasertips.org ” isn’t down. That sucks.
system
April 19, 2023, 2:20pm
38
This topic was automatically closed 30 days after the last reply. New replies are no longer allowed.