I tried just brushing with a wire brush and could never get to everything and sometimes broke off fine detail. I happened to look at my toothbrush and thought why not. I thought a fine abrasive ( baking soda ) and peroxide would work well so gave it a go. Does the job. I’m sure a baking soda and water slurry would work well also. I use a rotating brush head with a light touch.
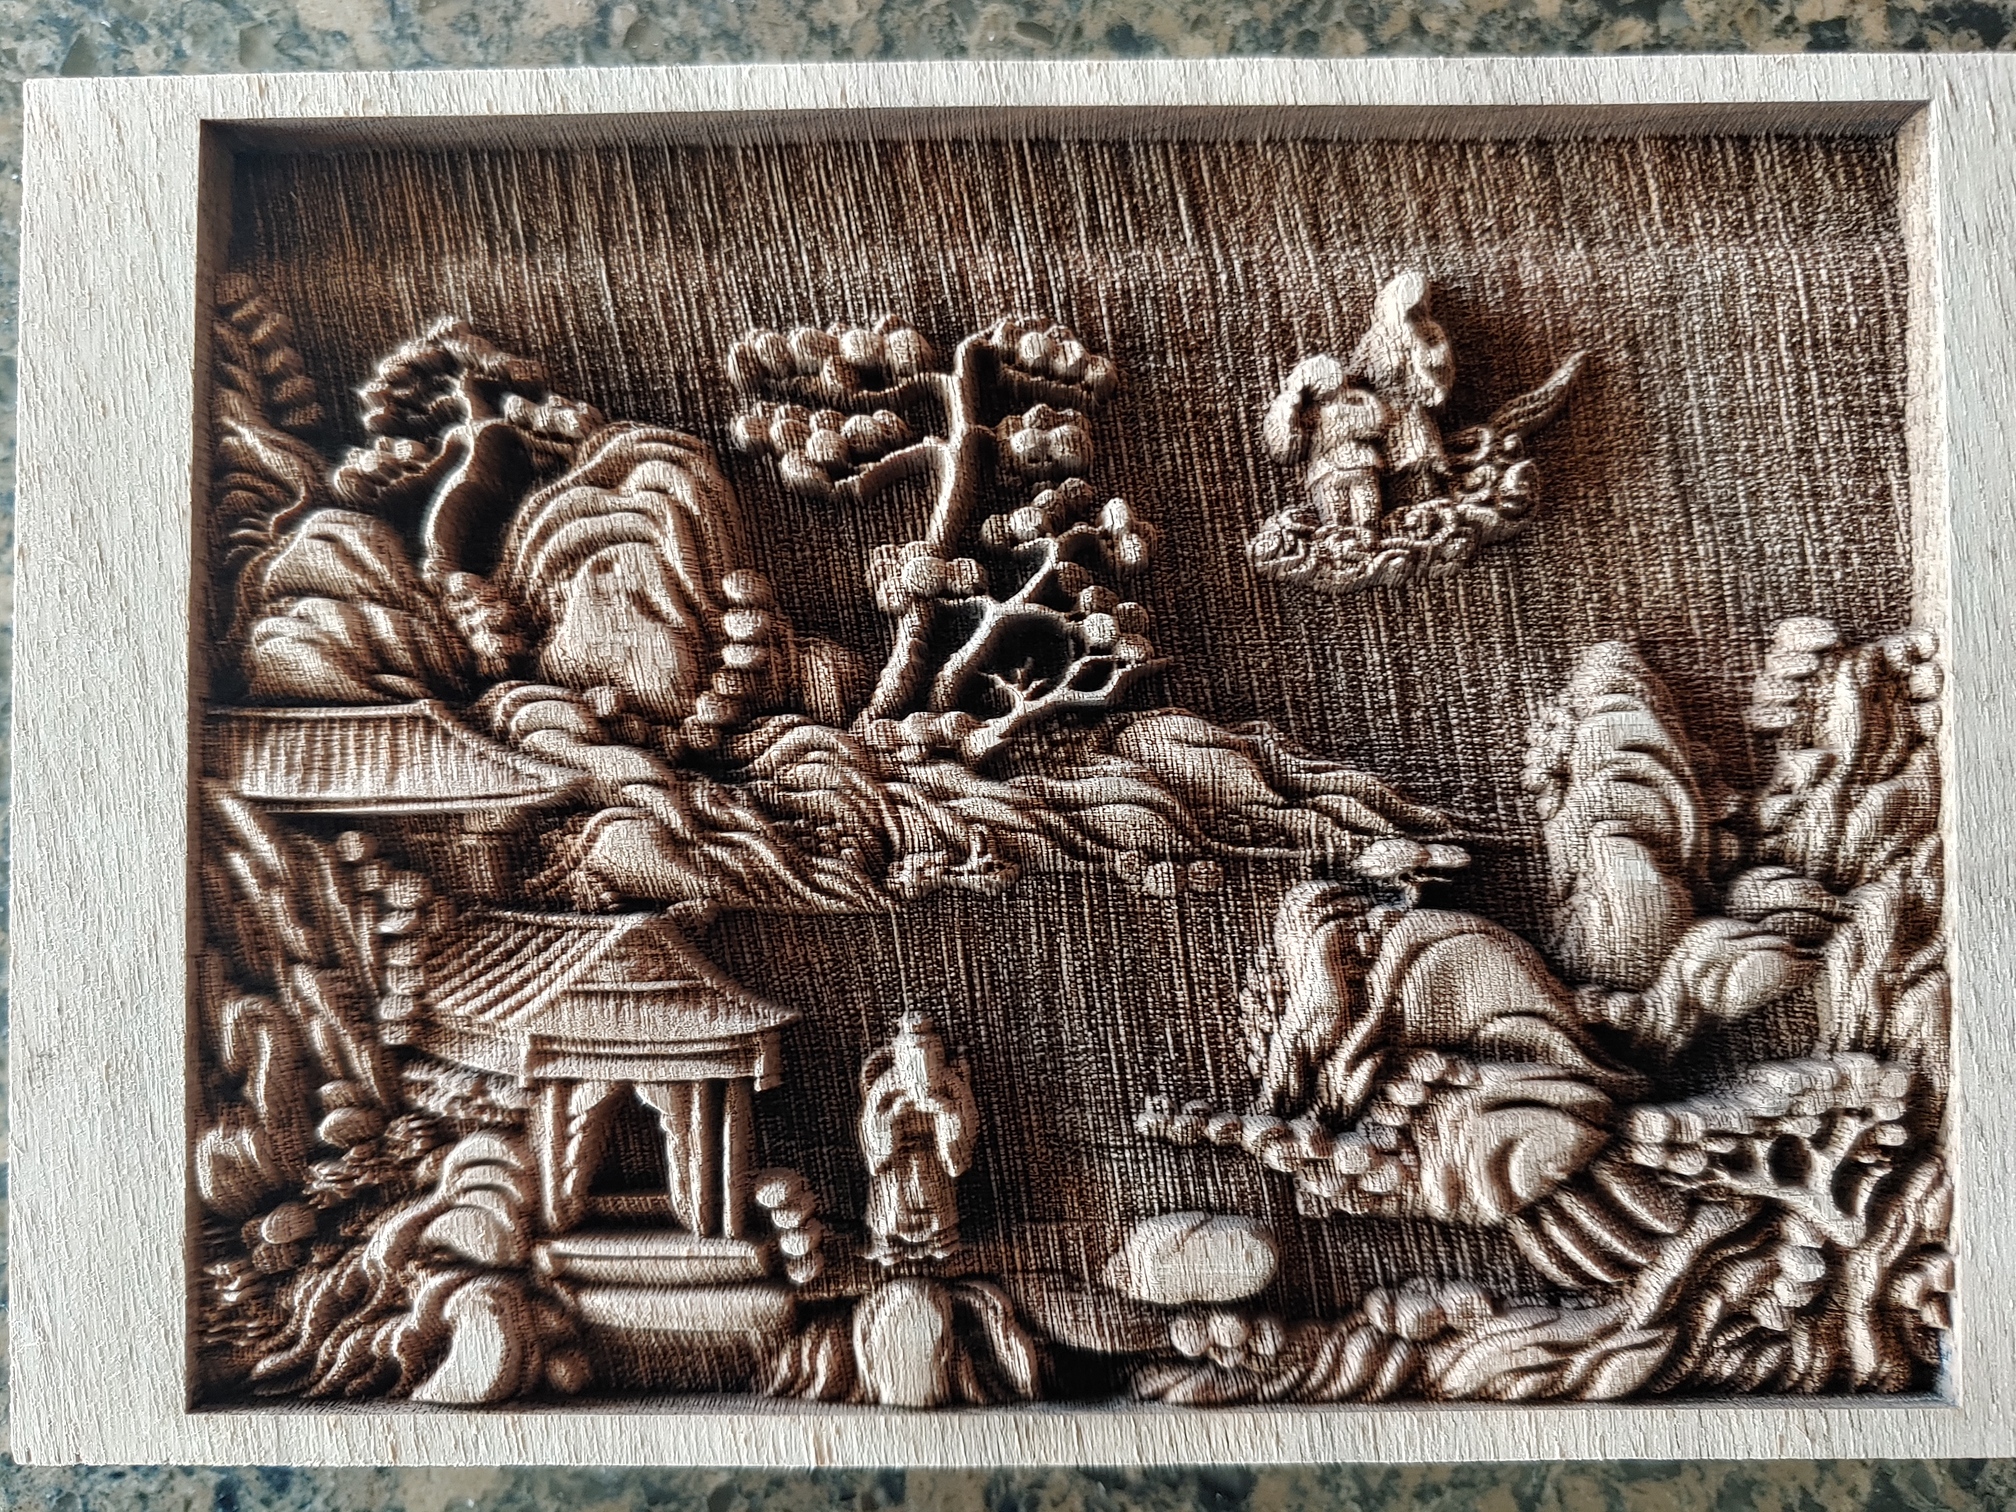
The walnut looks lighter in the photo than in real life, it’s not really bleached out.
Nice work! Curious has anyone done this with a Diode laser? Any examples? I have an Endurance laser that I’d love to attempt this but not sure if I’m wasting my time or not? Thanks
Joel, in your previous posting you had your power values in percentage, in this posting you have your power values listed in Watts. Are they both accurate or was one of the postings using the wrong units?
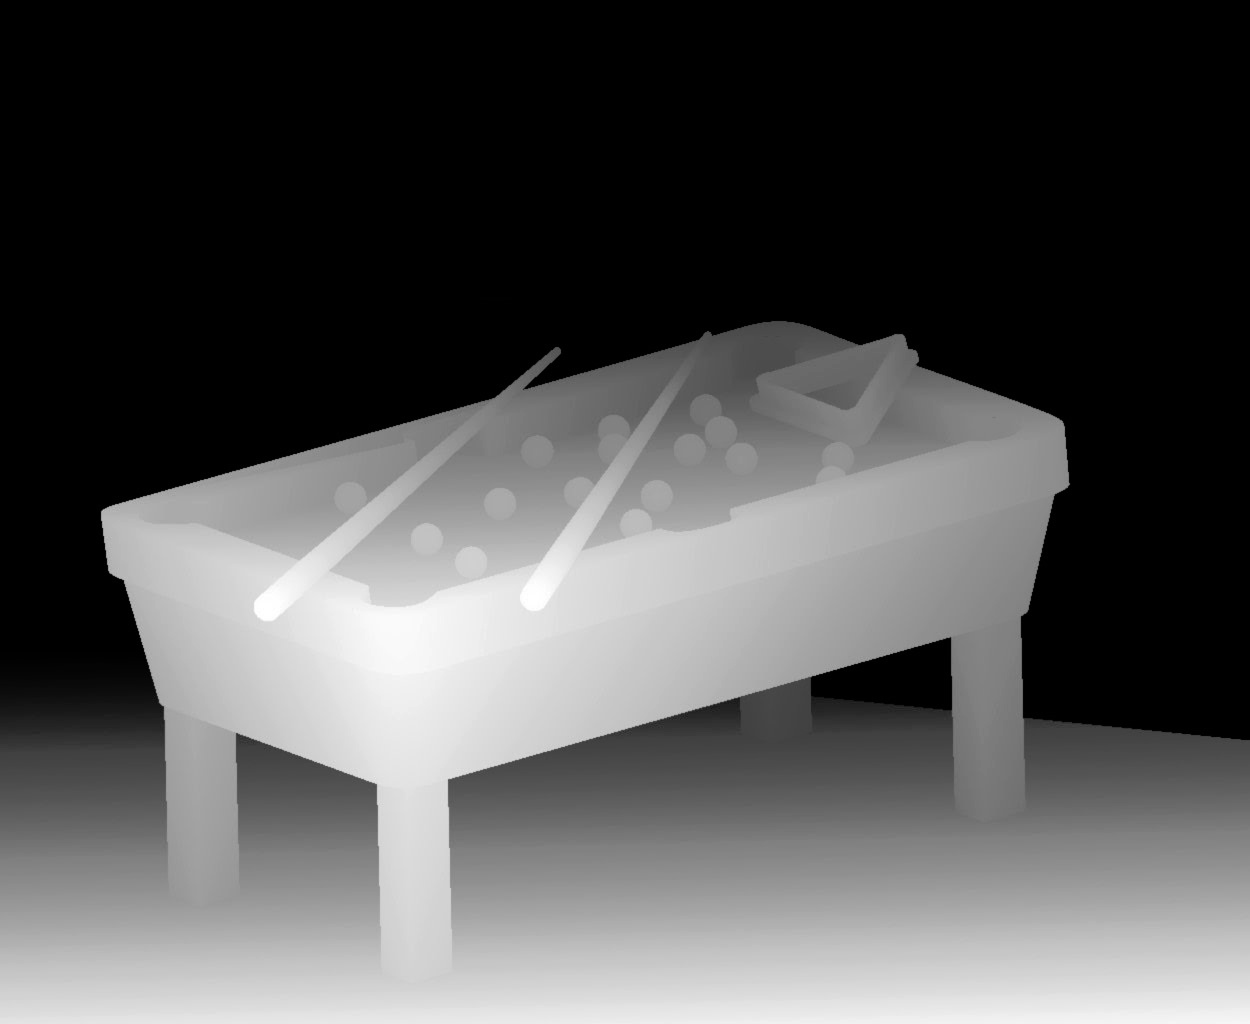
I finally got a chance to finish my first attempt at 3D carving with the laser. Thanks to @joel1, I got a huge headstart at trying this! I have a smaller laser, 40W, but was actually able to use his exact parameters except for the exposure speed, which I cut exactly in half. I played around with the various parameters, but, in the end, found that this last set that joel1 posted worked well.
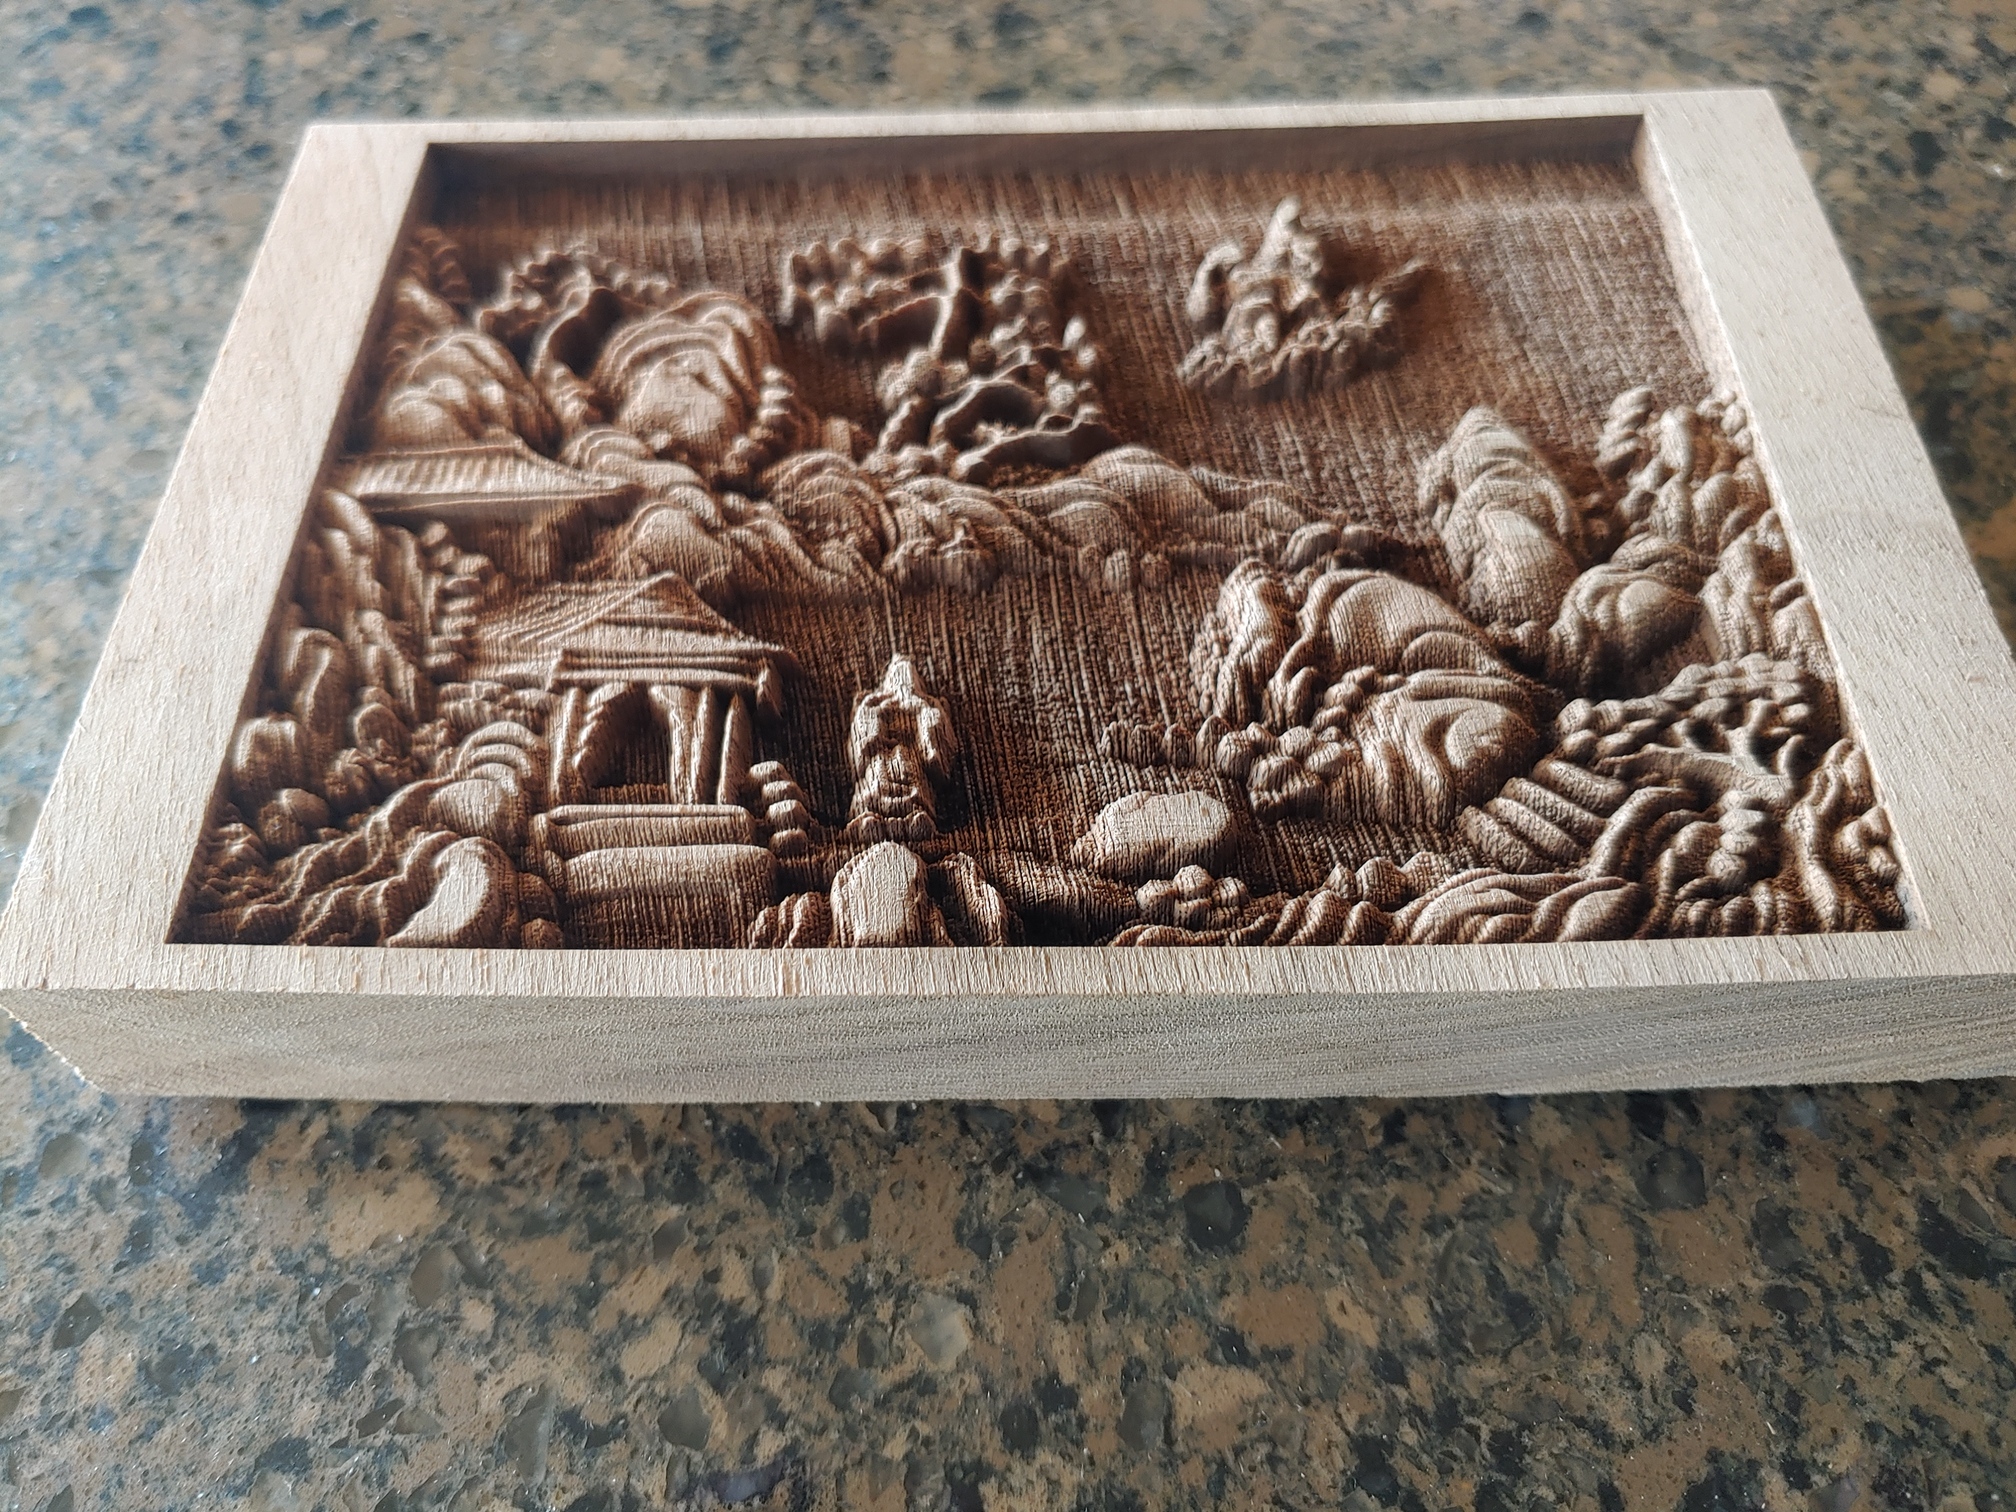
I first tried these on Hard Maple and they came out ok, but I wanted the largest size piece I could fit in my laser and I didn’t have any single piece of maple large enough. After digging through my stash, I found a piece of Red Grandis that was a good size and tried it. I was pleasantly surprised by the ‘chocolate’ color it produced and went with it!
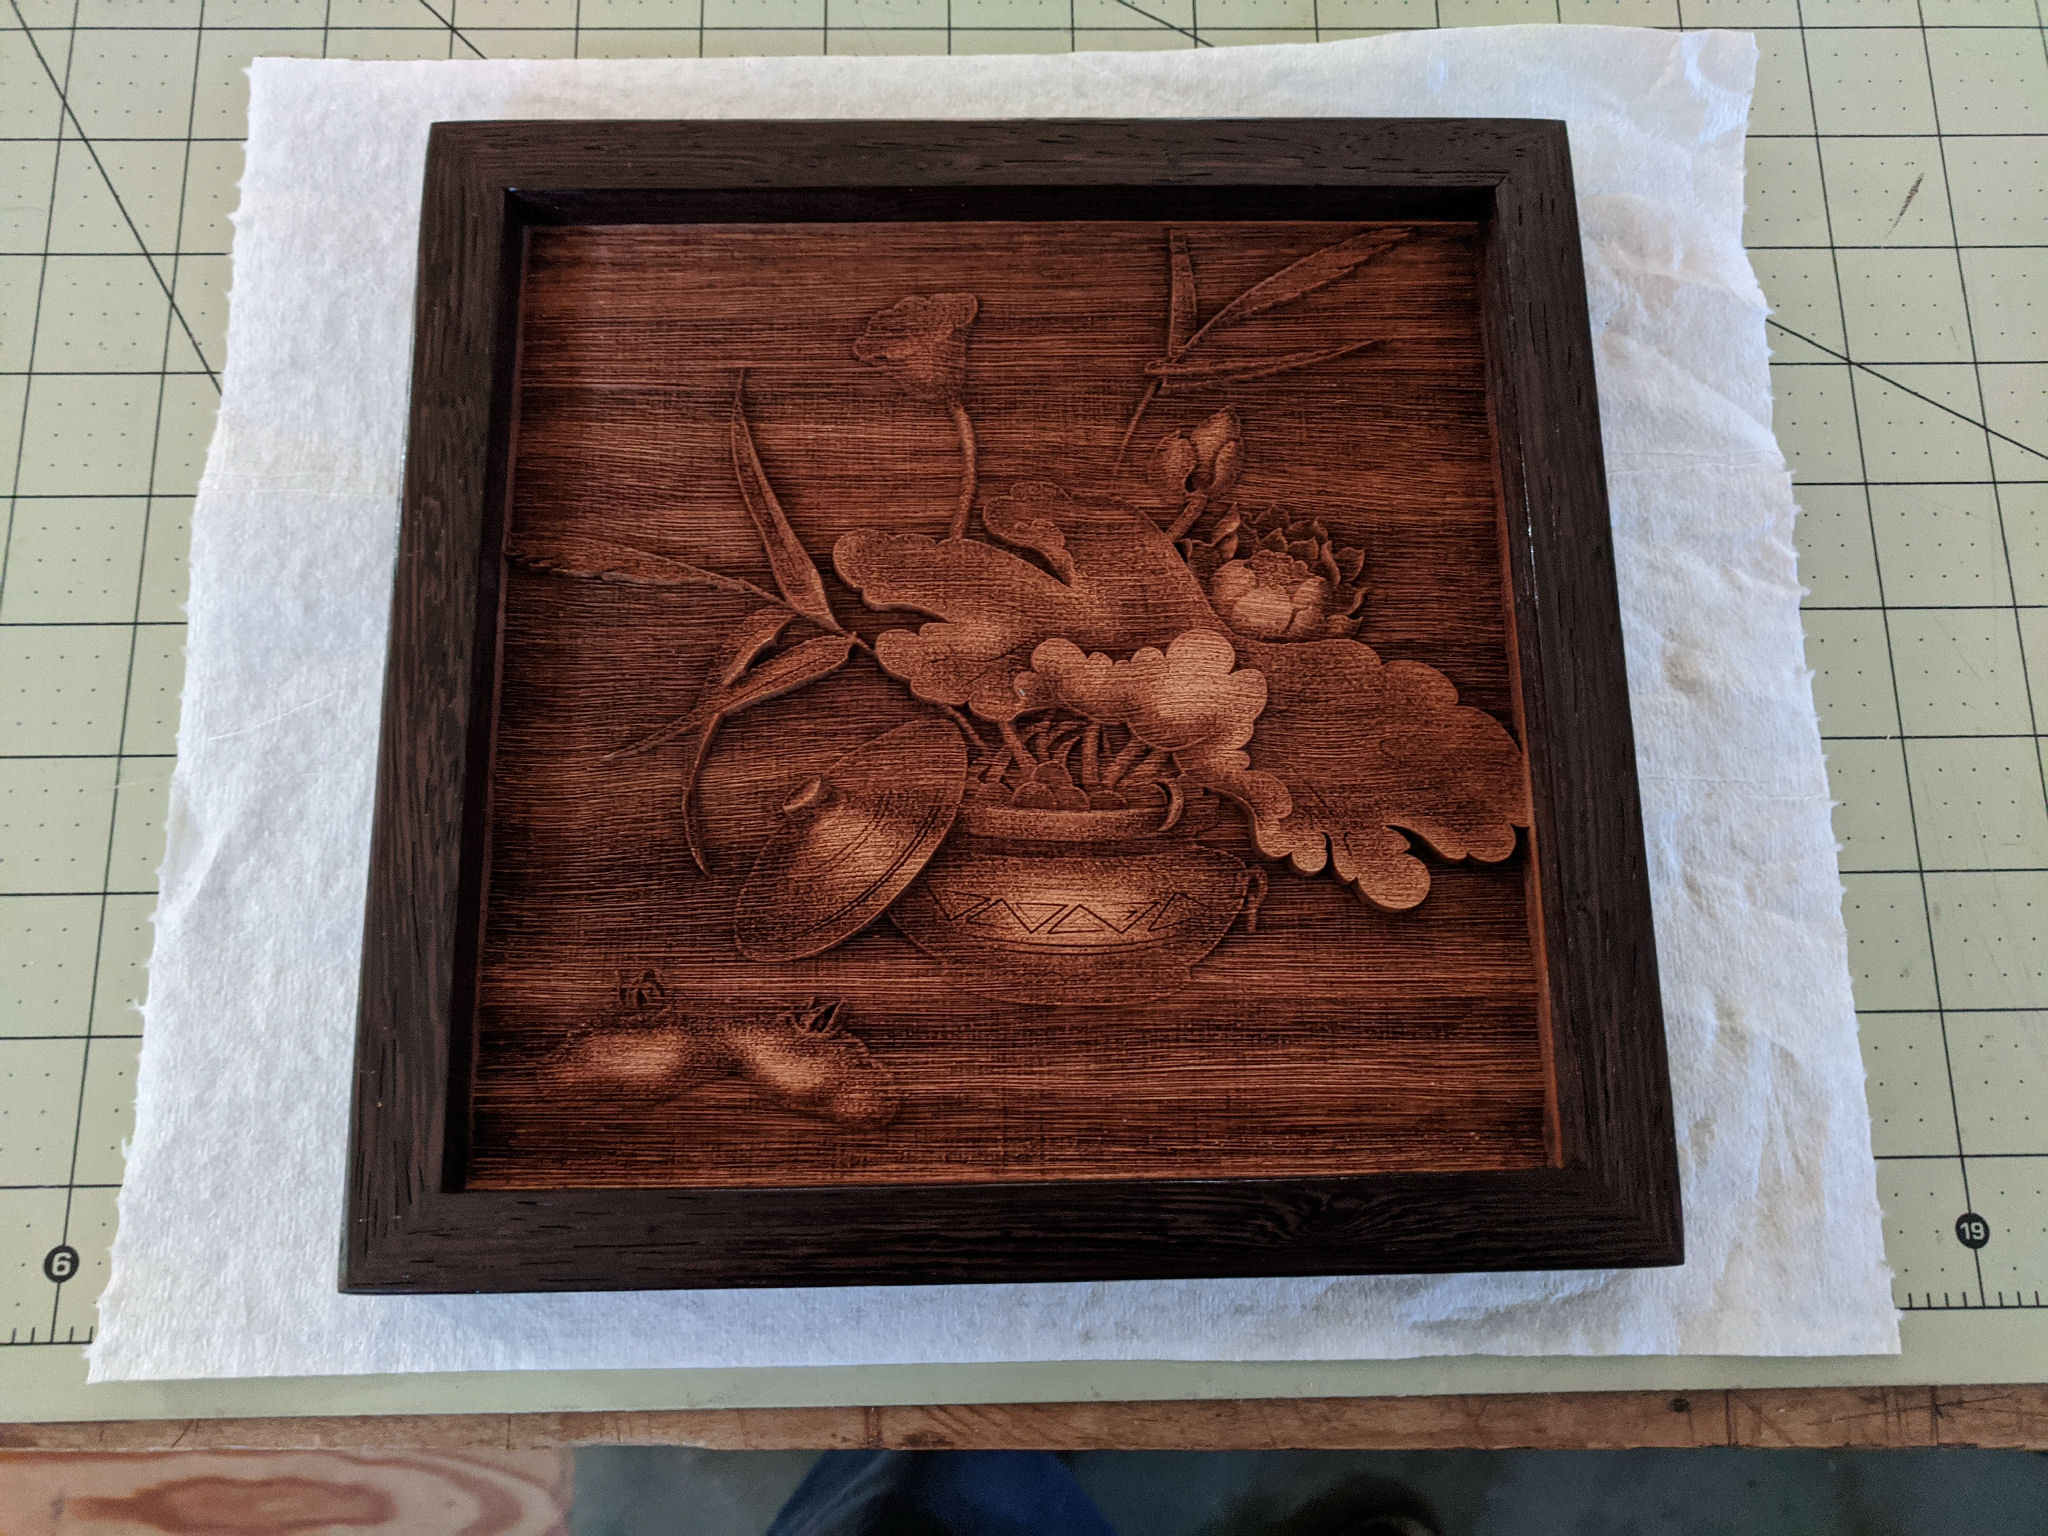
Here’s the piece with a Wenge frame. This is a birthday gift for my daughter. Finish is a couple of coats of Waterlox Original Sanding Sealer, medium sheen.