Hi guys,
Currently running into some issues when engraving glass, hopefully somebody has a good tip for the situation I’m in, let me give you a little backstory first:
I run a shop in personalized items, I want to add glasses to my inventory, meaning I will have 8-10 different glasses that I will engrave with a design that is supplied by a customer. These are not big orders, meaning I want to be able to switch out designs and glasses as fast as possible and make it a ‘standardized’ process (sort of). For this to work I need optimum settings for engraving glass ofcourse, I’m currently running a 50W CO2 with a rotary and already have been spending several hours testing what is (and isn’t) working.
So far so good, but here comes the problem. I thought I had a Eureka-moment and found the perfect settings. These pictures aren’t great, but hopefully they will give you some context:
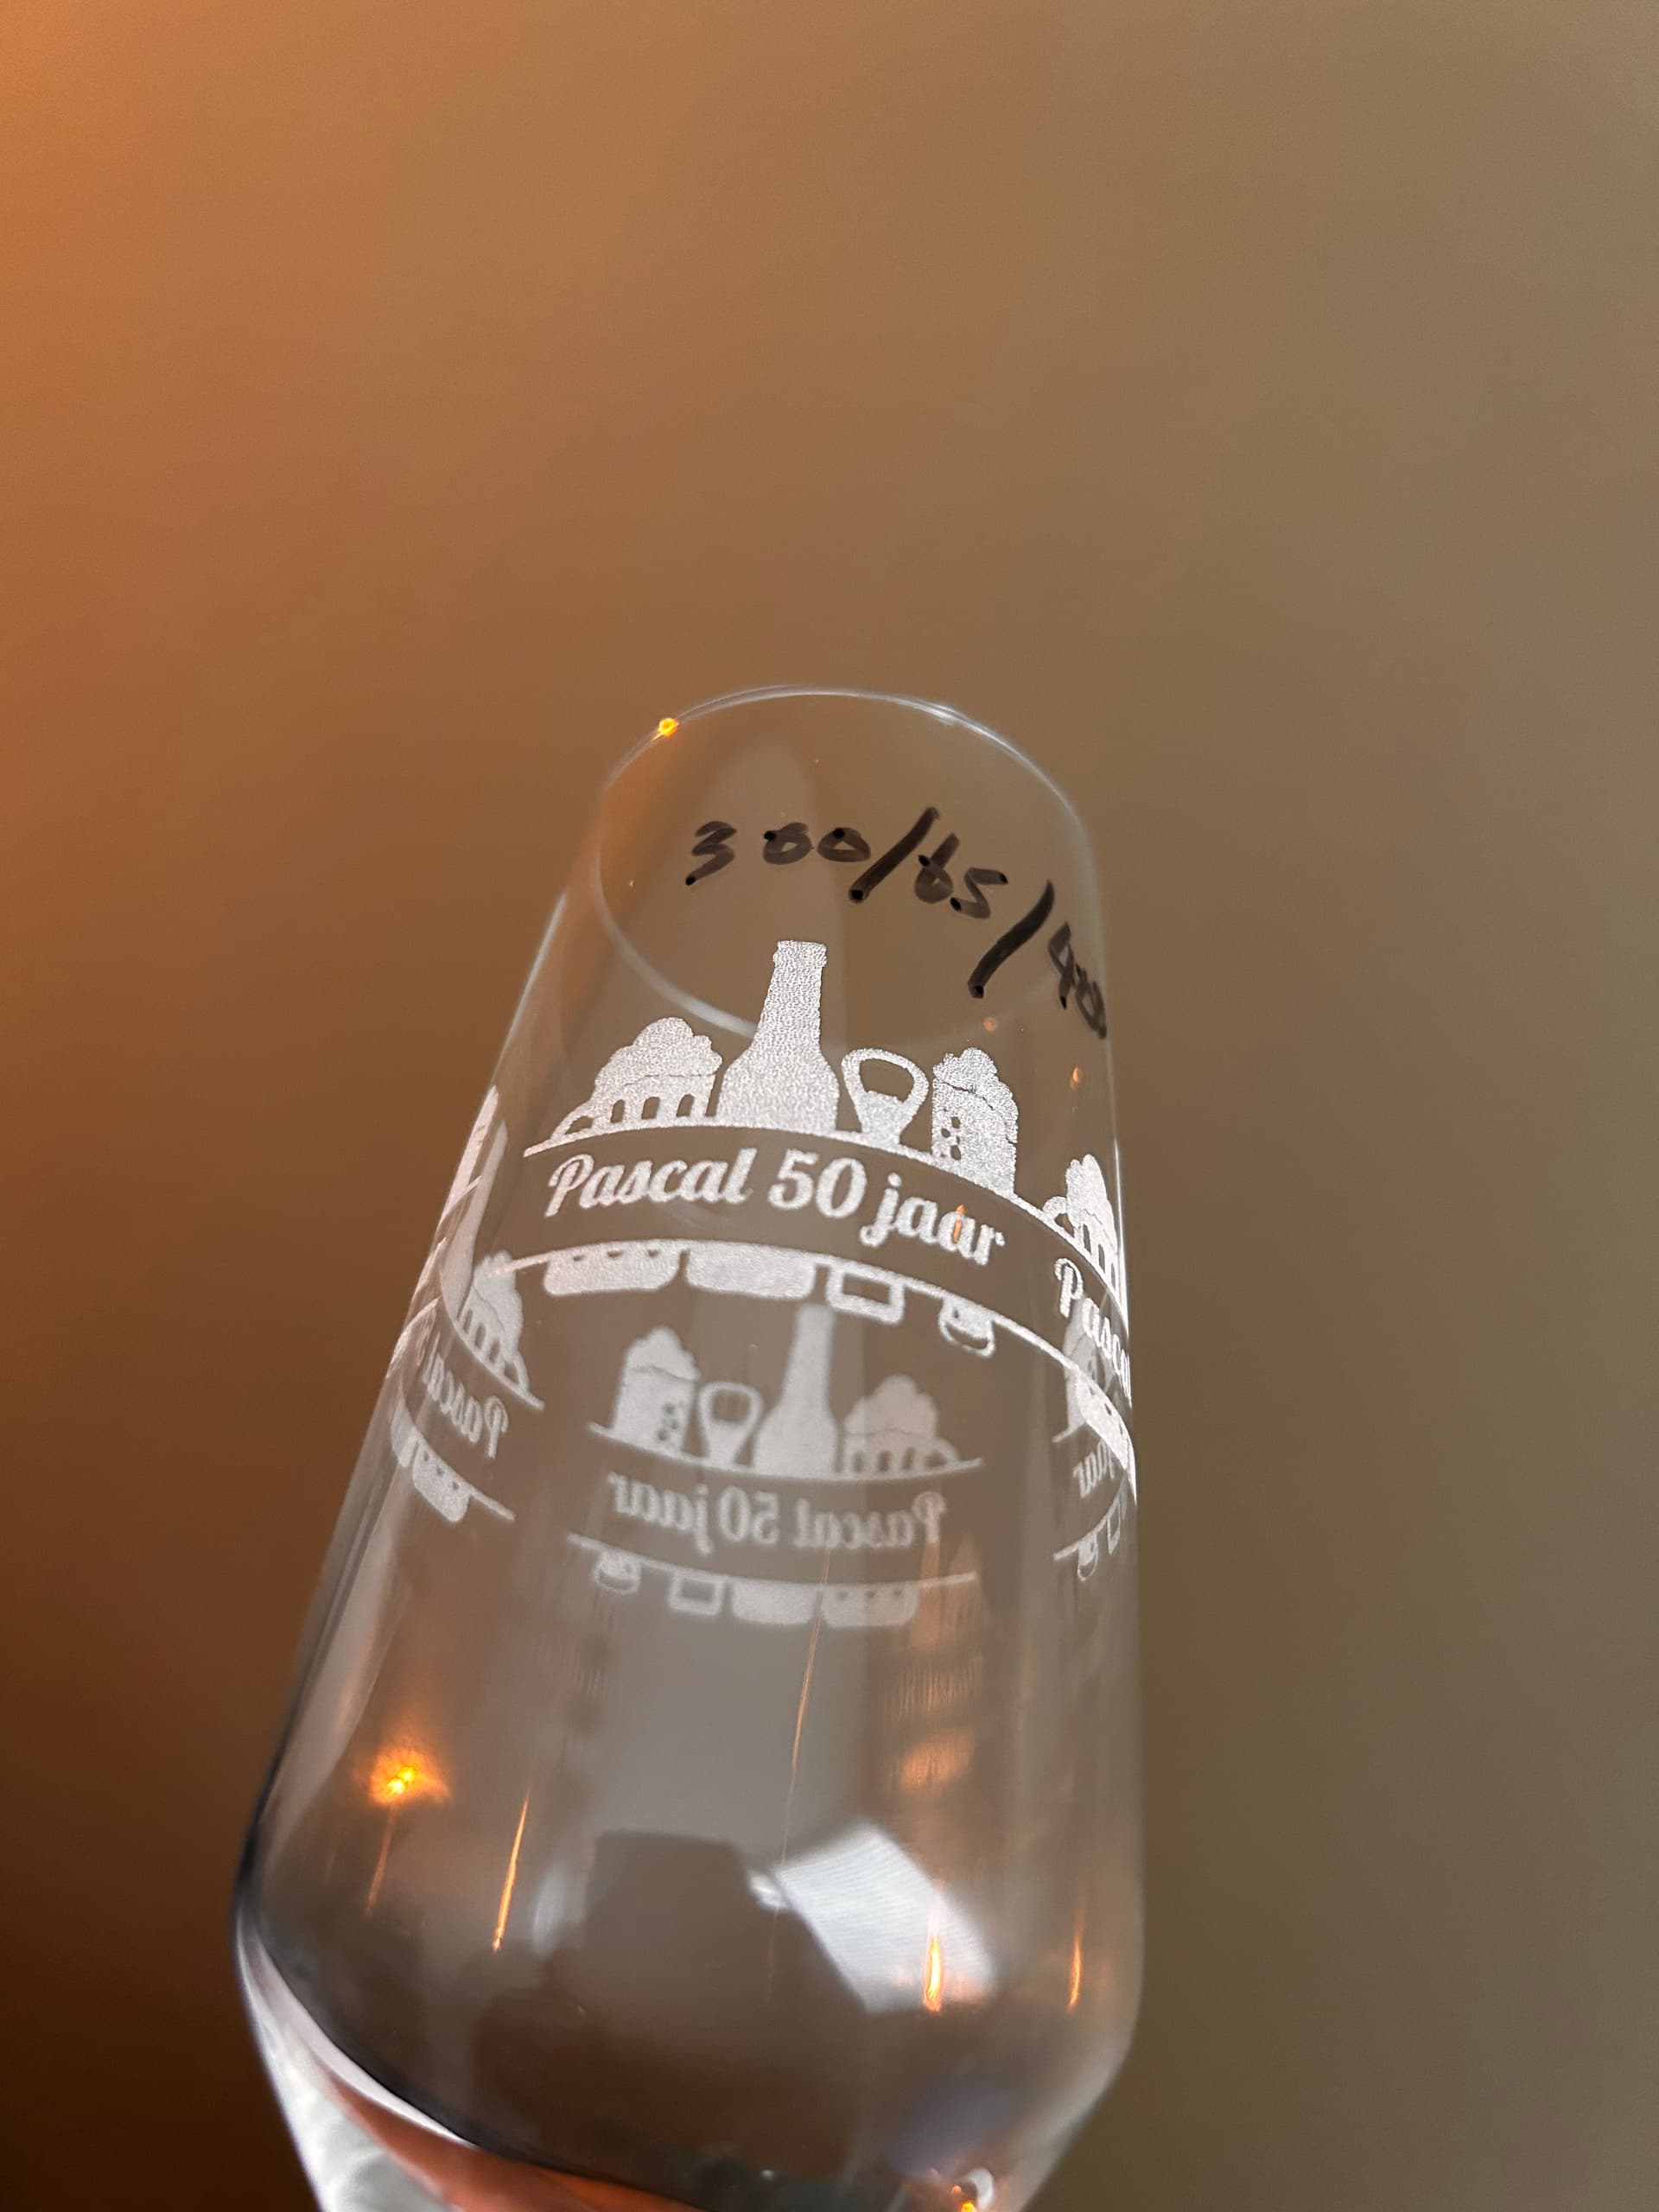
This is a champagneglass with what I believe to be a fairly good engraving. The engraving isn’t chipped, frosting looks nice, overall I’m happy. Got this results after testing various speeds, dpi, power, gray-scales and coatings (wet paper, transfertape and detergent). I was as happy as I could be.
Then, for testing purposes, I tried engraving a different design with the same settings, and it turned out like this:
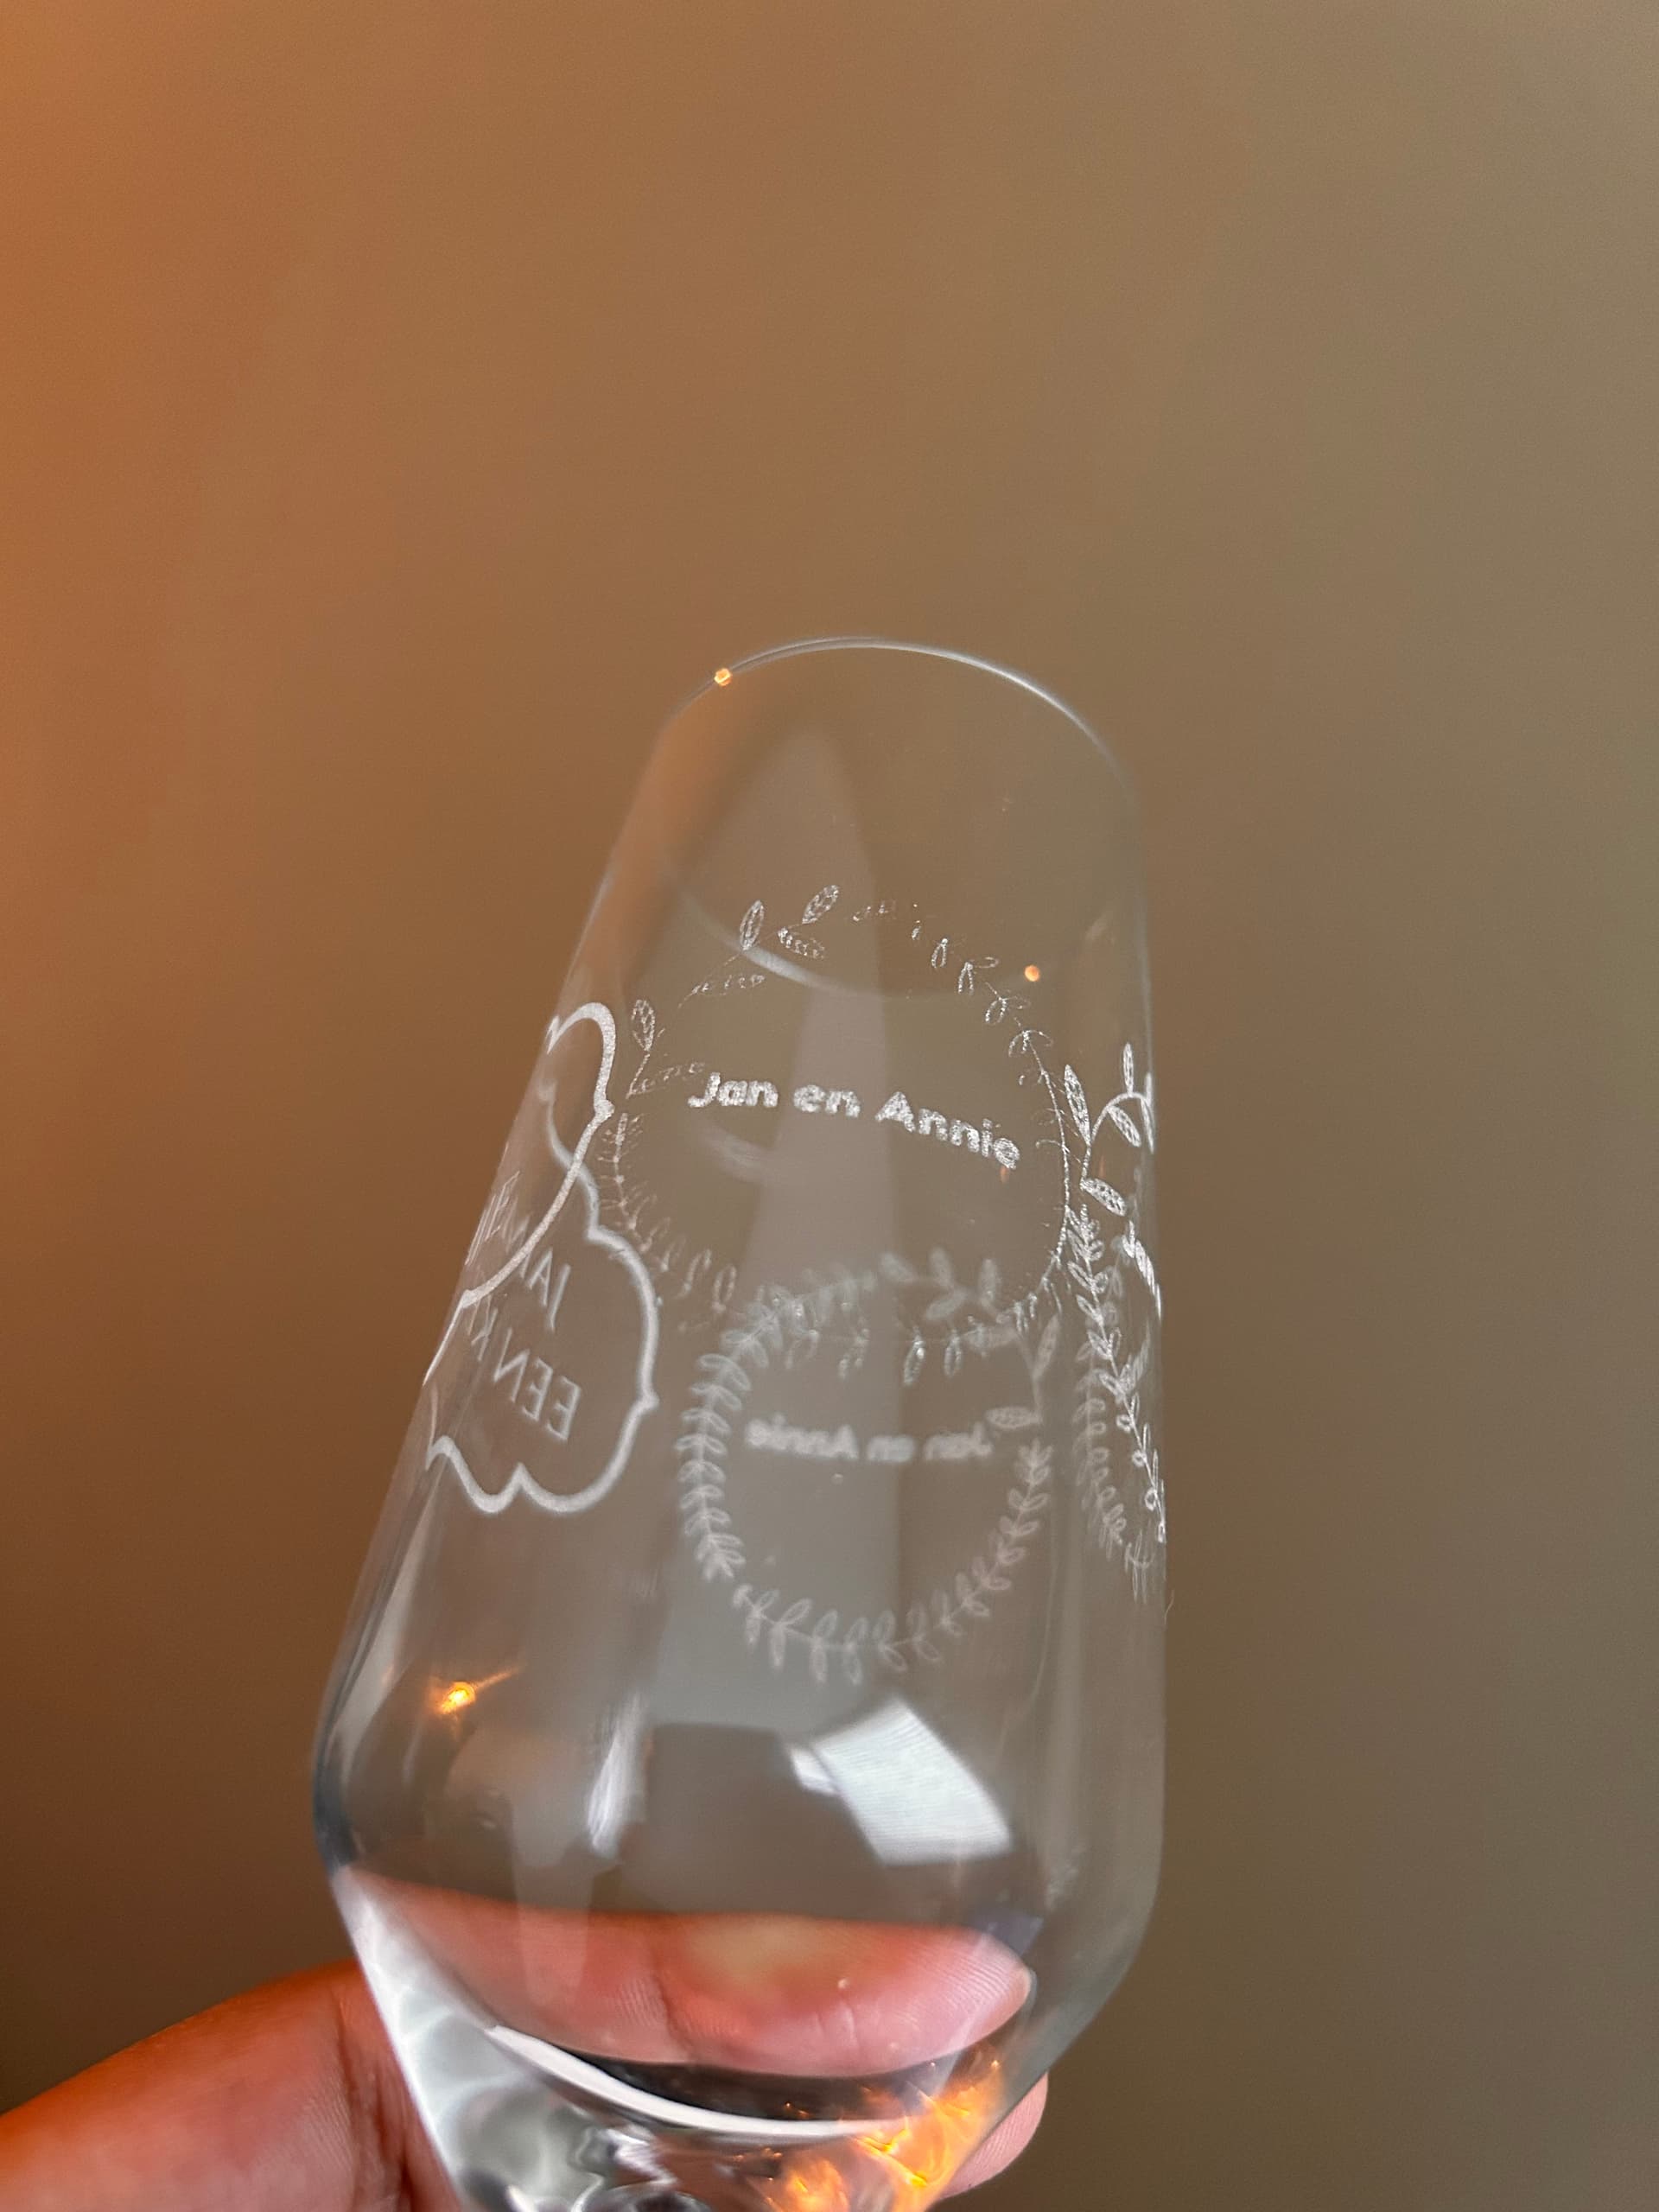
Here there’s two names that look acceptable (not great, but only need some finetuning). However, the circle that goes around it hasn’t even engraved properly (don’t mind the warping for now).
The circle around it is basically a very thin line with some details, but whatever I do I can’t get it to engrave properly while also having the names inside without chips or flakes. Engraving the circle separately isn’t really an option here, does anyone know what direct to go in from here? Or is there just no sweet spot for ‘all’ designs, because that would mean that for every design I’d have to make a testrun first.
Feels like I was already at the top of mt Everest and someone kicked me back halfway ![]()