Yes, with framing and really working
1 Like
Yes, thanks for the help I will do that.
1 Like
So the Run Whole Shapes is a great feature if your art is made up out of a bunch of objects small enough that they don’t distort due to curv.
Make your split a little bigger then the small objects and each object takes on its own split.
Nice thing is you can run cross hatch, angle scan, etc and it doesn’t break in the middle of the objects. Improves quality and speed.
On my XY table I set my splits to 99mm and max object size to 98mm (100x100 lens) as example. Obviously on cups and rings need a lot smaller but same idea. Its cool watching it jump from object to object and complete them before moving to the next one. Text is a great use for it.
https://firearm-videos.sixguns.com/channel/Albroswift/video/30
1 Like
That is cool stuff, I have some brass and will play with that. Thanks so much for sharing. very big help.
ok, guys thanks for the help. I think I am think. Need to work the egg shape logo but I know what that is. Thanks a lot. Who says you can teach an old dog new tricks. I have a video trying to load but not letting me right now.
That looks good. Splits pretty well hidden.
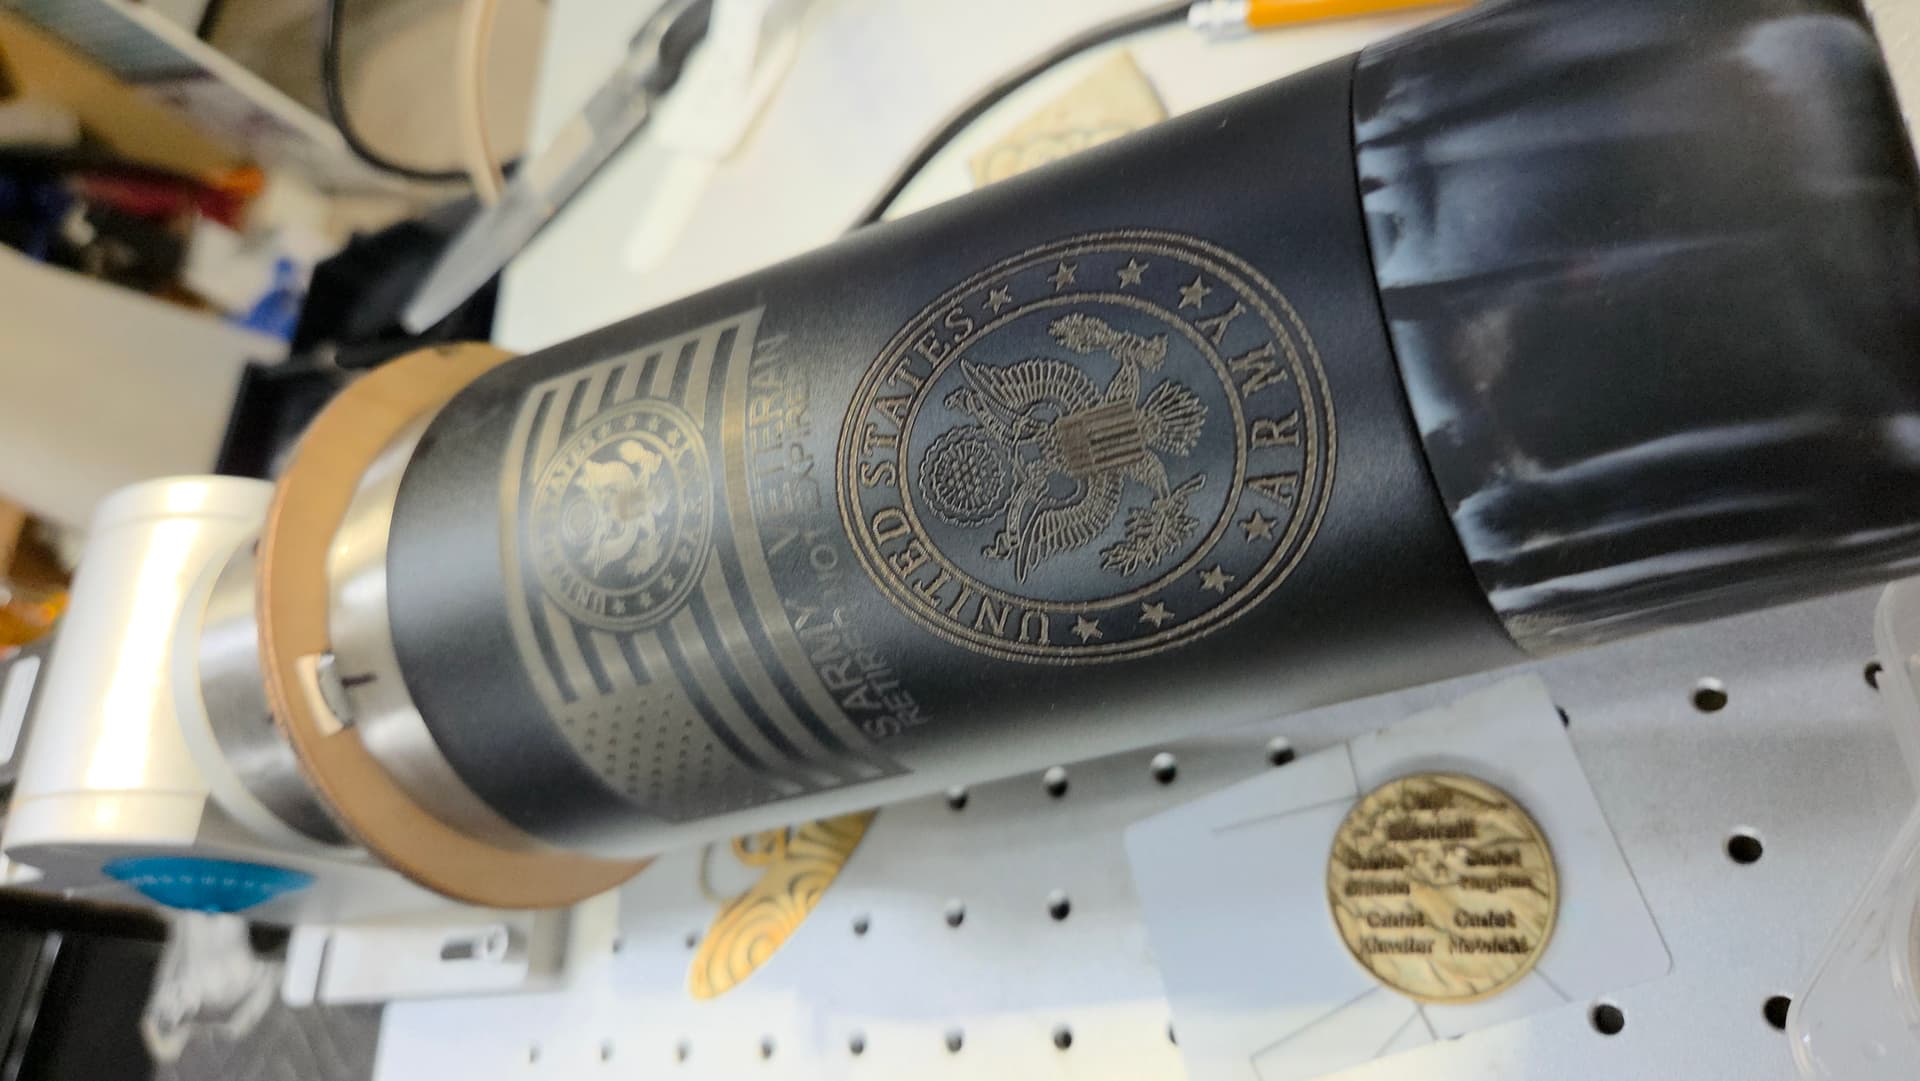
Round logos are in the eyes of the beholder, easy to stretch/ shrink to suit. Unlock the padlock up top if you want to stertch/ shrink only one axis. There are also good instructions somewhere around here for making round logos look good on tapered tumblers.
I see you have a oversized chuck, your making?
Yea, I adjusted it by 10% makingit wider and looks good now. Just need to work on the setting. not going out silver like it should. but not sure yet if it is to much or to little power. Sorry, didnt understand you question about the chuck.
Lots of trial and error in this kind of stuff. Removing coatings is a lot harder then coloring bare stainless black.
Looks like your chuck is wood, or is that just a spacer?
yea, I think I am getting close to the right settings. That is a tumbler stop, keeps you tumber stright when mounting so you dont have to quest. I use these on my other laser, they work great.
1 Like
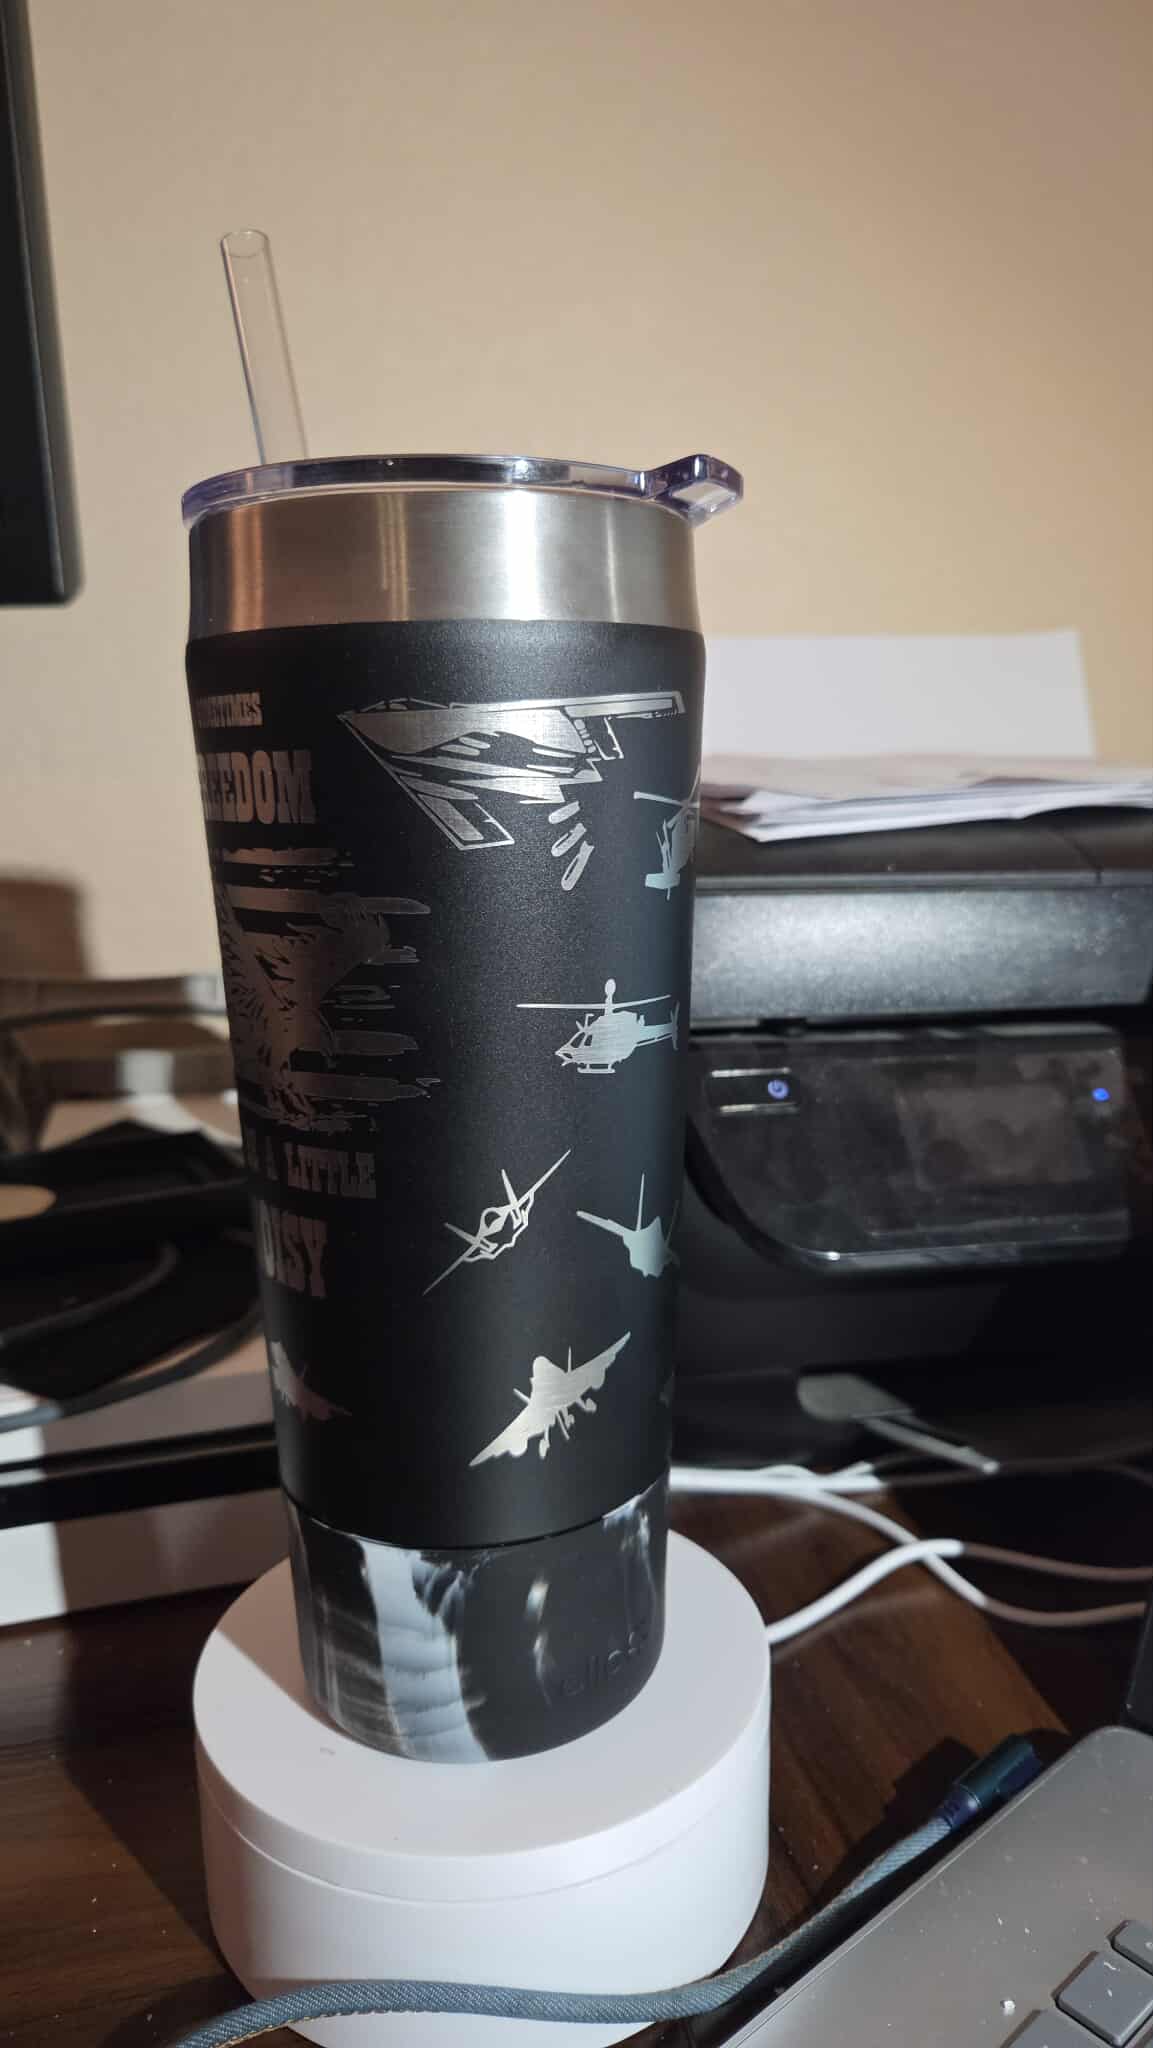
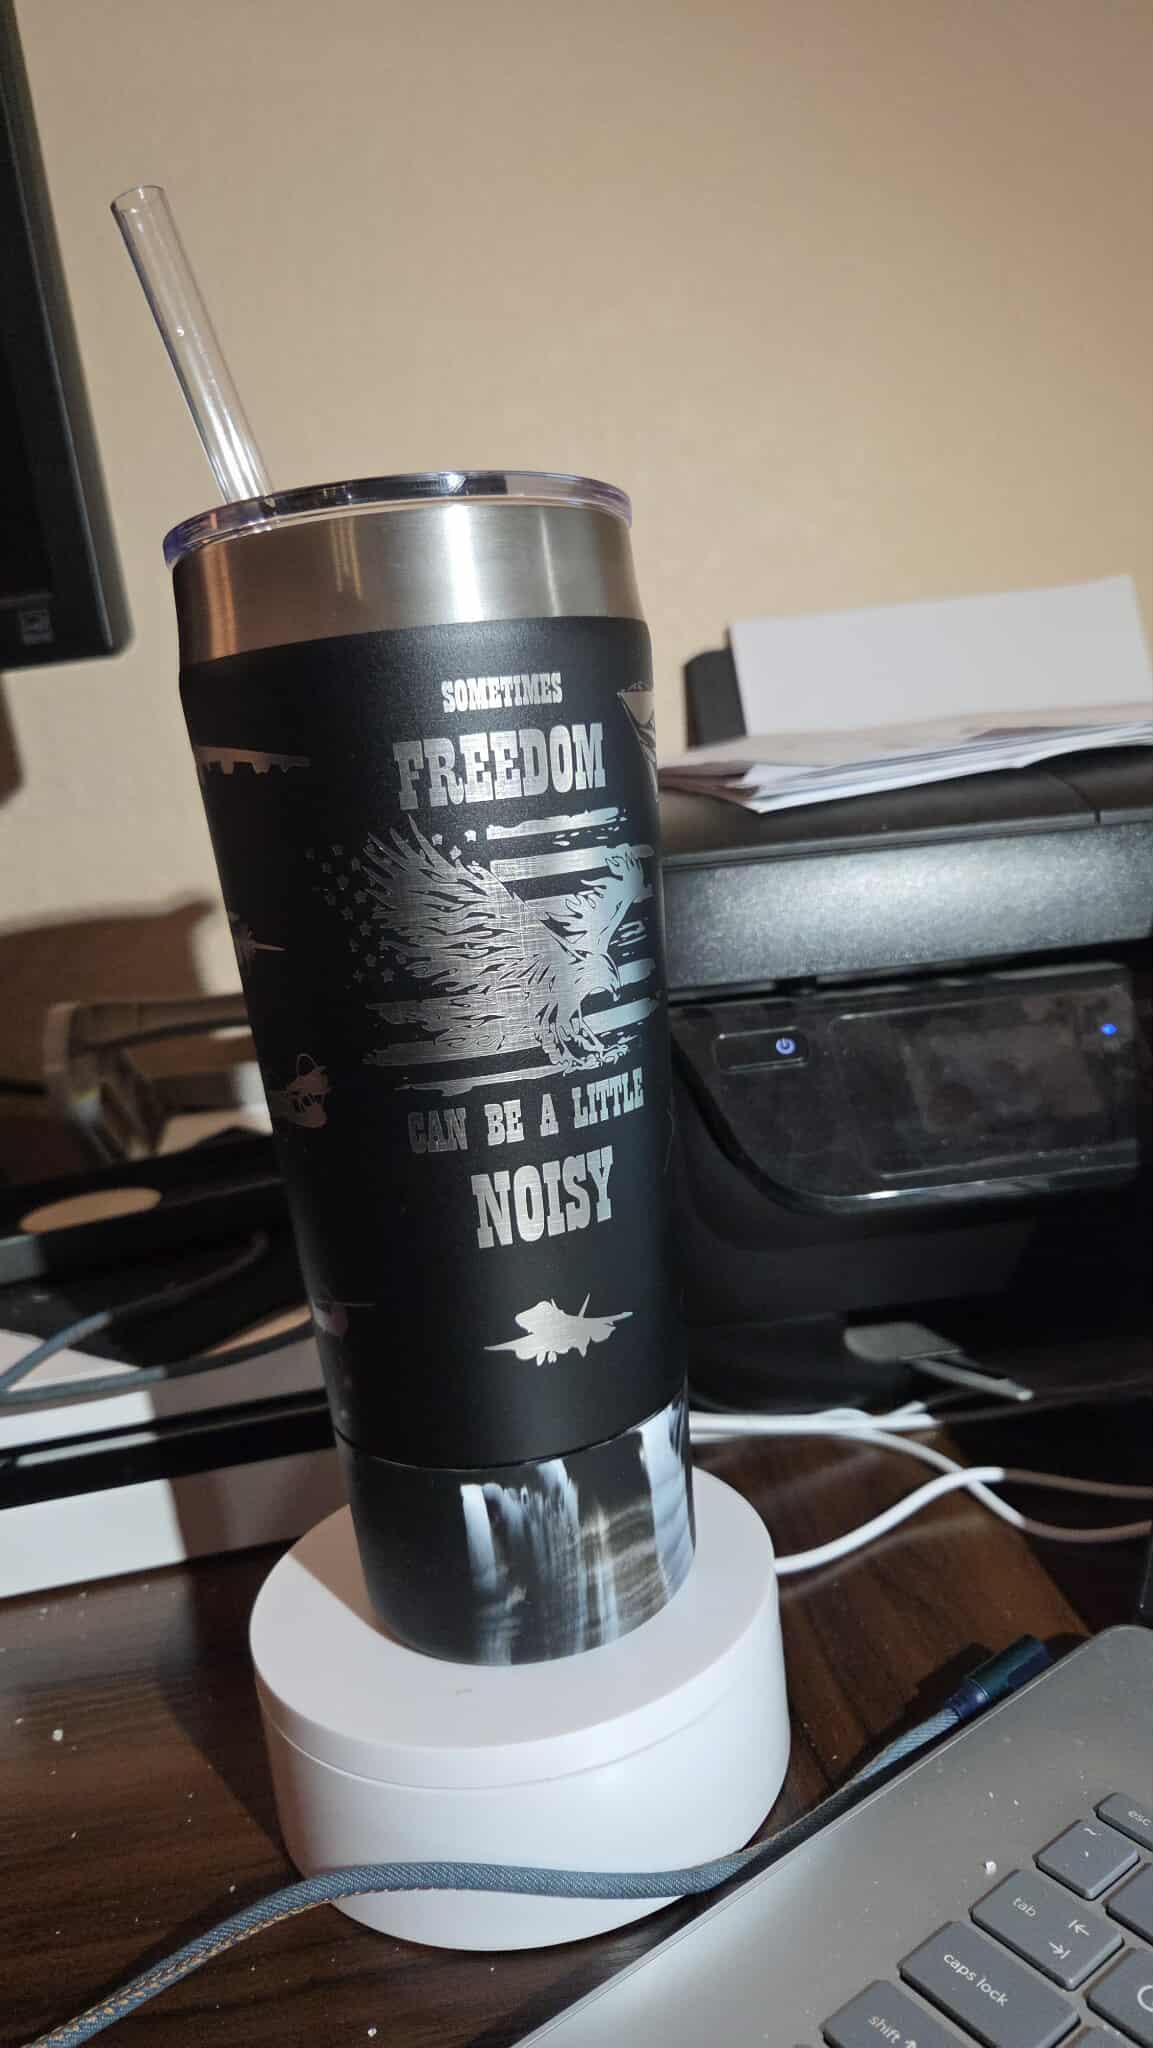
Well I went for it, not to bad if I say so my self. Thanks for your help. Sometimes Freedom can be a Little Noisy, this is own design.
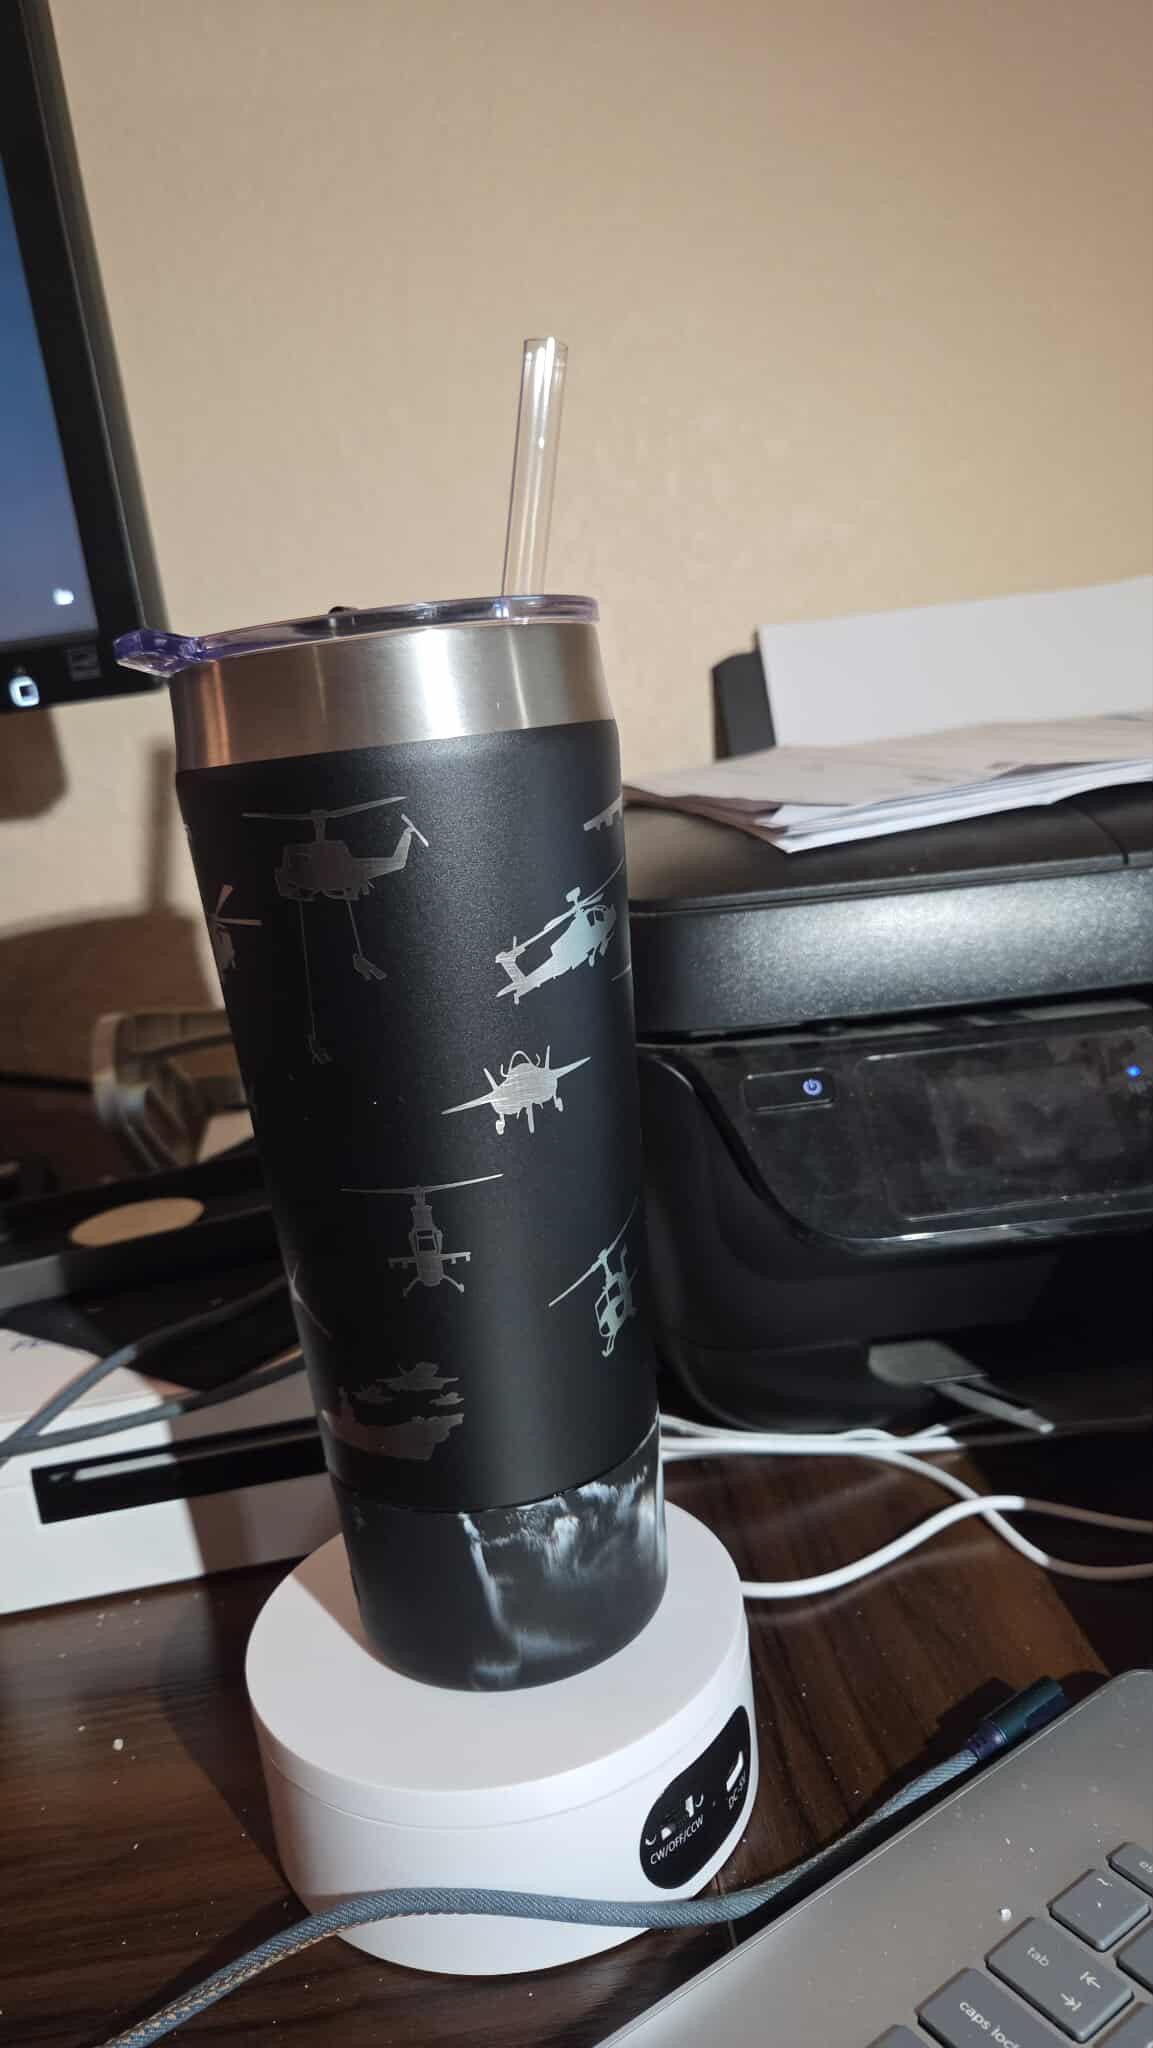
That came out great.
So i notice the tumbler looks like it does have a little taper, didn’t see that before. Did you tilt the rotary up a few degrees so the top edge of the tumbler was level?
yes I did, this one was easy to do that with as it was a stright taper, next a 40 oz which it going to be a little more of a tash to get level. look at a couple ideas to make it easier than just guessing at it.
A small level is the prescribed approach. You should already have one to check your lens and galvo are parallel to the bed!
If it’s taper with a curve I still use the largest diameter for my for settings, then focus largest diameter, tilt the tumbler up until the high spots are level, and use the biggest lens I have as it will give you a longer focal range. On the skinny spots further away from the focal point the Line Increment will tighten up maybe making up for the slight out of focus. Trial and error.
Good luck!
![]()
Yes, that is were I am at. I did this one with a 175mm lens. Someone our there has a tumbler level that I am going to find today and make on. Will make the job easier. I think. I will step up to my 300 lens for the 40oz tumblers. I really do appperate your help with this, you have been a very big help to me and I am sure the viewers.
1 Like
This topic was automatically closed 30 days after the last reply. New replies are no longer allowed.