Good evening all, I am having an issue with my JPT MOPA 100 and rotary/chuck. I have gone it set up with the Lightburn crash coarse. And I tested the setting and it rotates a full 360 like it should. But when I go to engrave the chuck does not move. I sure I am missing a step, any ideas? Thanks in advance.
Hello. Can you provide some more information, screenshots of the various windows that are encountered? Screenshot of cut settings window? A photo of your overall setup also showing the rotary on the laser table from a few feet back? If you are getting the 360 on test probably something simple.


OK, it looks like your rotary is ROTATING in the Y direction but you have X axis selected. (If you have your laser setup like typical). Should look like this:

When setting up your parameters scan parallel to the axis for best results.

The term “Rotary Axis” is kind of misleading. But the picture is accurate. When the board tells Y to move, rotary rotates in Y direction.
Sorry I was play around to see if it would rotate on the Y axis. I have it set to X axis while I am trying to get this to work.
I understand what your saying. I did test on both x and y axis and it will rotate. I just doesn’t rotate when engraving.
Set on Y axis, test rotates 360 degrees and back, right?
What happens when yo get to the rotary window and try “frame”? Not the frame from the main screen, the frame from the last rotary window. Start with a rectangle about 1/2 the dia. Make your split several mm. Let’s see if framing moves it.
Thank you. it is moving!!,
Moves with framing, or really working?
moving with framing, I need to double check my lay out to be sure I have the rotary setup and mouted correctly and will go from there. Now i try a .5 inch square and increase my split would only got one frame, 1 inch squard and got 2 frames, so i need to work on that now. I feel I am aloot closer to figuring this out with your help thanks.
I have noticed working with different rotaries and my XY table the splits in the framing preview don’t really match the splits in real life. Give a good idea of art location and extent and what the spin is going to look like.
Good to know. I have to work another issue. I have to find zero. It is starting to far to the right of center line. Looking at the video again to see what I might be doing wrong.. Thanks again
Output center if it’s up/down or move the rotary if it’s left/ right. Make sure to focus for the rotary object.
Thanks, was busy this morning and to hot right now. Will be checking it again. Later. I think I am almost there. Question, when framing the tumbler moves, when you turn it off should it not return to zero?
Best practice make sure the rotary is completely zeroed before closing the window using the “return to zero”.
You will notice the “Position” will still show zero after rotating with framing. I have closed out the window and then opened it back up and the Position showed actual position, and return to zero still worked. I have also forgotten to and it starts based on the new position. Which sucks. So for me, if I forget to return to zero I go back and do it before closing out LB, if I have a project positioned. I do projects on my XY table that take several sessions over a couple days so I have to be careful with that kind of stuff. LB’s rotary repeatability is very accurate if you don’t screw up. You can change LI, Slice, just about any parameter as long as the starting position is retained.
Something else you will notice, if your art is centered, (Right) the rotary will rotate to the bottom, and engrave bottom to top, and return to zero. If you start your art in the center, the rotary will start without back-rotating and engrave bottom to top. (Assuming your rotary is positioned as your photo shows.)

Well I kind of got it going. I am rotataing after turning off run whole shapes, if possible. My 1st was engraving from top to bottom and image was flipped. Turned on reversw rotaty direction. Framing works good now. Look at the video, see how the laser is firing, is that a speed thing. Thanks again for you help


Good work so far. I would increase the split size by a factor of 10-100 for something that diameter.
Seeing how you are trying to get this right, something to consider is the rotary (If I read your setup correctly) is set for 12800, your circumference is 235.001 so that means your rotary will make 12800 microsteps to move the surface 1 complete rotation (235.001mm) OR 235.001/12800 per microstep, so your rotary is only capable of stopping at 0.01836mm intervals.
With your split of 0.040mm your software tries to tell the rotary to stop somewhere it physically can’t. So the microstep driver gets as close as it can, (0.037) but you will start seeing a cadence or “lines” in your engravings.
I like to take the minimum step, and use multiples of that for the split, like 100X = 1.836mm or 10X= 0.1836mm or 20X = 0.3672mm or 200X = 3.672mm etc.
Then make your Line Interval divide evenly into that split size. Like if your split = 1.836mm your LI = (1.836/80) = 0.0245mm
So your rotary moves the surface exactly 1.836mm and then the laser produces exactly 80 lines 0.0245 spaced. (As example, if you like smaller splits go with it) Larger splits are faster as the rotary can come up to full speed. Smaller splits are more accurate, less curvature error.
Did you think you posted a video? Don’t see one.
Please start posting screenshots instead of phone photos, easier for us to read.

@chuckcnm —Yes, please … I haven’t be able to read these without downloading and looking at them in another image application.
Don’t know if I’m up on this but, it appears to me, that these fine adjustment, may be an issue, but this looks like a real problem.

Which seems to look correct, but I’m pretty sure not what you want.
His step rate is in the 10 micron range, likely smaller than the spot size of his lens. I have my overlap set to zero.
Why do these show a lot of layers? Seems only one is needed, so I’m not sure I follow the whole concept.
@chuckcnm you can wrap these in a black masking tape and test your rotary and marking without destroying a mug. I use very low power and I can see where it’s going to mark.
![]()
1 Like
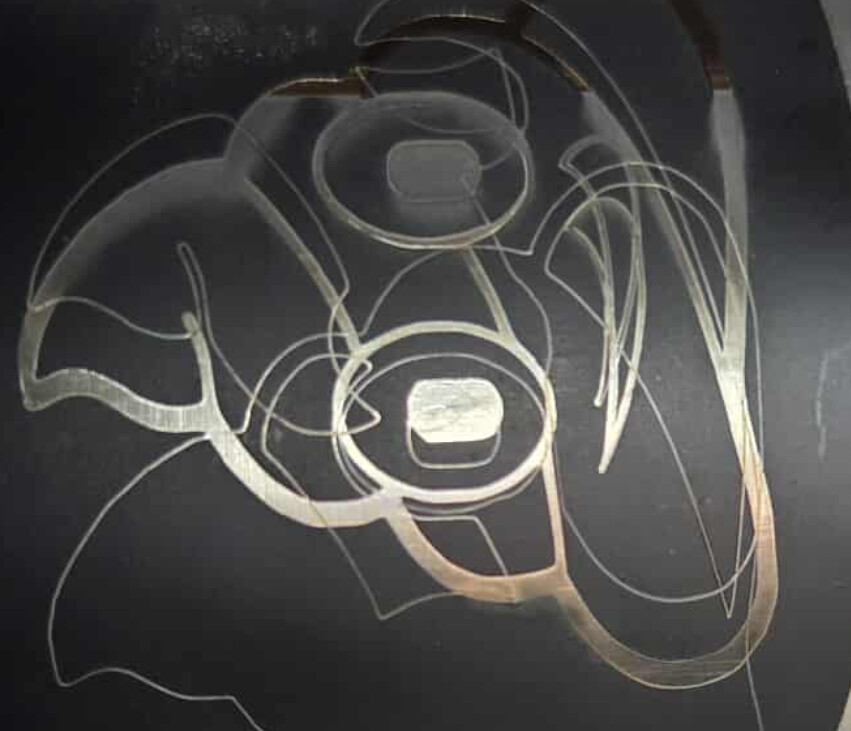
yes that is a problem. I think I have fixed now. When I have the image set to fill, it engreaved but tumbler never rotated. When I set line, it engraved the lines that you see. I was running out of test tumber space is why the pic it the way it is. I have since turn off the run whole shapes if possable, that has fixed that issue.