I am trying to place a photo on a jigsaw puzzle. Which brings me to a question. When I select Mode Grayscale and preview the photo looks perfect. Not so when I attempt to engrave.

A picture of “not so” will help us see what you see.
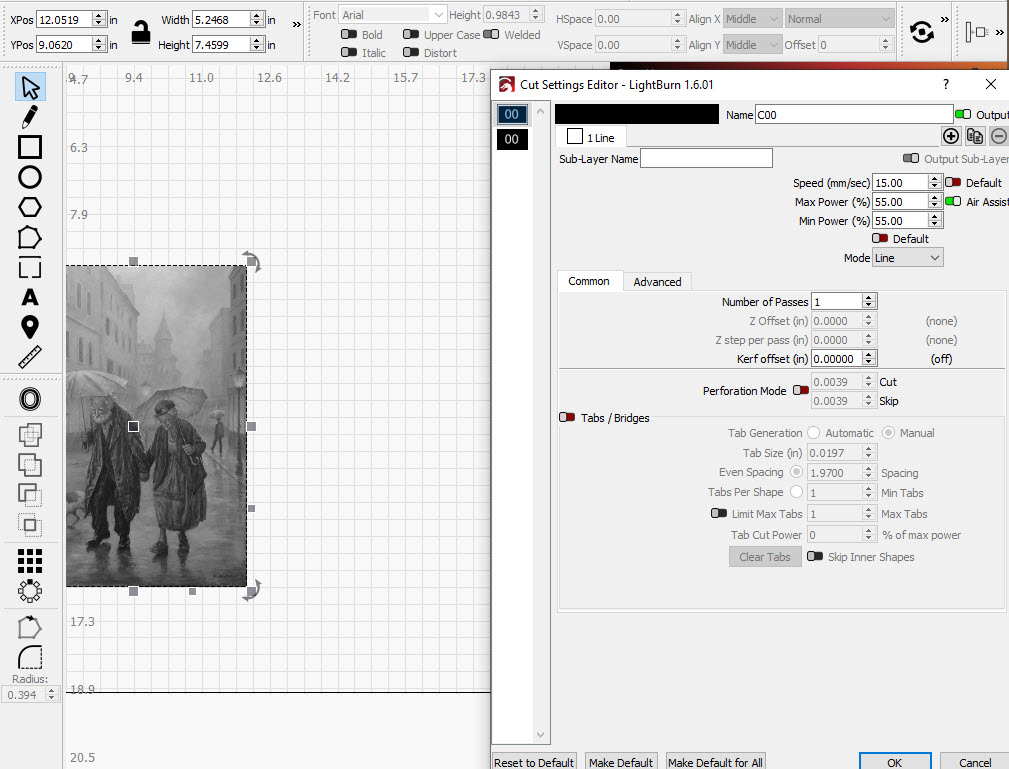
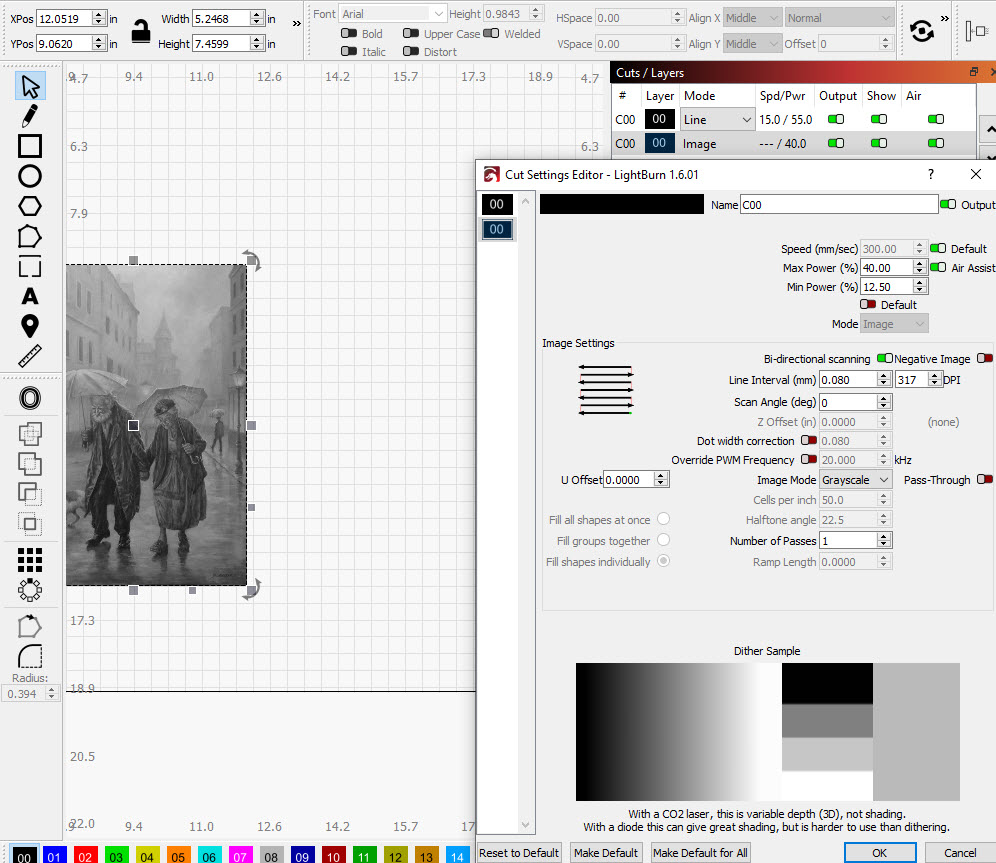
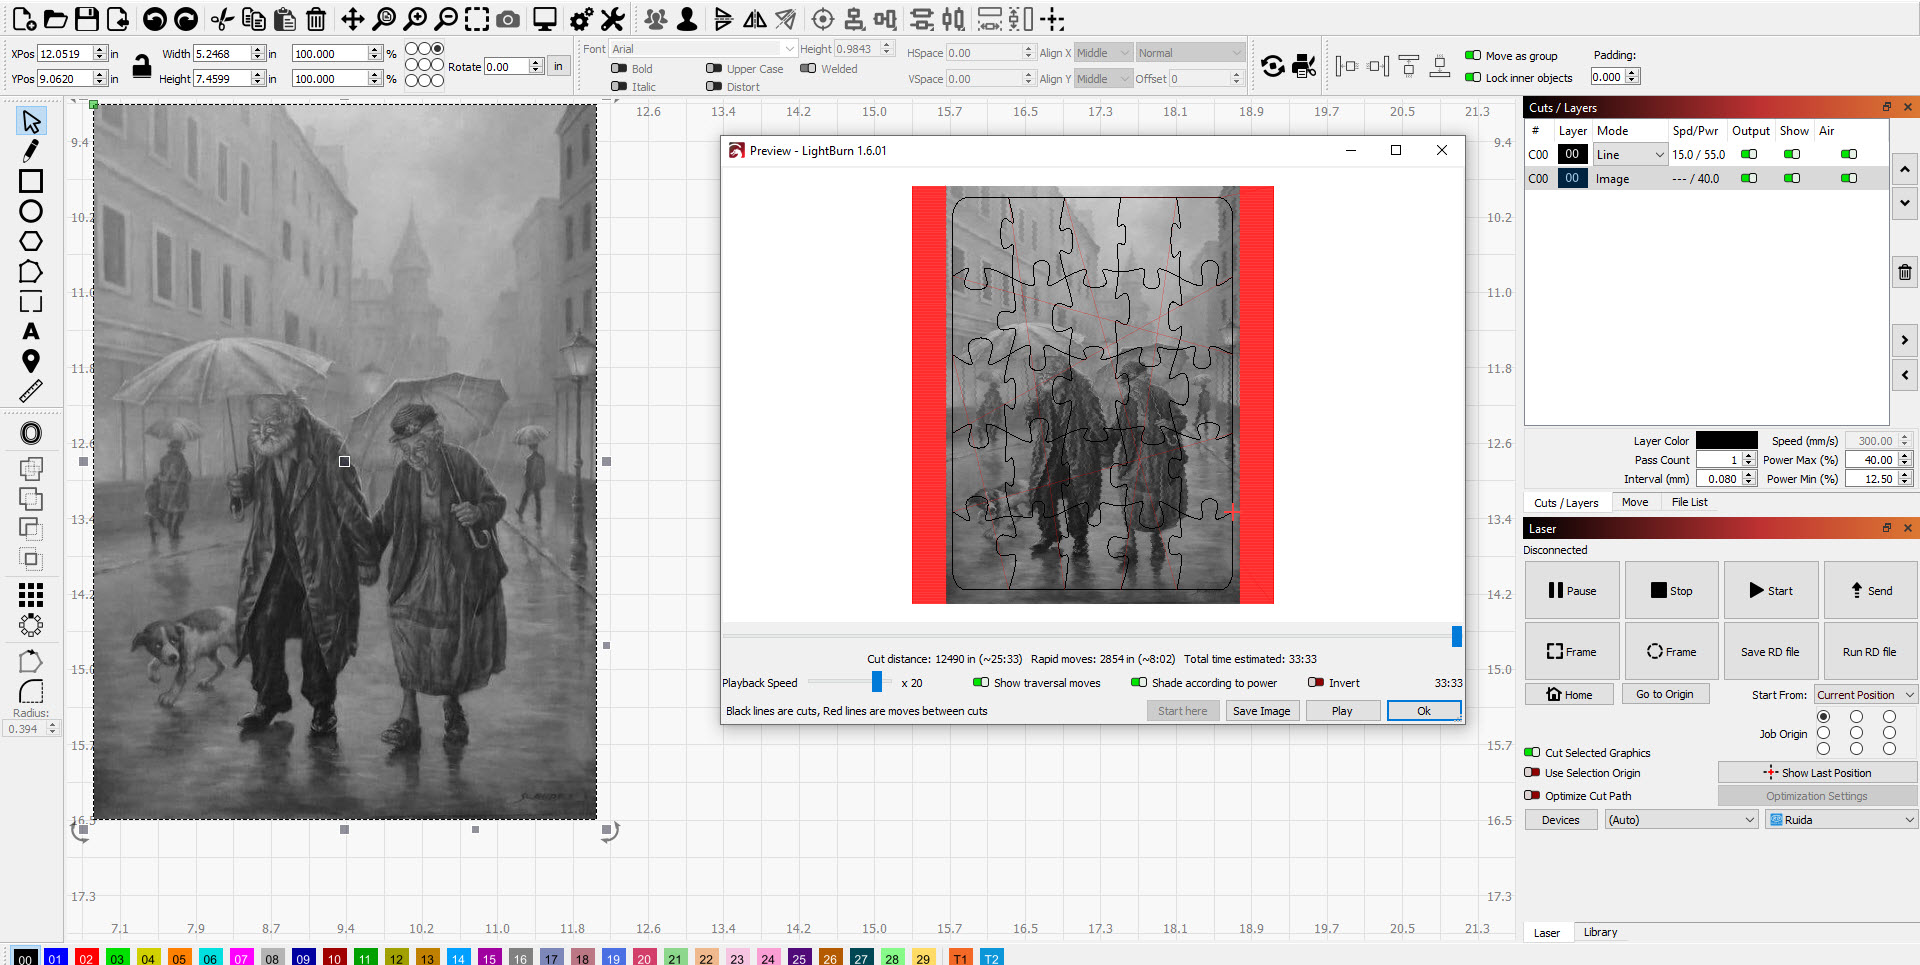
Remember that the Preview shows the laser output, not the effect of the speed & power settings on whatever material you’re using.
Running a Material Test at the speed you’re using, with the power varying in 10% intervals from 0% to 100%, will give you an idea of what the grayscale levels will look like. On the other axis, you can vary the line interval around the value you’re using to see how that affects the results.
Try changing where the engraving starts. It’s on current position.
Might want to try absolute coordinates
The other option is to put the head somewhere the image will fit, and press origin on the machines console… Then change start from to user origin.
![]()
Right now, when I turn on the laser from the Controller, the head moves to the upper right corner continues to the left corner and then continues over almost to the left edge of the bed where it starts when I Fame file. If I turn off the laser, move the head to where I want it to start, hit Origin on the console, and turn on the laser on again, will it automatically go the upper right corner of laser, continue back to the point where I selected Origin?
No, you have to move the laser head to the position you want for origin with the jog controls, then push the origin button. The machine will always go to the home position when you turn it on, then go to the last origin position that was set while on, moving it while turned off does nothing.Watch this video, he does a good job explaining origins on a machine similar to yours.
