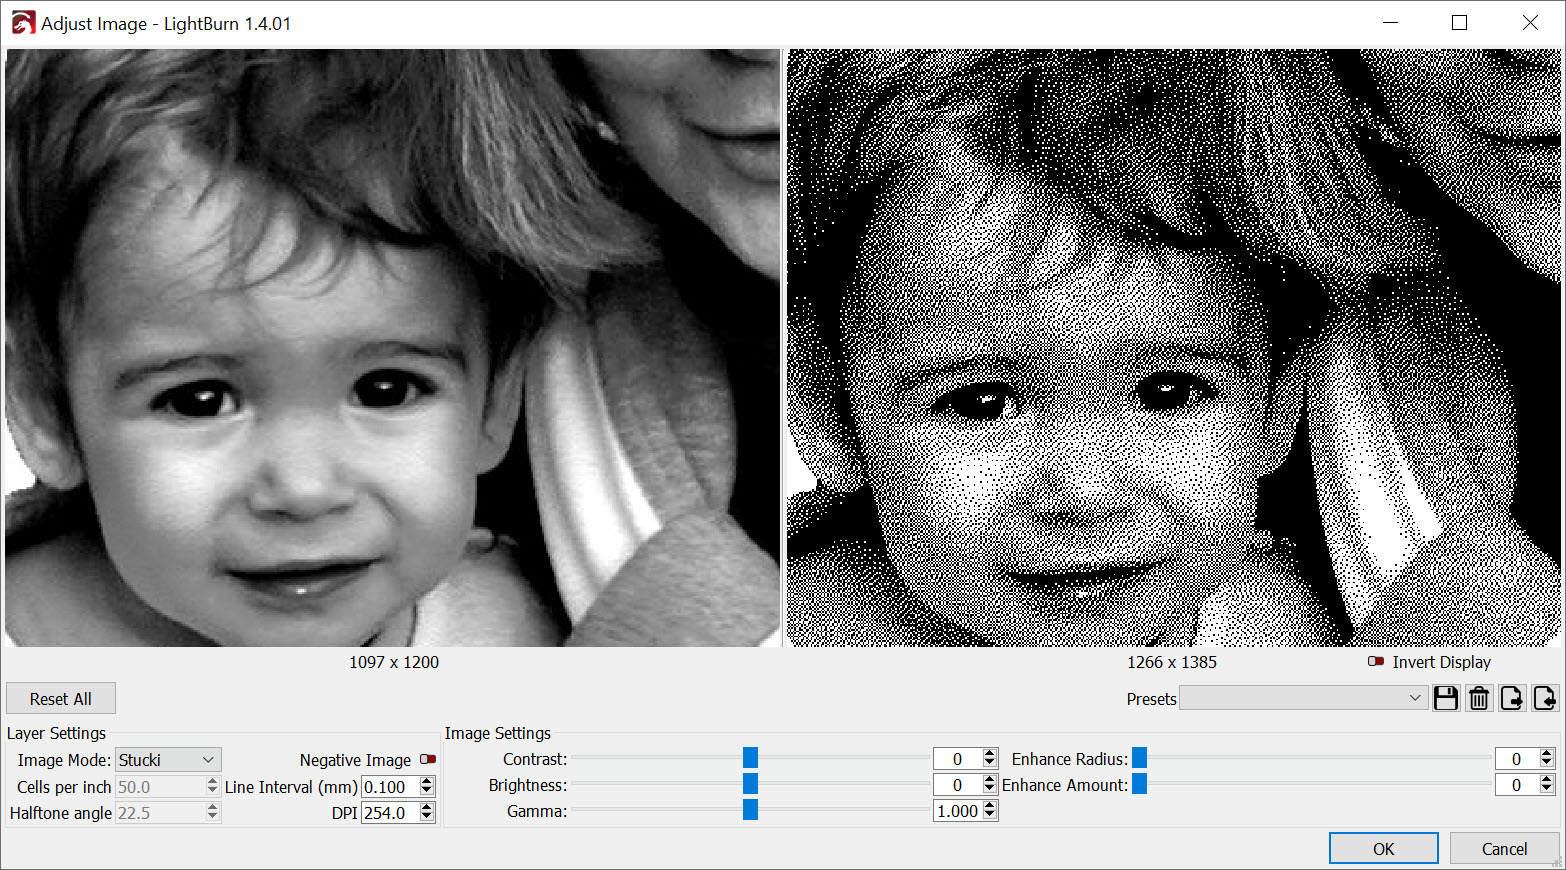
I am new to this forum so I may be posting the wrong way…however I have a Longer Ray5 10W laser. Relating to your reference to dithering I have a BW photo with sections ranging from black to pure white In with a number of grays of varying darkness. No matter how I modify the image (in Adjust Image) it seems that Lightburn does not offer a wide range of gray scale. Most grays (reasonably deep into gray levels) engrave almost white.
. First how many gradations between white and black does Lightburn use when applying dithering and second is there a way to stretch its sensitivity to grays? I’ve attached one such example of the photo. In this case for example the gray scarf at its lower section has reasonable "dithers but by the line in the scarf about 1/3 of the way up the remainder of the scarf has no dithers and engraves white.
There is a limited range of grayscale available, depending on the material you are using…
Suggest you use a dither until you get comfortable with your laser. Grayscale is one of the most difficult to accomplish well… Co2 laser use it for a 3d effect and dpssl can do some amount of grayscale…
I find photos done like a newspaper, using a dither are usually more attractive and much easier to create.
I’d suggest, whatever you choose, you watch this video by Laser Everything and understand how the dpi/lpi works. This video is one of the best, it will show you how to pick the best dpi/lpi for any laser with any material… It’s done on a fiber, but the techniques is the same on any laser.
This will also show you how to move the grayscale range, like you asked…
I moved your Question and the image to it’s own post so it doesn’t side-track the other fellow.
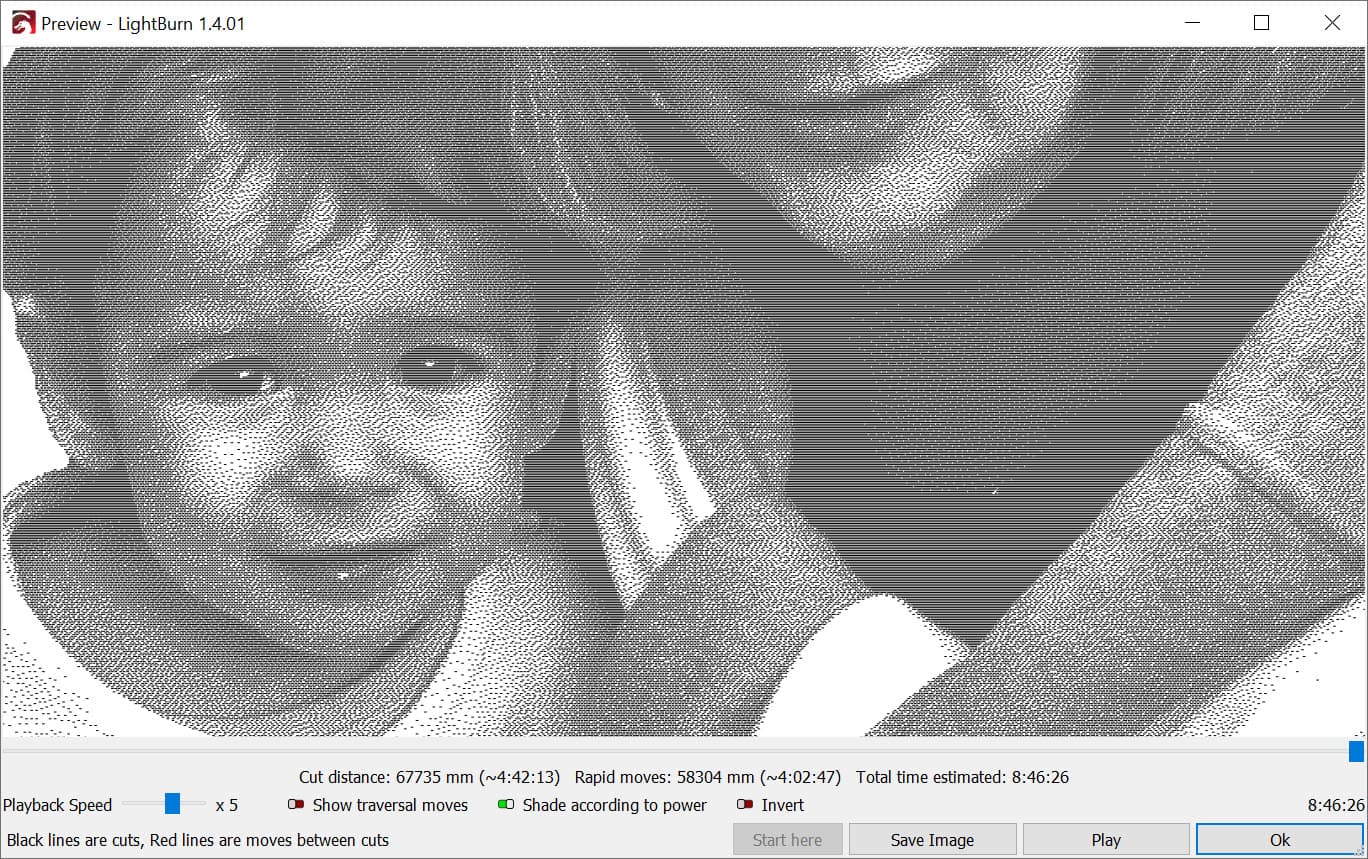
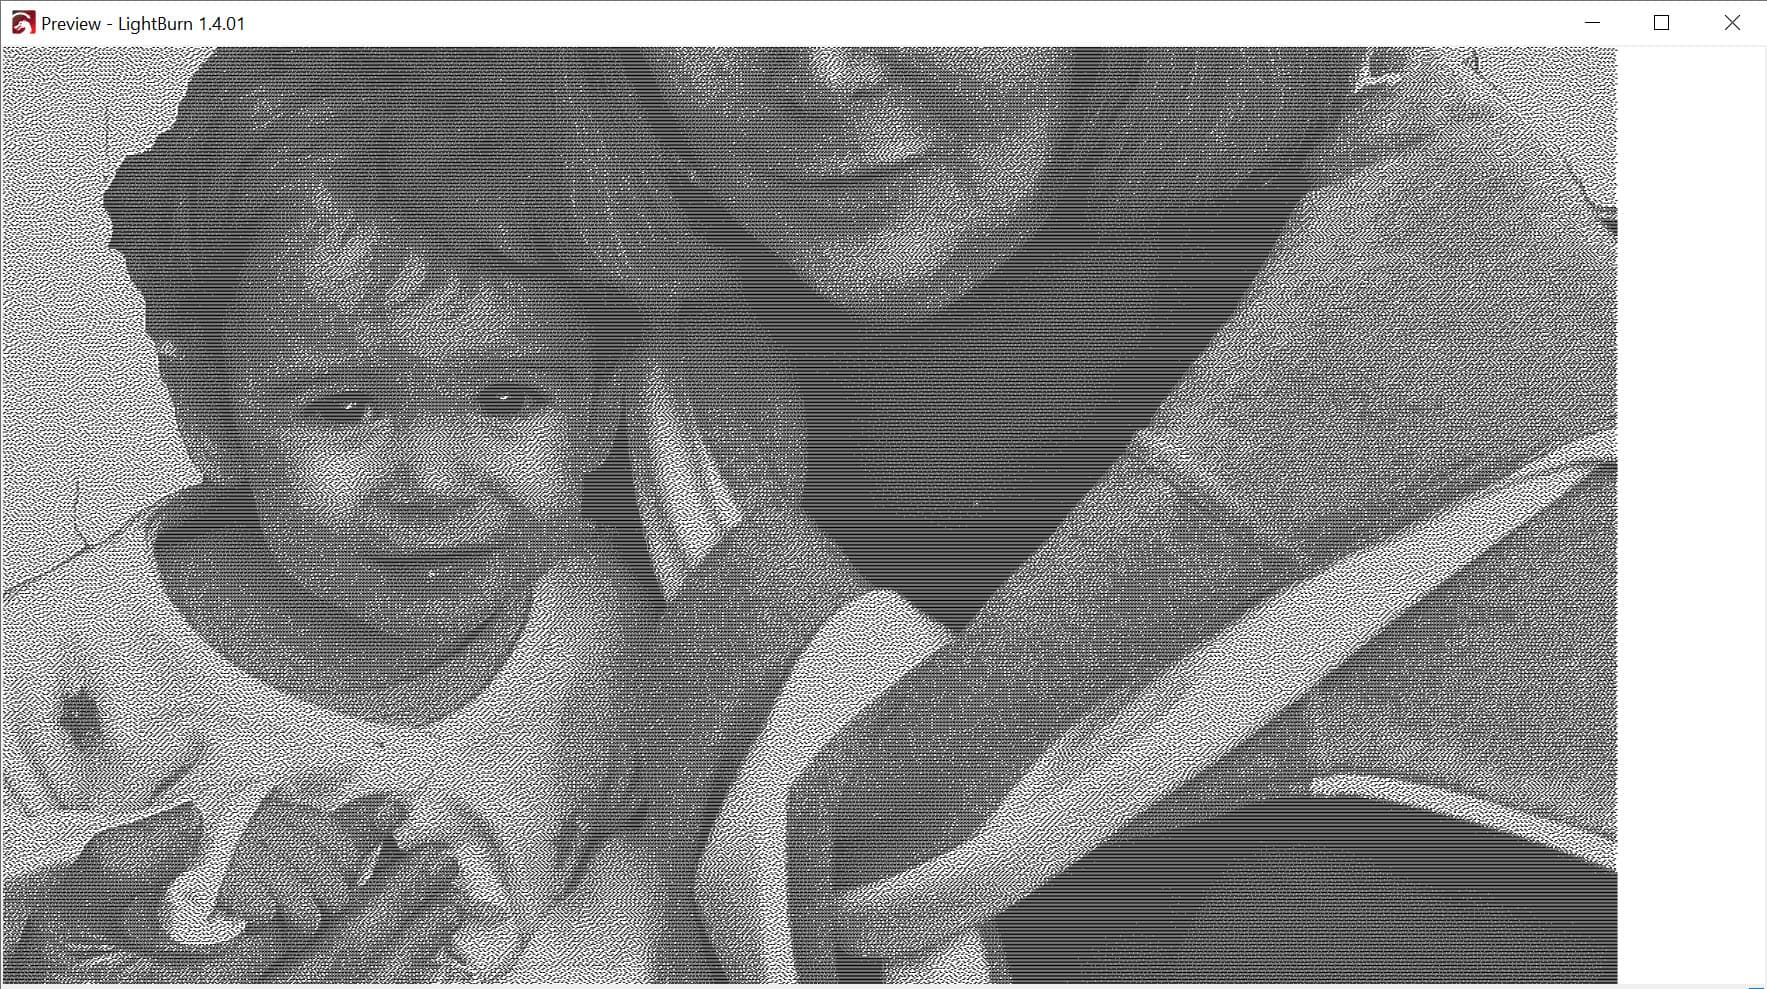
If you select grayscale in the Adjust Image window, the laser will place dots on the workpiece wherever there is image information and you’re limited to the number of intermediate shades that your material can predictably produce in a material test. If you’re working with White tile, you can have a black dot, or no black dot.
If you’re working with a pink marshmallow you might get 5 or 6 predictable shades ranging from golden brown through dark brown to lamp-black. Grayscale might work for that.
Here’s a pic of what selecting Grayscale would tell the laser to do. Close up it shows several shades of gray in LightBurn. Materials are rarely this generous with their range.