I moved your Question and the image to it’s own post so it doesn’t side-track the other fellow.
If you select grayscale in the Adjust Image window, the laser will place dots on the workpiece wherever there is image information and you’re limited to the number of intermediate shades that your material can predictably produce in a material test. If you’re working with White tile, you can have a black dot, or no black dot.
If you’re working with a pink marshmallow you might get 5 or 6 predictable shades ranging from golden brown through dark brown to lamp-black. Grayscale might work for that.
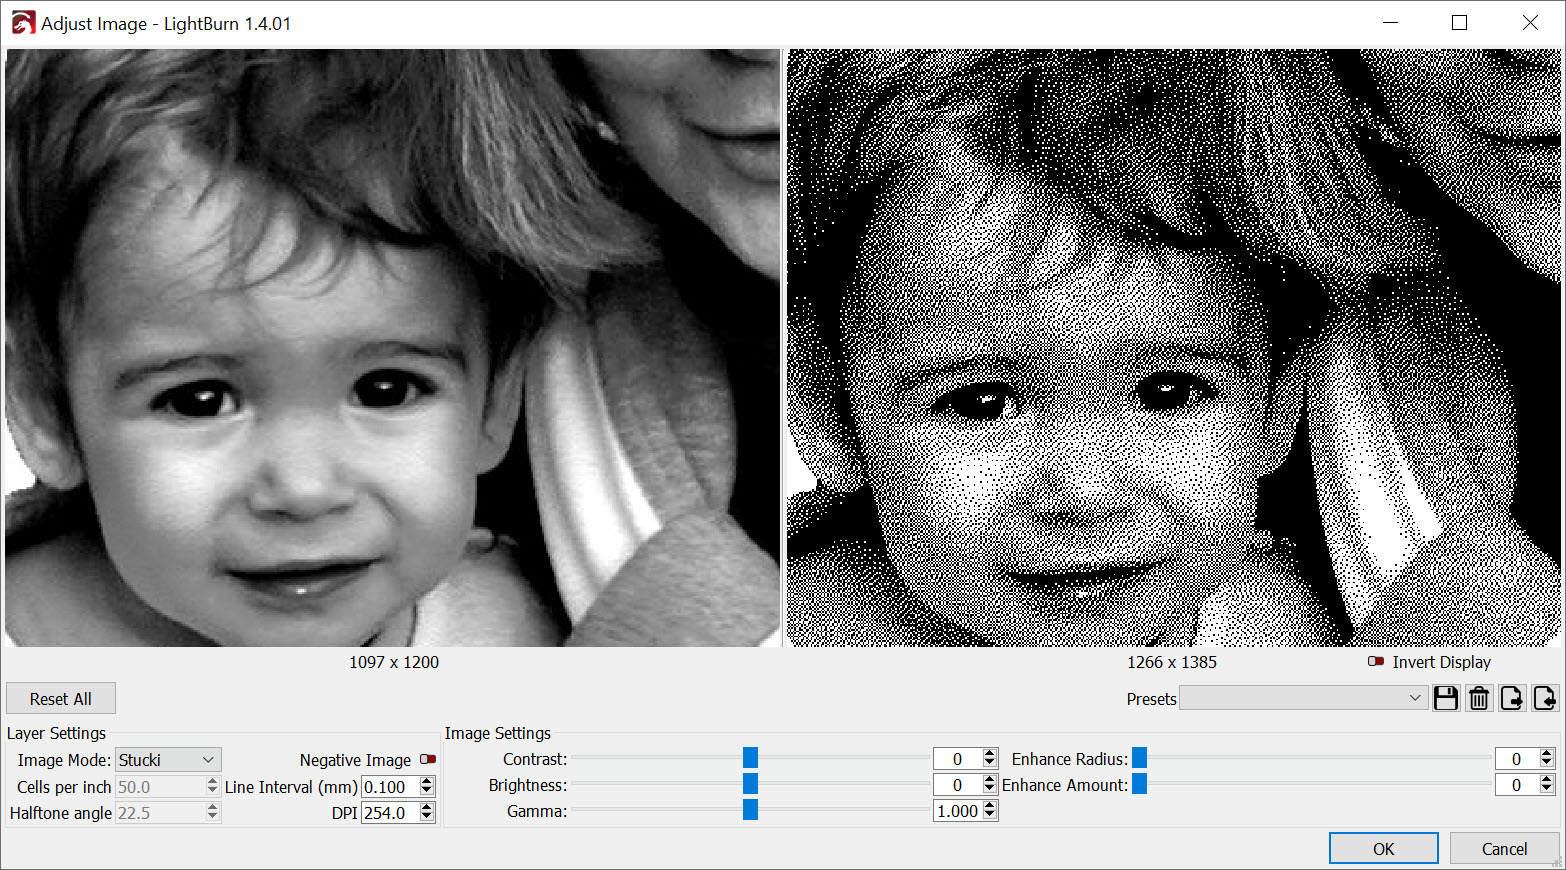
Here’s a pic of what selecting Grayscale would tell the laser to do. Close up it shows several shades of gray in LightBurn. Materials are rarely this generous with their range.

If you have a material test that shows a High Contrast that you can’t get middle steps in, Dithering is the approach to take.
Here’s the same image, less magnification and set for Stucki. You can see the individual dots and they’re black dots or absent dots.
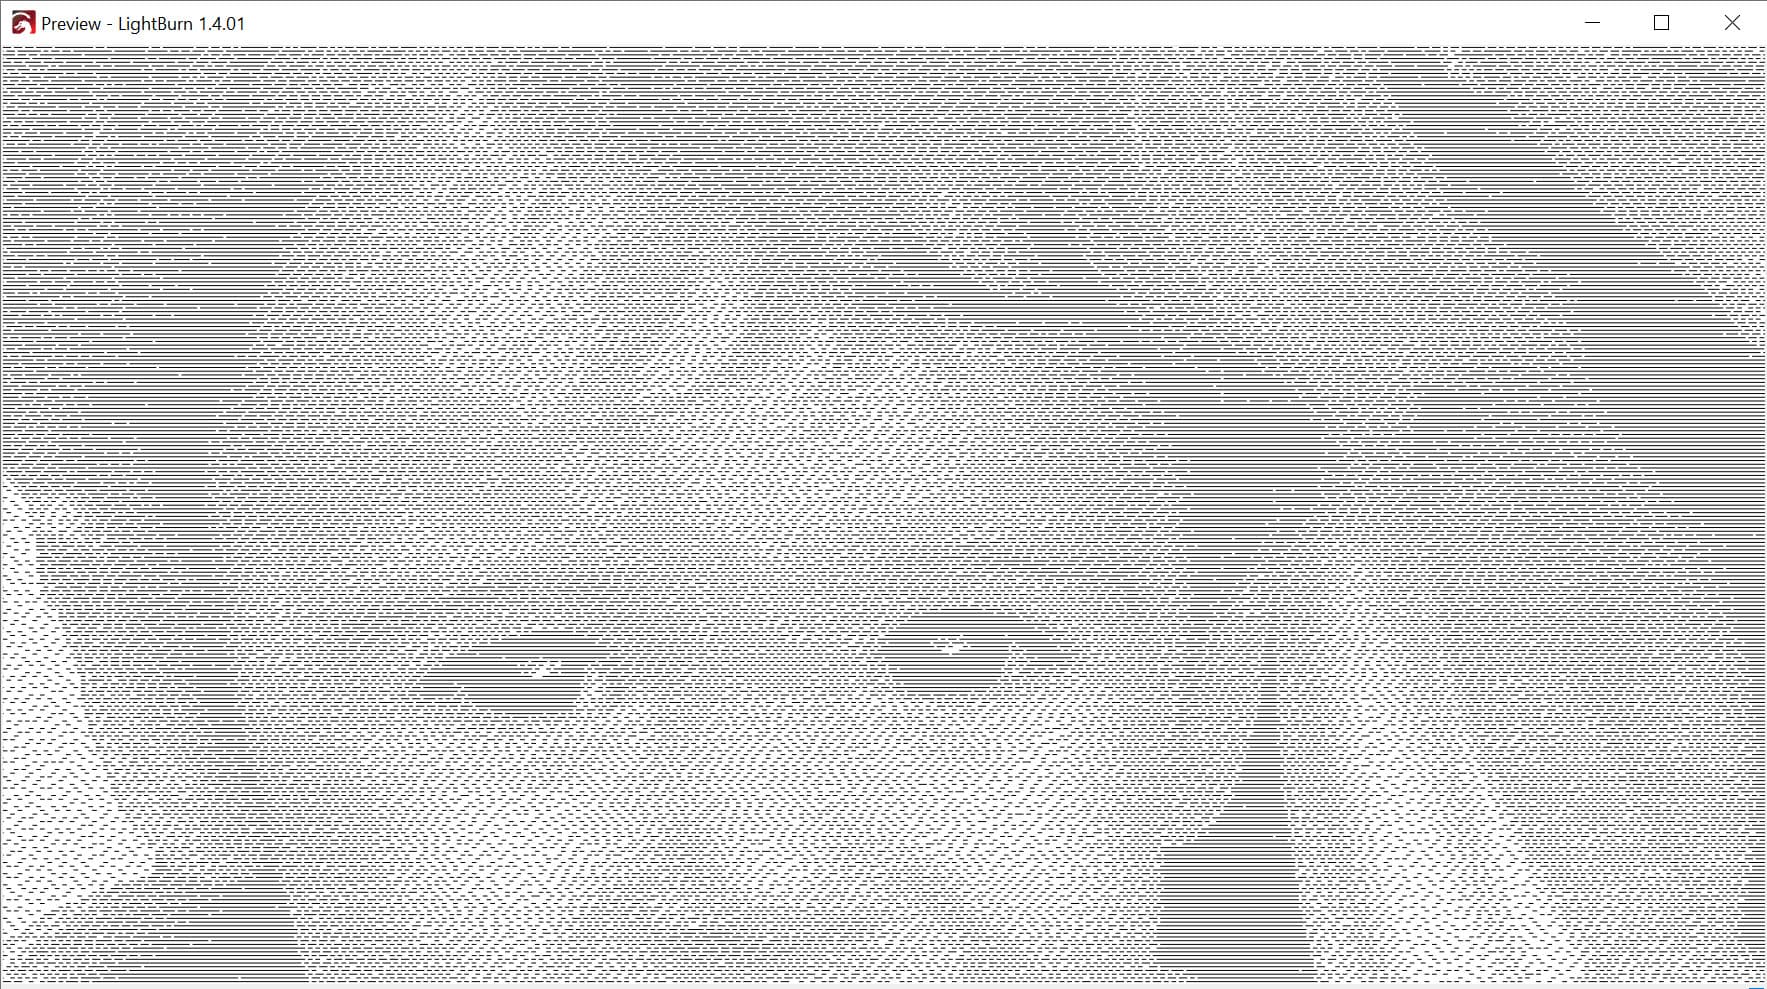
Here’s the preview…
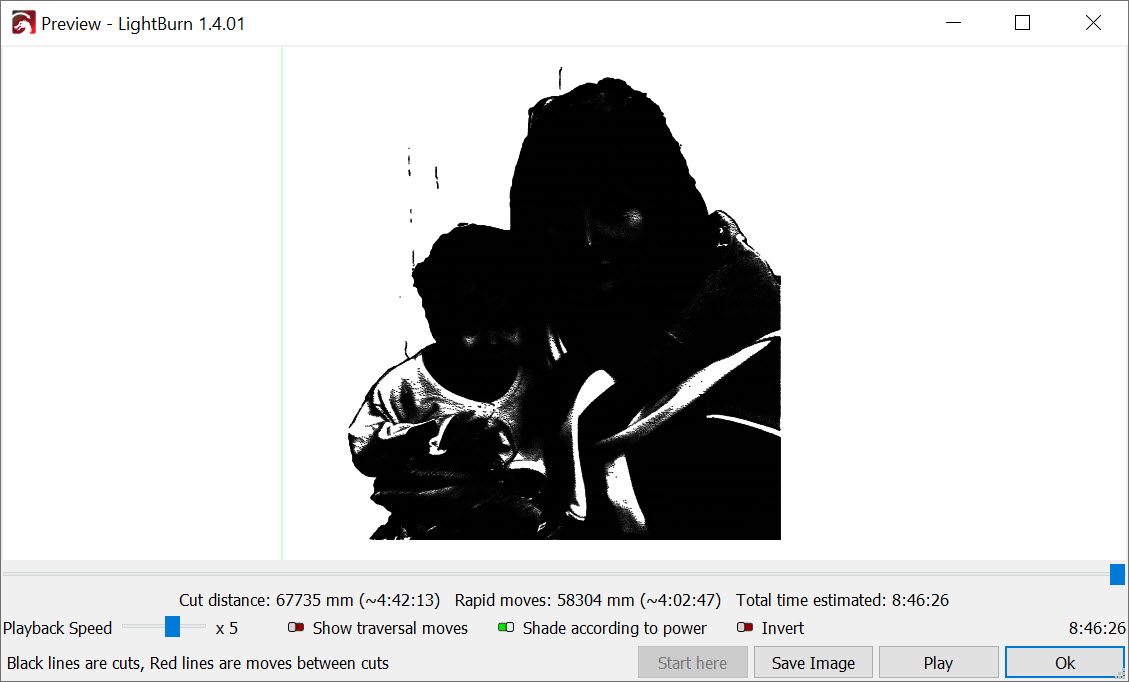
Don’t panic. All of the dots are too close together so we’re not seeing what we need to see.
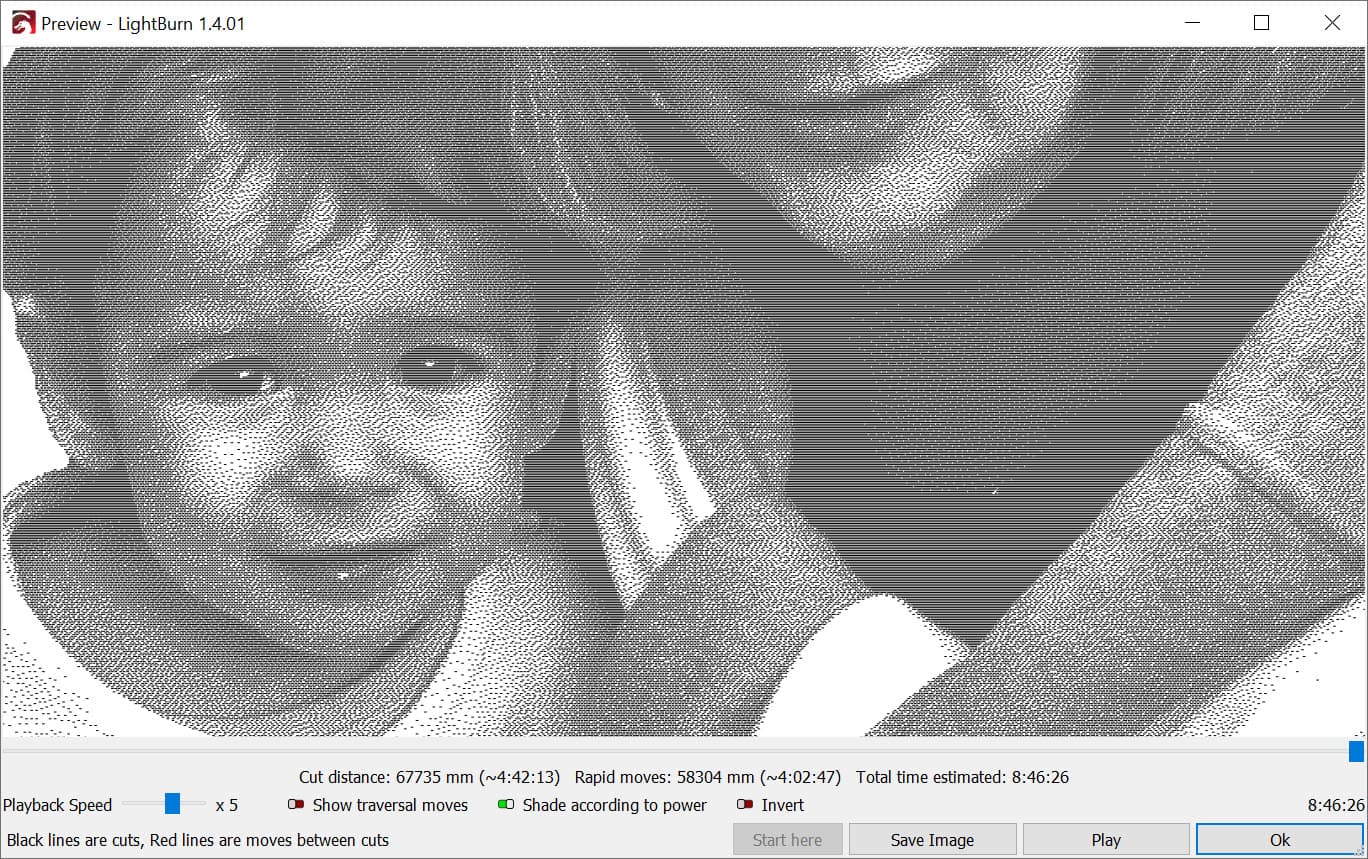
Not bad.
I went back to image adjust and flattened it a little bit to try to keep it from washing out the bright end and from making the dark shades a blob.
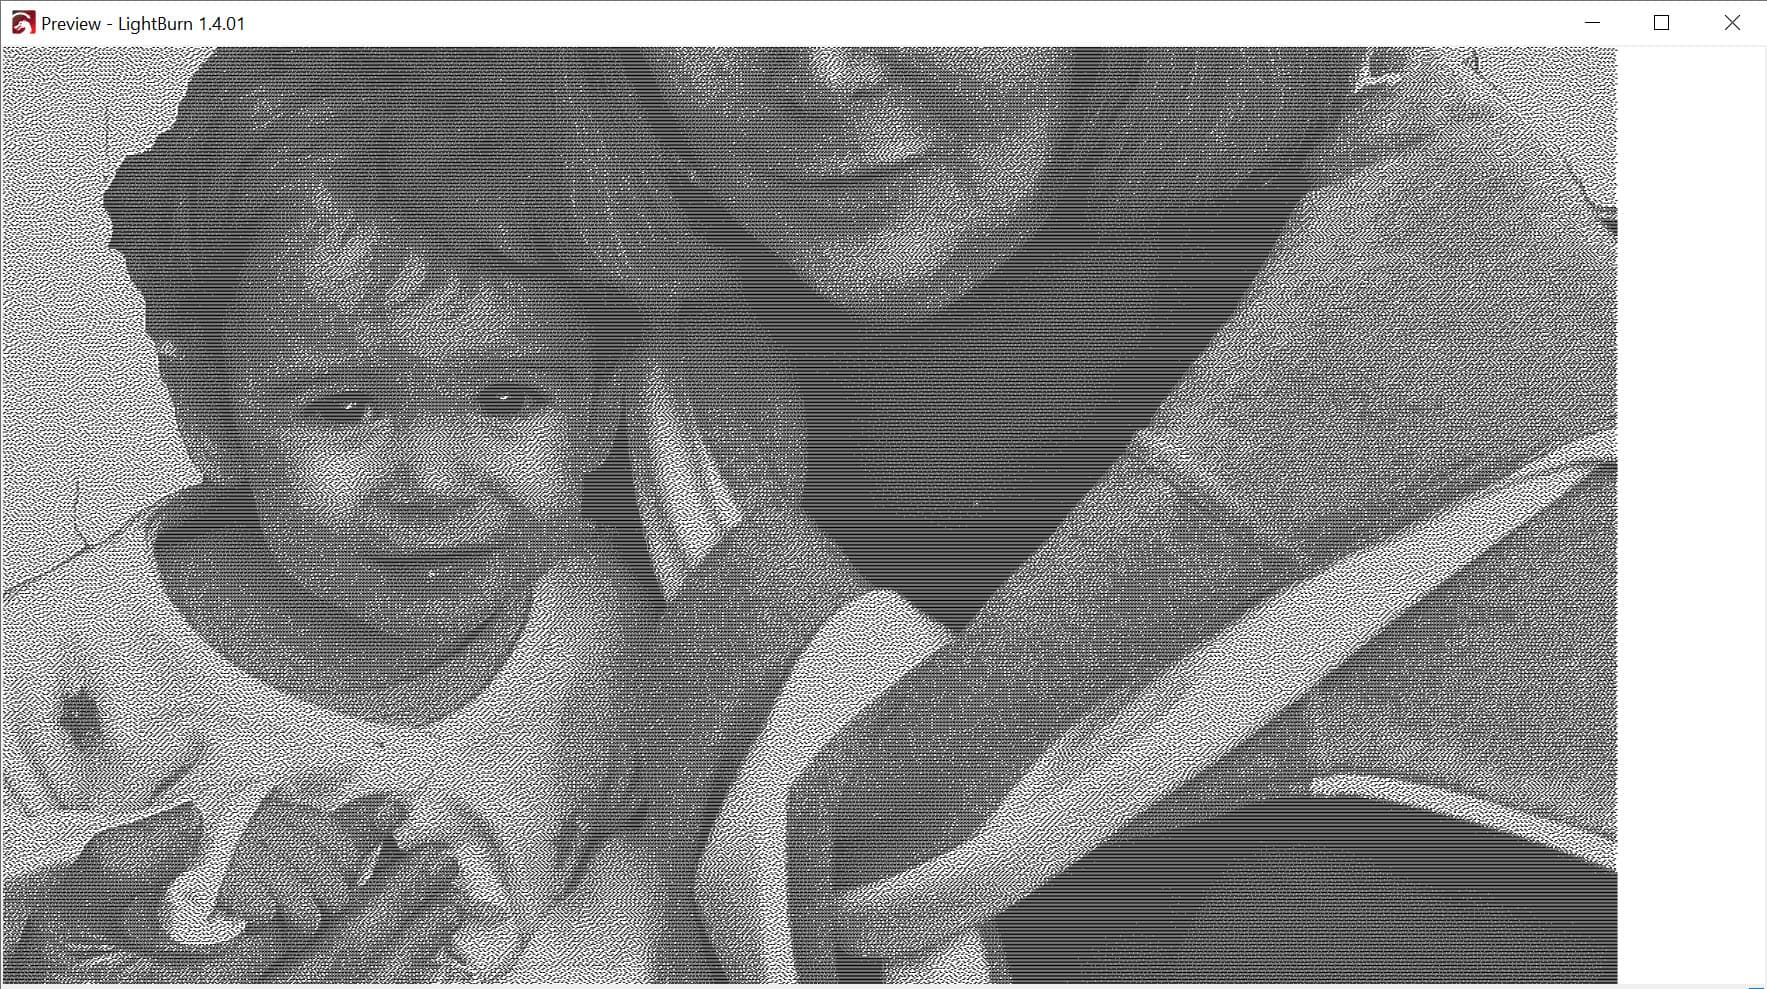
better… but I’ll try slightly ‘brighter’.

I think this might be close or worth an attempt.
I’d like to see a pic of the material test of what you’re working on so I might be able to offer other thoughts.