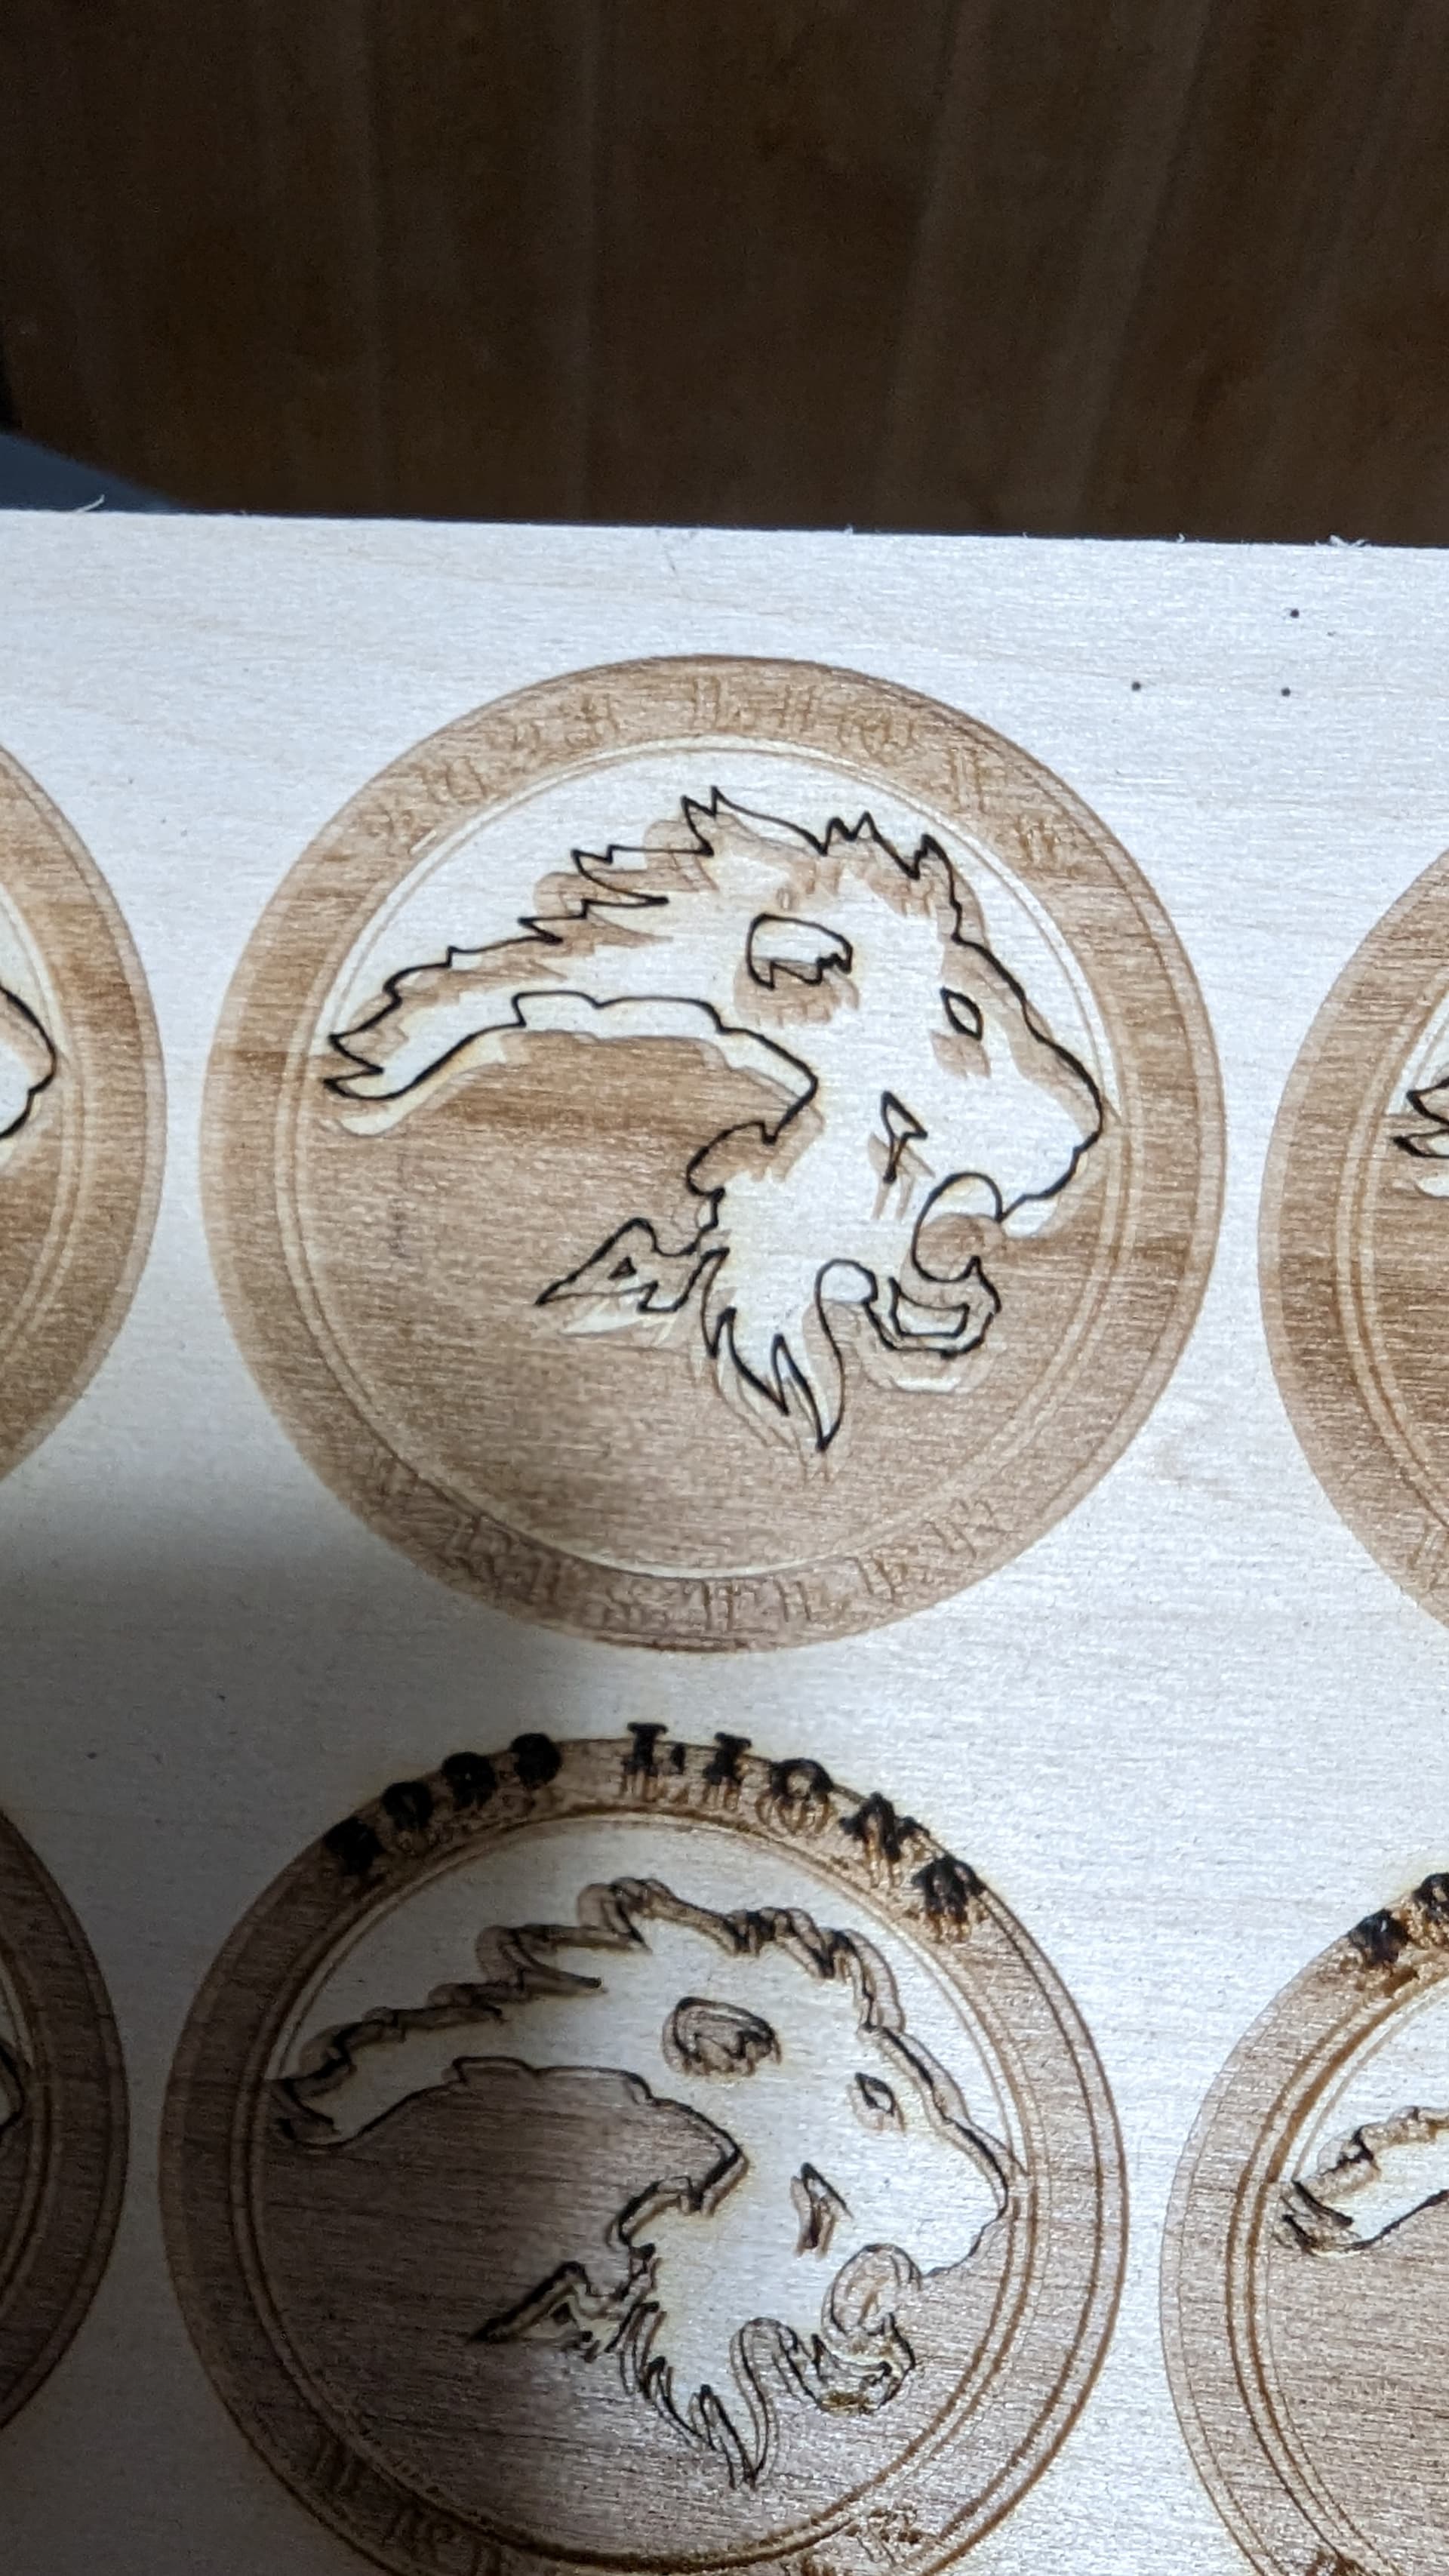
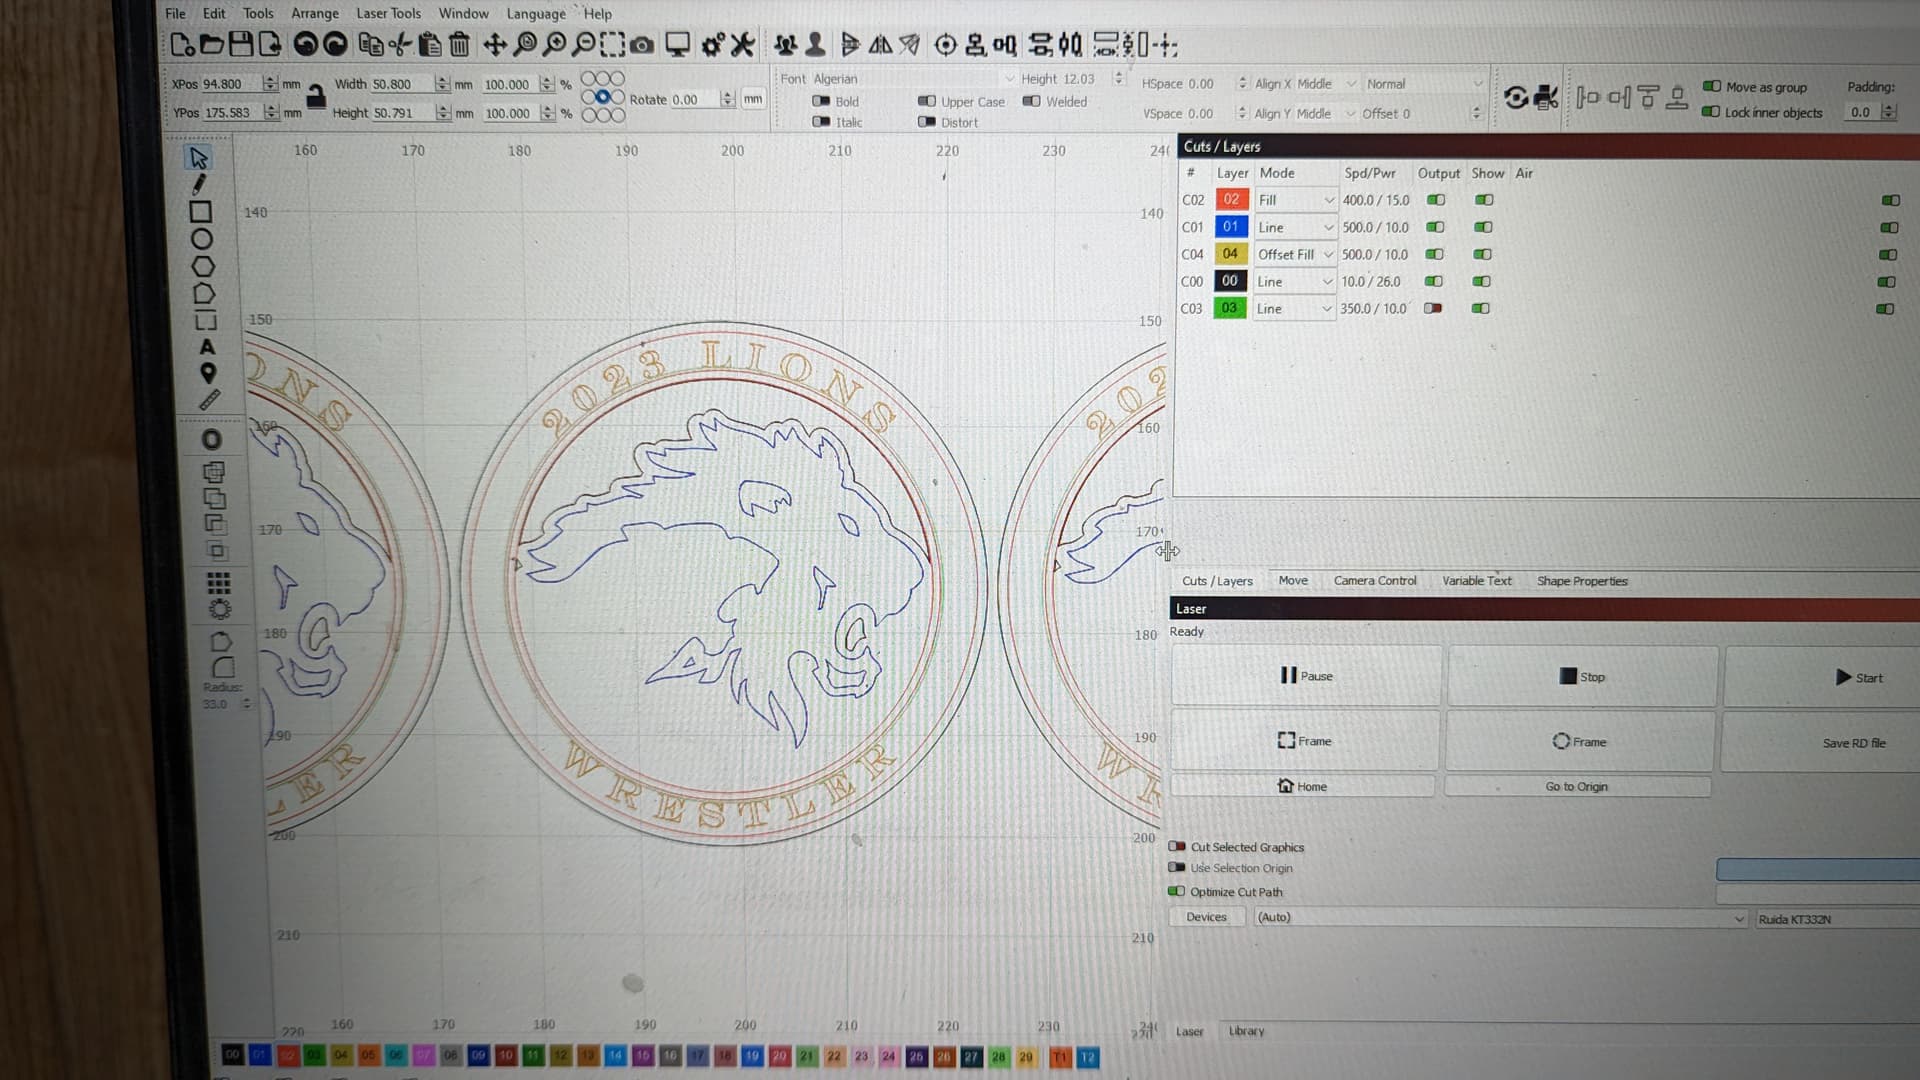
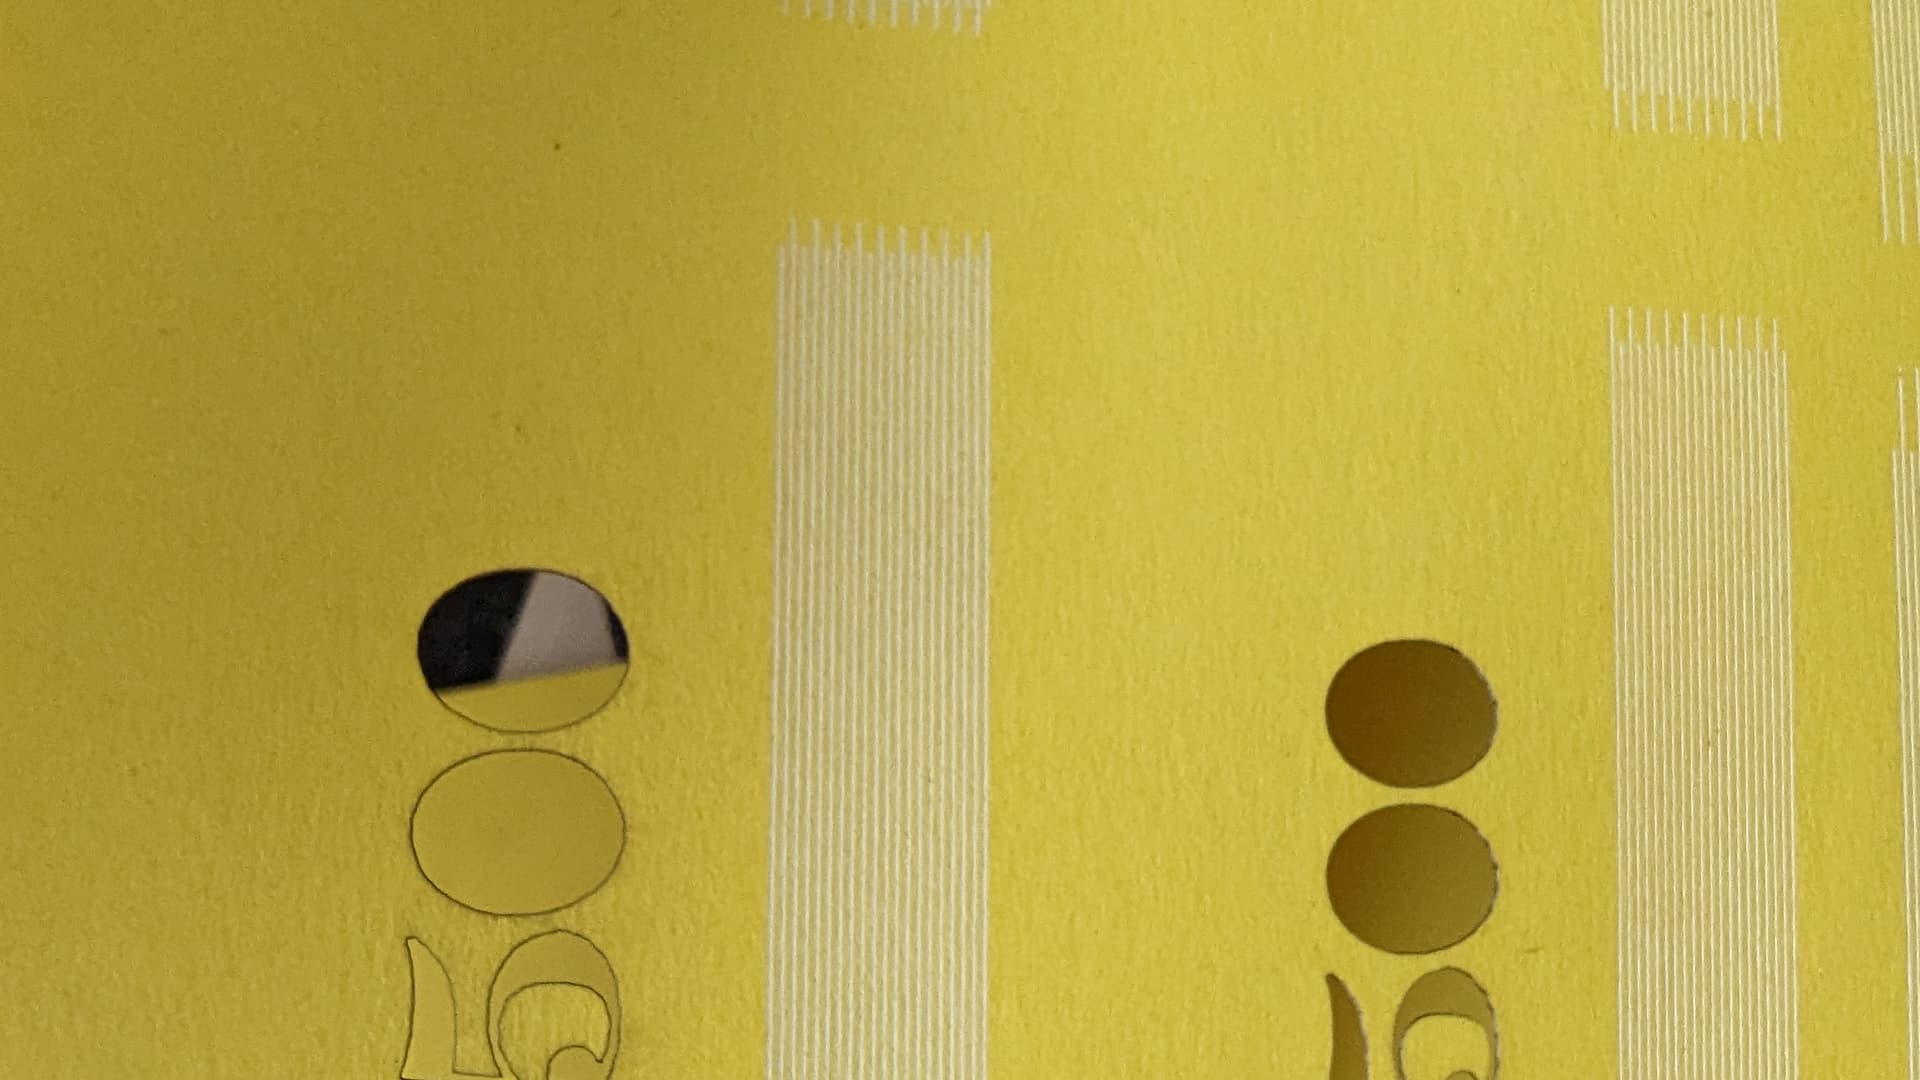
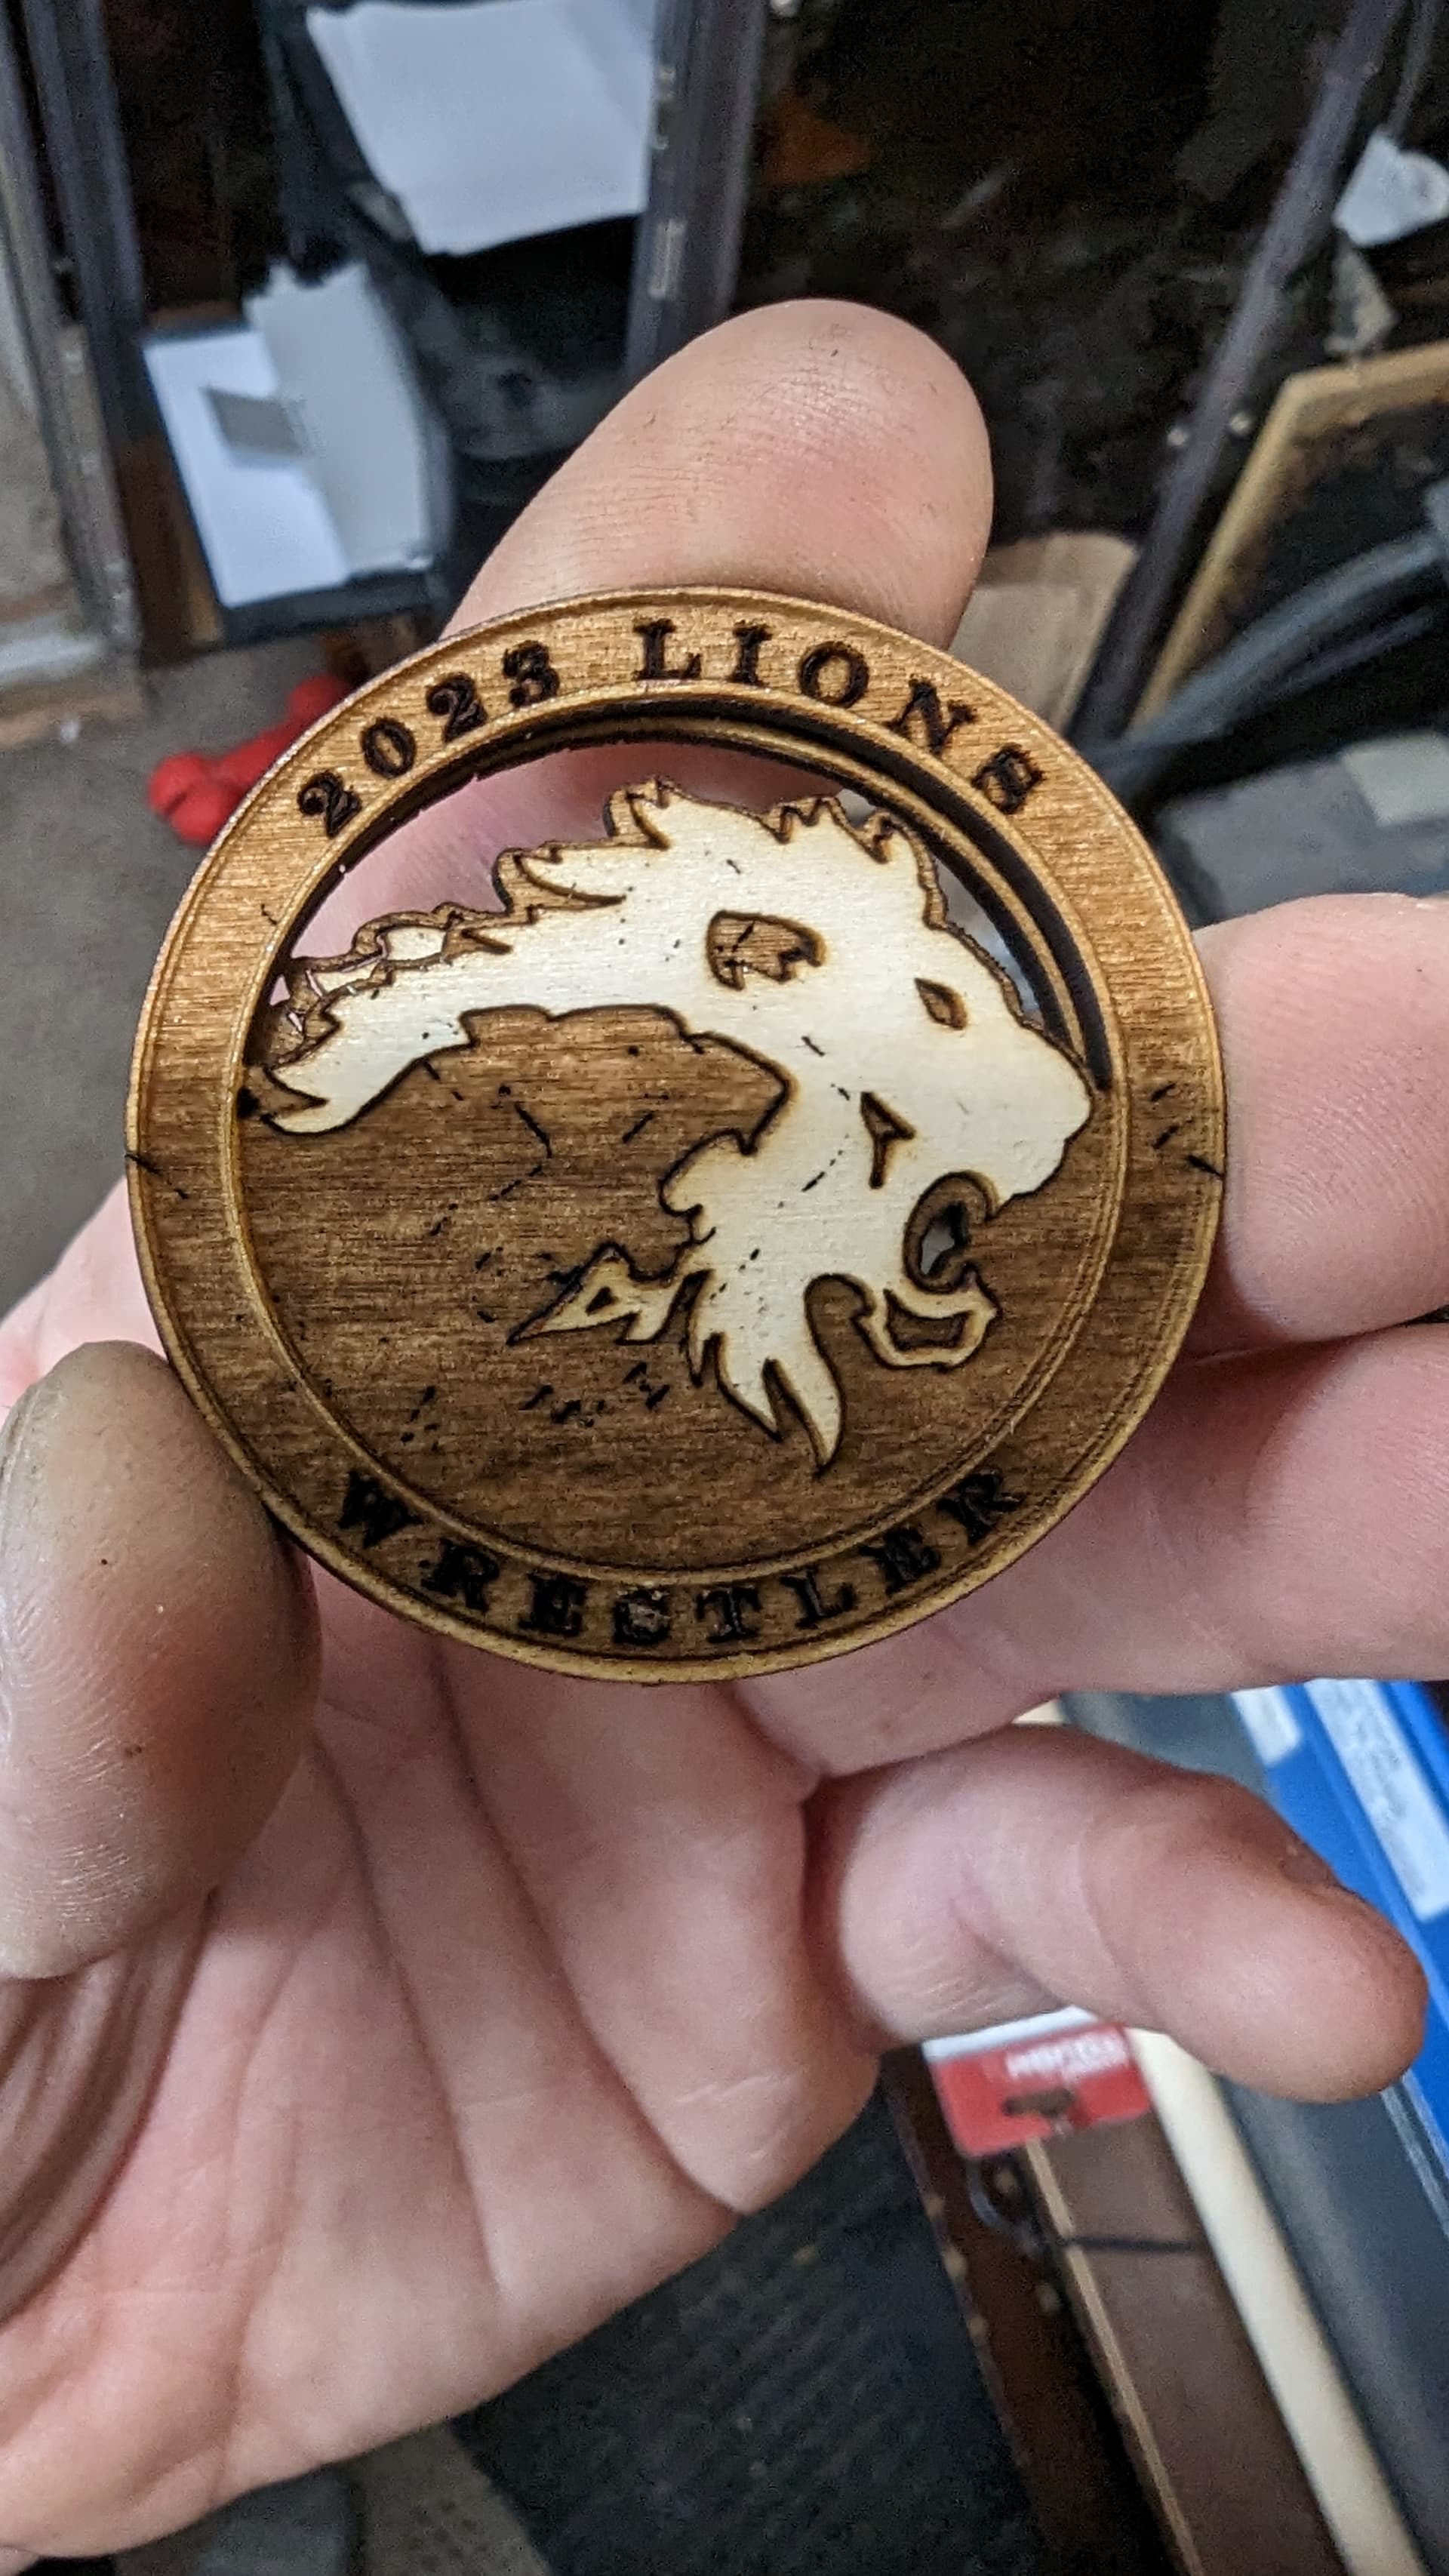
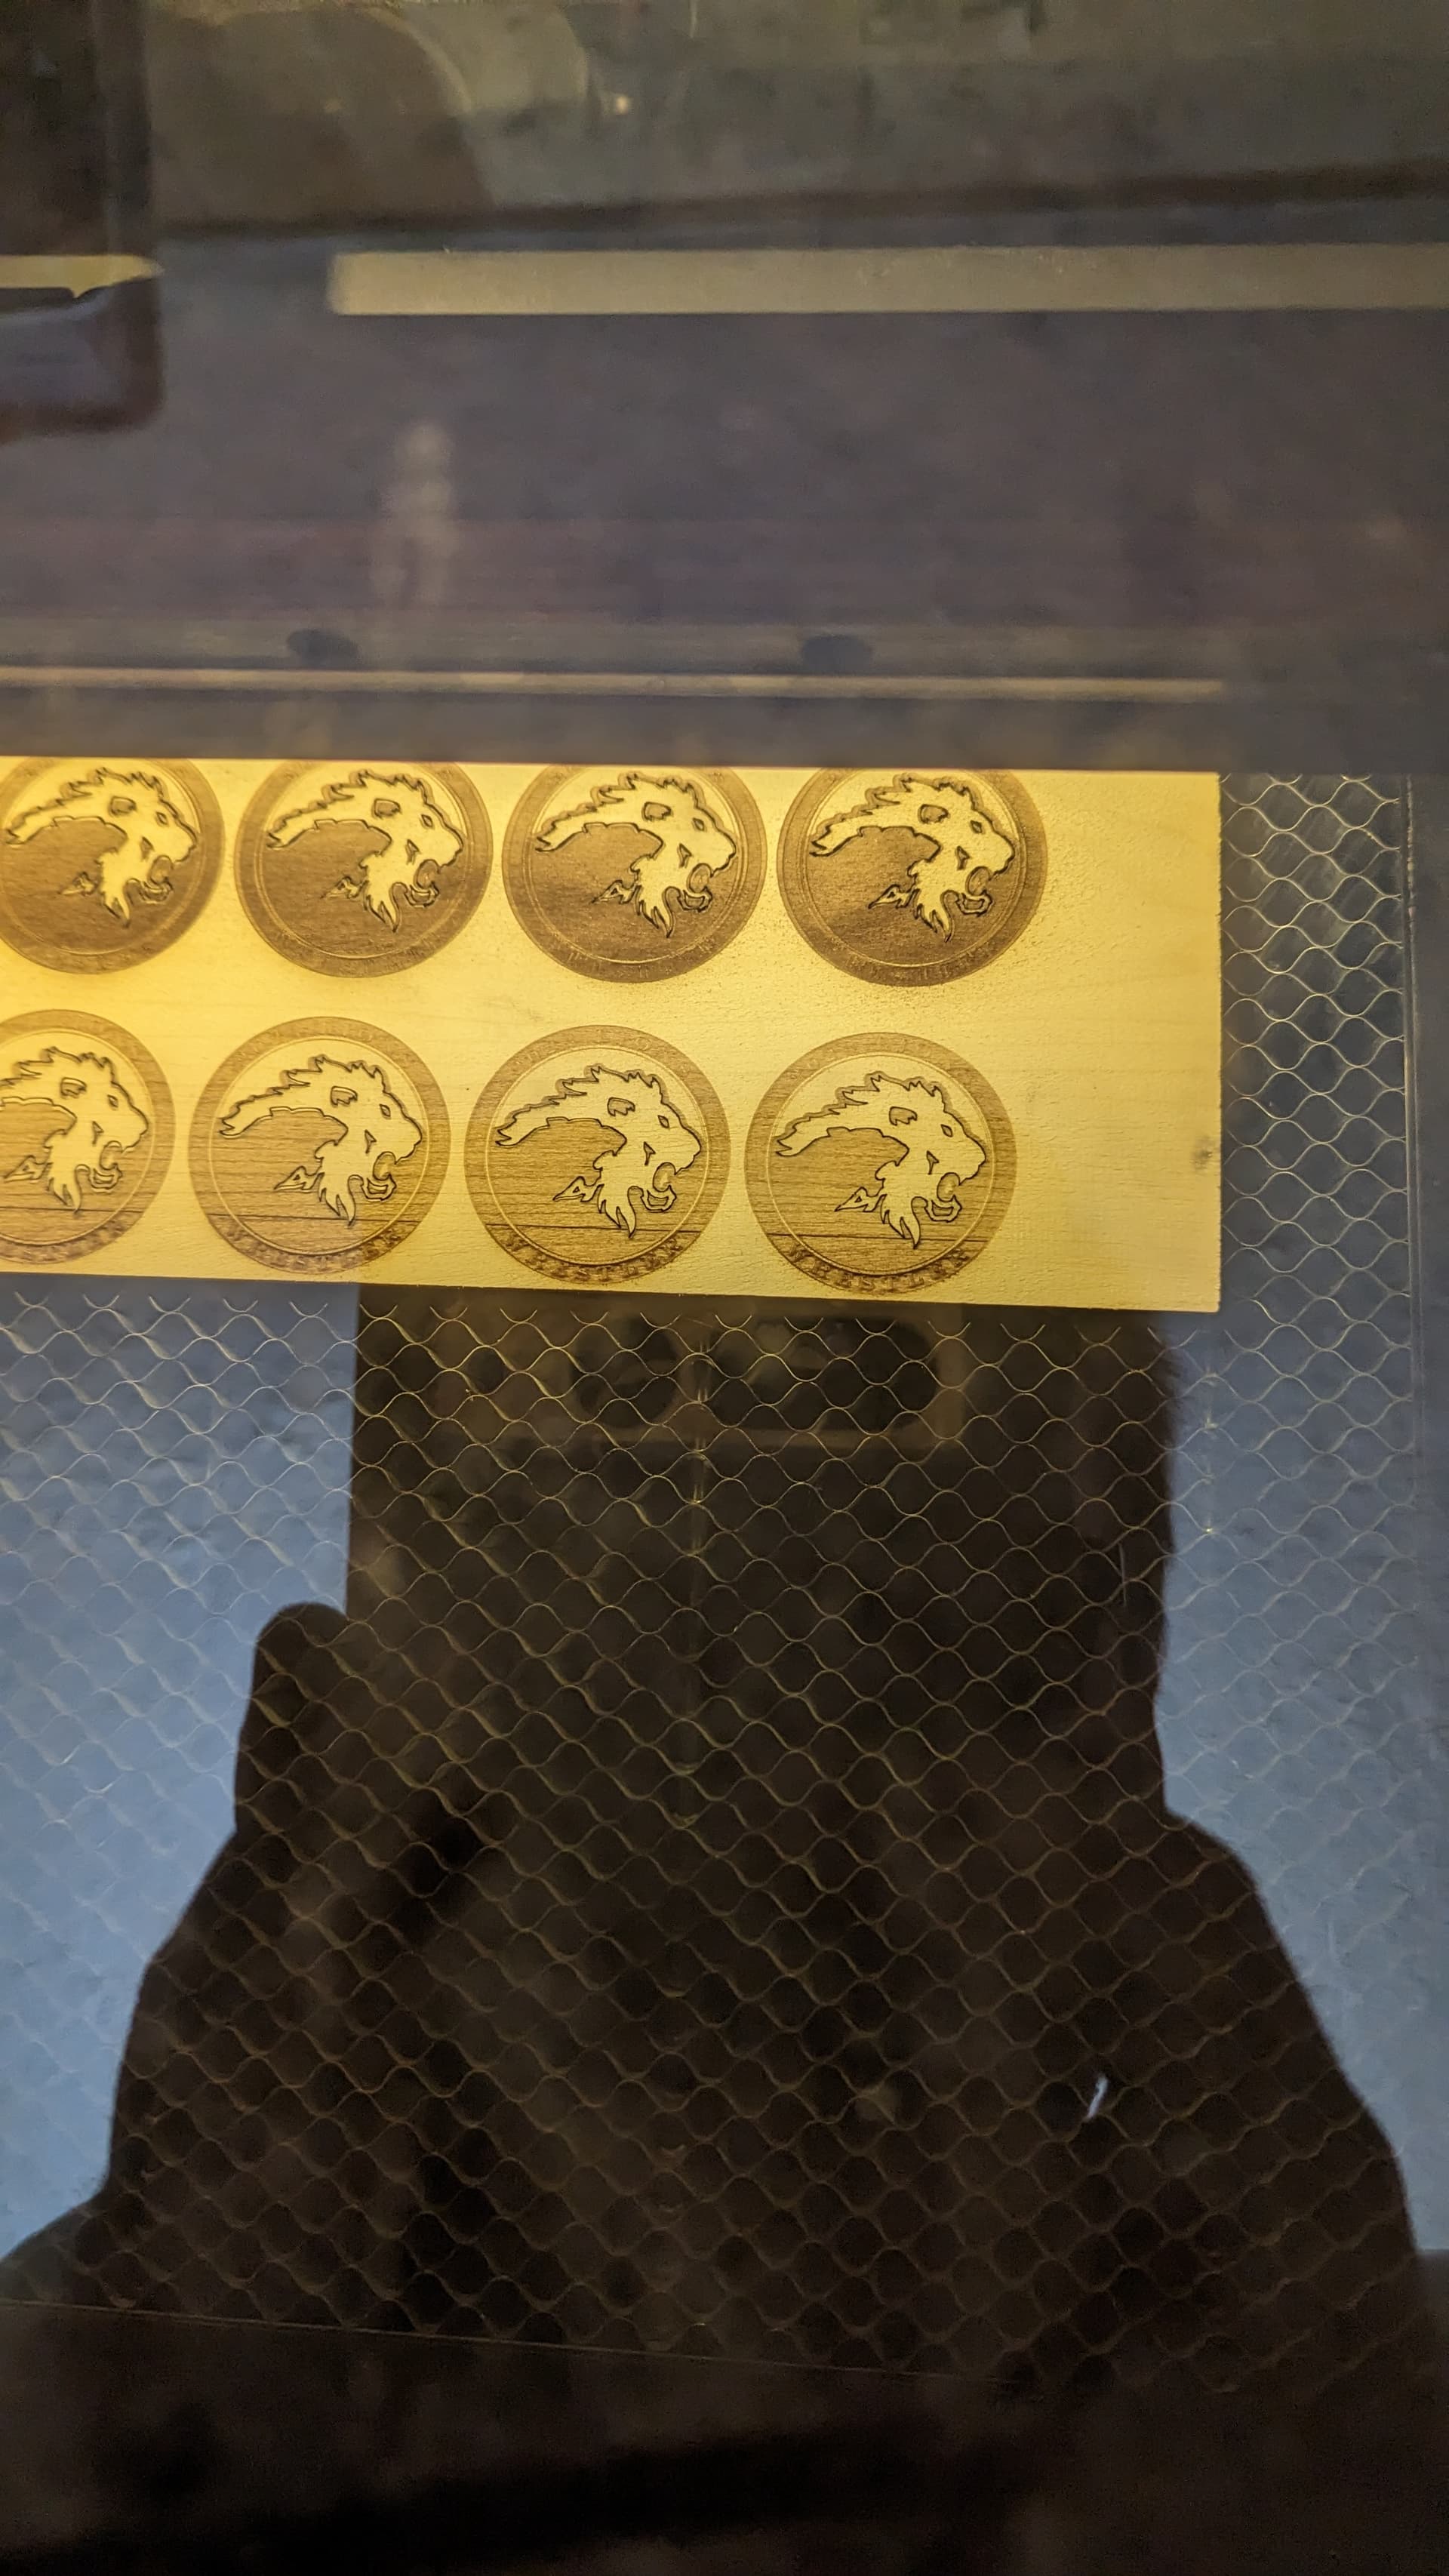
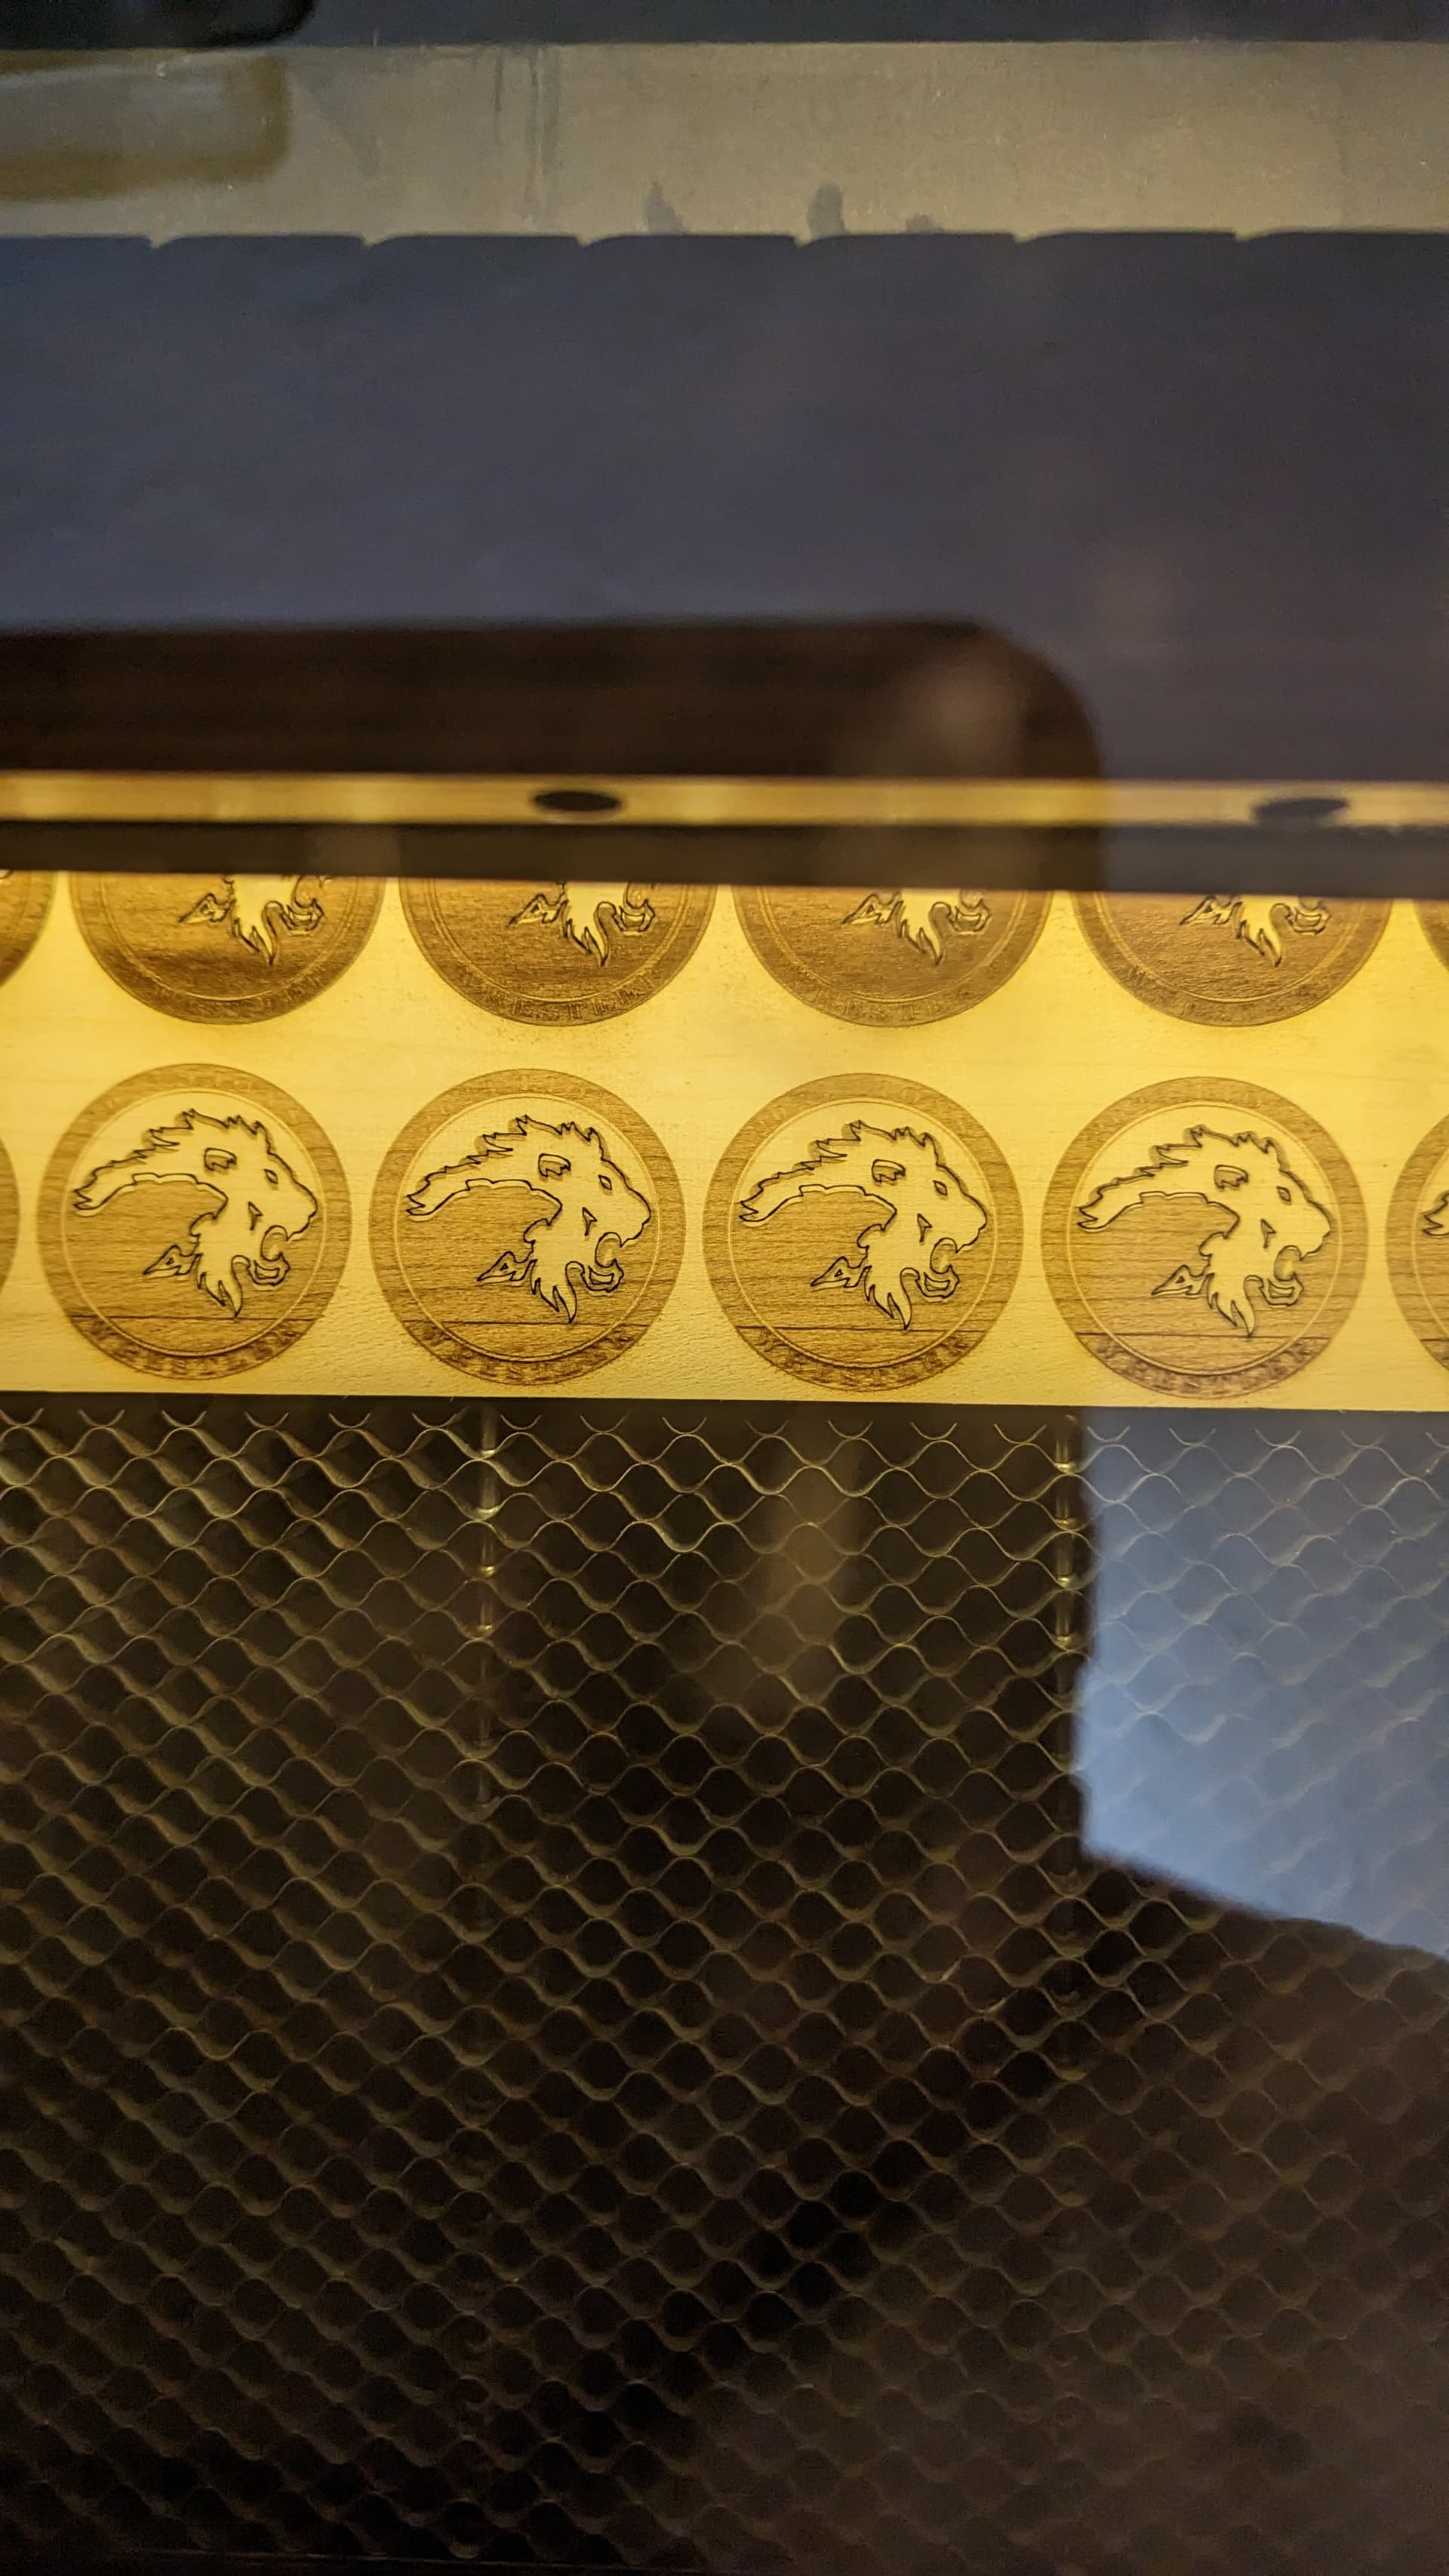
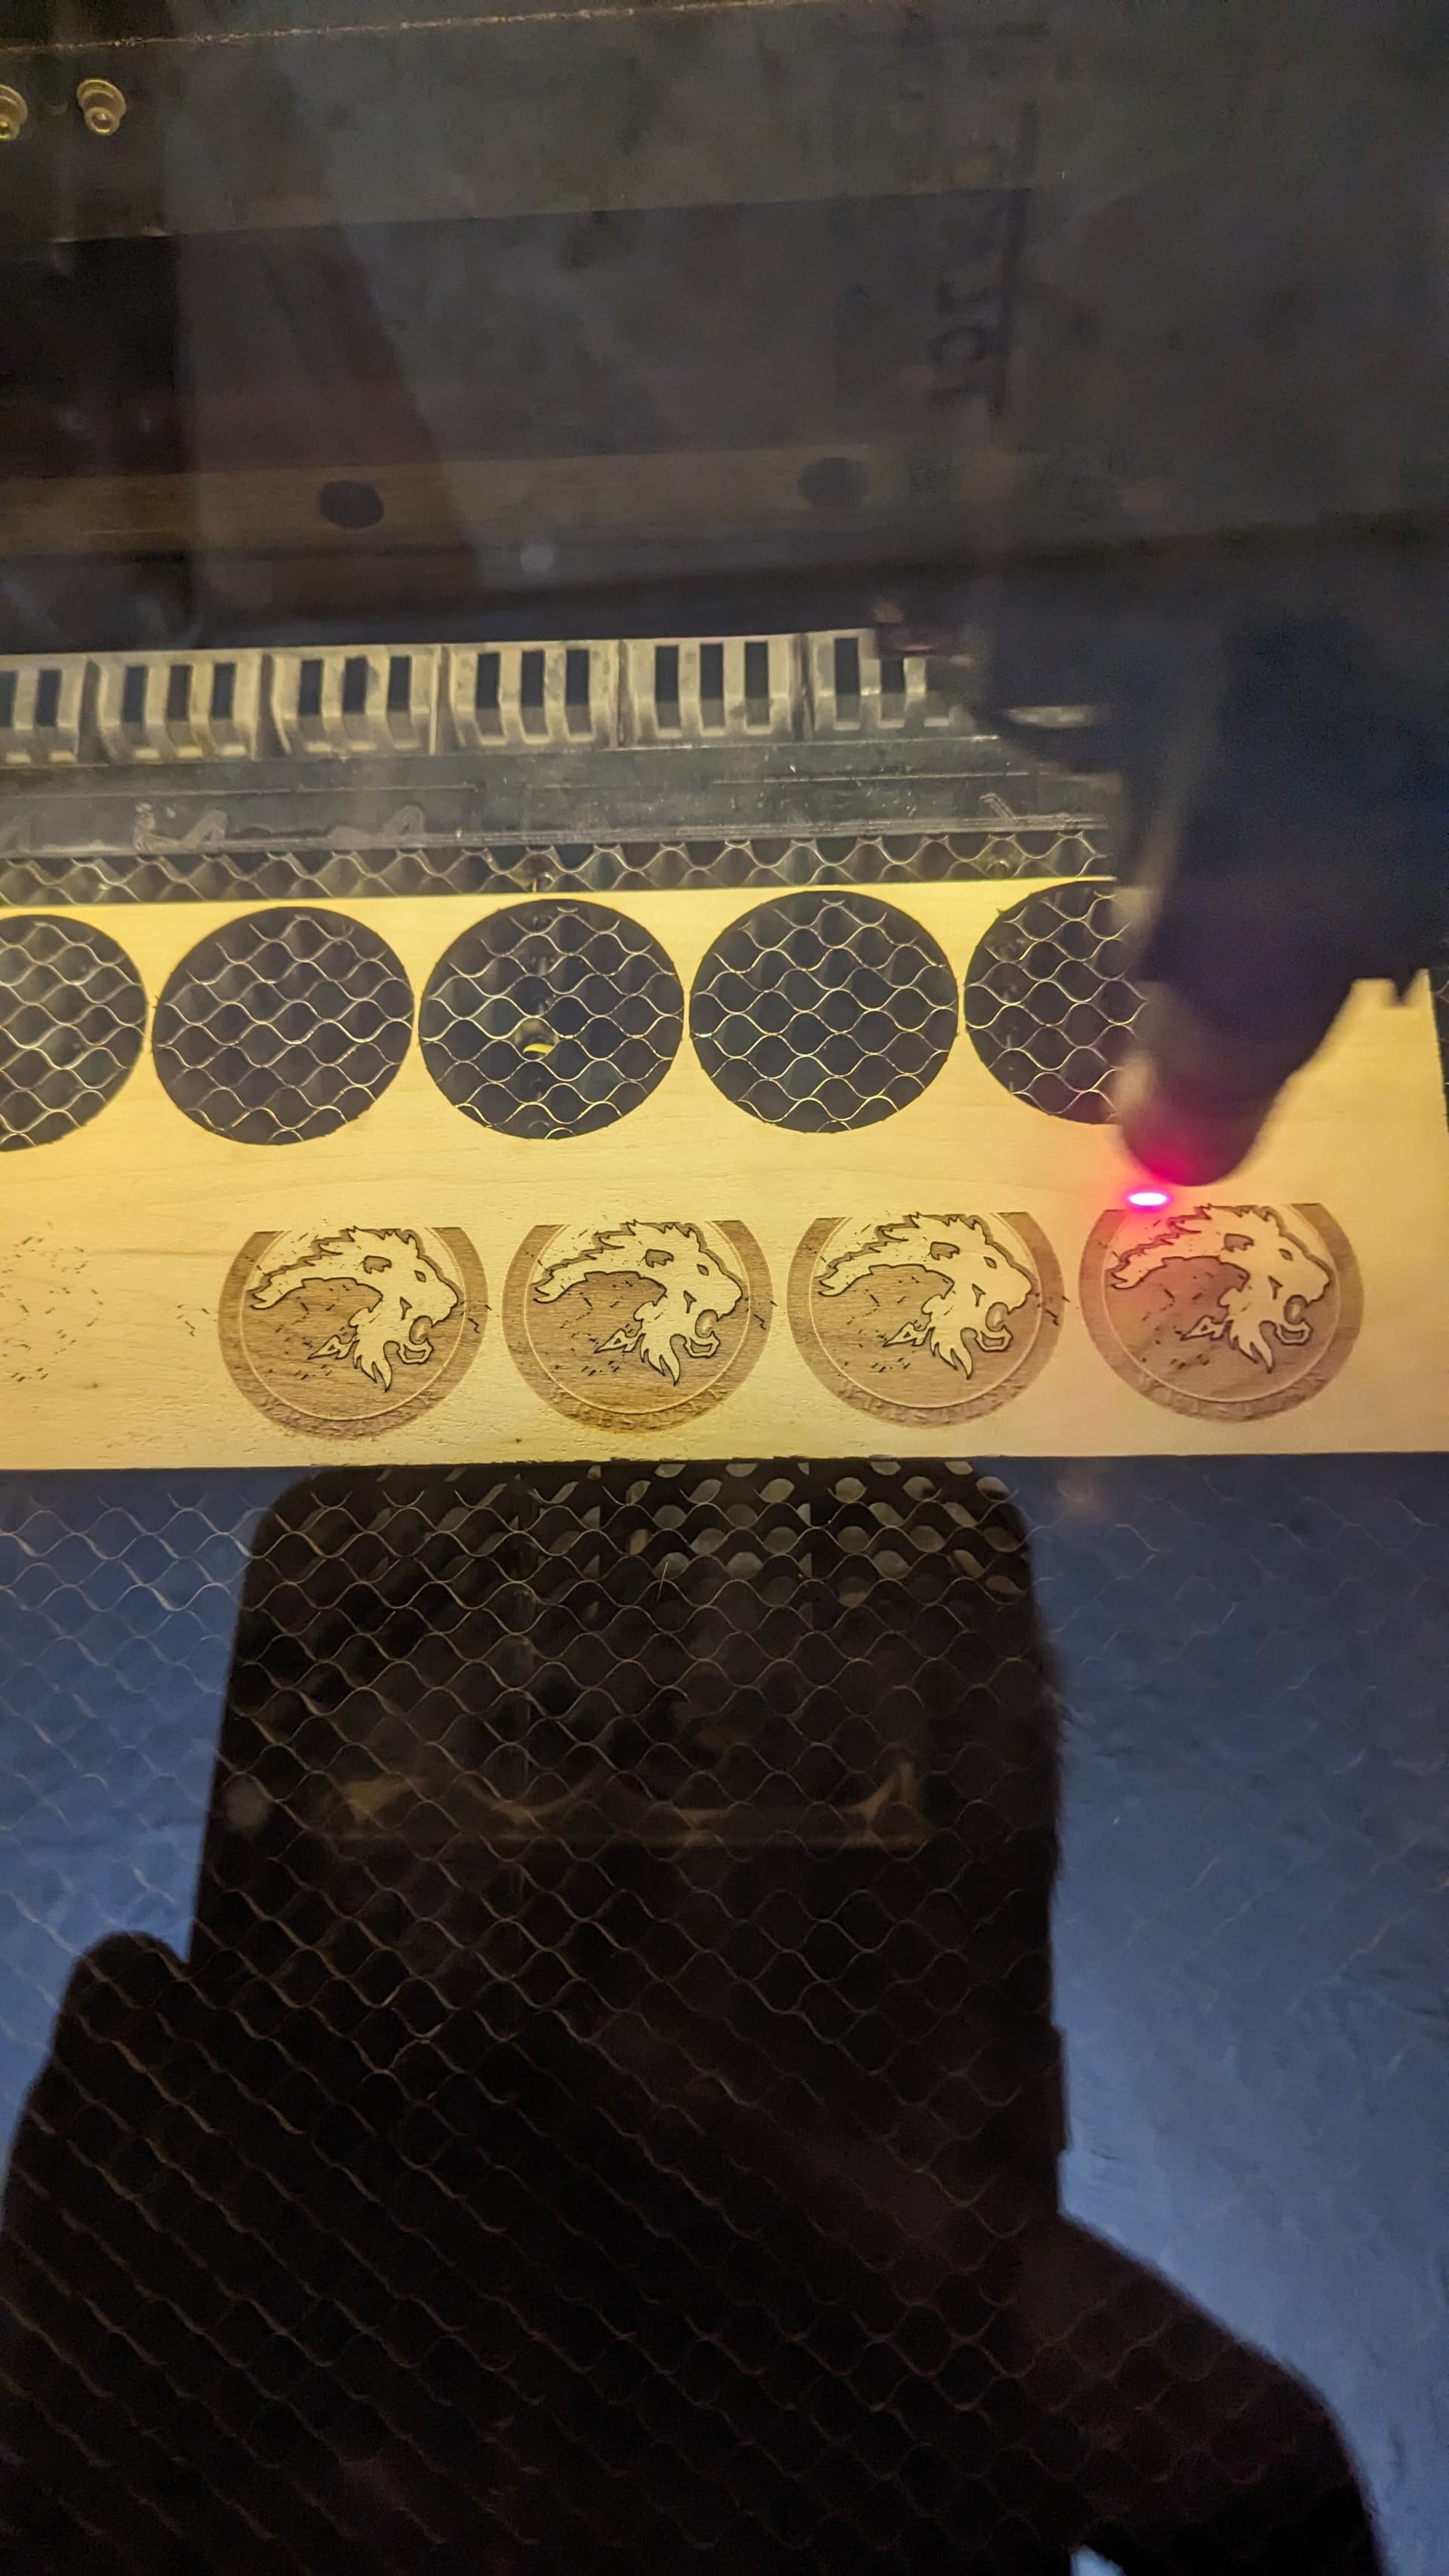
Newer to lasering and just started making wood keychains and magnets on my OMTech 50W CO2 laser. When I print 1 magnet at a time the laser does fantastic but when I create a grid Array and print a full sheet, the fill layer works perfectly for the first magnet and then it shifts on the rest. Not only does the fill not happen between the lines drawn by the line layer but it’s filling offset duplicates (see photo)
It’s filling 2 offset cheek marks and 2 eyes offset and none of them line up with the line layer. It starts off as a very slight shift and then gets progressively worse. I also tried filling each shape individually and get the same result. I don’t notice any skipping or lagging in the machine arm or any movement in the board. Any guidance is much appreciated. Thank you
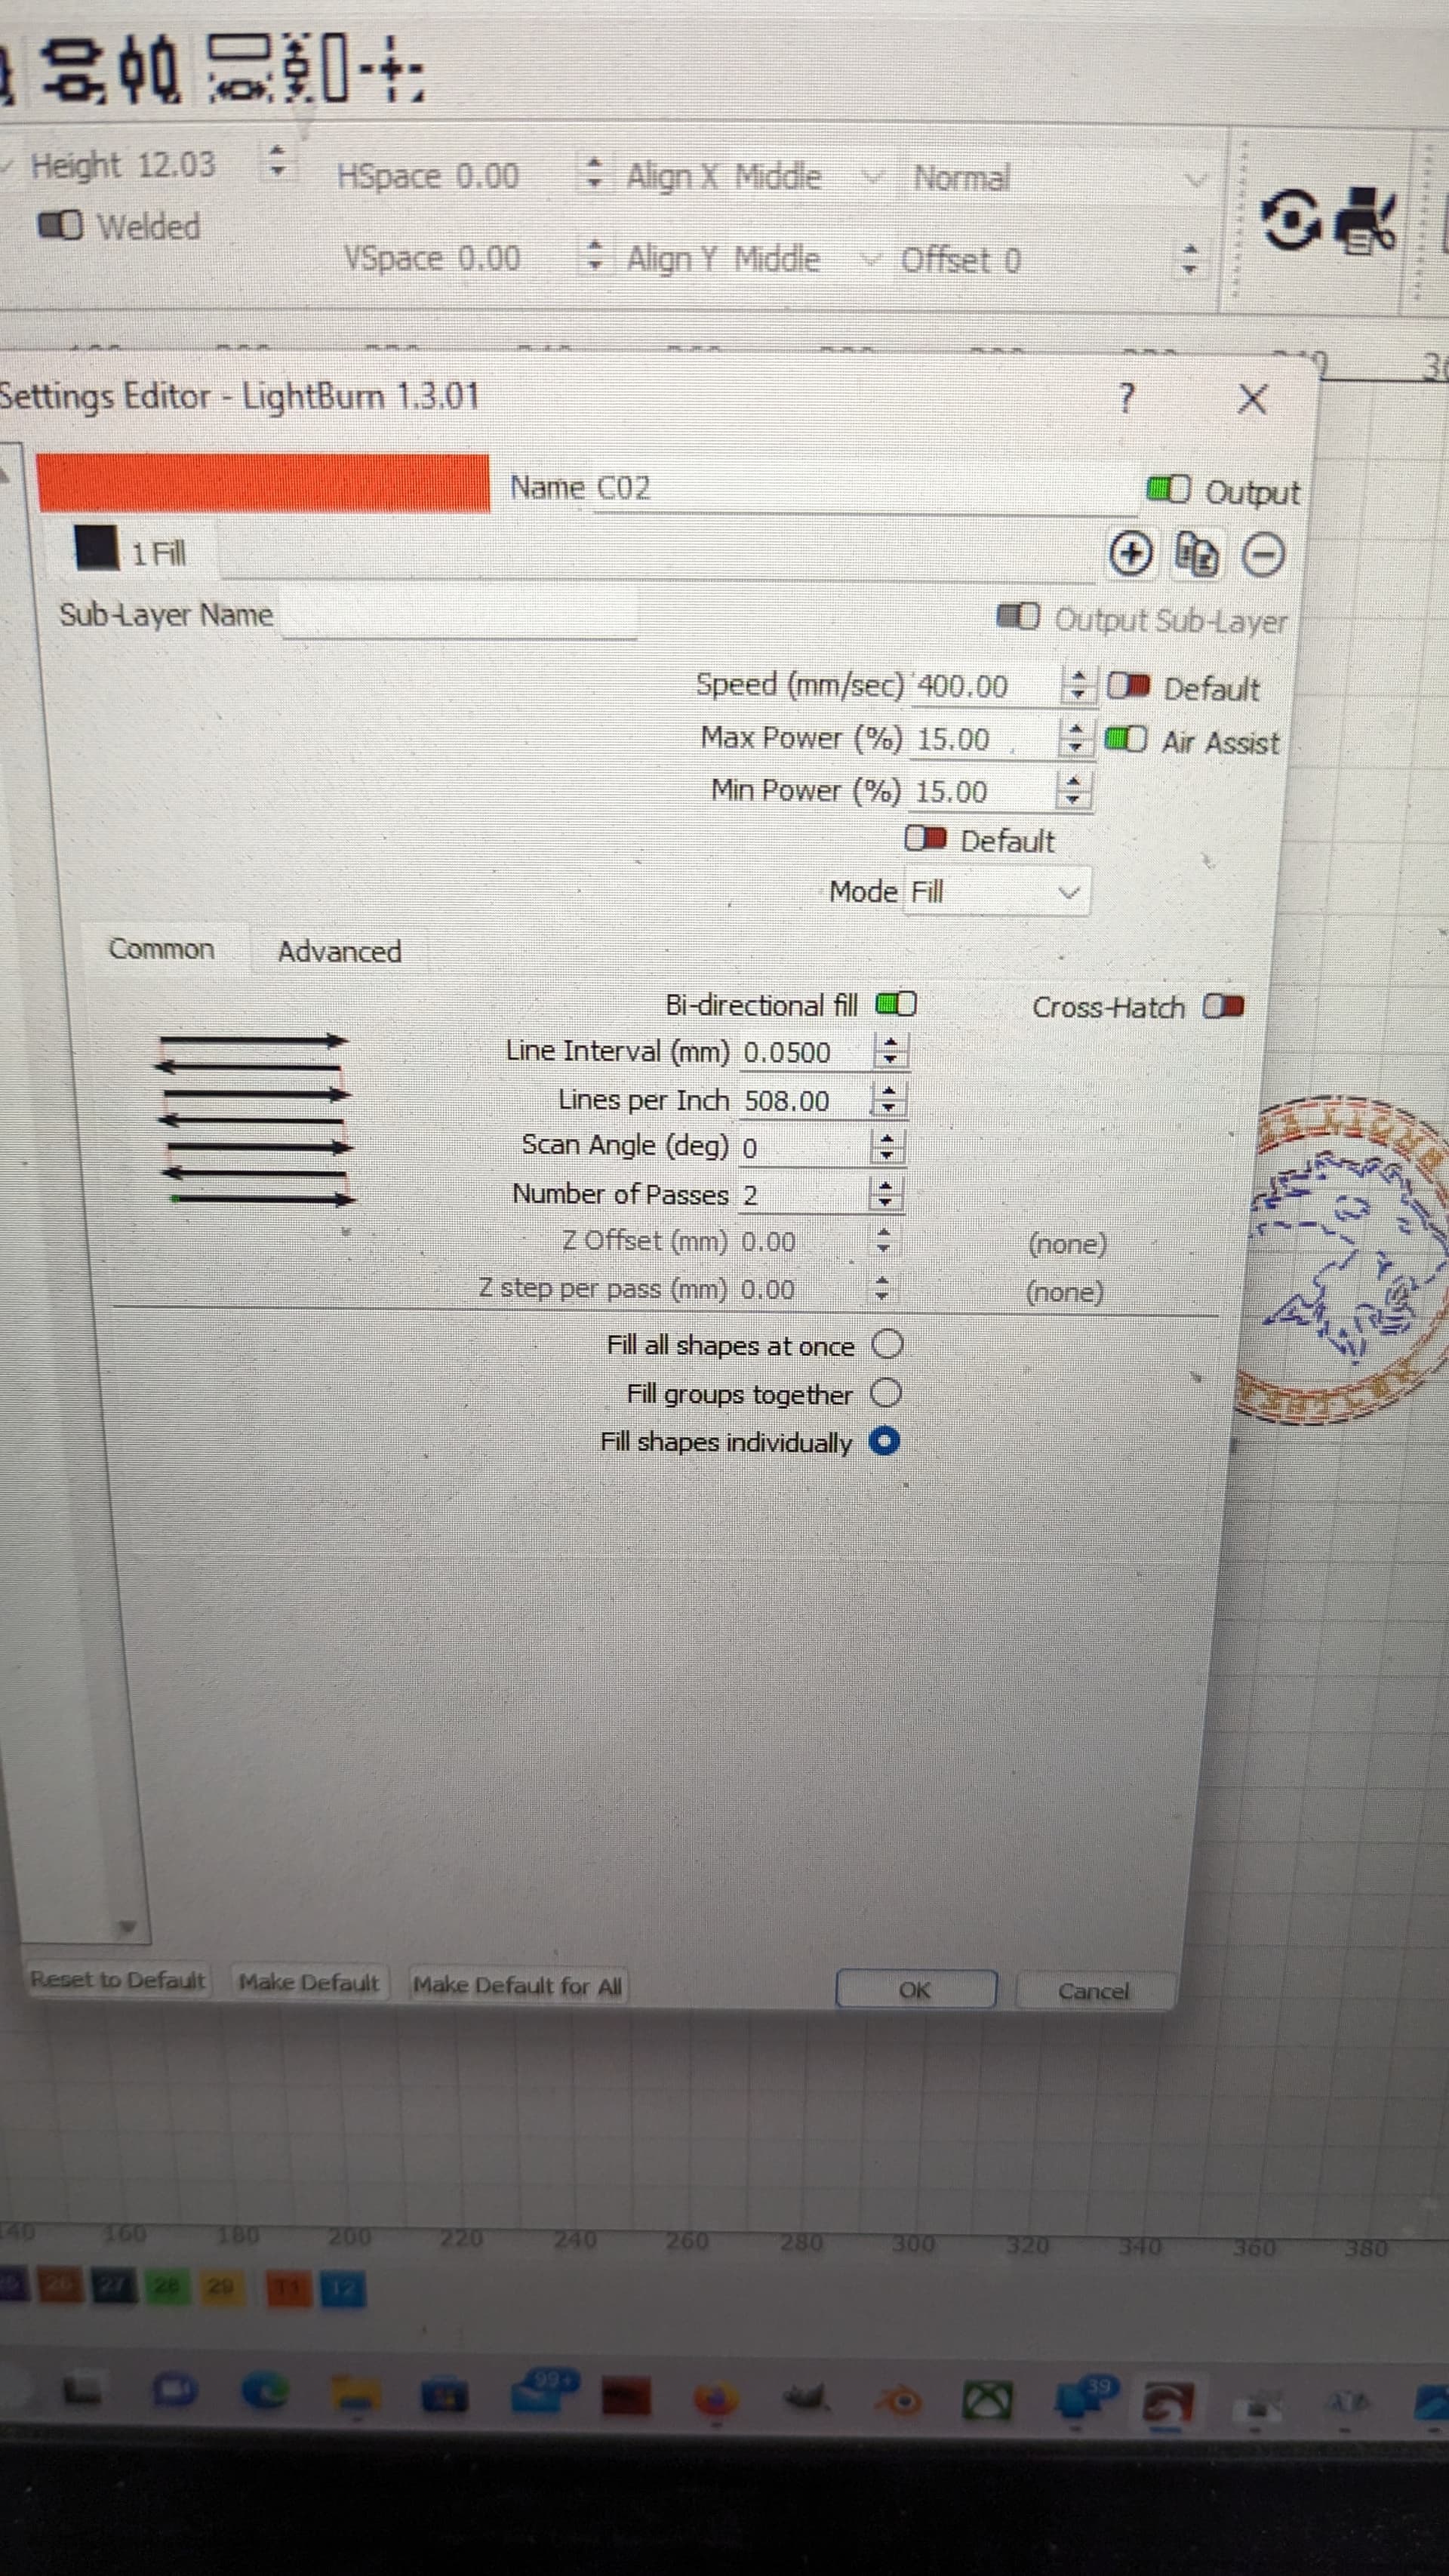
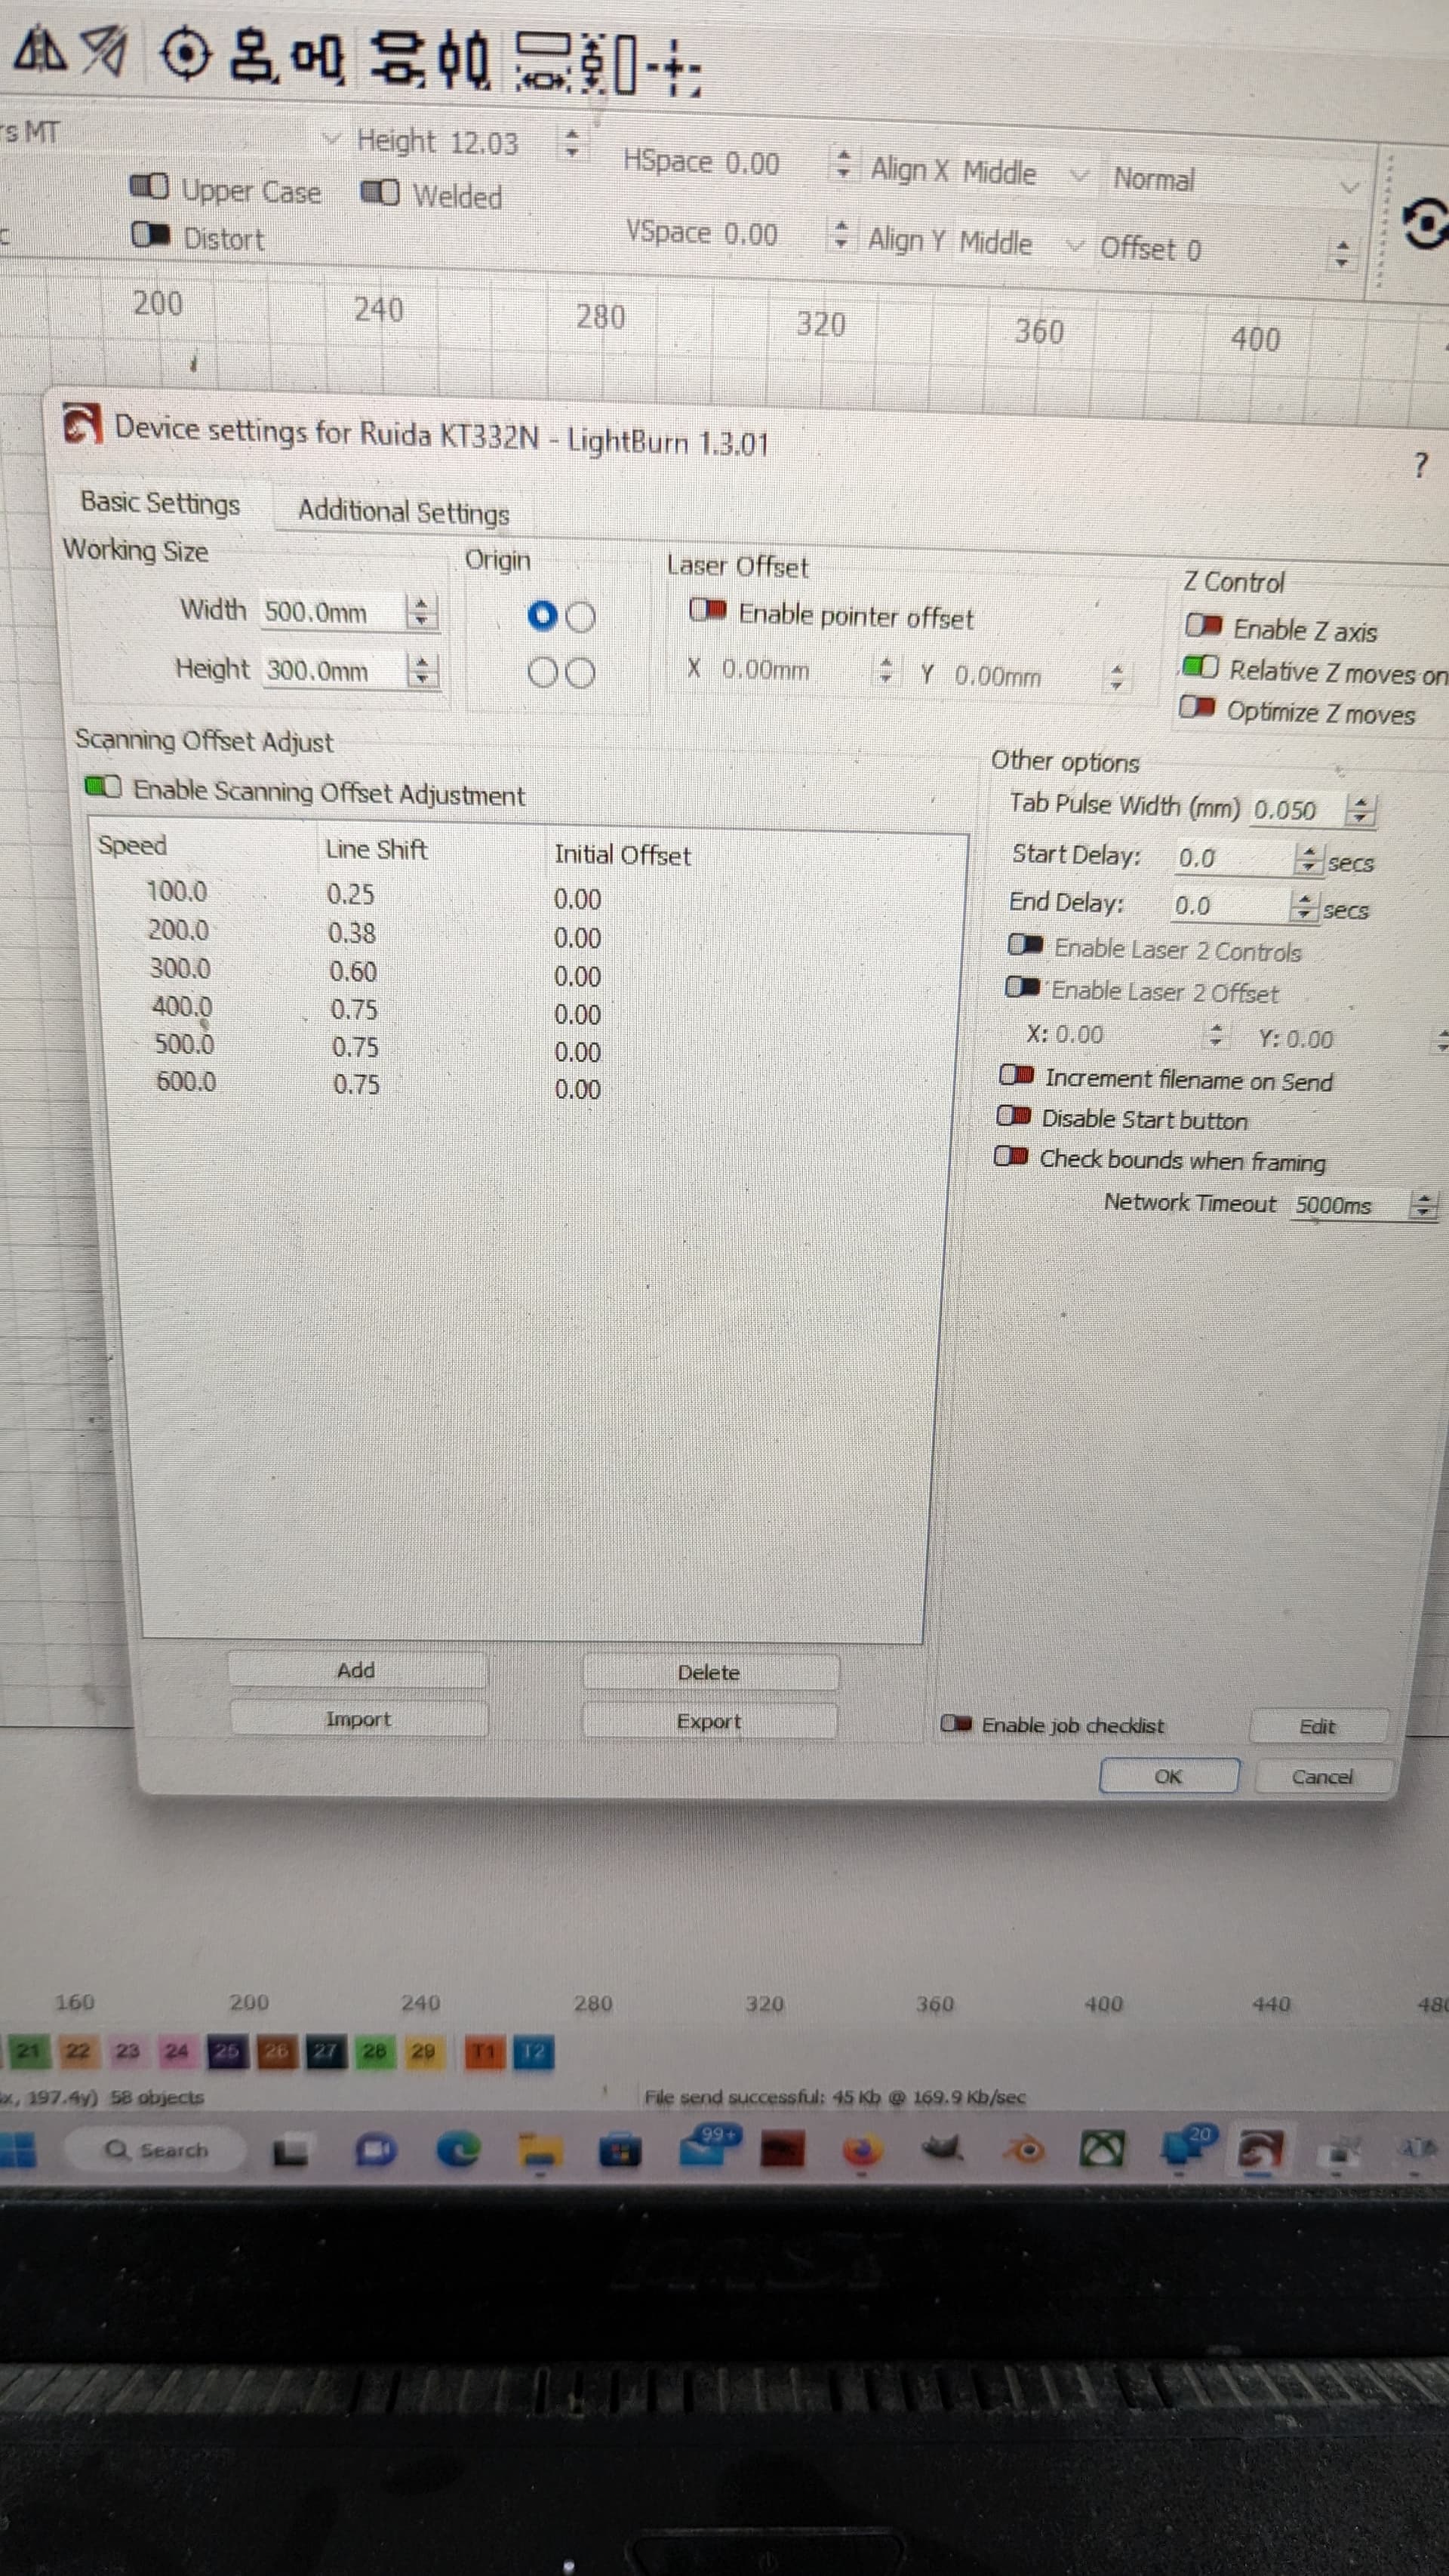
What settings are you using (speed)?
Is the wood sheet fixed?
Something similar happened to me last weekend.
I was engraving ‘two color acrylic’ on my OMTech 55W CO2 and at certain point when jumping the laser head to another shape caused skewed onto the engraved shapes.
Then I used tape on the edges of the acrylic to fix it, and had no more problems.
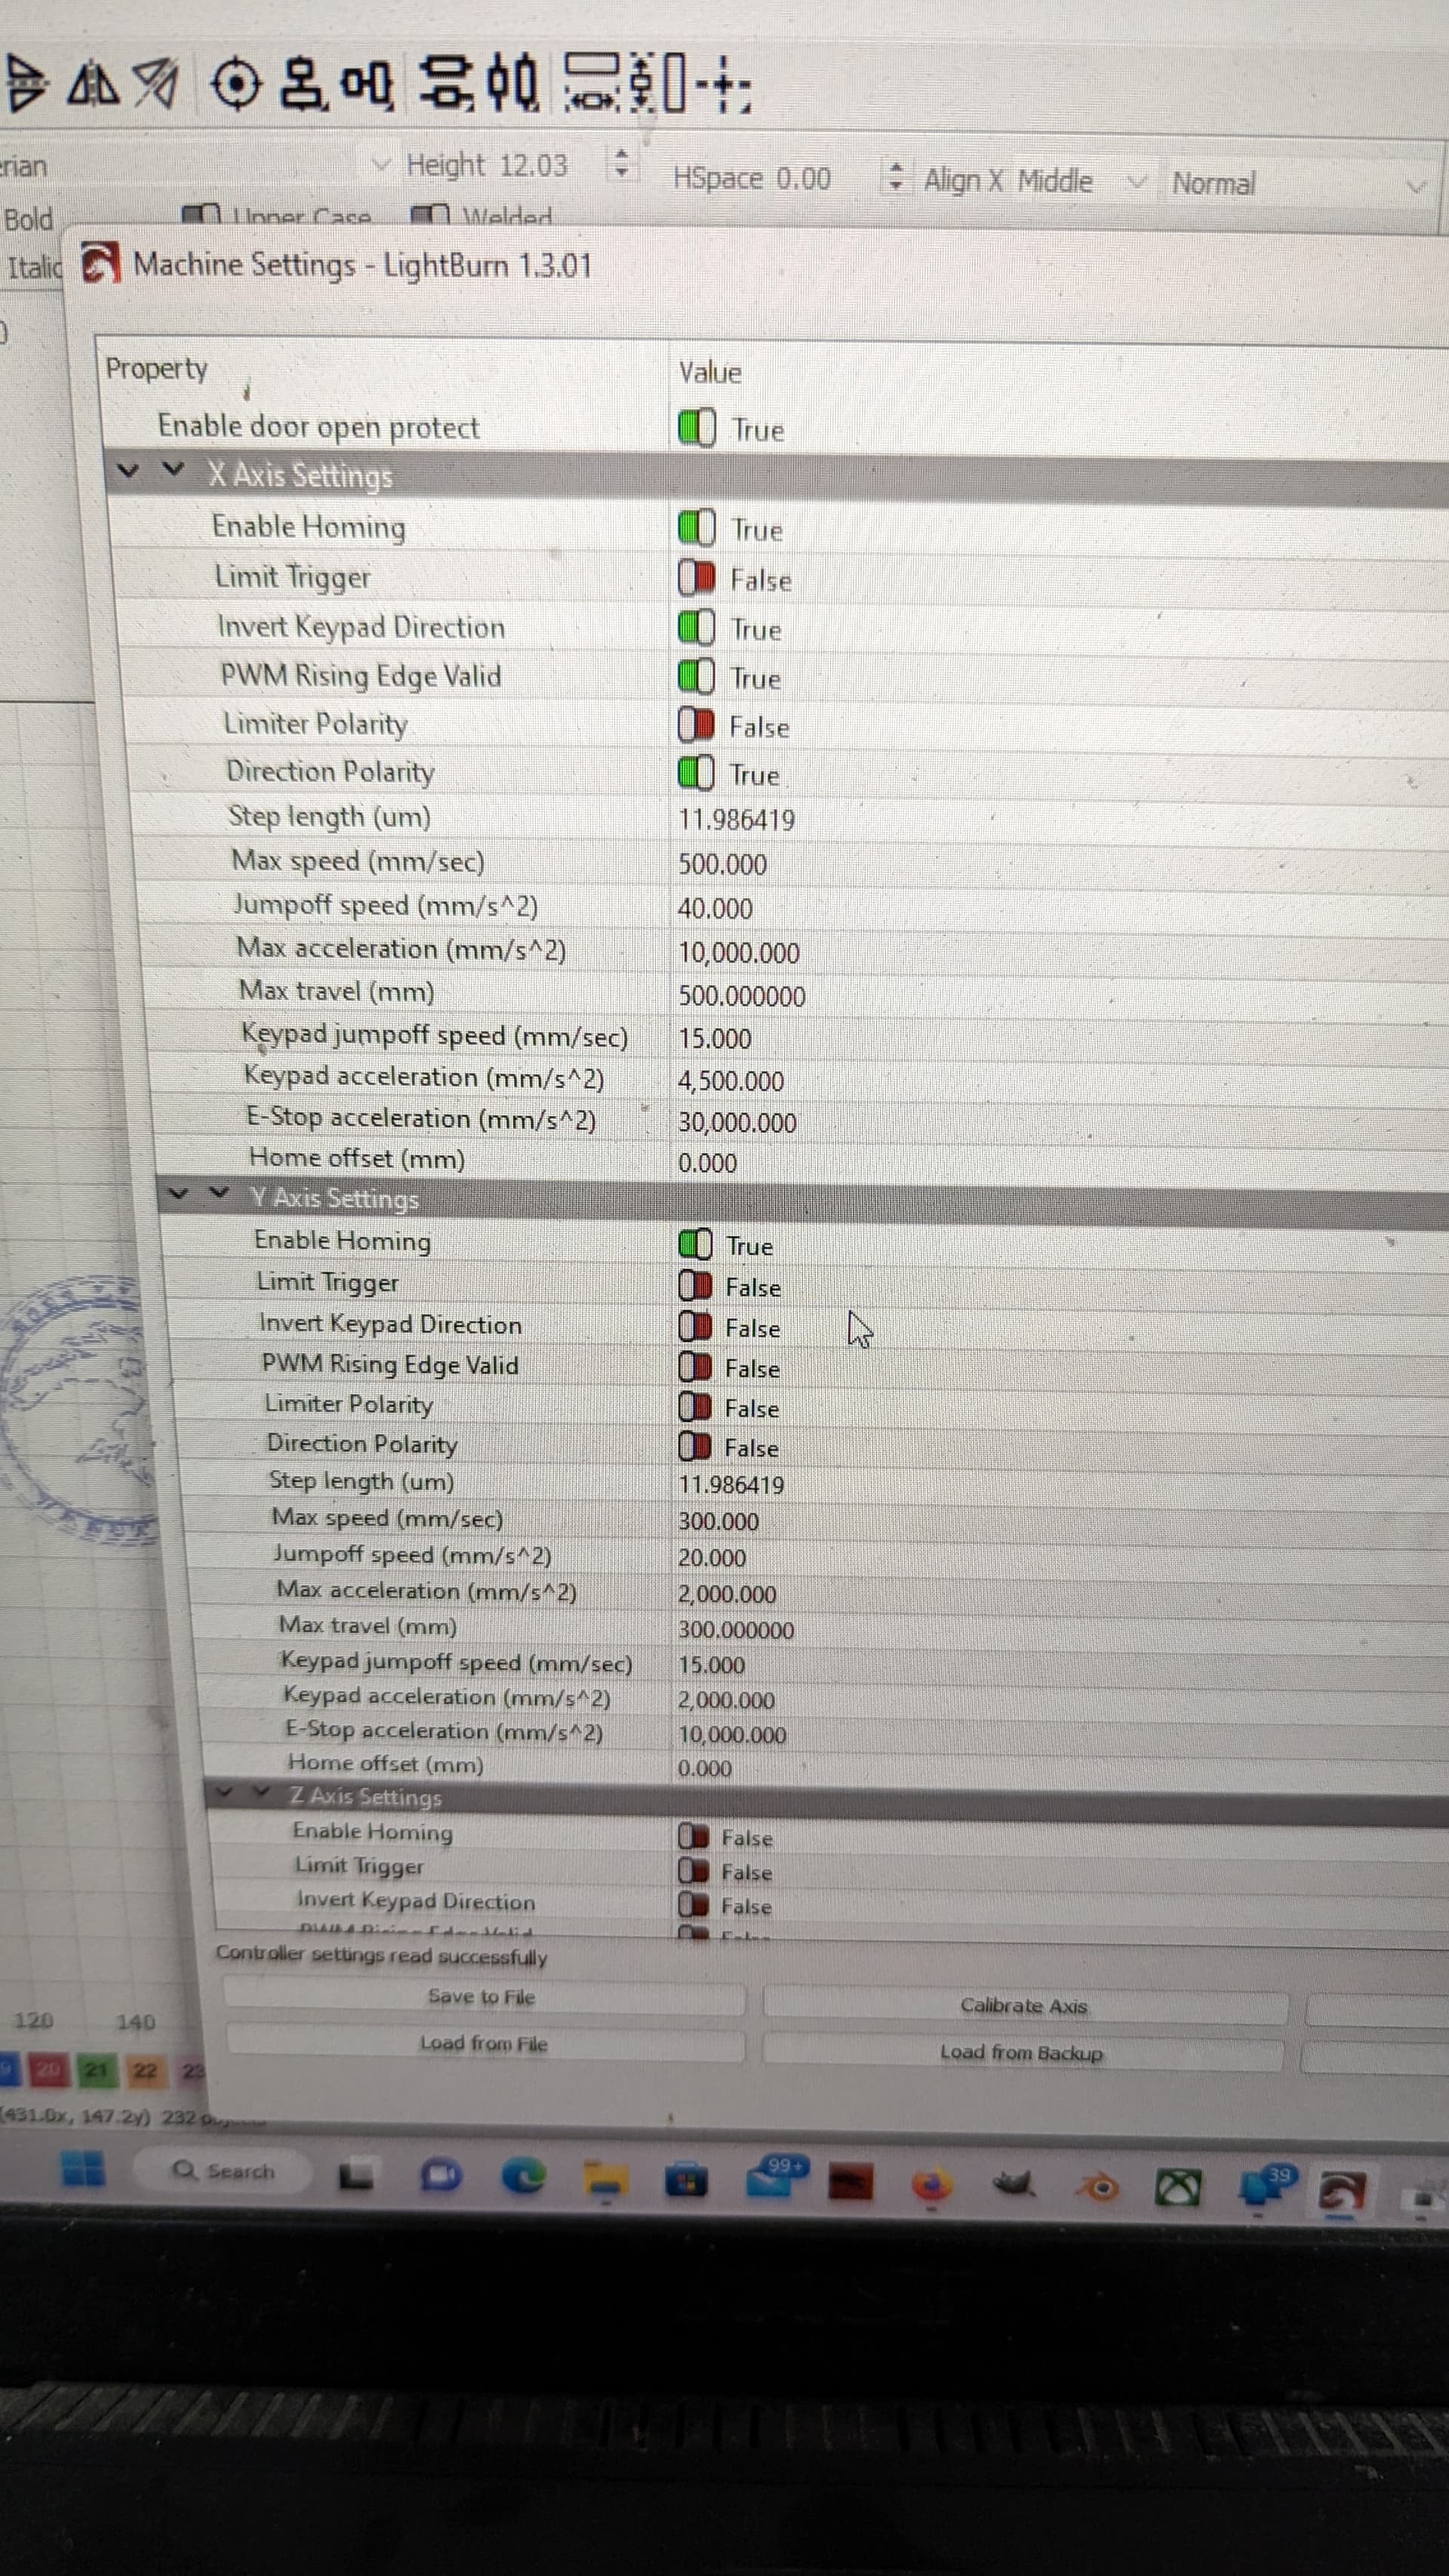
I’m gonna say the x axis because I didn’t read it right I saw x and y axis settings. I switched x back to true and now am switching y to true from false
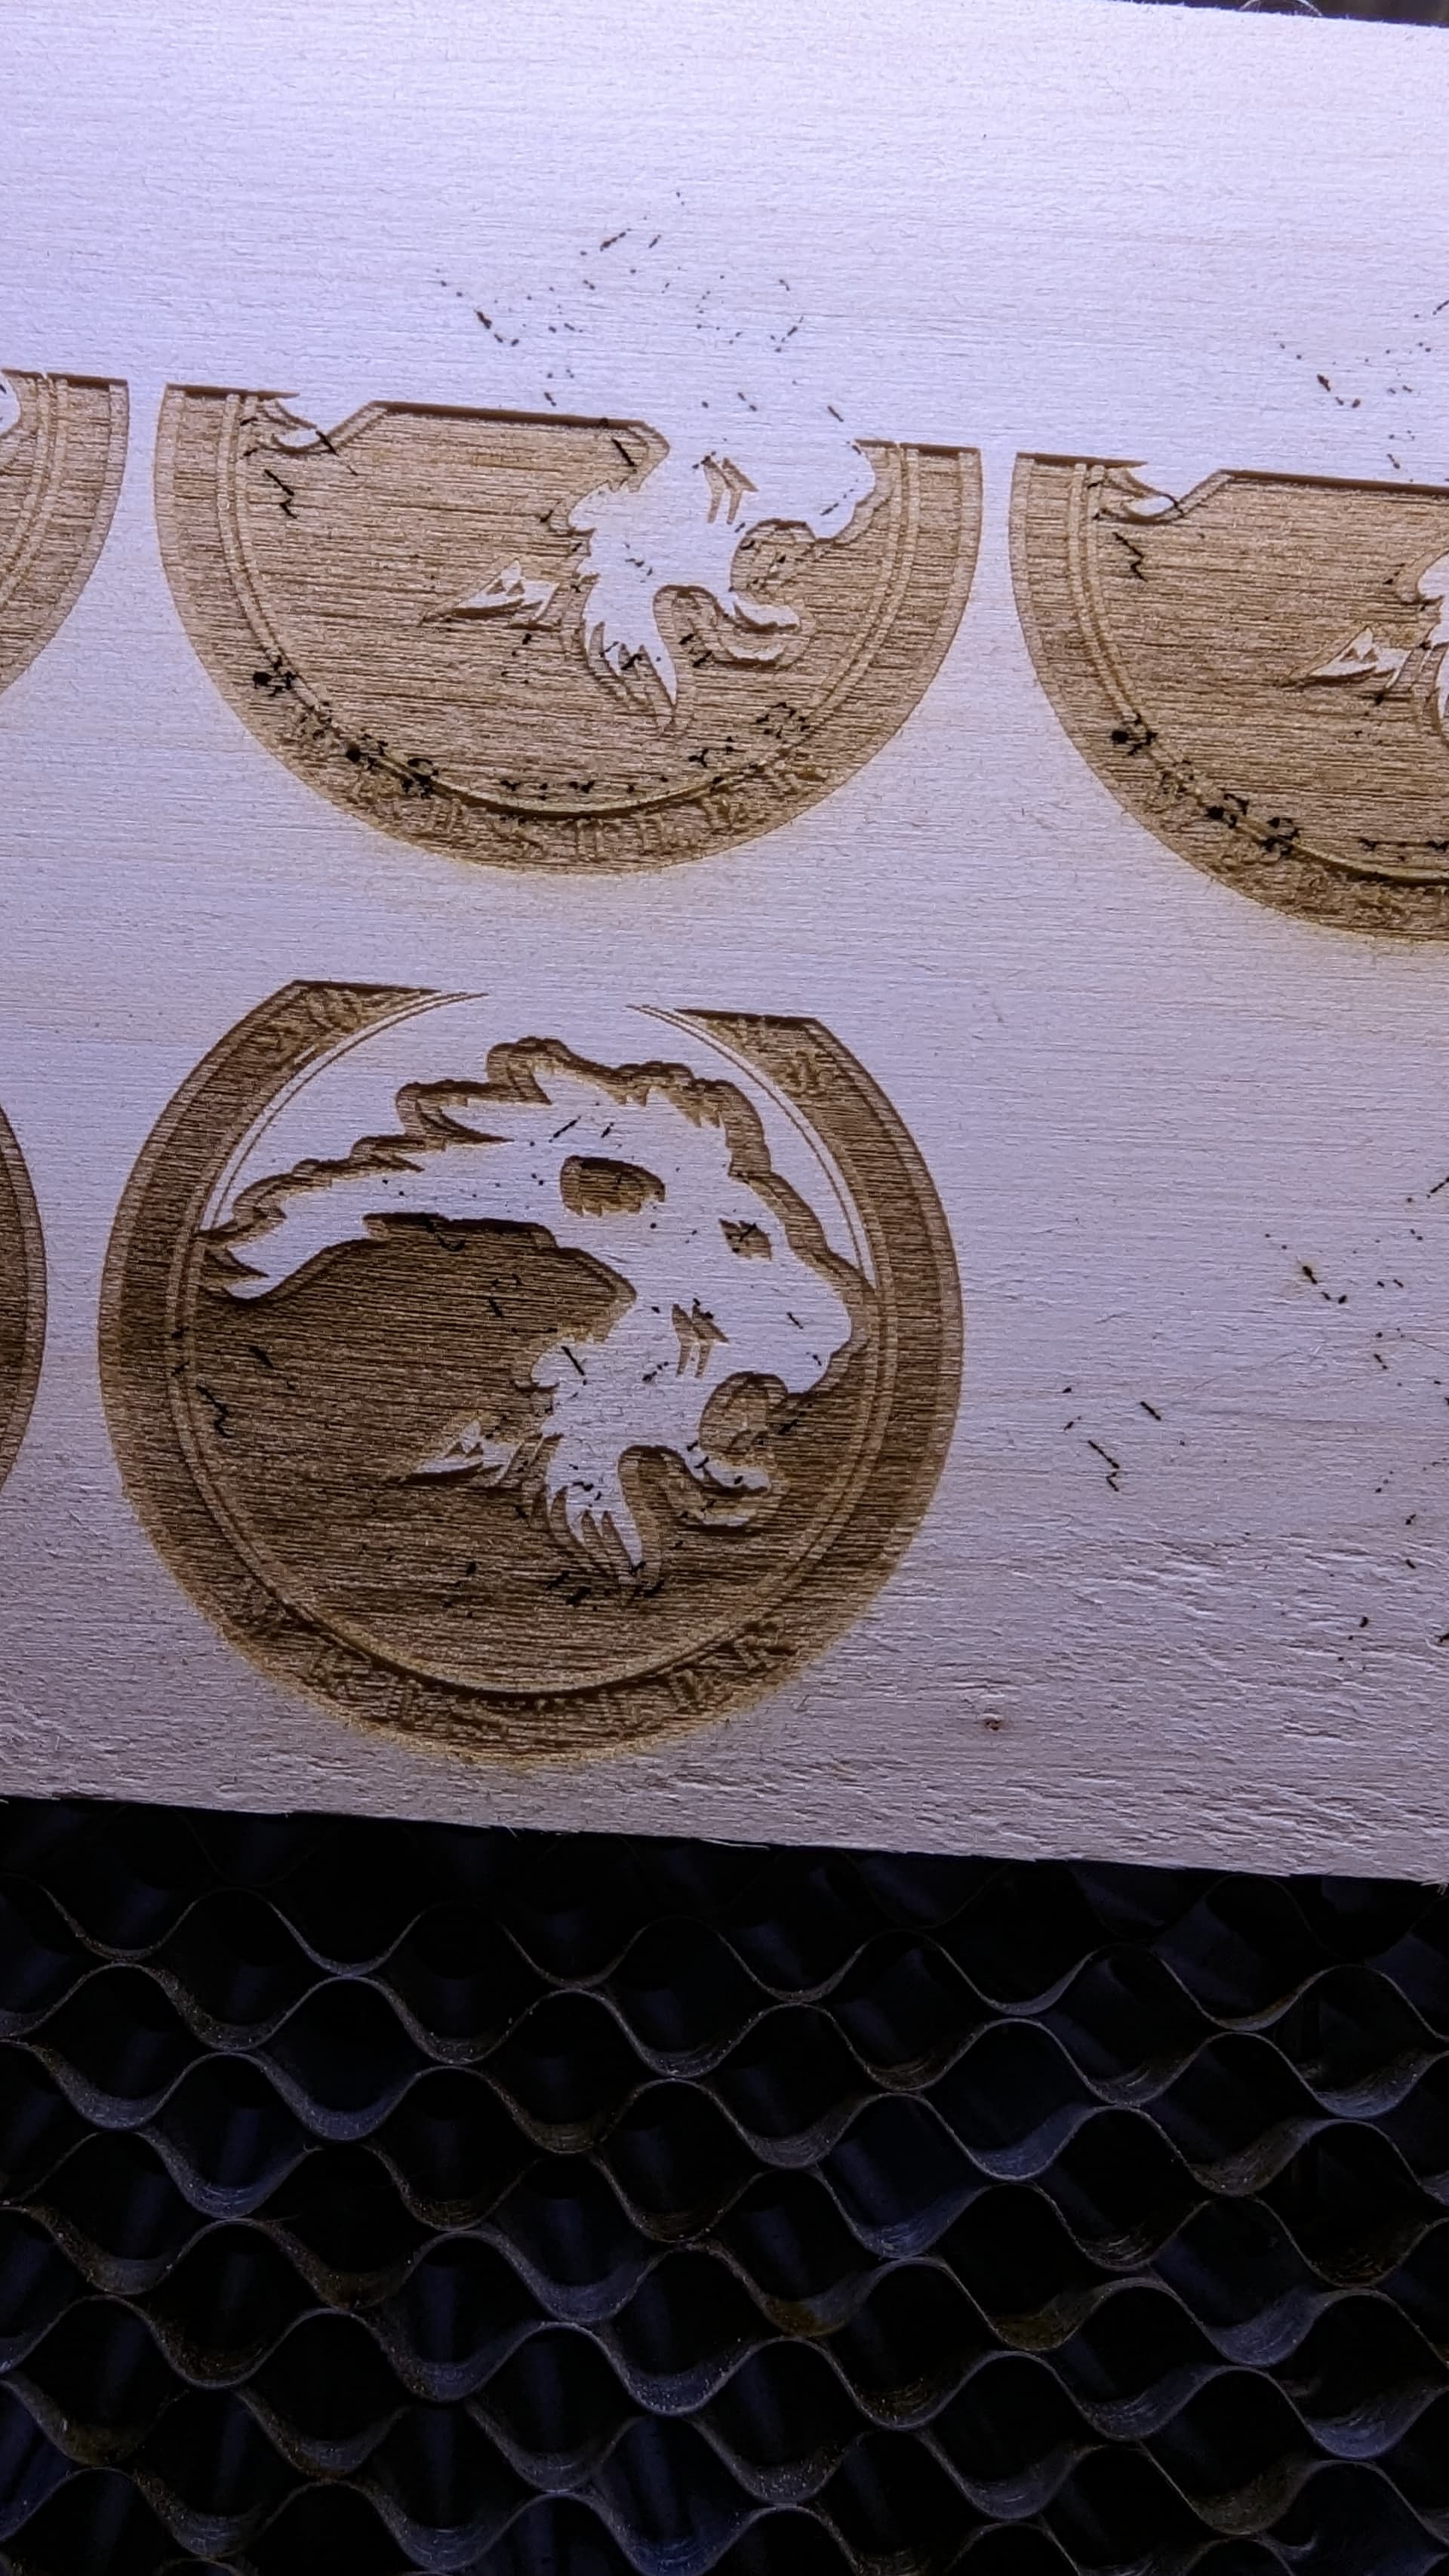
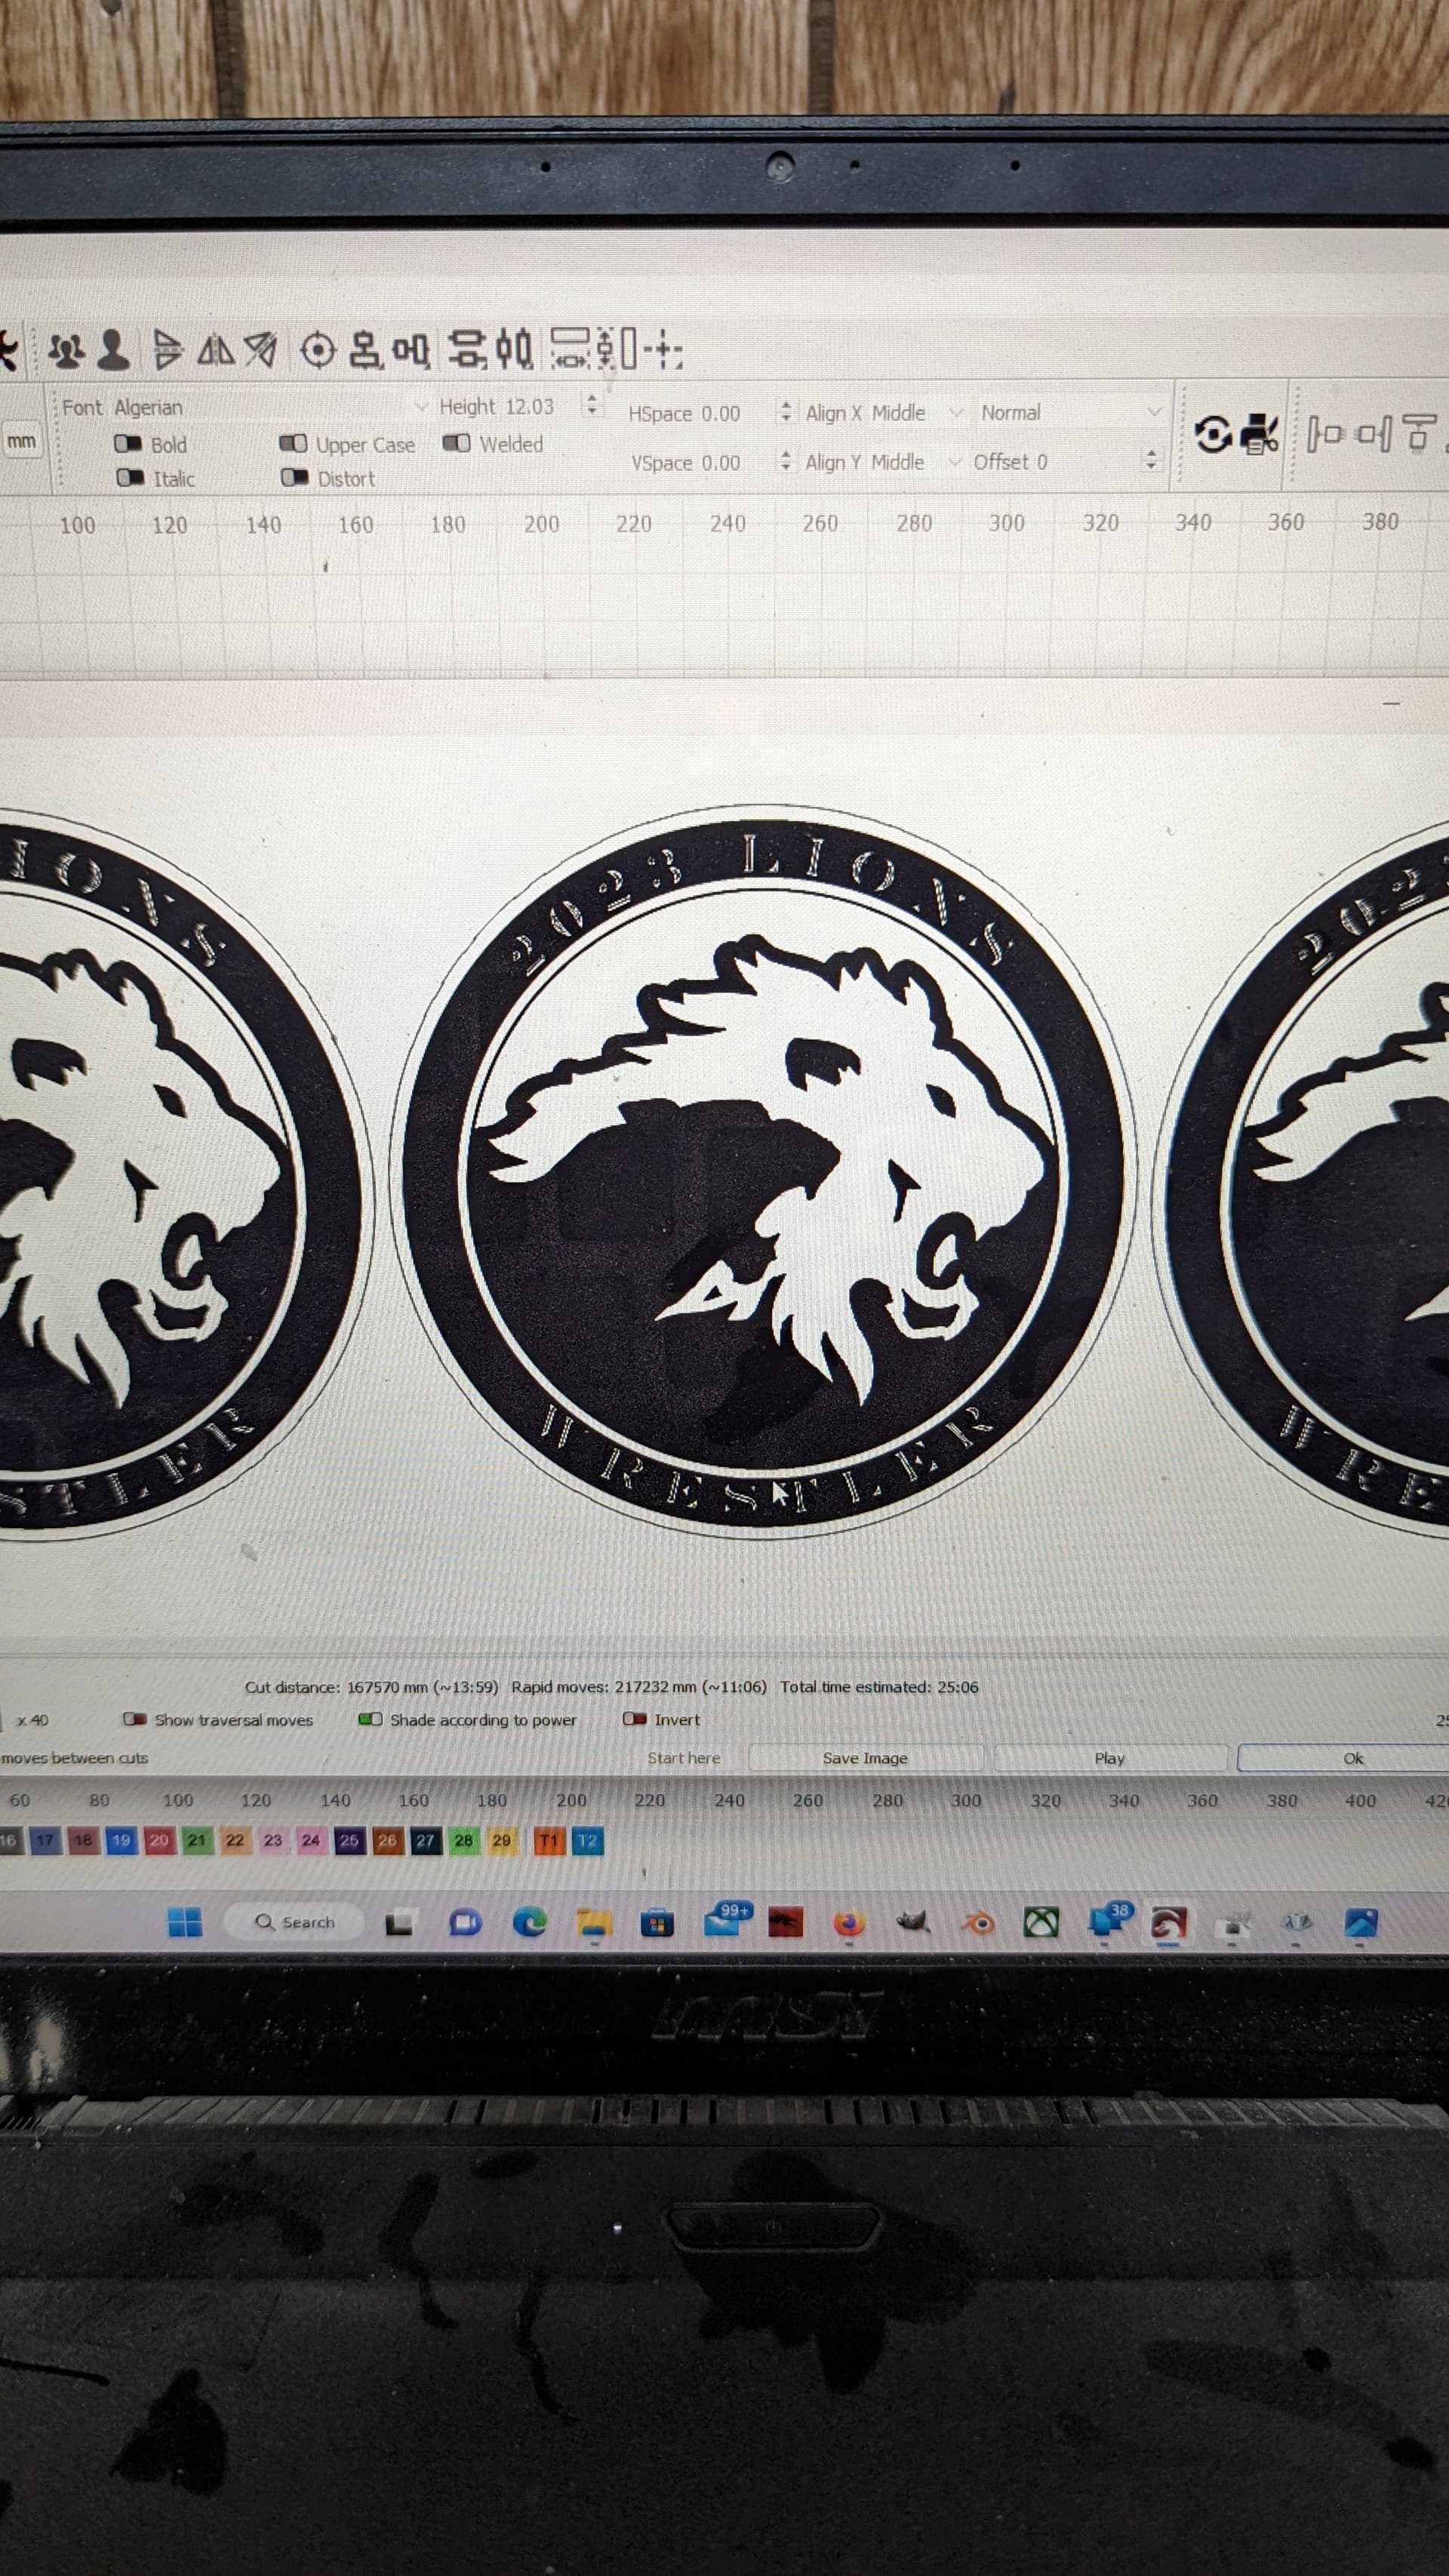
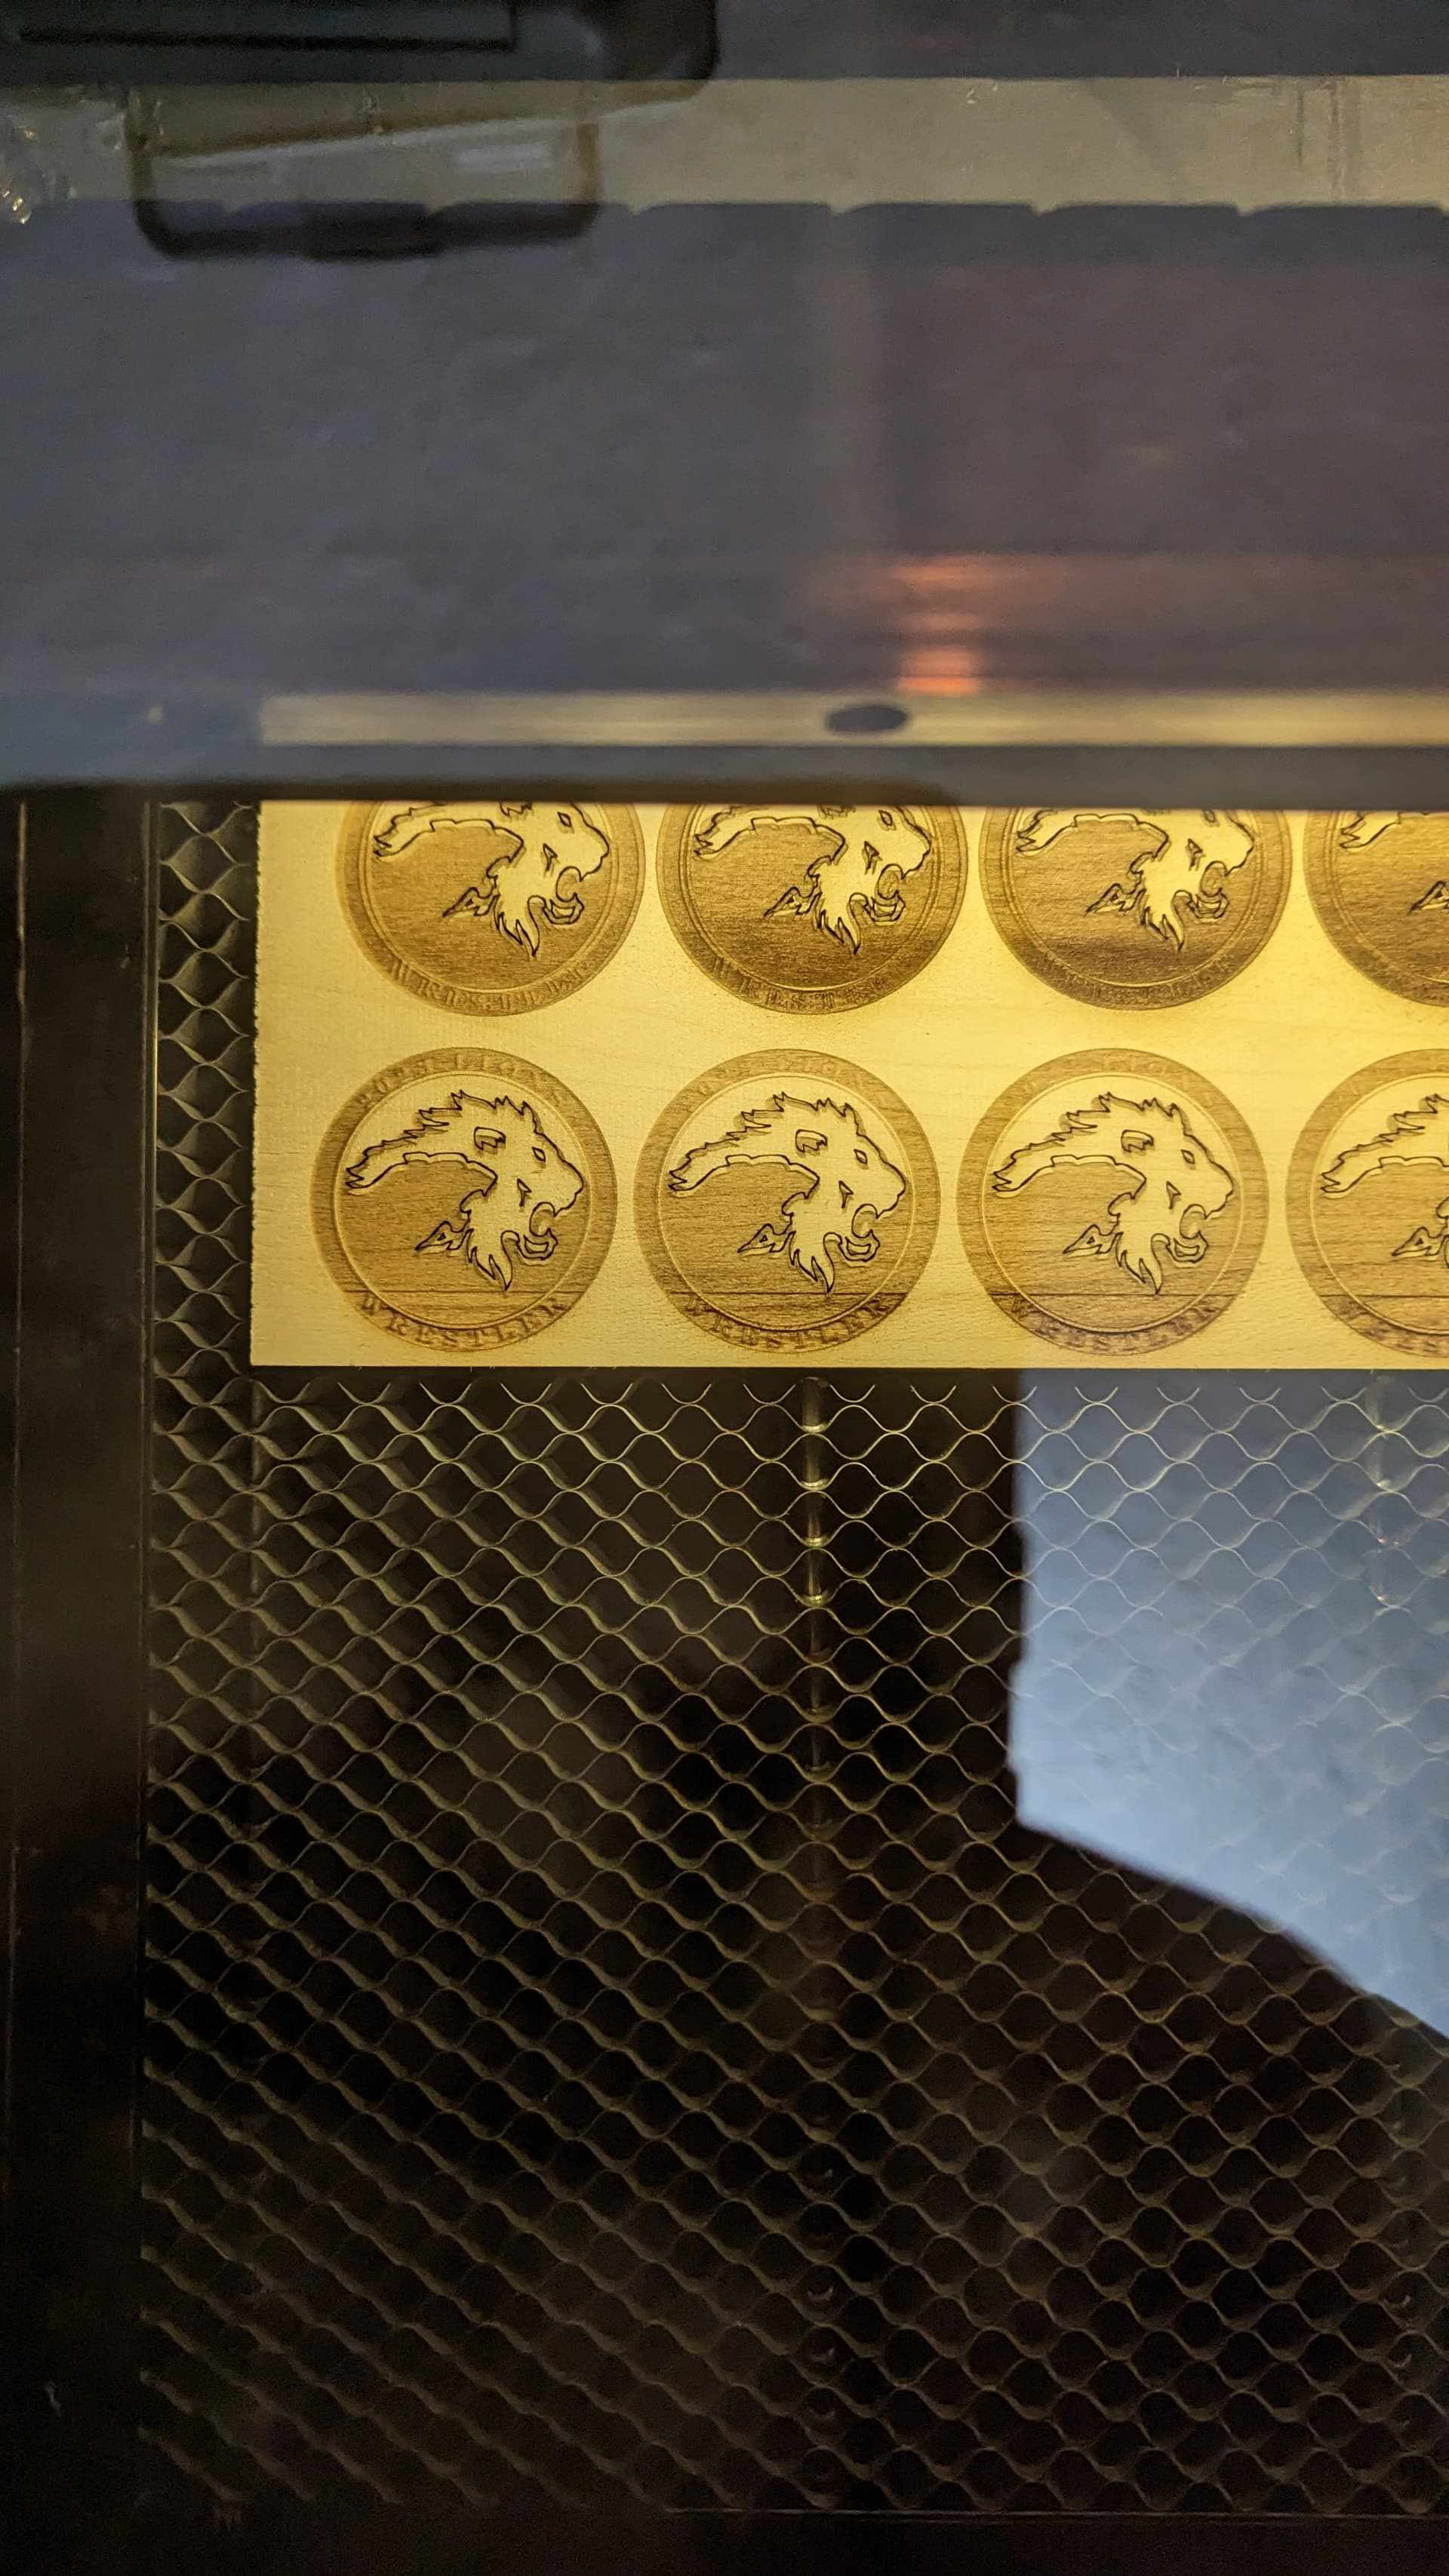
Update: taping made no difference, after changing the pwm rising edge valid from true to false it got worse, changing the x axis back to true and changing the y axis to false was as bad as the other way. Now after setting everything back to normal it’s still doubling and offsetting the cheek marks the eyes and the ears even on a single print ( see picture)
It doesn’t surprise me that an offset would be required… however, it surprises me that this would result in a different offset at different parts of the grid. I would have expected basically the same offset seen consistently across all parts of burn…
Anyway, glad you have something that works for you.
For a given machine, these would typically be either both on or both off… but if your machine was ever upgraded or has different motors for X and Y this could be different. I’d suggest going through the other permutations.
If not this it seems to me you could be possibly losing steps along the Y. Did you reduce acceleration also in Y or just X? But before making any change make sure you check your belts for proper tension.
I was mistaken and edited the last post but I tried both on and both off. It came with x on and y off and I turned off x not realizing y was separate that made it worse but I then turned x back on and turned y on and got the same. The only one I haven’t tried is x off and y on. But I was also dealing with the double printing so it may be better with both on/off now that I fixed that issue.
I lowered both x and y acceleration to fix the wobbly lines.
I followed the article you posted originally and checked my steps and it cut the square out perfectly (150 mm x 150 mm).