Gweike G2 Max 50W settings for brass cutting

Hi, new to the forum. I Started off with the Elegoo Phecda 20W diode running GRBL via lightburn core. I used to run a 200W Firestar CO2 laser at work which I also helped build the controller for with a mach 3 board. I Just got my G2 Max yesterday, so I’ve only had about 2 hours to play with it. Long enough to discover the first round of bugs and hurdles.

I came across this thread after scouring the web for tips and tricks. Wow, this has been a lot of great information. Thank you, @Aaron.F ! I’m hoping to pick your brain some more.

I apologize, because I have a couple of questions which might be somewhat off topic.

  1. My red lines are off similarly to the OP. I’ll be working through your suggested fixes tonight.
  2. I’m trying to cut and engrave 1mm brass, and having some difficulty. More on that below.
  3. After briefly trying Glaser and finding the interface inferior, I’m trying to switch to lightburn pro. but getting weird results. I’ve also found some suggestions here that are likely to help, and will try them tonight before I pose any questions.

So, for my brass cutting question:

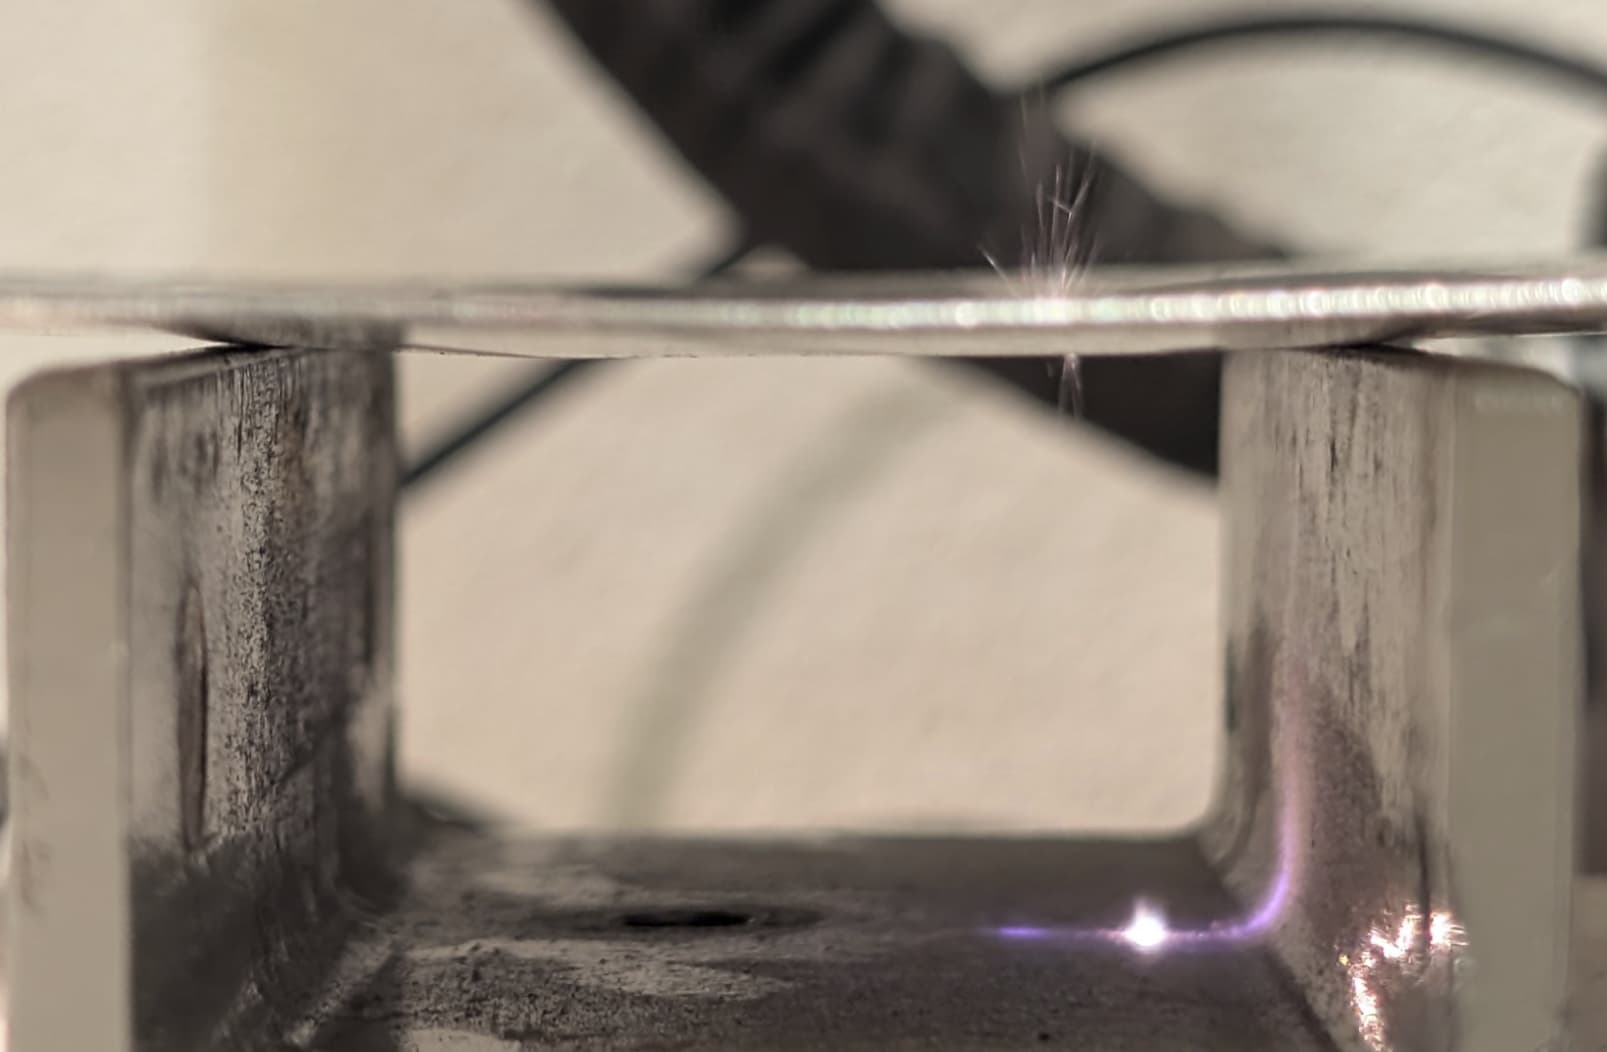
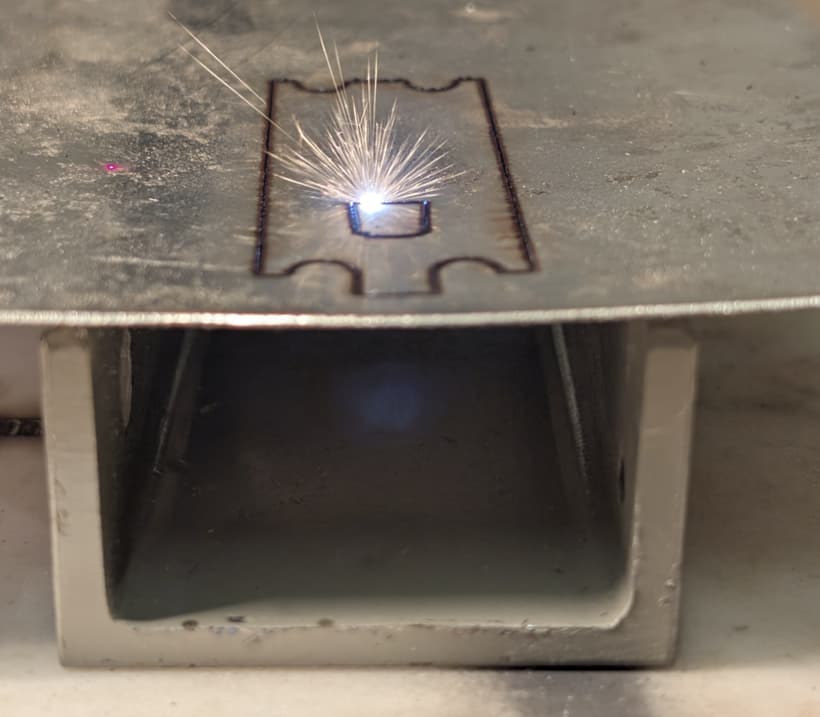
Got Glaser running ok after figuring out that the supplied USB cable was no good. Ran some test pieces in 1mm brass with the intent to engrave dark text and then cut an outline for some custom tags.

First Trial:
I used the recommended settings from barchlaser.com to start with for the dark text and cutting.
Dark engraving:
Speed 150
Power 90%
Frequency 60
LINE SPACE: 0.02

Did not do this:
HATCH : 1
HATCH type: Bidirectional
ANGLE: 90

Text came out dark but raised rather than engraved, like it basically burned the brass to slag but left it in place. Cuts were very shallow and also mostly just a puddle of dark slag in a trench.

Cutting:
Speed 100
Power 90%
Frequency 37
WOBBLE DIAMETER: 0.30
WOBBLE DISTANCE: 0.1
passes 5(not mentioned by barch, but the promo videos for the G2 showed it cutting in 4 on .5mm)

But didnt do this:
HATCH: Bidirectional
HATCH angle: 0
LINE SPACE: 0.5

Second test
Tried the published settings from Gweike for engraving brass and it took off a lot more material(≈.5mm), but was not dark at all. 1500mm/s, 60%, 30khz, 200 passes

Cutting I tried their published settings as well, but I can’t find them now. I believe it was very similar to Barch’s recommendation, except frequency 30, and I tried 25 and then 50 passes.

Even 50 passes didn’t cut through. But it was close enough that I can see a line in the bottom of the brass along the trench. This took a while for such a small piece. Do you have any recommendations for how I can get closer to the awesome 4 pass cuts at .5mm Gweike shows in their promo vid?

Well, I’m getting better results, when I can get the prescribed number of passes to finish. For some reason when using lightburn, I set a large number of passes, it completes 3 or 5 of 8, but then stops.

I’ve tried multiple usb cables, but no luck.
I also tried getting it to go through wifi, but can’t even get it to reconnect after a restart.

I cut arrows to mark my column.

Can’t remember the number of passes, I thought it was about 20.

Maybe this will help. 1mm cut is not engraving, it should do it, but these are really engraving machines.

Complained of a system error when I tried to watch your video.

Good luck, let us know how they work.

:smiley_cat:

1 Like

Welcome to the forum, Cory!

Thank you for chiming in on the other topic. I’ve moved your post to this separate thread, so it gets the attention it deserves :slight_smile:

Sure! I’m happy to help find good brass cut settings.

To give more context of why that is:
The Galvo Red Dot Alignment video briefly shows the beam combiner in another galvo:

This is how that part looks in a G2 Pro:


The laser from the source comes from the right and passes through this slanted, mirrored glass. Above it, in the aluminum block, is the red auxiliary laser. The four screws align the red dot laser to be in one line with the fiber source.

I got lucky and never had to adjust it on my machine. The easiest way is definitely to do it in LightBurn by following the video.

That’s totally doable!

You can see and hear the jump cuts in the promo video. This is merely showing that the 50W is stronger than the 30W laser - which is to be expected :slight_smile:

We don’t know how many passes they did here, but it’s certainly more than four!


Here are some general tips for cutting 1mm+ metal for fiber sources:

  • Focus is key! Set the focus halfway into the material.
    When focusing, don’t necessarily trust only the two aligned red-dots, as this depends on an accurate calibration of the second, angled assist laser. The methods described in this video are more reliable.

  • A strong fan blowing on the material helps keep the temperature under control and remove ablated material.

  • Use Wobble! Increase the “Wobble Size” and decrease “Wobble Step”. This creates a larger gap, so the beam can “get in there”

  • Use the lowest frequency to get more power per pulse. (like coarse-grit sandpaper)

  • I personally prefer a fast speed of around 5000 mm/s

  • And do as many passes as needed. Sometimes more than 200 passes!

You can try with something like this:

I like to place the material on an elevated platform, so you can see under it (with safety goggles!)

Here, I’ve set it to 500 passes and let it run until it’s through:


In this case, it was 0.75mm stainless. I don’t remember, how many passes it took, but this small bracket took 30 minutes to cut!

As Jack noted: these are engraving machines. But with enough patience can absolutely be used for cutting.

Let us know, what you end up with. Share a screenshot of the used settings and pictures of the results, if you like!

1 Like

Dang, can’t believe it did stainless that thick! I finally ended up getting one small tag to cut through brass by running multiple sublayers. it took 39 minutes. The settings were

  1. 10mm/s, 100% power, 30hz with .1mm x .1mm wobble, 10 passes
  2. 1500mm/s, 60% power, 30hz with .1X.1 wobble, 10 passes
  3. 10mm/s, 100% power, 30hz without wobble, 10 passes
  4. 1500mm/s, 60% power, 30hz without wobble, 20 passes

My thinking was to make a wider cut at the top with wobble, and then to clear out the slag with the faster passes before driving deeper with the 10mm/s passes again. I have a little belt clip fan that puts out some serious CFM and will add that to the setup.

I did try to focus the beam just slightly under the surface, aiming for .5mm lower, based on my experience cutting kevlar felt on the Firestar.
I started where the convergent lasers indicated, then adjusted for the most agressive sound and visible interaction, and then dropped it from there. I’m not sure how accurate I was though. Looking forward to watching that focus video when I have a bit more time.

I love the idea of supporting it above the surface. I’ll have to print some jigs until I can make a honeycomb support. I was thinking it would be really nice to see what was happening underneath, but for some reason didn’t think of this. Unfortunately I’ve been going about this sub-optimally, guessing and checking because I’ve got a customer who wants a bunch of these tags ASAP and knows nothing about it. I.E. he keeps asking me if I can “print the letters in green instead”, and he keeps coming up with ideas for other 3d printing, laser cutting, and CNC work faster than amazon can deliver materials or than I can do the design work. lol.

Another issue I was running into was the program stopping early for some reason. A PC restart fixed that the first time, but it happened again when I tried running again with slightly tweaked settings

I appreciate very much your help in shortening my learning curve, and for moving my post to the appropriate location.

1 Like

Interesting. 40% power and 50hz? that’s a long way from where my fumbling has been indicating. Thanks for sharing.
The video was just the one on the Gweike G2 max product page. I missed the text next to it that says they used 10mm/s, 100% power, and 4 passes for their .5mm example. They don’t mention frequency, wobble, etc… though

That’s brilliant!
The remaining slag is definitely a hindrance, and finding good settings for a “cleaning pass” settings is a great idea!
I didn’t dive into that too much yet, but my suggestions are close to what you already did:
Faster, less power, high frequency. All this would result in less heat buildup and therefore less oxidation. On that note, turning off the air assist during the cleanup pass could help, but the G2 doesn’t even have accessible outputs to control this if LightBurn supported air assist on galvos.

That’s exactly how I do it.

Higher Frequency is worth a try. You can think of it like finer-grit sandpaper.
It is worth noting that Jack has a slightly more powerful MOPA source, where you can adjust not only the frequency (pulse rate) but also the pulse length (Q-pulse) to control the time in nanoseconds over which each pulse is released.

The fiber source in the G2 has a fixed Q-pulse. In a way, you can be glad that you don’t have yet another variable! :wink:

Thanks for sharing the results!
BTW: Make sure to save your settings in a Material Library. for easy access in the future.

1 Like

Do you know which source is in the Max? I’ve tried to find it but have conflicting information.

I thought they had a Raycus 50 GB type source. If you’ve been inside one maybe you know?

Thanks for posting the photos of the beam combiner. One looks like it’s a bit more adjustable than the other.


@cvore2004 – since you mentioned two lasers you’ve used, but neither is a pulse laser.

Fiber lasers need to have their power pumped up for them to lase. It takes time to pump up a fiber, so that limits how fast you can produce pulses and what they power level would be. @Aaron.F correct, my MOPA has more adjustments than a q-switch machine, but the basic operation is the same. A MOPA allows you to more control over frequency, mine is 1kHz – 4000kHz adjustment range and about 16 or so different pulse shapes.

The fiber can just heat the metal or it can create enough energy to vaporize pieces.

I suggest you figure out what kind of source is in your machine and get the documentation for it, which will explain what is available.

My source states at 40kHz it produces the highest power output. I don’t really know how the limited range of frequencies are dealt with.

Good night.. :yawning_face:

:smiley_cat: