Hello everyone. Im very new to the engraving world, I’m also quite inept at the task I have found. Many MANY questions plague me.
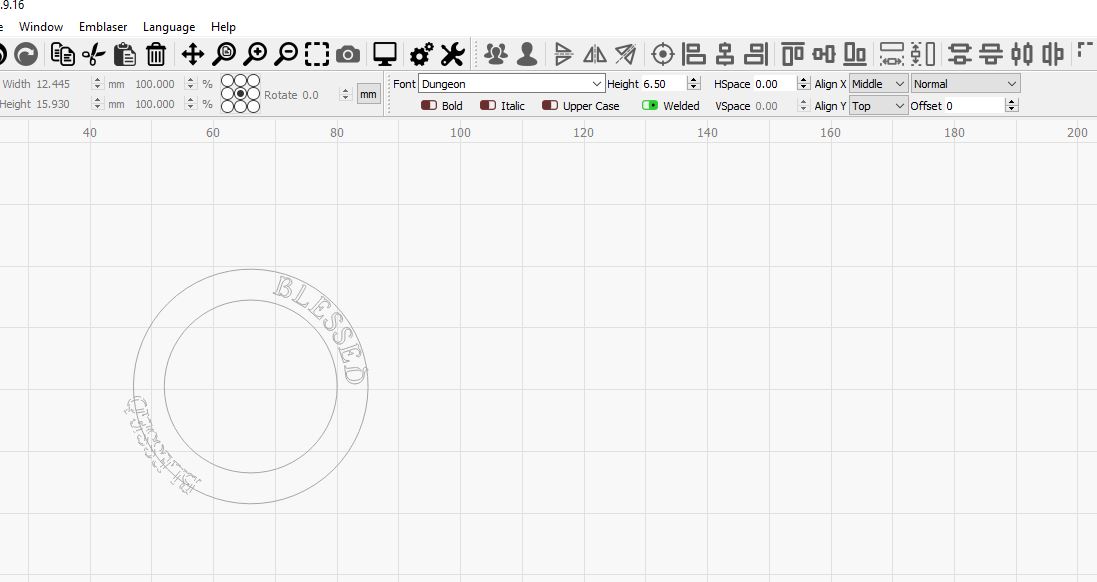
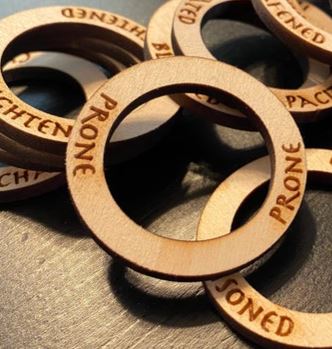
My current one, is trying to fit tow words within enclosed circles. The text does not align very well, and as with the case of the selected text you will see in the picture, it does not align at ALL. Would anyone be able to help me get this issue sorted?
Since you’re just using circles anyway, create a piece of text, switch to selection mode, select the text, then grab and drag the blue dot that appears to bend the text. You don’t need to create a circle to do this, and it’s much a much simpler way to create and work with circular text.
For your actual question, without seeing your file or the font you’re using, it’s hard to say what’s happening exactly, but it doesn’t look like you’re doing anything wrong at first glance.
Thanks for the response Oz. The font was dungeon. I threw a screenshot in just to show what is happening. I’ll give your method a try. My other question further to that, I know how to engrave the lines, or the fill on the text, but How would I go about making the text ‘debossed’ so to speak. So the the fill inside the 2 circles is engraved but the text is not?
Thanks again.
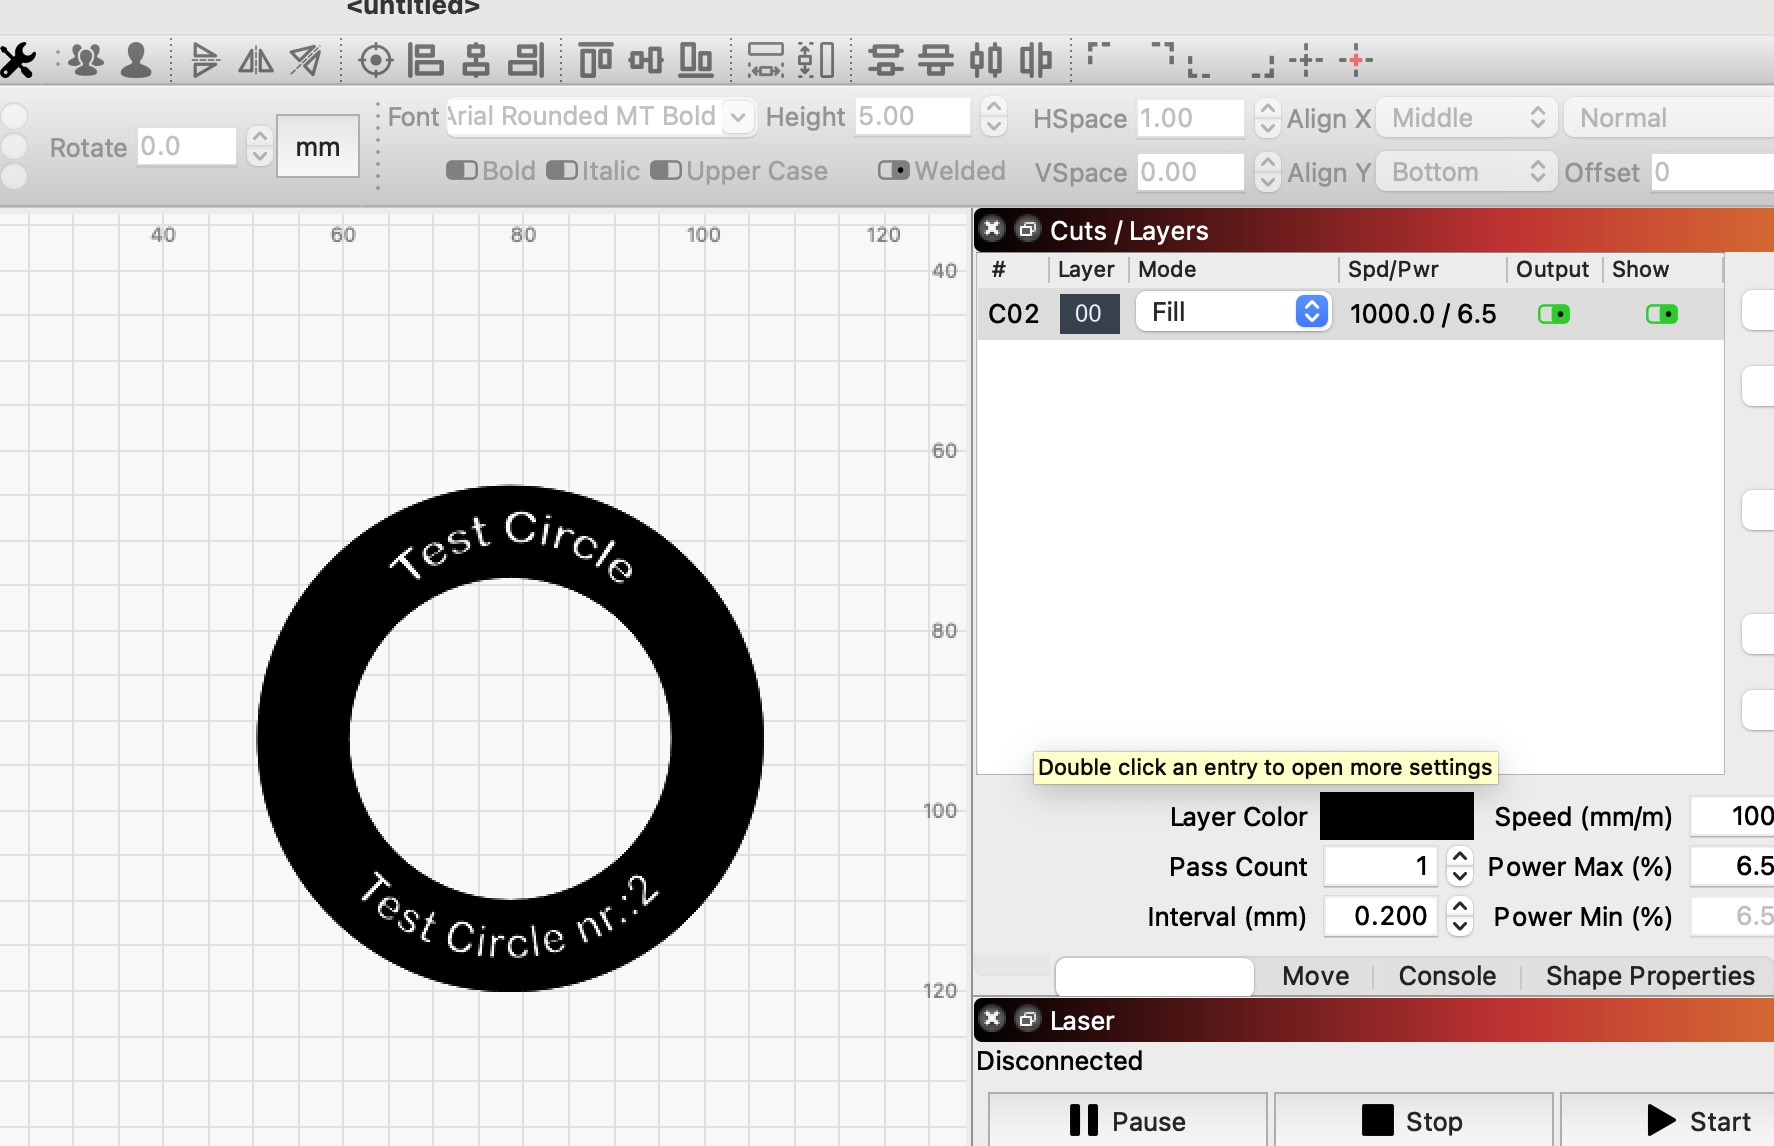
Everything in the same color is treated as a boundary. If you set that layer to fill, the boundary acts as the toggle point between filled and not filled, so just adding another shape inside an existing one creates a hole in the fill. Put the text inside a shape, as Bernd shows above, and the text is now a hole within that shape.
Ok. Excuse my imbecility. I managed to find the filled option under window so I could actually see the fill. However I see on @bernd.dk picture that he only has ONE layer with the text in it. I cant make that happen.
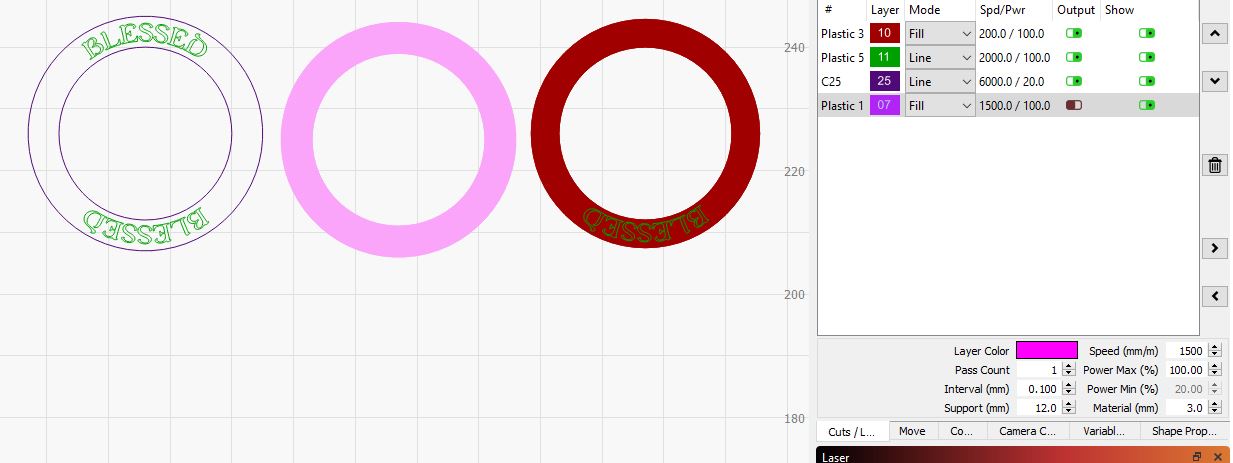
The second circle is a copy of the first circle, but filled in. No text is visible. 3rd circle, text is visible for whatever reason, however, the fill goes underneath it, so it wont stop the fill in that area. But If you notice, I cannot achieve any of these without multiple layers.
The text needs to be on the same ‘Fill’ layer to recreate the look @bernd.dk presented. In your example, it looks like all your text is on a ‘Line’ layer which will not work for what you are after.
Put your circles and text on the same ‘Fill’ layer.
Legend. Thankyou All again. That did the trick. I need a better font to make it work. I clearly need some more training on getting this to work. Thankyou
Hi Brett, it’s a little funny, I also started with 2 layers and could not remember how I “normally” have done some similar tasks. But once in a while, the most simple things are the best, and in this case it is very clear how fine and straightforward LigtBurn is. I draw 2 circles - group the circles, create text and drag and turn the text in the ears (the magic blue dot) - position the text between the circles AND press the fill button .It’s all on one and the same layer. Wonderfully simple and fast.
I wish you as much pleasure with your laser and Lightburn as I have.
Well, after numerous attempts. It turns out Debossing just doesnt work on my machine. No matter the speeds, or power, the wood is just ‘burnt’ and that looks pretty horrible. Seen so many items online thathave that nice wood brown engraving… To get any kind of emboss/deboss my machine just burns. A little disappointing really
You have a diode laser. They do really nice engraving work, but in order to get a deep burn (or cut) you need air assist, high power, and low speed, and possibly multiple passes. The images you see online are likely done with CO2 lasers, using 10x or more power than you have with your machine, causing the wood to vaporize before it even has much chance to char.
@LightBurn
So there is a good chance im just not going to have any decent luck using this machine for cutting and engraving wood without getting a burnt look and smell? @bernd.dk
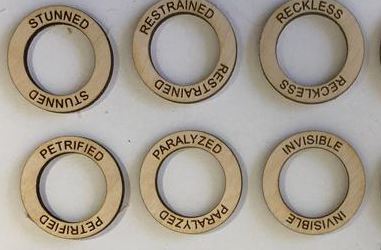
This is my goal. a token without charring round the letters. As for settings. Ive been trying multiple. High power, high speed multi pass, low power low speed multi pass, high power low speed one pass, and so on. I either get no cut, a lacklustre engrave or a burn.
Lasers burn - it’s what they do. You can improve the surface look dramatically with a light sanding, or a bit of rubbing alcohol on a paper towel to remove the soot / sap. A CO2 laser would likely give you a cleaner burn to start from, but they do still produce smoke and soot.
Ok. I’ll try the rubbing alcohol on the deboss ones, and a light sanding on the normal engraved ones and see what’s what for that.
I wish I could afford a decent CO2 laser. Until I make some money out of this little beast, Im stuck with it
Thanks for all the help everyone. It has improved my competency level greatly.
Hi Jeff,
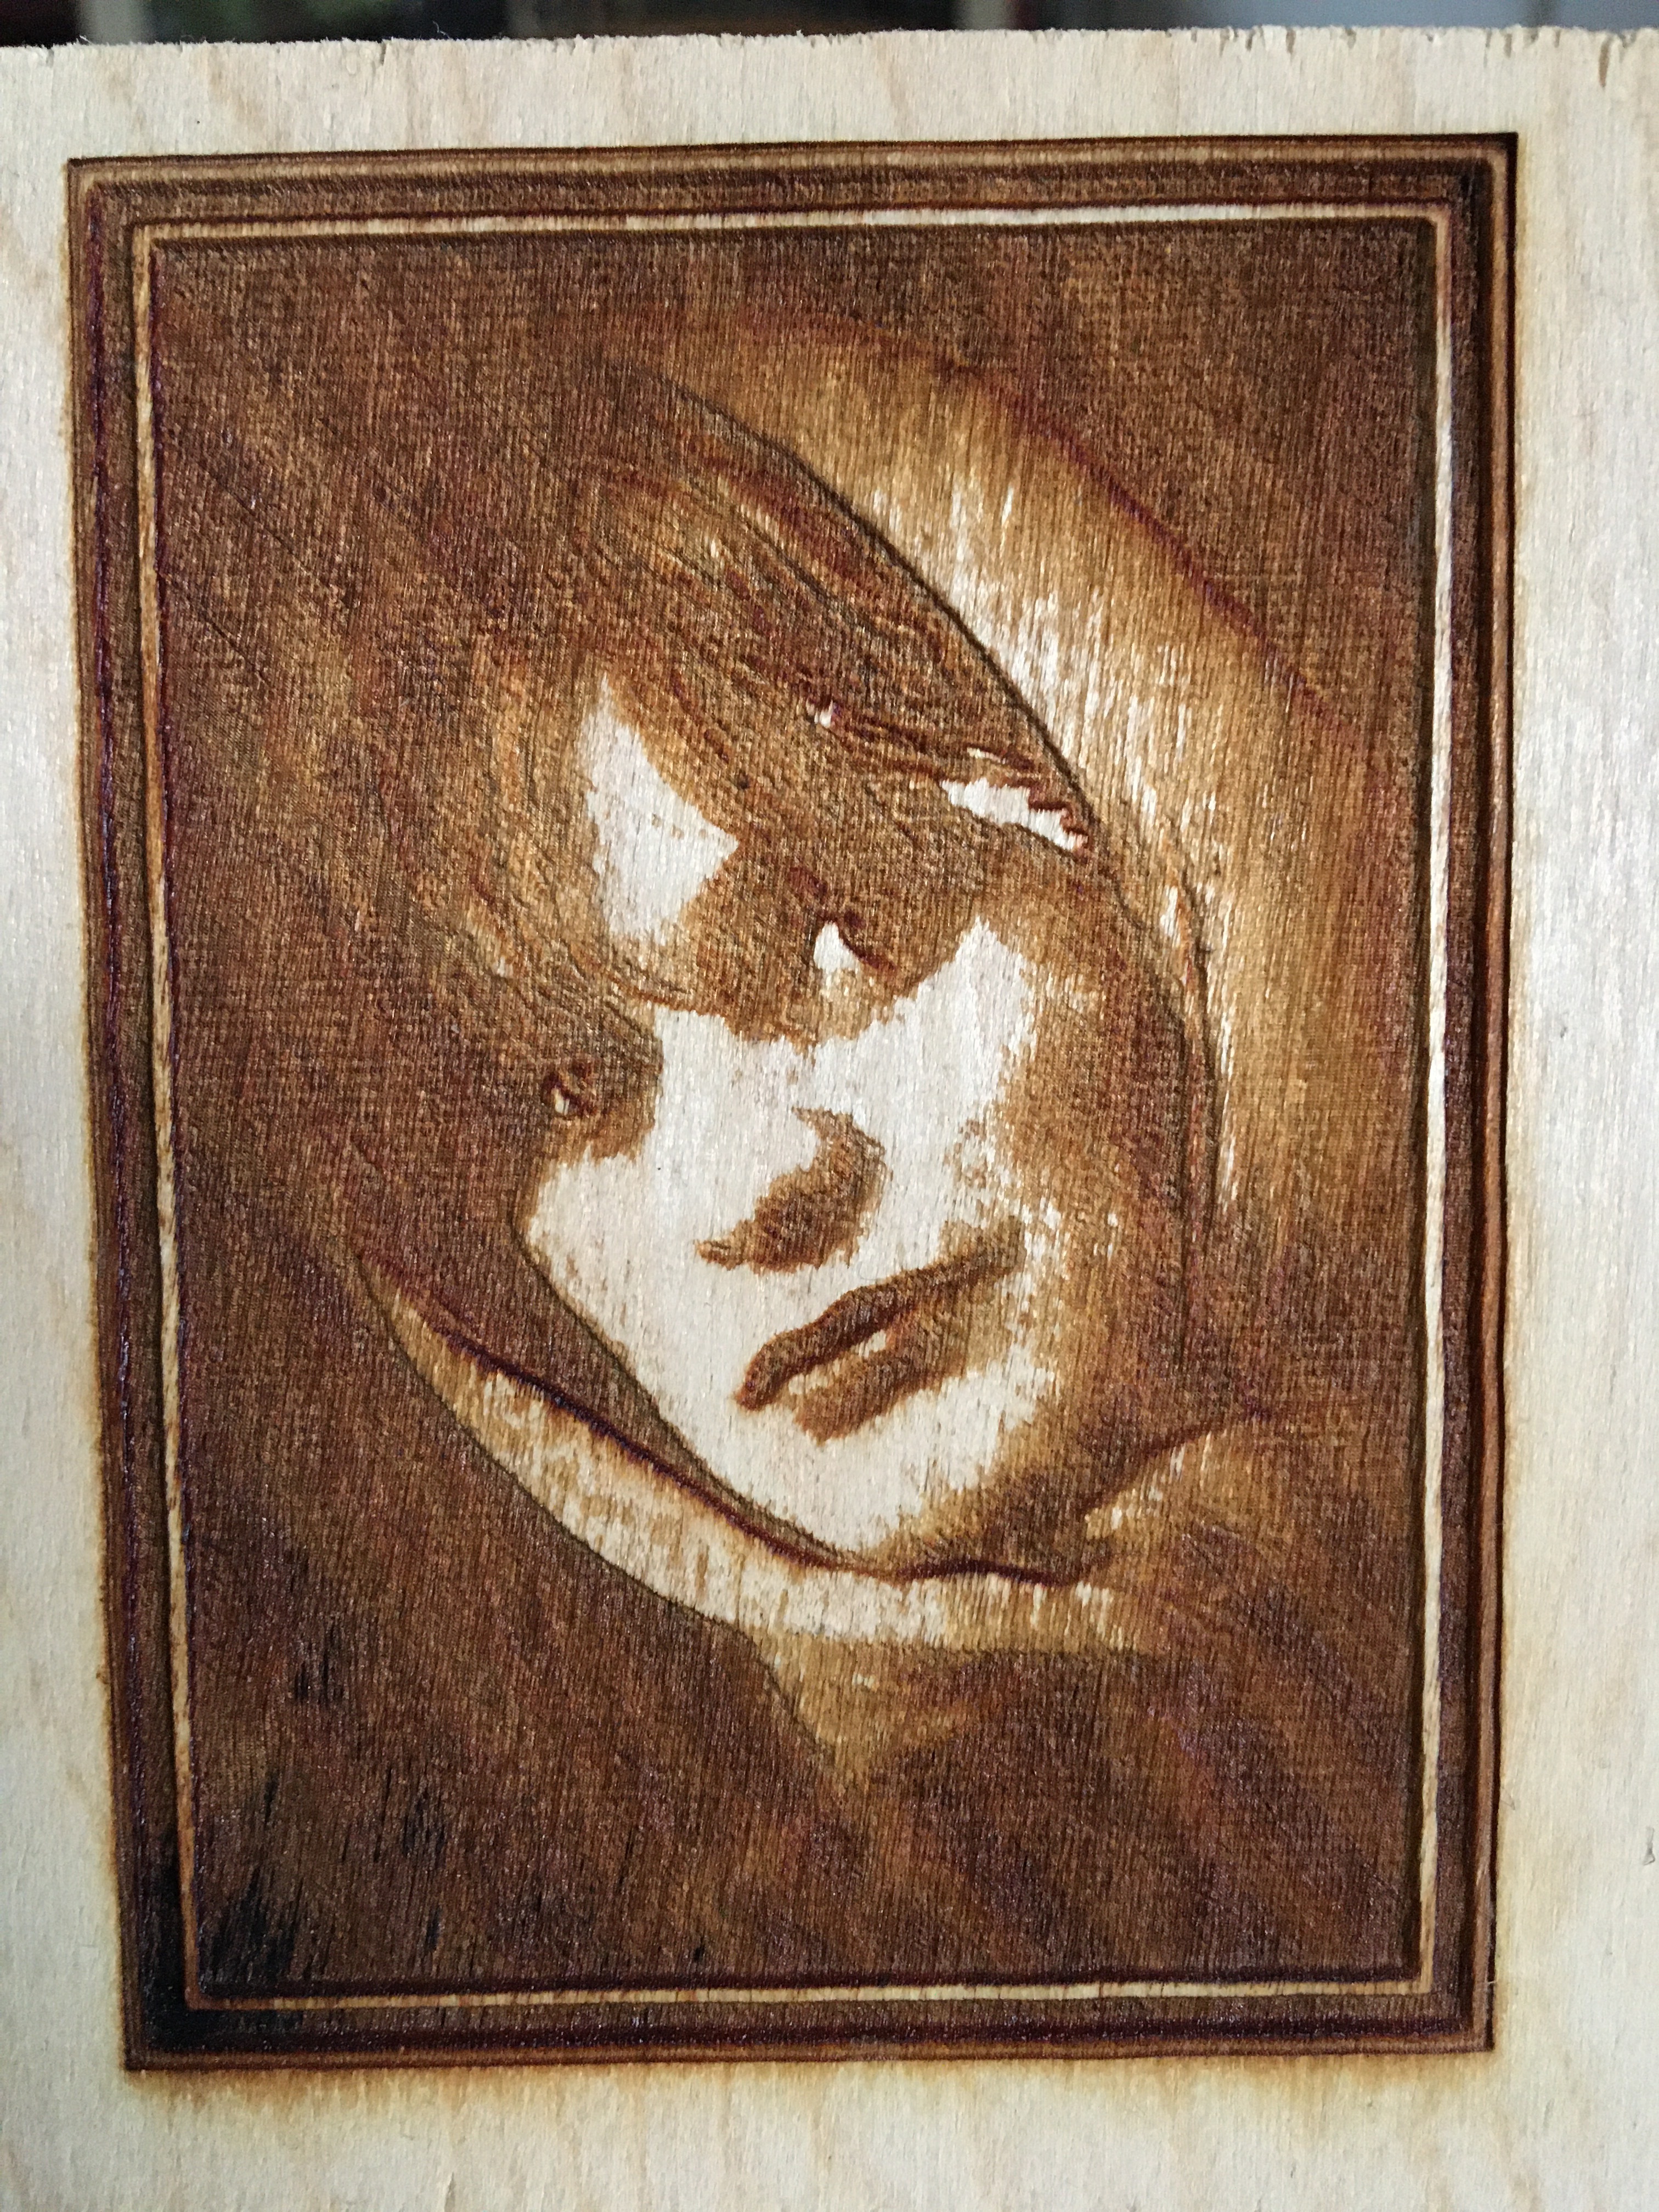
I have found a picture from my “laser diode time”. At the bottom of the picture there are also clear traces of soot, but otherwise the picture is reasonably clean and not greasy, although I have engraved it deep (approx. 1.5mm). For this type of task, I use lots of compressed air, directly on the spot. I clean the picture afterwards with technical alcohol and sand it with k100 sandpaper, but only if necessary. One of the most important aspects is the type of wood. I choose for pictures wood which is very dry and if it is plywood it should preferably be with white glue (suitable for indoor use). Often I also use masking tape but of course it does not work when I engrave pictures.
Another tip is to split the task in two rounds with reduced power and or increased speed, it also works very well for me, but, it takes a lot of time.
The soot at the bottom of the image also indicates the airflow in my laser !!, at the edges I should have used even more air.
Dude. That looks amazing. I have my air assist on pretty much permanently at 100% out put… Doesnt do anything. Well it helped set my balsa alight, but other than that, doesnt do anything for the charring on the wood. I have ordered different wood to see if that is going to make any difference. Fingers crossed on that.
…it sounds boring, I know, but you have to experiment with all the materials and settings you can come up with and document it in a way that is reproducible to you. It should probably succeed in the end, you must not give up.
That looks amazing @bernd.dk I’ll keep on tackling the issues. Learning bits and pieces along the way, thanks to many questions being asked before and some of the tutorials, Im able to utilise a lot of that in my current work. Getting pictures on the wood. That’ll be a challenge for another day I think