Hello to All! Big problems with photo engraving

Hello folks,
my name is joachim and I’m new to you in the forum and also in the laser topic. Thanks for the admission and I hope that we get along well here. I’m really looking forward to working with you.
My English is unfortunately not the best and so I work with a translator and hope that you can handle it :slight_smile:

To my surroundings:
My laser is a do-it-yourself brand. It is a converted CTC i3 A8 printer to which I have strapped a 15W diode laser (Zeus). I am currently still running the trial version of Lightburn and I am very willing to buy it if I can achieve the results I want with it. Unfortunately it is so that at the moment due to my ignorance the results are very bad and the joy is very clouded. but every beginning is difficult, that is clear to me. about my results: the normal engraving of fonts as well as cutting them no longer presents me with any major challenges. that works very precisely and surprisingly well.
Engraving photos, however, is a nightmare. I have now tried to prepare a high-contrast picture from the Internet and just engrave it as shown in the videos. total nil.
I don’t understand the interaction at all. The technical framework is clear to me, but I am not able to set the right parameters.
I’ve played around with the settings in Lightburn, but that’s a fiasco. The preview images always look very good and the result on the laser is disappointing. It’s not even close to good that i could say ok now you can work on it, it’s just bad and i don’t know where to start.

I’ll upload a few pictures where you can see the settings as well as the original and what came out of it. I would be really grateful if you could actively support me here so that you can see from my results what it should actually be.
Thank you in advance.
Now for the pictures

The original image from Googel:
Tieger

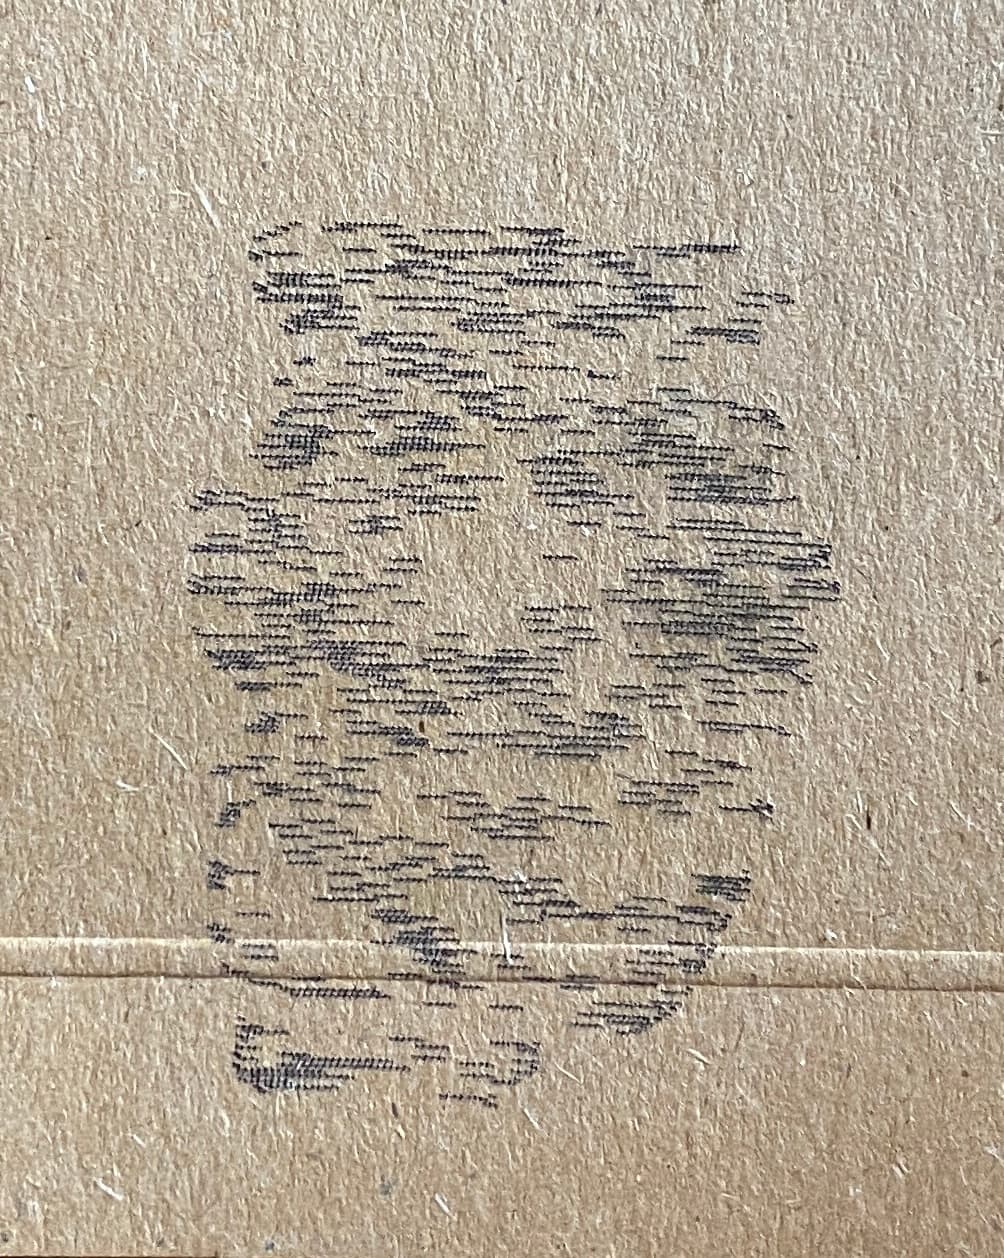
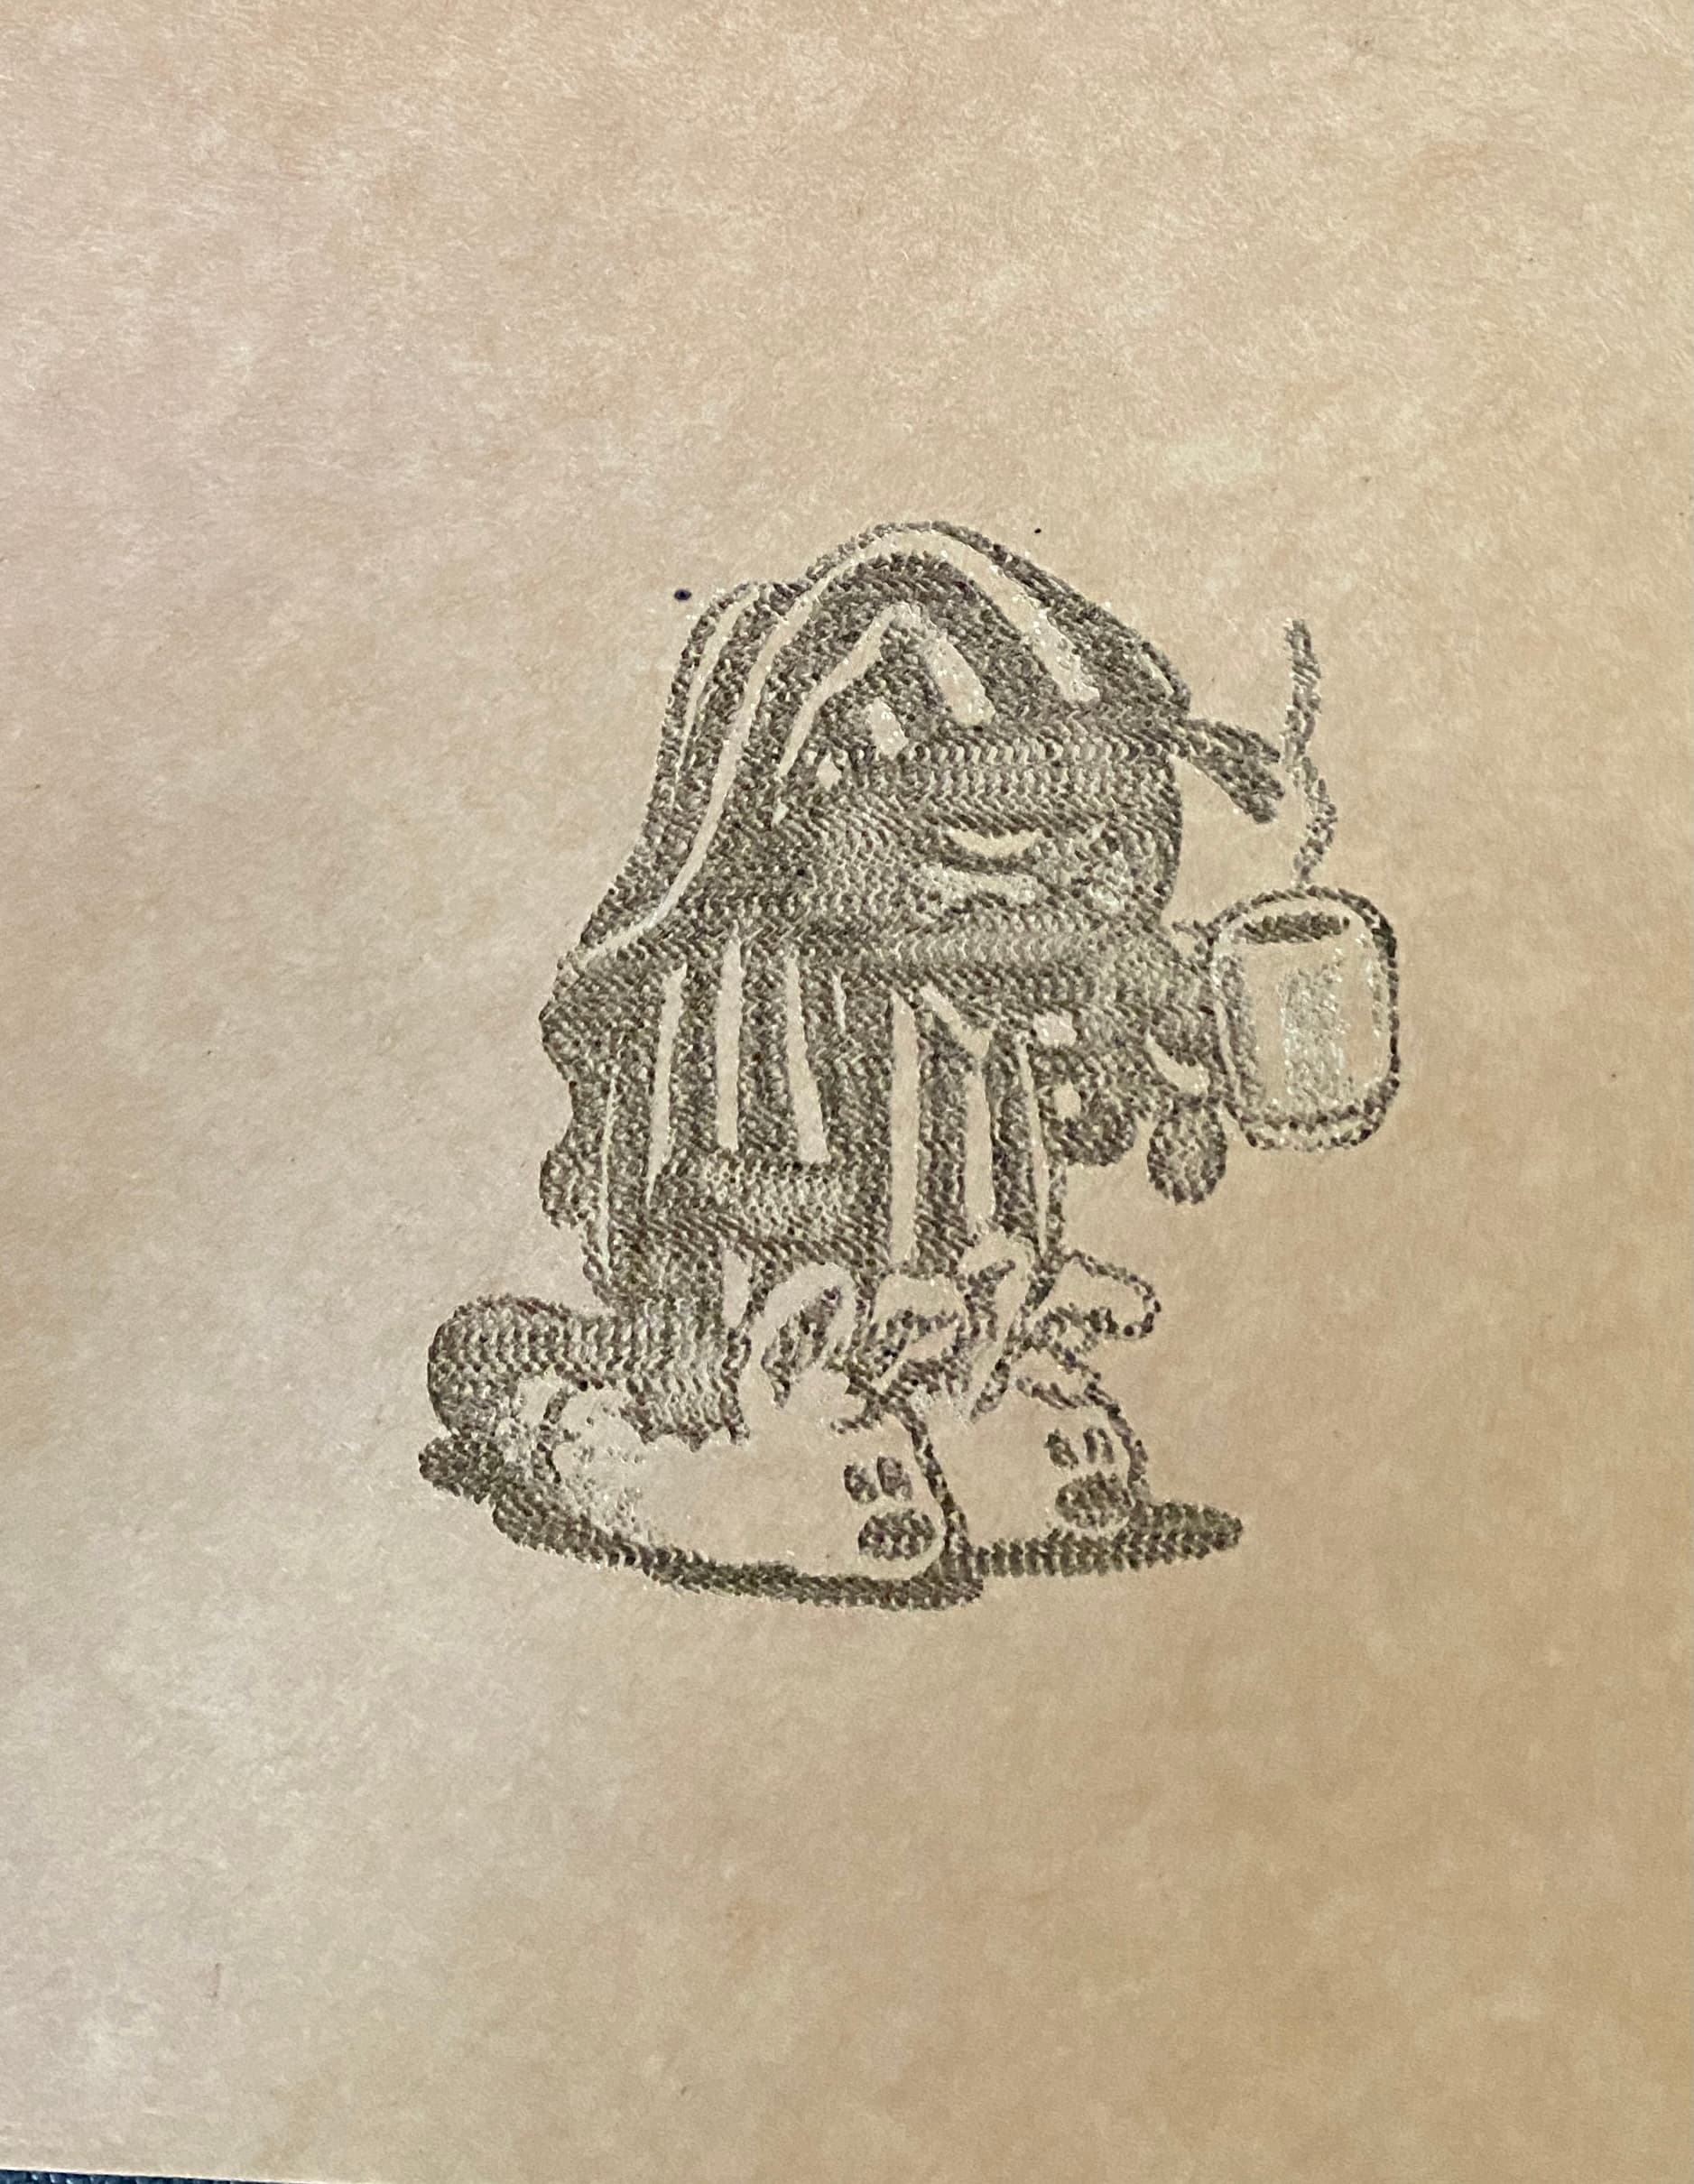
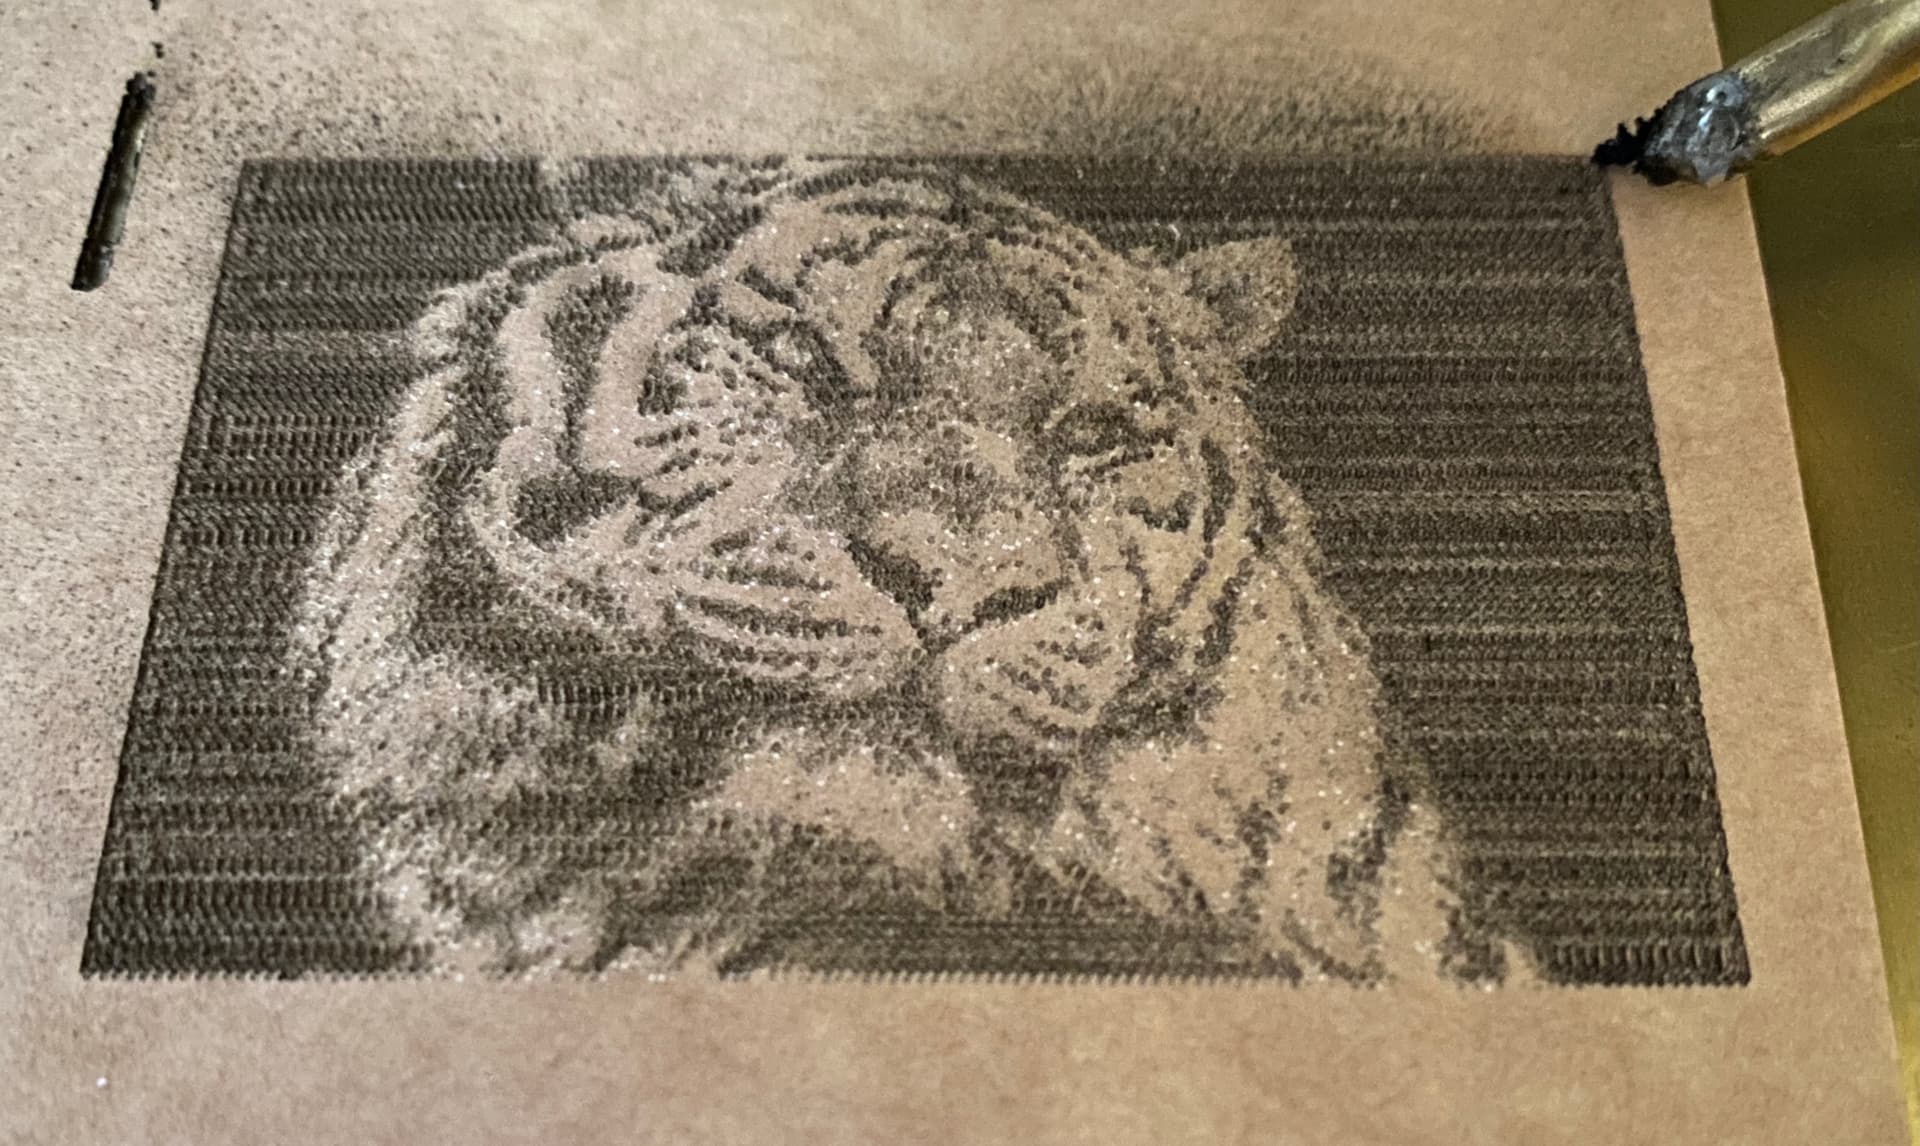
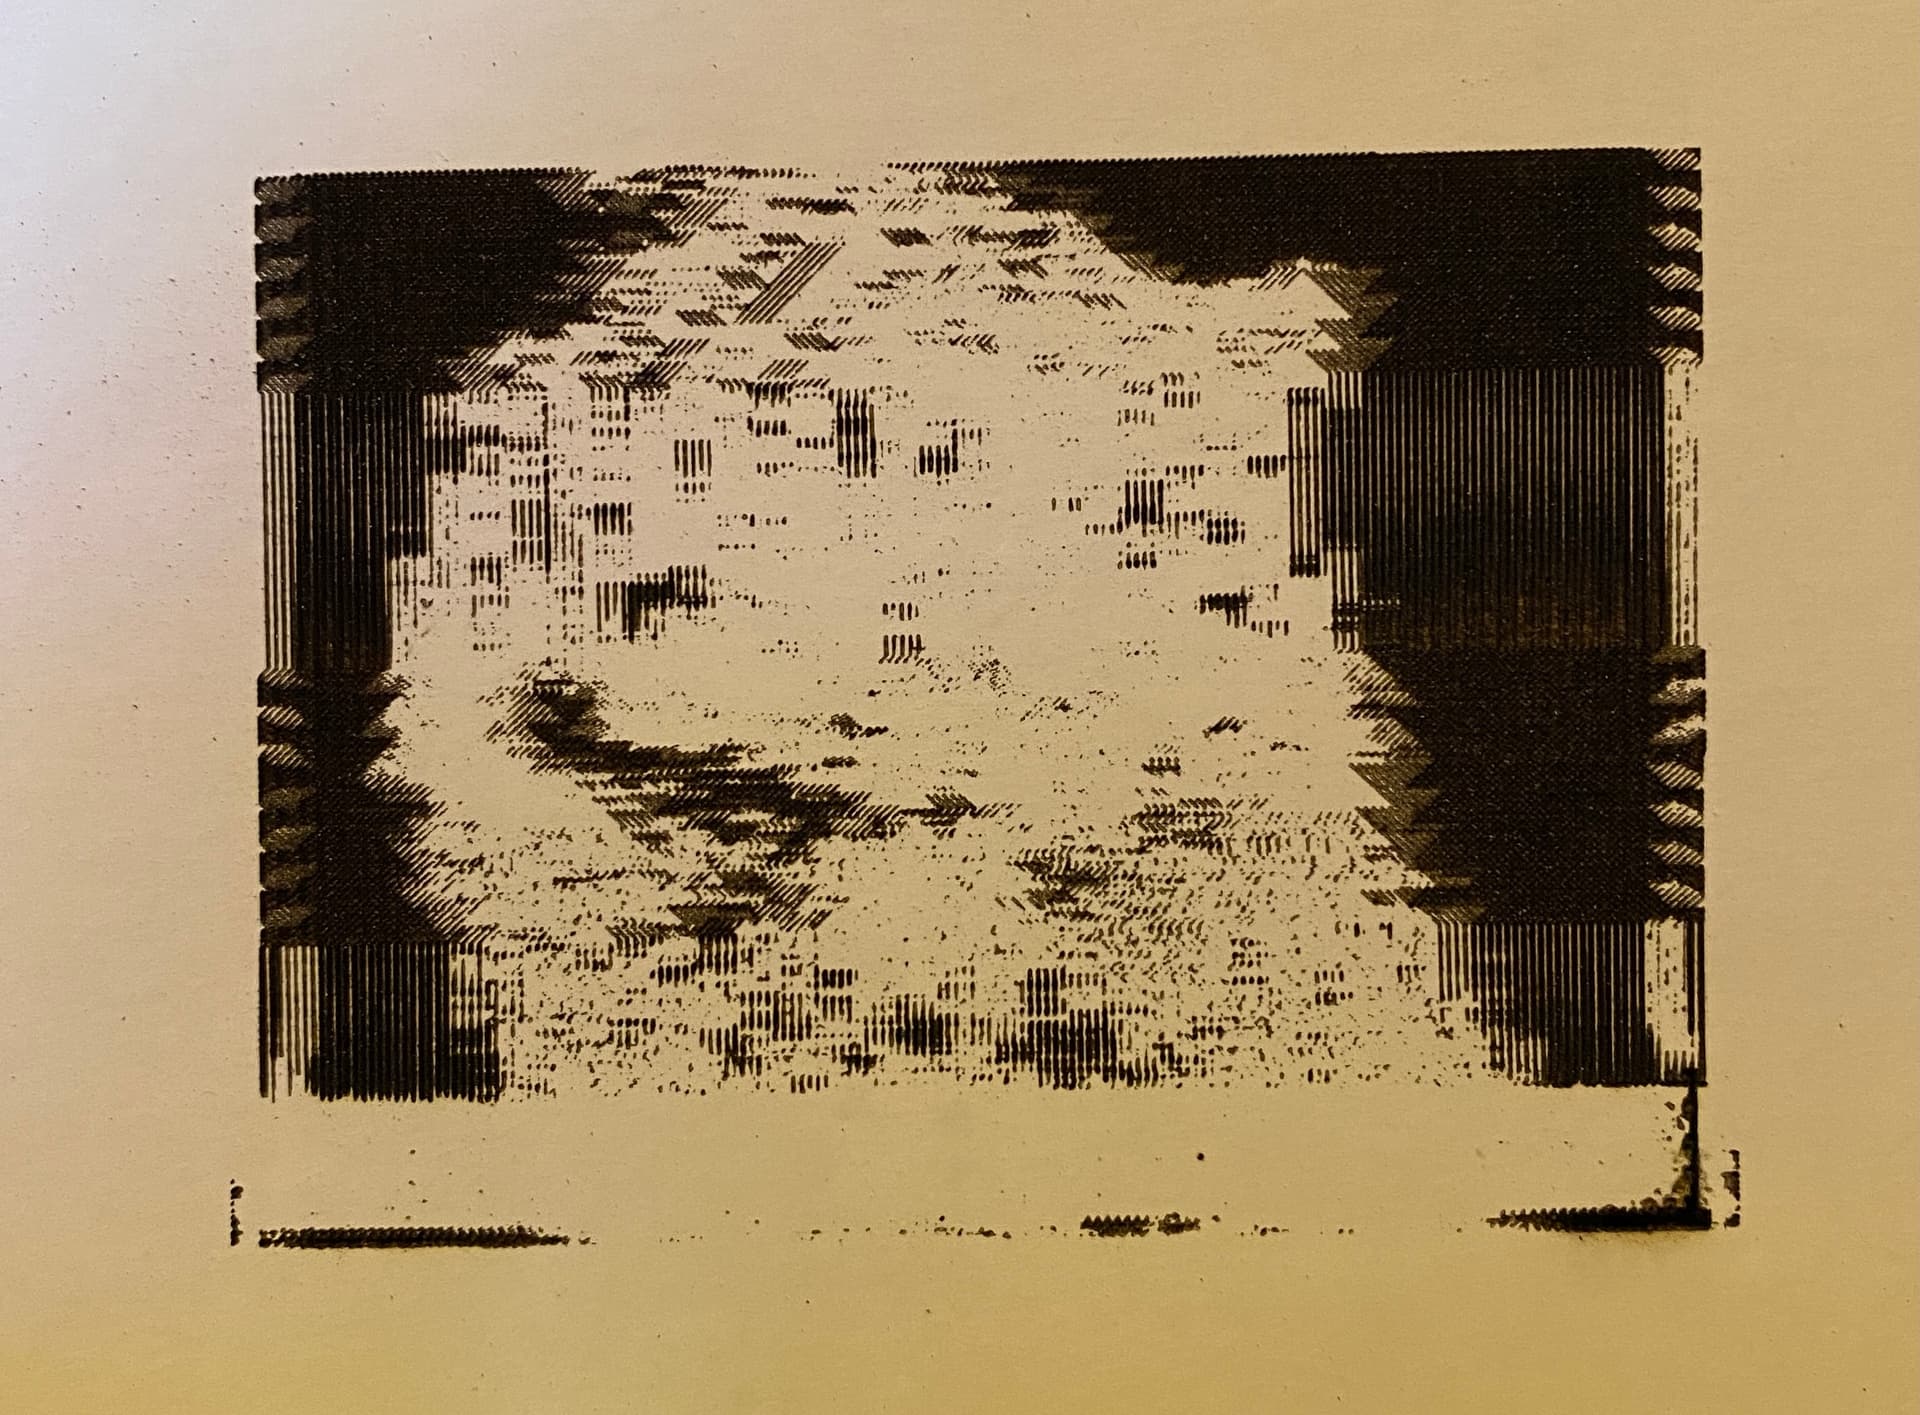
The result from the laser on a cardboard box
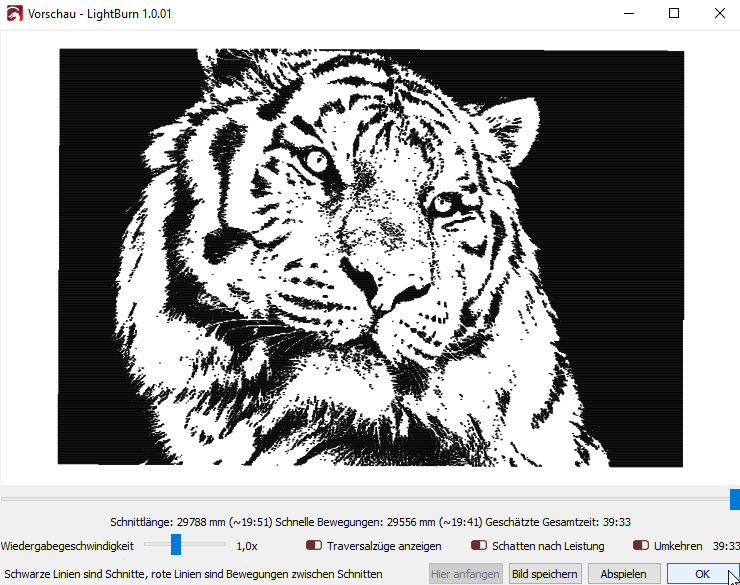
Lightburn preview
Unfortunately, can’t upload that many pictures

Settings
Tieger Einstellungen2

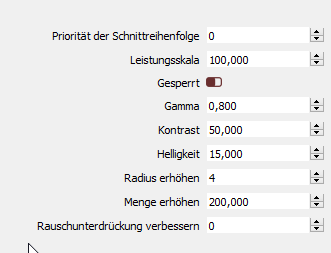
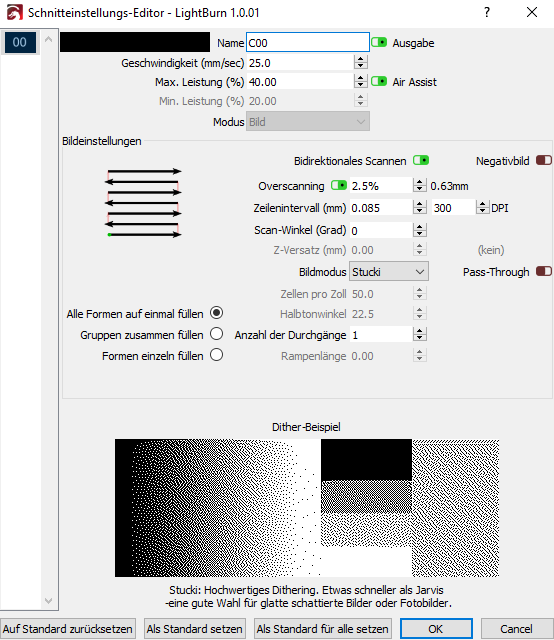
I don’t know if it’s the performance or the speed or the DPI, … Please help me that would be really great

Best regards
joschy

here is the rest of the delivery:

preview

other examples:


This is almost certainly the firmware in your machine, ramping the PWM signals up and down to prevent inrush current.

On Marlin, it’s common to use the fan outputs to drive the laser, but you have to turn off (and probably recompile) the firmware features for fan power smoothing / power ramping.

Hello, and first of all thank you for your answer!

In fact, that’s exactly how it is, in my Marlin FW I use the PWM fan for control. So everything is clear up to this point.

But what should I do exactly?
Do you have any details? Compiling is not a problem, but I did not find any such settings in the firmware.

Could that be what you mean?

// Set number of user-controlled fans. Disable to use all board-defined fans.
// :[1,2,3,4,5,6,7,8]
//#define NUM_M106_FANS 1

// Increase the FAN PWM frequency. Removes the PWM noise but increases heating in the FET/Arduino
//#define FAST_PWM_FAN

// Use software PWM to drive the fan, as for the heaters. This uses a very low frequency
// which is not as annoying as with the hardware PWM. On the other hand, if this frequency
// is too low, you should also increment SOFT_PWM_SCALE.
//#define FAN_SOFT_PWM

// Incrementing this by 1 will double the software PWM frequency,
// affecting heaters, and the fan if FAN_SOFT_PWM is enabled.
// However, control resolution will be halved for each increment;
// at zero value, there are 128 effective control positions.
// :[0,1,2,3,4,5,6,7]
#define SOFT_PWM_SCALE 0

// If SOFT_PWM_SCALE is set to a value higher than 0, dithering can
// be used to mitigate the associated resolution loss. If enabled,
// some of the PWM cycles are stretched so on average the desired
// duty cycle is attained.
//#define SOFT_PWM_DITHER

Read here:

Interesting forum, thank you very much for the hint, unfortunately I could not find the post to read out any details.

Would you be so kind as to tell me the name of the threat if you know it?

I found the following in the Marlin, but I’m not sure what that has to do with the smoothing of the PWM.

// Limit check_axes_activity frequency to 10Hz
static millis_t next_check_axes_ms = 0;
if (ELAPSED(ms, next_check_axes_ms)) {
planner.check_axes_activity();
next_check_axes_ms = ms + 100UL;

Does this setting then have a negative effect on the printing behavior of the machine?

Click the title of the post I linked above (or click here: Scan Issues - Marlin - Diode laser - #10 by m1rk00 )

It shows that he comments out the “if( ELAPSED” line, and the line above it. He leaves alone the “planner check” line, and comments out the one below it.

The current code only updates the PWM to the fans 10 times per second, which is not remotely fast enough for a laser.

Well, thank you very much, … That was the crucial clue it seems to me. I can do something with that now. I hope, however, that this setting does not have a negative effect on 3D printing.

Here is my first result:

Thx To all!!!

That still looks a little off, but certainly better than it was before.

But I’m already very satisfied with the first results

Another thing that struck me is why the writing is mirror-inverted when engraving pictures

https://lightburnsoftware.github.io/NewDocs/Troubleshooting-Output.html#output-is-mirrored-or-backwards

That doesnt Works for me. I Set my Origin on the right position.

No Idea what it can be?

This topic was automatically closed 30 days after the last reply. New replies are no longer allowed.