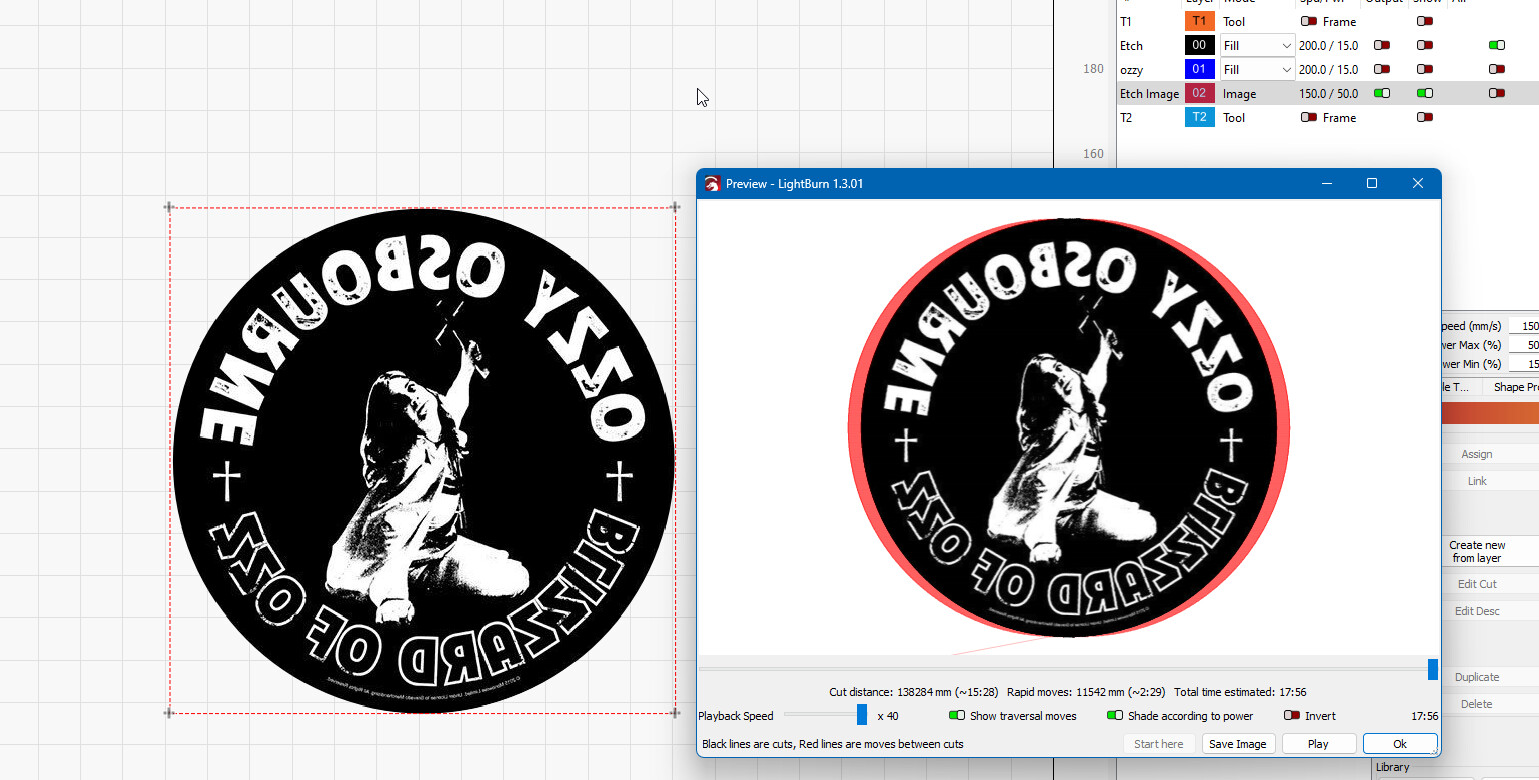
I am trying to etch an image (greyscale) on the an Acrylic LED stock. I am trying to get it to only laser the white portions of the image below. But using both inverted and not inverted it still etches all the black areas in the image.
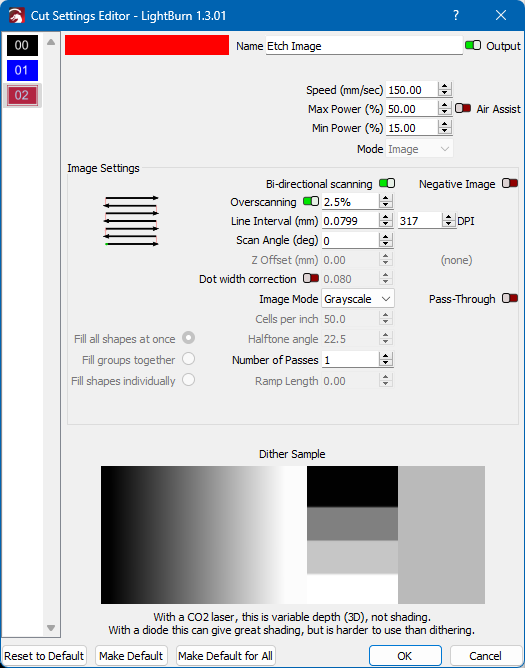
To be clear, are you toggling “Negative Image” in the Cut setting? Or are you clicking “Invert” in Preview? Preview “Invert” only affects the view, not what’s actually burned. You need to do this in Cut setting if you want it to burn negated.
When you toggle “Negative Image” in the Cut setting, the Preview should be inverted before toggling “Invert”.
I’m a noob, but I feel I’ve tried so much, that I might be able to help…
It may be possible that, it’s trying to engrave the "Grey of the background, even’ if it’s Just Off white.
Maybe someone here can do it with an image, but I am guessing that you will have better luck if you were to try converting the image to a Vector.
I think you could use another program like “GIMP” (Not real user friendly) to Convert it to a SVG. (Requires Exporting a selection Path)
I think I would start by “Tracing” the image in LightBurn, and then engrave it as a Line with the line "Fill"ed.
I’m sure that other programs can do it too, but the LightBurn “Trace Image” is amazing.
Start by Right clicking on the image and click on “Trace Image”.
There is a button that says Sketch, this does a great job of general Tracing (Depending on the quality of the Image). Or you can…
Slide the Two sliders to get the lines where you want them. You can have it delete the image when done, or do it yourself after you move it out of the way.
It traces both sides of a line, usually Doubling what you really need.
You can select it and “Ungroup” them to get all the lines separate, and just delete what you don’t need.
Make sure they are all Closed, and Preview it.
Yes, I already tried all that before I started with the Greyscale image version, converting to vector or tracing caused it to lose way too much detail, so that was not an option.