Spent half a day trying to get print and cut to work - I have never used this function before
I have my cut file, can preview and cut normally.
As soon as I try to print and cut, I get the message
“One or more shapes are crossing the edge of the machine workspace and will not be sent. Continue?”
After selecting yes, I get the second message:
“You have no shapes within the work area of your machine set to output.”
I also receive the same message if I try to preview the file after adding the print and cut function.
I have tried selecting all to see if there are any hidden shapes - nothing, only the one shape, fitting within the limits of my workspace.
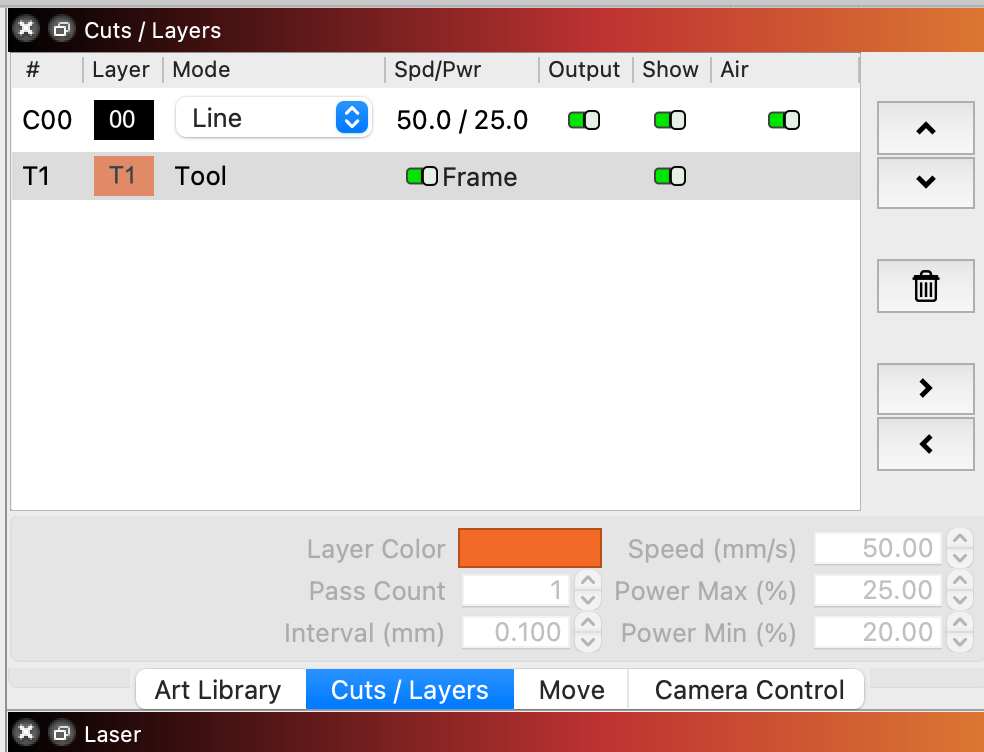
I used T2 to put markers on two corners of my shape.
It is also set to absolute coords.
The message is indicating that post the print and cut alignment that you completed that the shapes will fall outside the area of the addressable portion of the machine. In other words, the remapped area of the machine based on the print and cut alignment no longer fits shapes in question.
Try moving your material such that it’s guaranteed that the resulting adjusted area will accommodate the shapes.
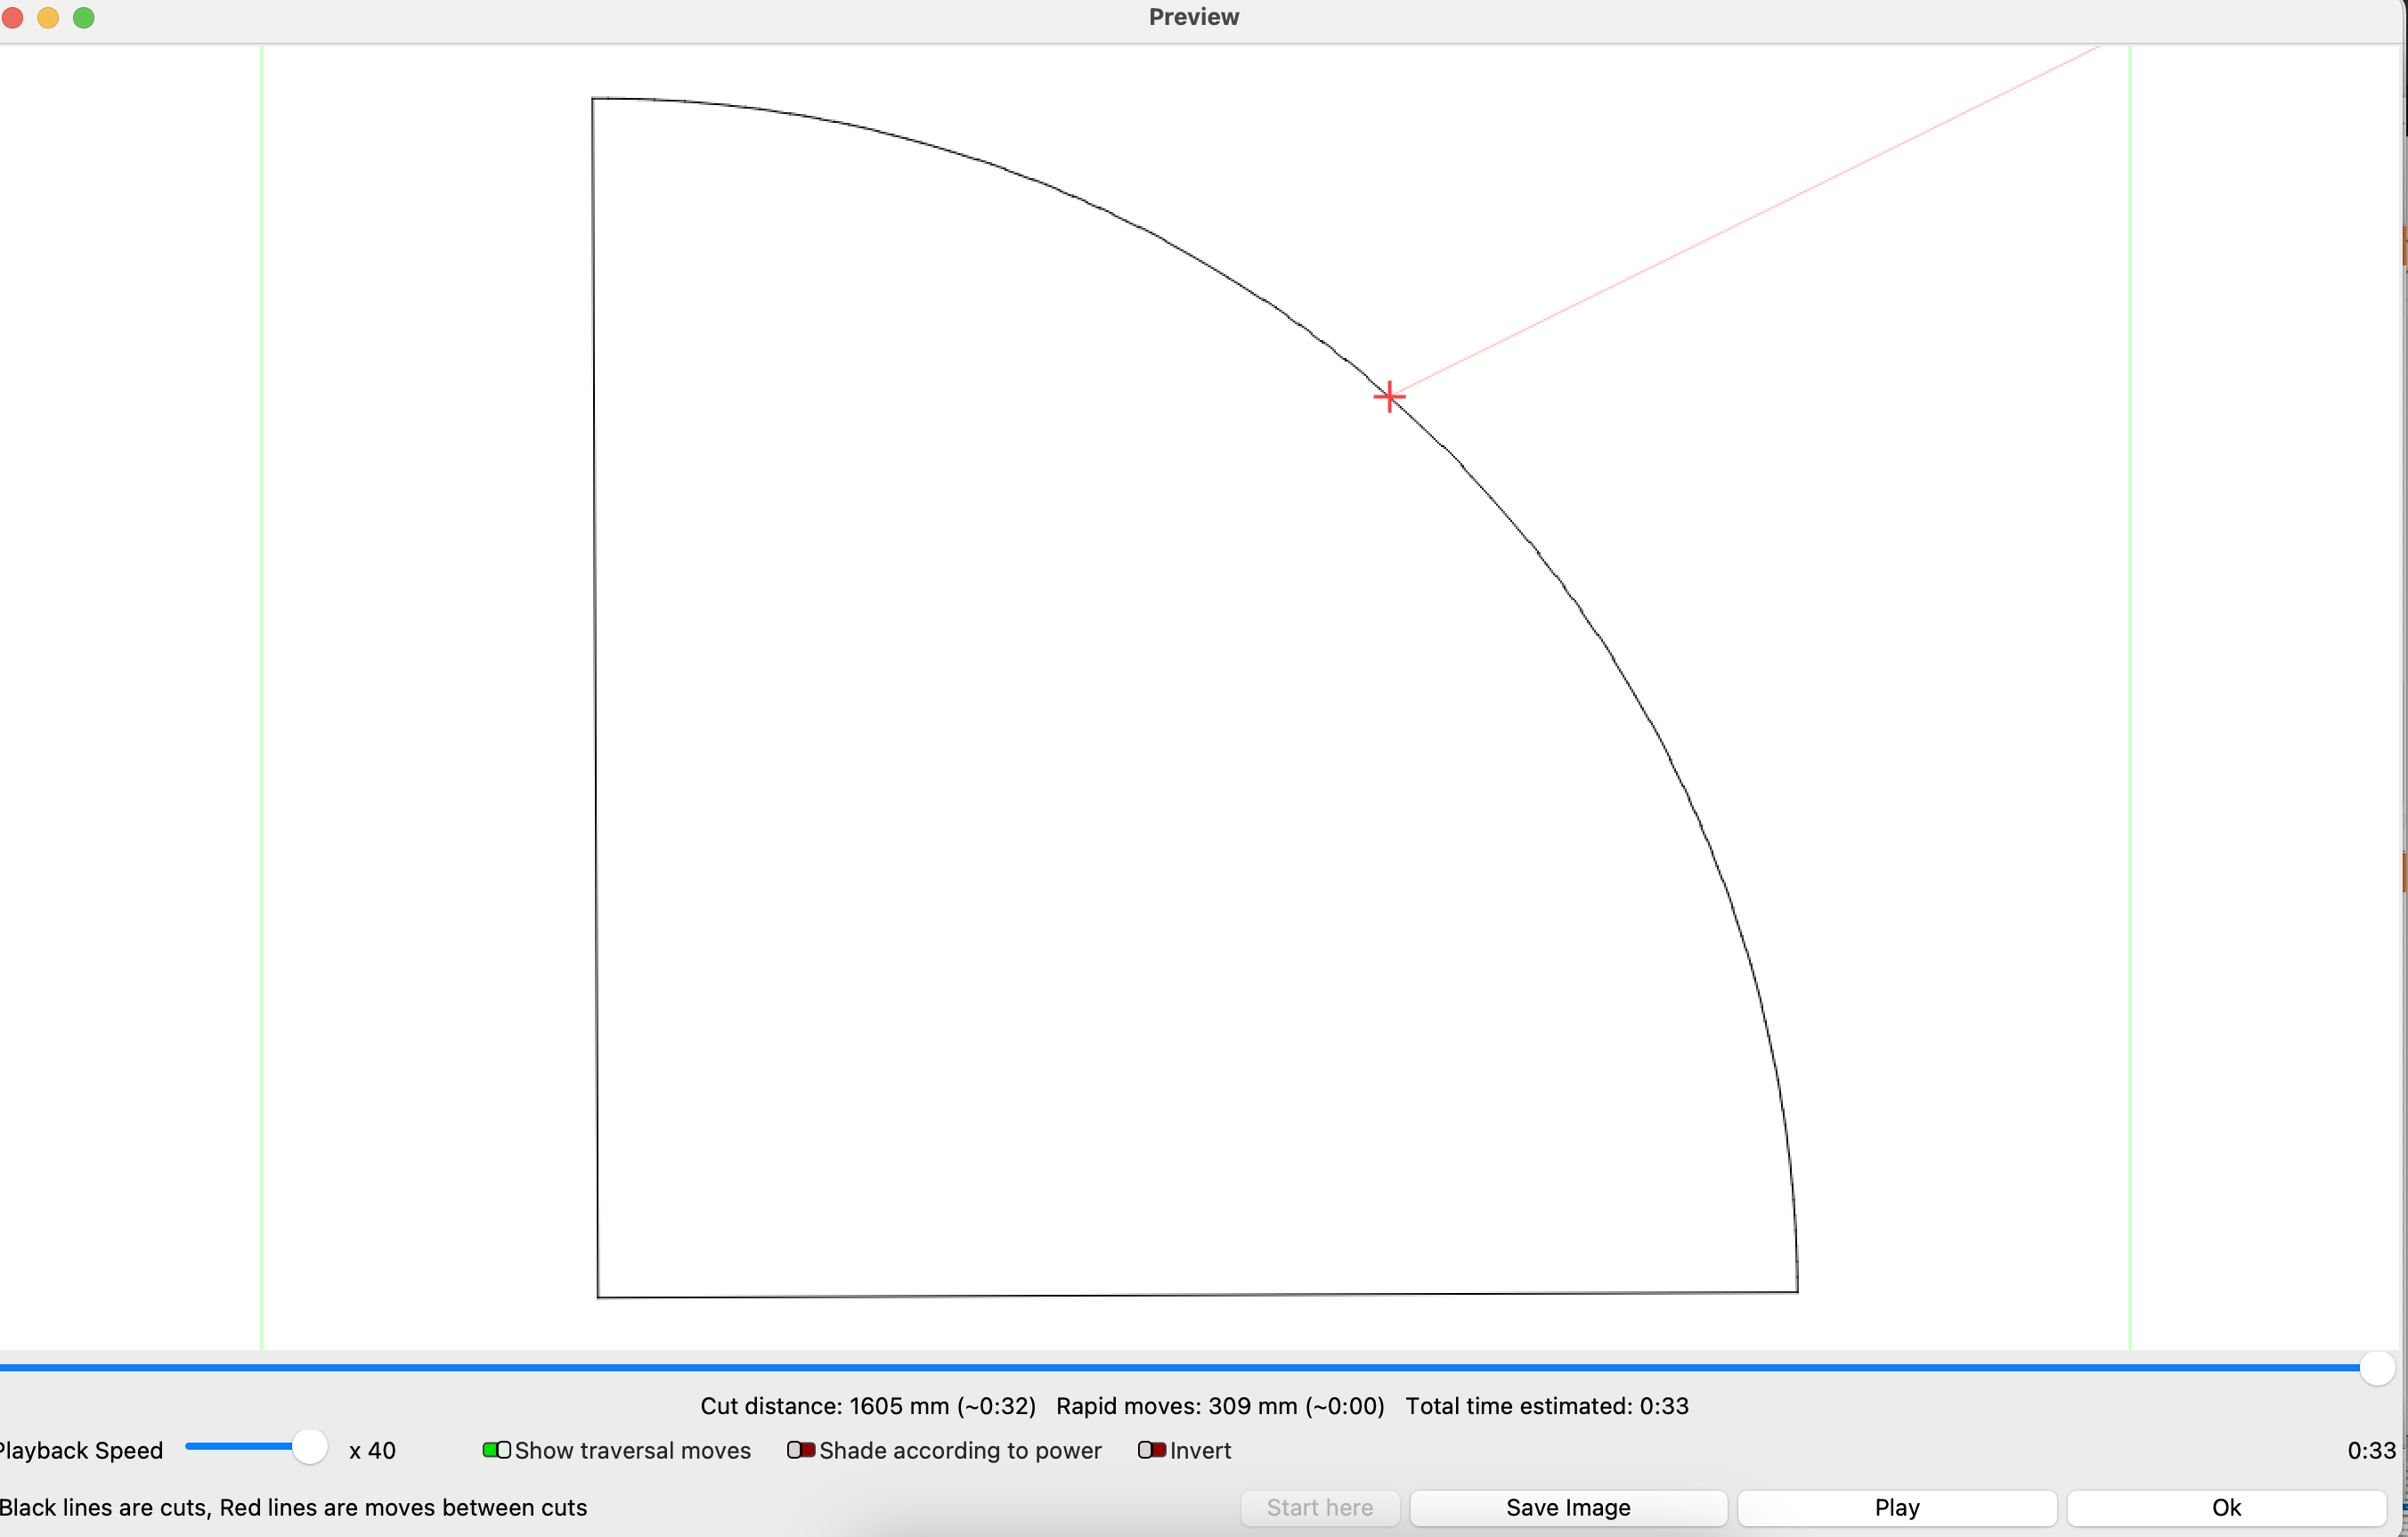
Note that this will be easier with smaller shapes. Looks like you’re going fairly close to edges of the workspace.
I assume the second marker is on the lower-right vertex, hidden by the error dialog windows.
Where are the corresponding physical targets on the platform? A photo of the intended layout with the target positions circled will help us figure out what’s going on.
As @berainlb points out, because the pattern occupies most of the workspace, the targets cannot move very far from the points you show. For example, if they’re even slightly upward along the Y axis, the top of the arc will extend beyond the physical limits.
LightBurn will not send shapes that can crash the machine when this switch is set On:
You can turn that switch Off, whereupon the Ruida controller will truncate anything lying outside the physical limits. It’s better to leave it On and correct the layout before torching something expensive.
You’re not doing anything crazy—this is just how Print and Cut in LightBurn acts when it’s even a little out of sync.
That first message—“shapes are crossing the edge of the machine workspace”—that’s usually LightBurn freaking out because something’s technically sitting outside the bounds of your laser bed. Could be a corner of the shape, a marker, even an old node you didn’t see. Doesn’t matter if you think it’s inside—it just means it thinks something’s off the table.
Then that second one—“no shapes within the work area set to output”—that’s LightBurn throwing its hands up. It’s like, “I don’t see anything I’m allowed to burn here.” That happens when Print and Cut thinks your alignment is busted or it’s looking in the wrong place for your shape.
So here’s what you do:
Switch off “Absolute Coords”—go to “User Origin.” Trust me, Print and Cut is way less annoying that way.
Check your layers.
You’ve got your markers on the T1 tool layer—that’s good. But make sure only your cut layer (C00) has Output turned on. T1 should just be for framing.
Rerun your marker alignment.
If you did part of the job, moved your material, and came back to finish the rest, LightBurn needs to be told exactly where those two marker points are again. Go to “Tools > Print and Cut Alignment,” and use the wizard to match those points manually with the laser head.
Don’t use Preview mid-alignment.
I know, it’s dumb, but once you’re in the middle of Print and Cut, don’t hit Preview—it breaks the context and makes LightBurn forget where your actual job is.
You’re not crazy—this happens to almost everyone the first time. Once it’s dialed in, it works great. But that first time? It’s like trying to convince your GPS you’re already in the damn driveway.