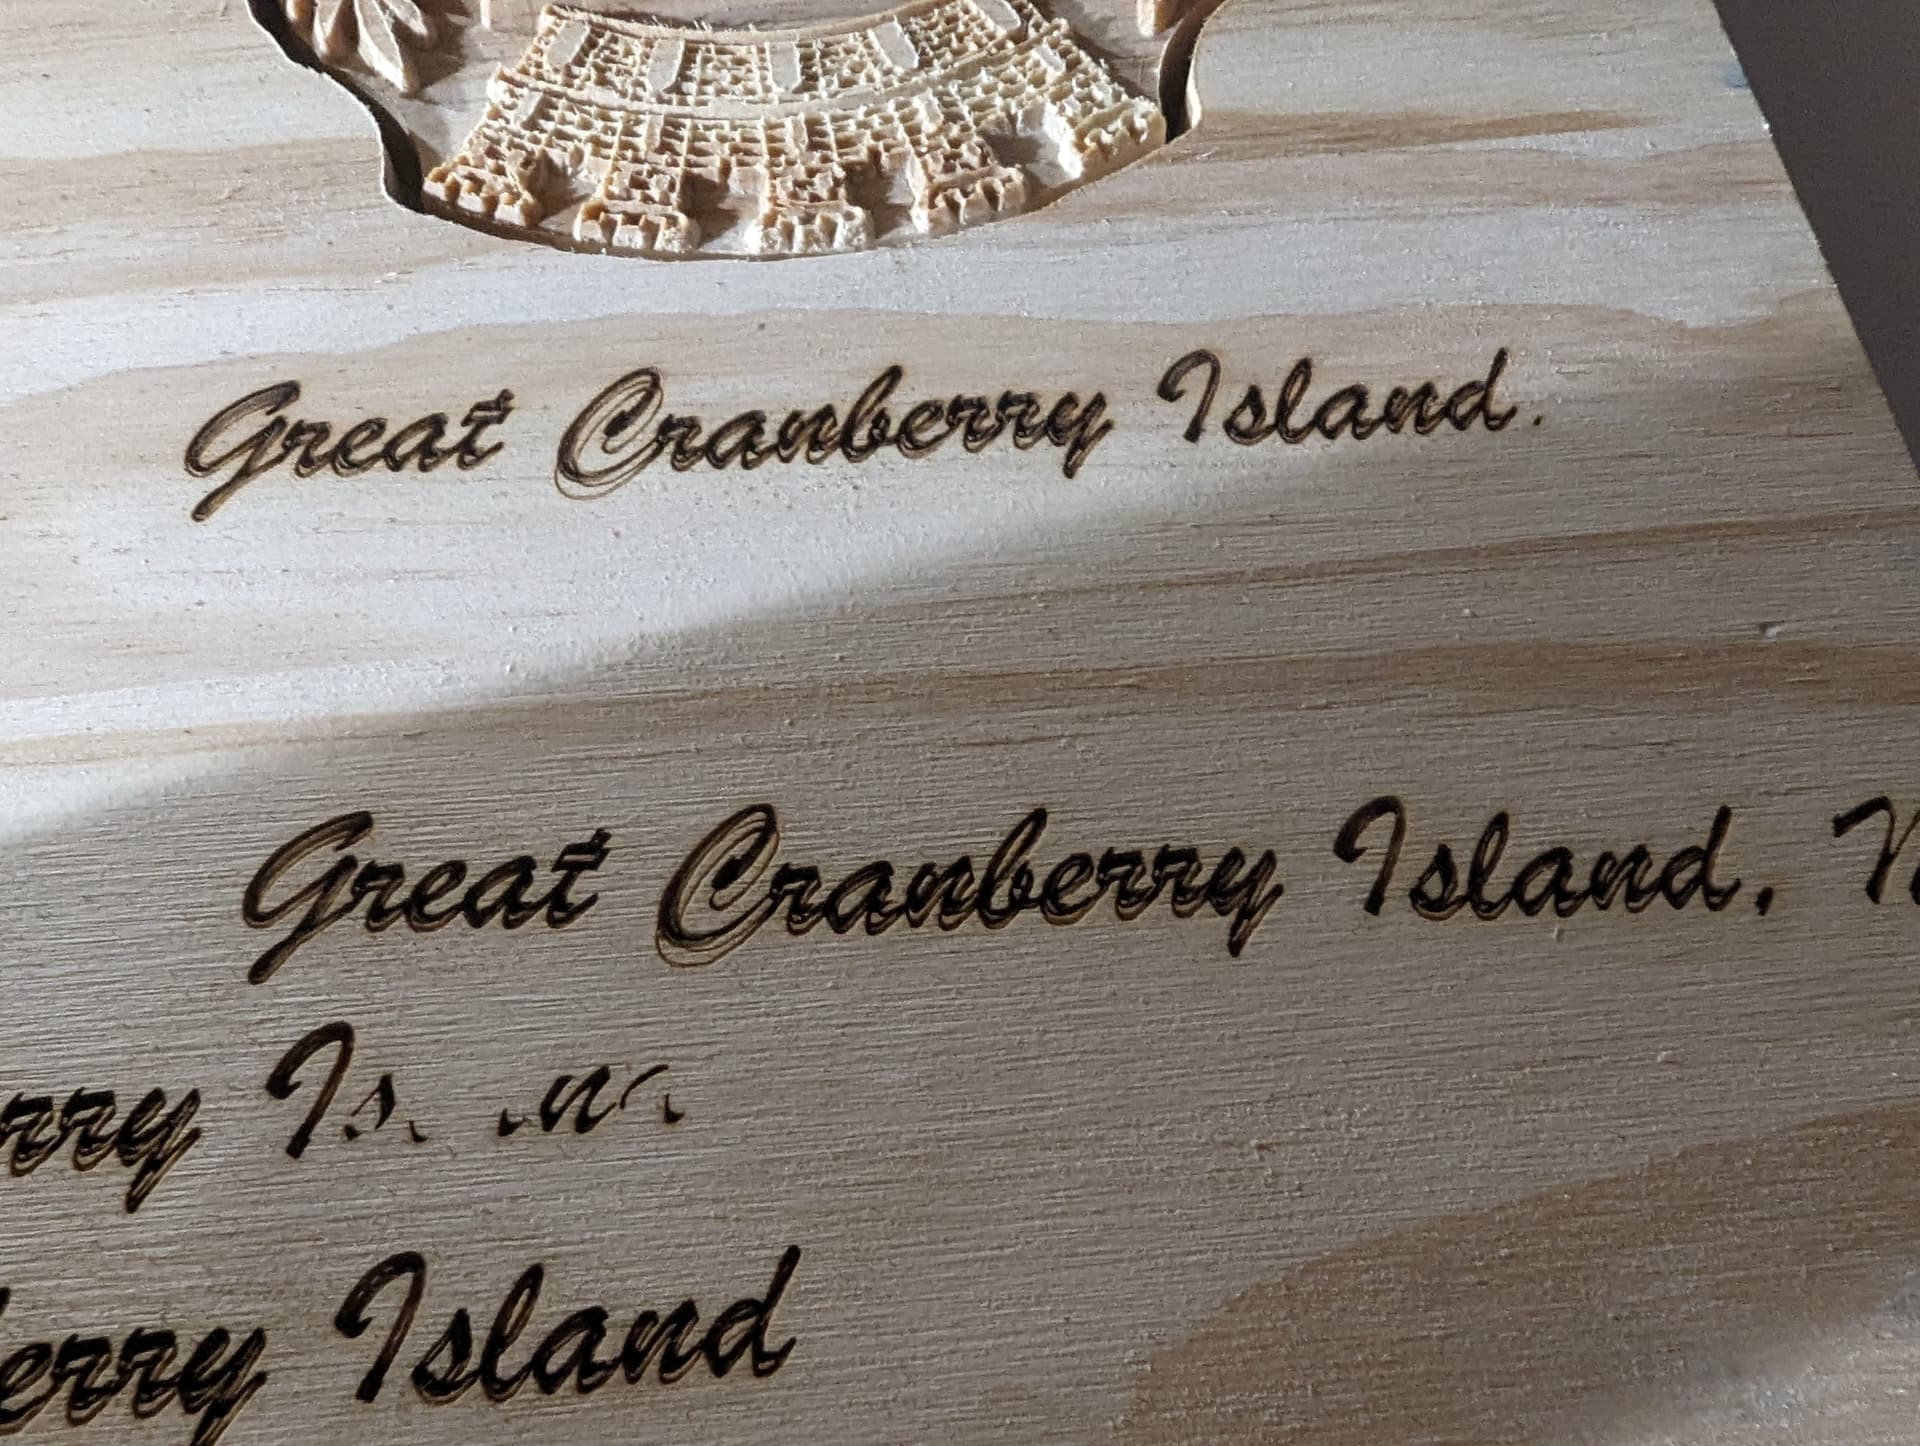
I built a 90w CO2 laser based losely on the FF Y-1200. Single X and Y Steppers, Ruida controller, 90w Cloudray tube and power supply, mirrors and nozzle. Everything else is my own design/3d printed. It runs on linear rails and seems pretty sturdy. I come from the CNC world, and the problem I’m experiencing seems to me like jumped steps or teeth on the belt/slipped gears. Everything is tight, belts nicely tensioned, and the issue happens no matter where I run the engrave on the bed. I’ve calibrated the machine and it cuts a perfect (well 99.9mm) square when I put in 100mm for the dimensions. Engraving however, I’m getting strange results. In the picture I’ve included offset fill and linear fill. The linear fill seems to laser bothe + and - of the desired dimensions. With offset things seem to shift and I get outlines and infill that was missed.
I’m at a loss, mechanically it appears that everything is happy. I’ve included my laser config, I’m hoping it is just something I have wildly out. Any insight would be great.
Hi,
Its great to get a diy up and running, now thevfine tuning begins.
I am going to suggest you look closercat the lens being correctly set horizontally.
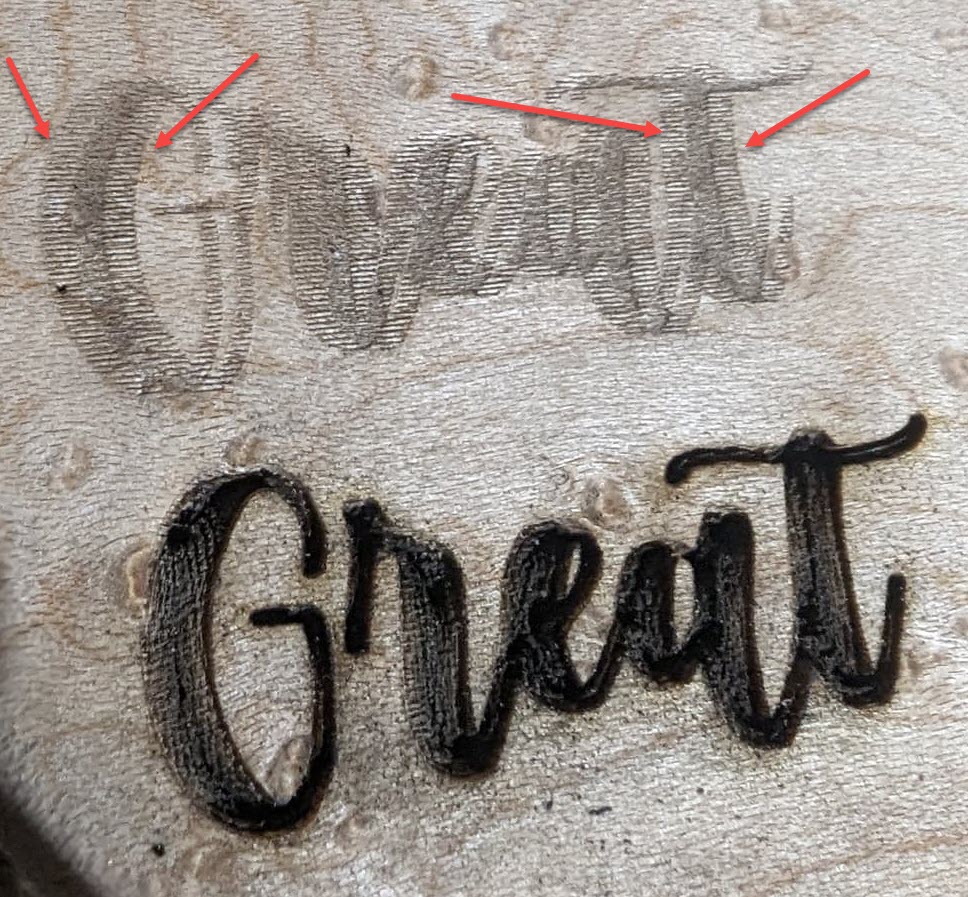
The ghosting could actually be beam reflecting off the inner tube.
Check that and then do a vertical pulse test, come to your focus height, pulse, drop your table and do another pulse. They should align although out of focus will give a large diameter burn. Take an average and adjust.
The net correction is you will burn more efficiently , much better results. I’ve been there.
Cheers
I’ll try this again! I had a lot of trouble with tube bounce at first. Getting that dot right in the middle took a lot of doing and I went through a few versions of laser head mounts to get me there! I’ve spent more time aligning, squaring and dialing in this beam than anything else. I have a spare nozzle and am thinking about chopping the tip off for testing purposes, bigger hole may not be good for the air assist but it may help narrow down I suppose.
Just a thought, one step backward. Try a pulse without the focal lens in place andcthen shift v table down, pulse again.
That will show acsemblance of alignment from mirror 3 down.
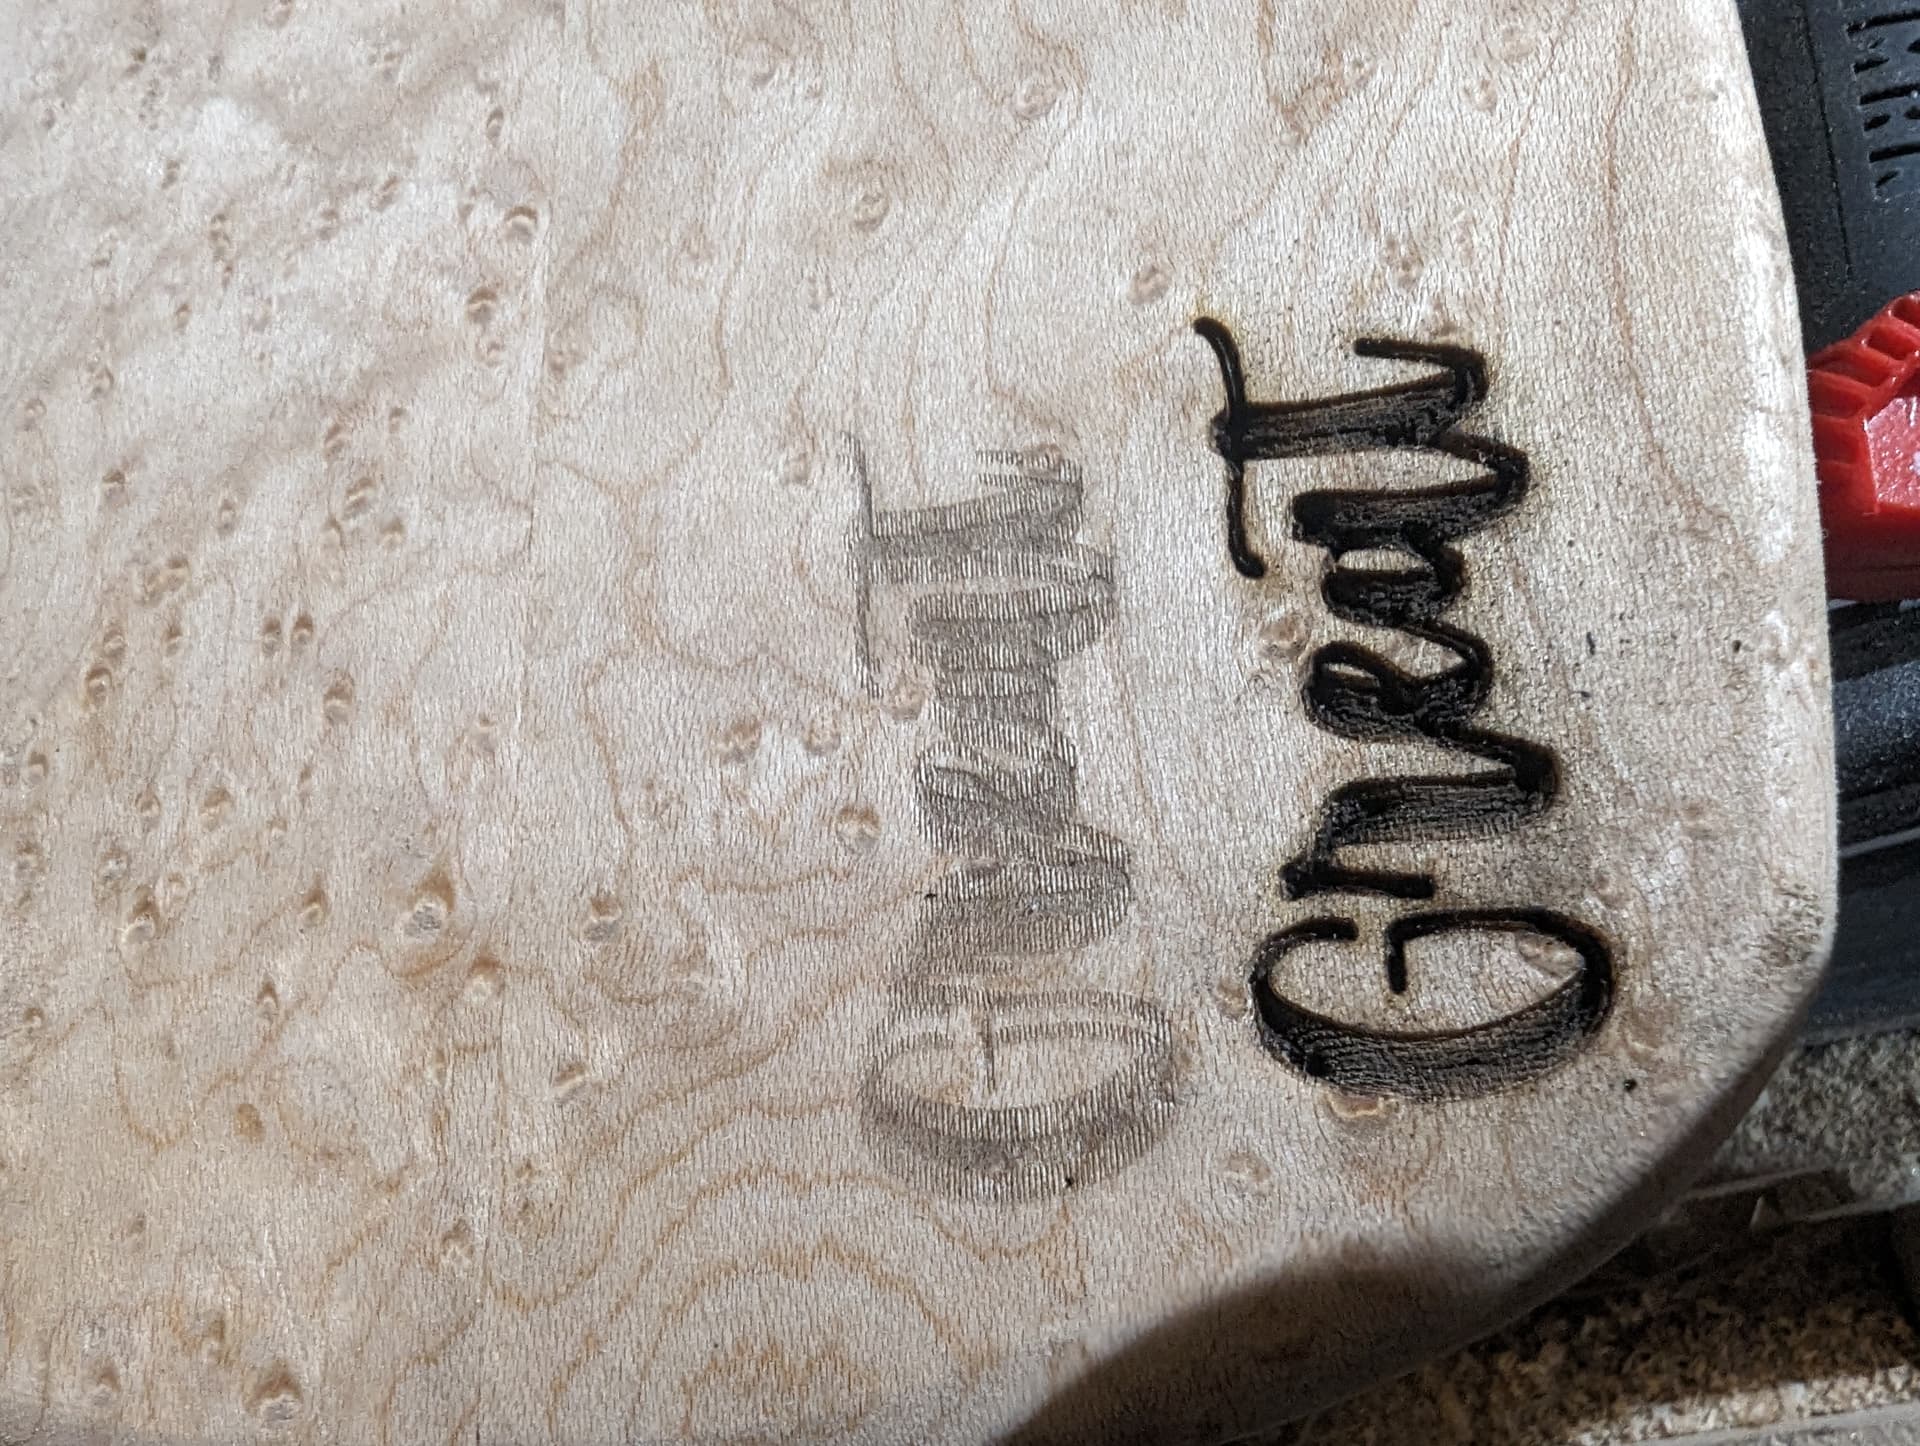
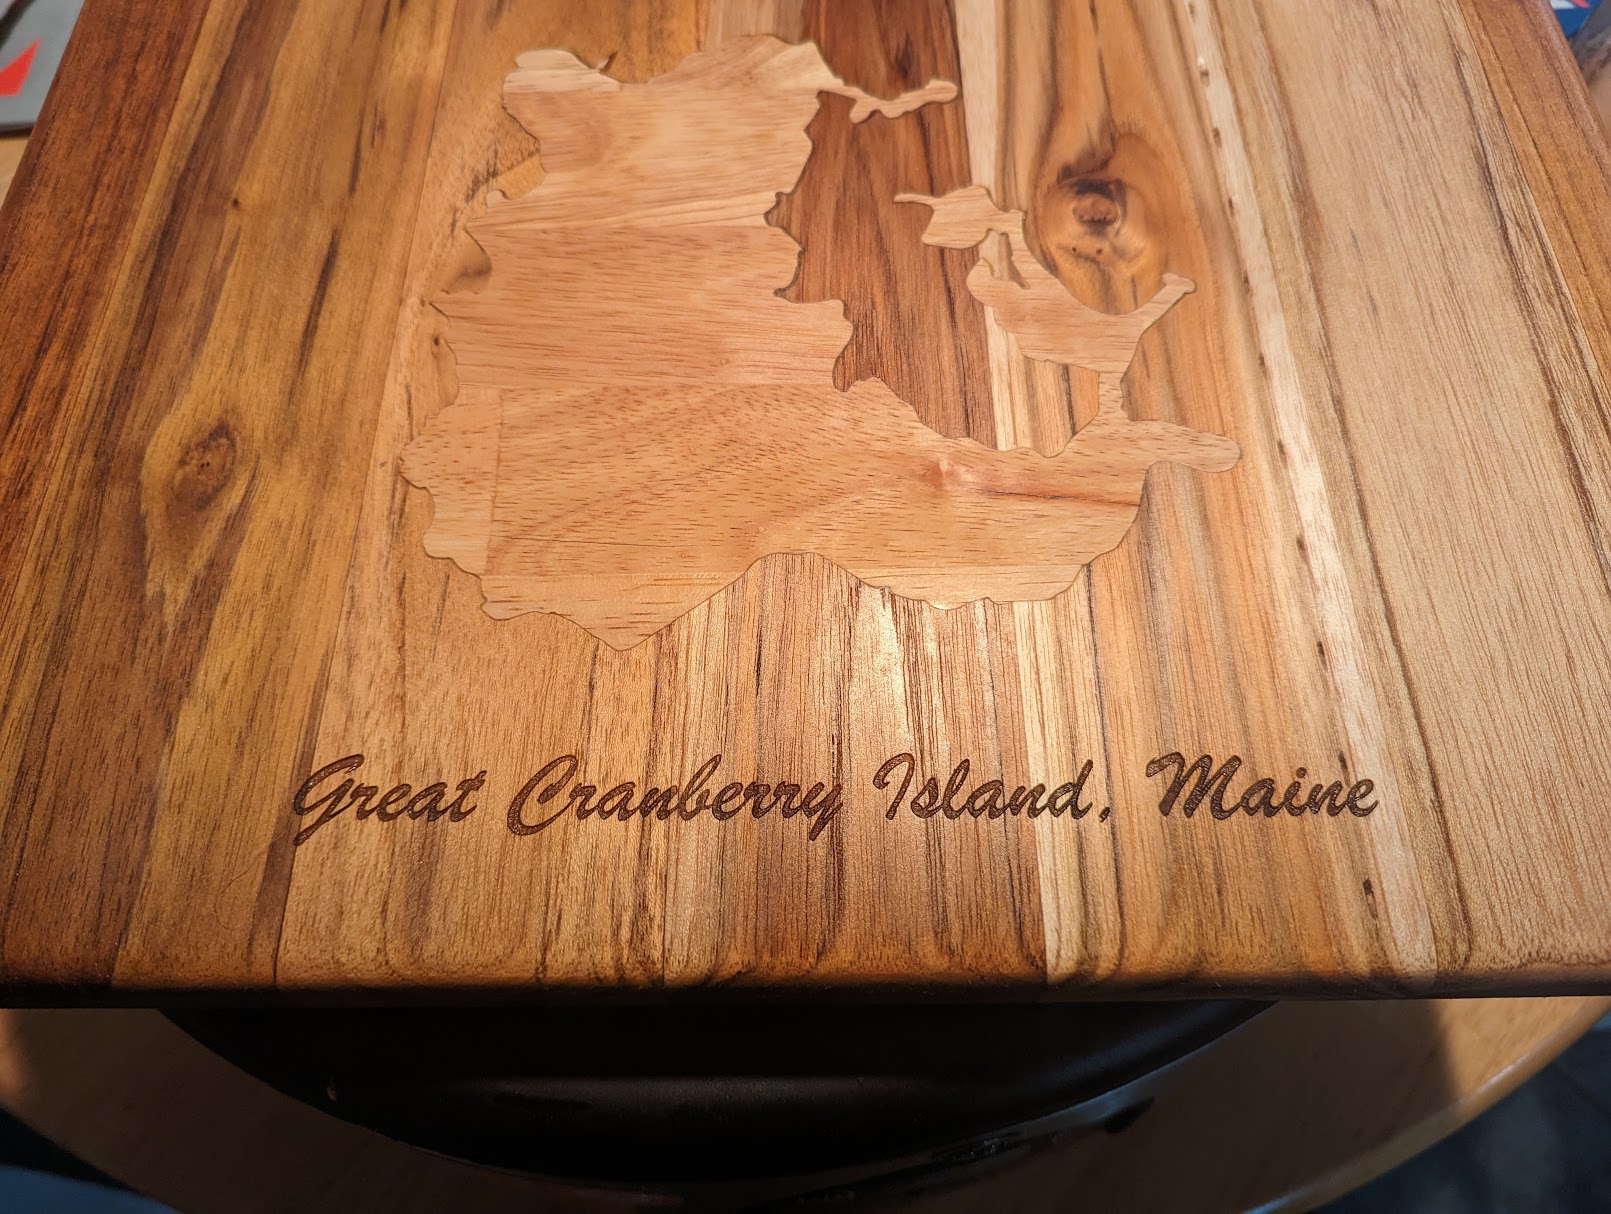
The first ‘Great’ is showing a need to adjust ‘Scanning Offset’.
I get the impression that you felt that offset fill would perform better. I don’t want to be the ‘bad guy’ but offset fill always leaves holes in the middle of things.
Thanks! Based on what I’m reading about scanning offset, I think you’re spot on there with linear fill.
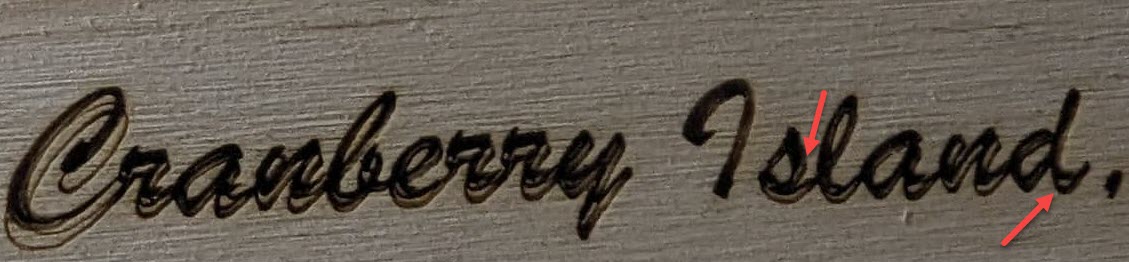
For offset, the issue is most pronounced in the C in cranberry but can be seen through the rest of the words. Where it starts seemingly lower and then fills about 2mm higher. Almost gives a drop shadow outline in a way.
I’m going to tweak my acceleration and jump-offs a bit after seeing some similar configs online. I’m also suspicious of my PWM setting for leading or tailing. I think the scanning may be my ticket on that aspect though!
Linear Fill is MUCH better! Still some tweaking, but I’m getting acceptable results after a few data points, and I can fine tune from here.
Thank you!
I changed some of my jump off and acceleration settings and things are improving. If anyone has settings from a machine they built that I could use for a starting point, I’d appreciate it.