Help with Ender 3 SI Pro

Hoping I can get some help with 10w Creality laser on my Ender 3 SI Pro.

I am able to successful connect the device through my Macbook Pro (USB C to the Falcon control box) and even utilize the laser to engrave.

However, I am having issues with the home and positioning of the laser.

When I set up the device I used the GRBL device and set the bed to 220x220 and a home position of FRONT LEFT.

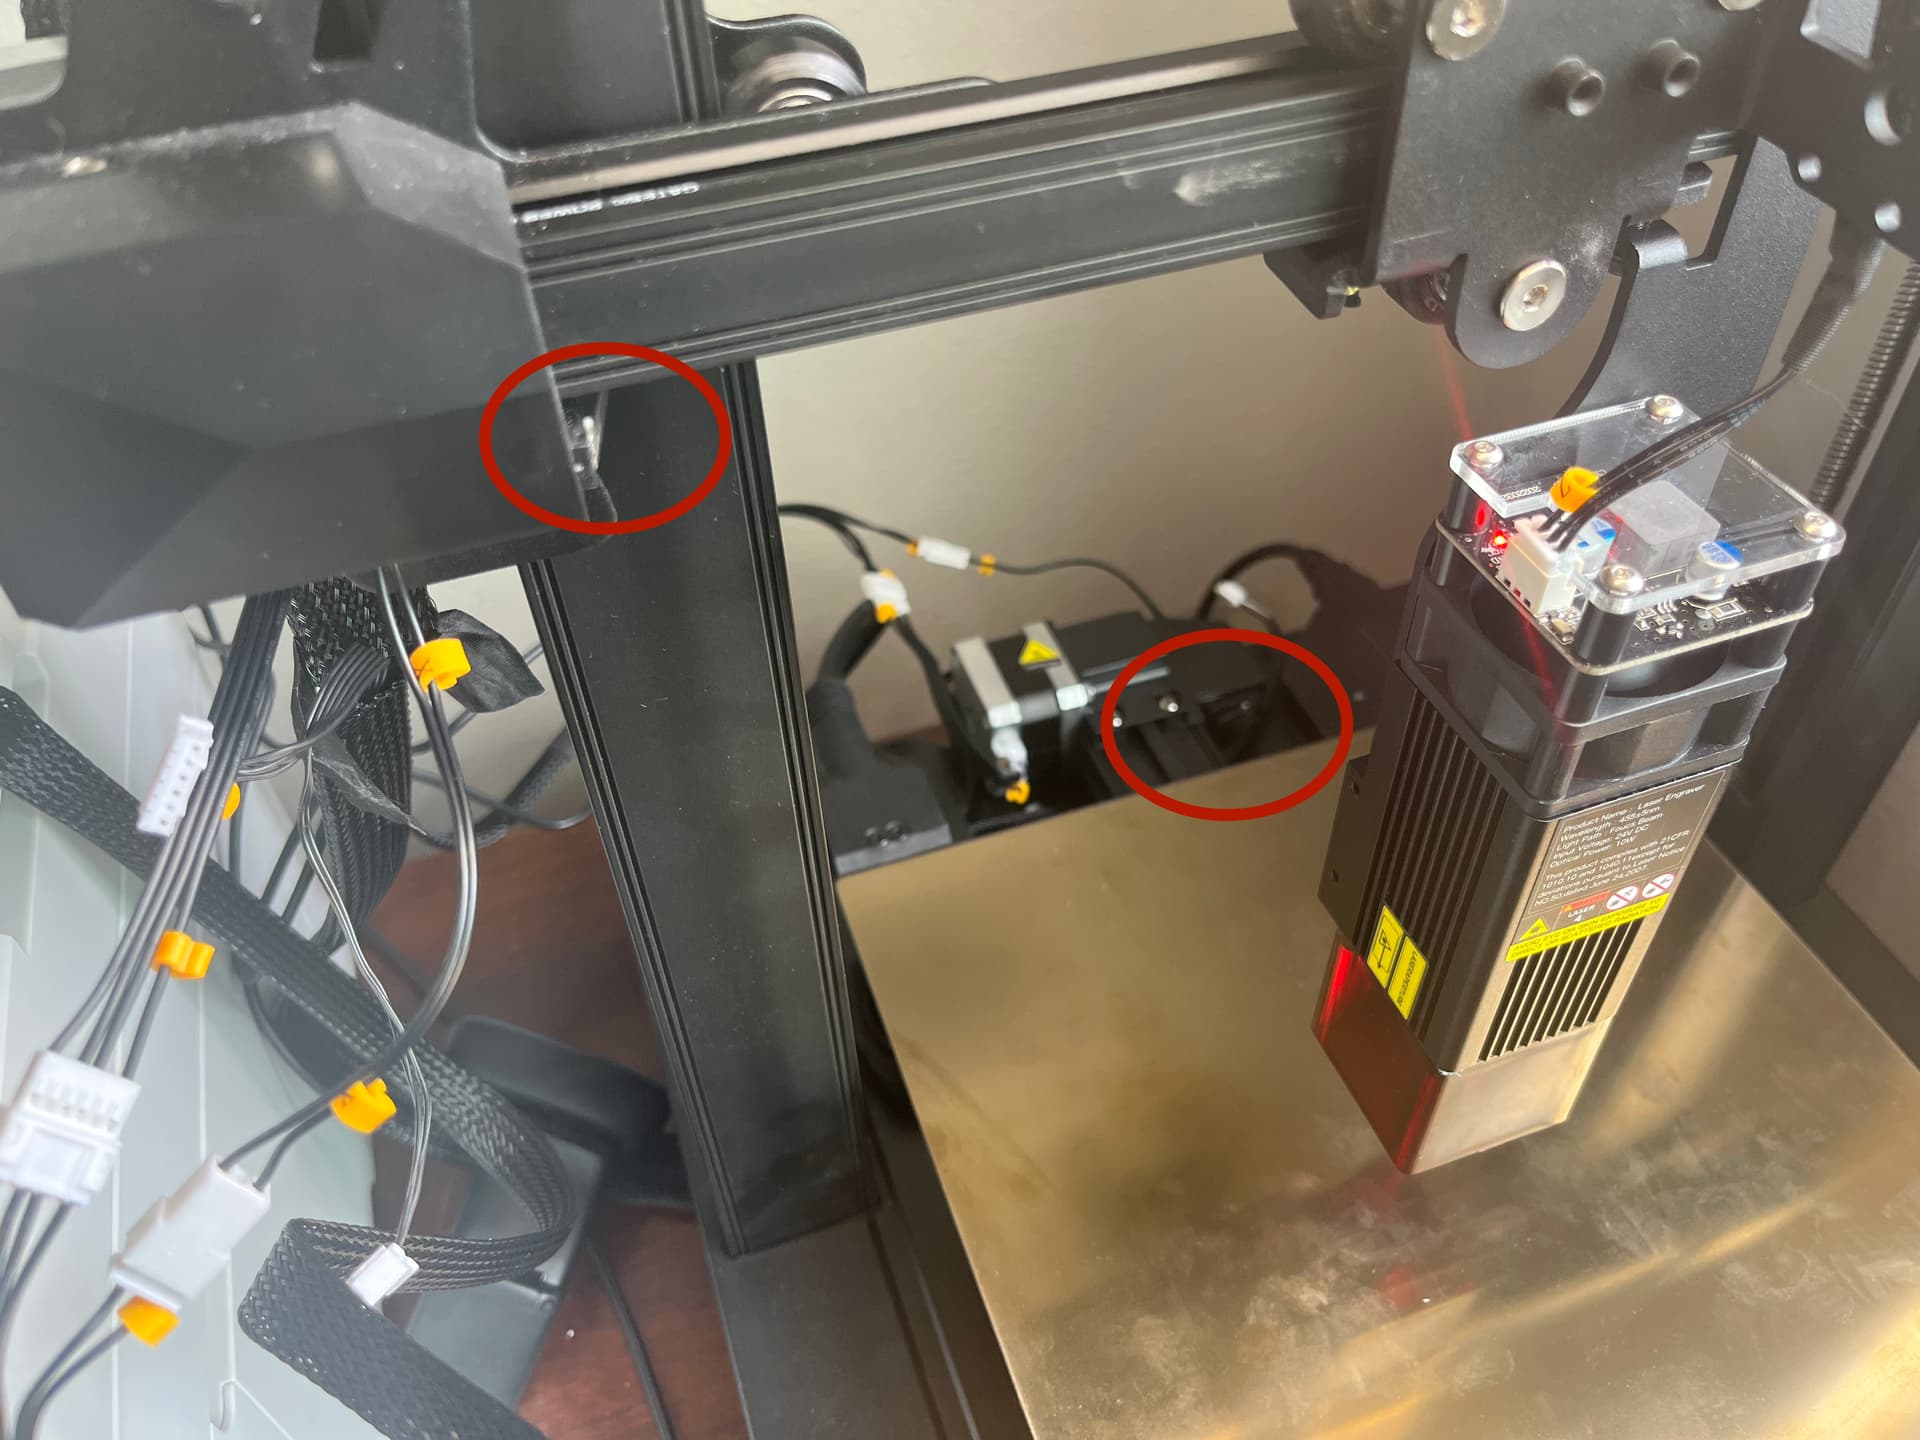
However, homing the laser pushes it all the way back to the rear right, beyond the limit of the printer, creating a horrible raking noise as the motor attempts to push the laser further to the back right.

Additionally, the X/Y axis position does not seem to be accurate to the image of the bed in Lightburn. For example, positioning the content to be engraved is not accurately depicted on the bed within Lightburn as it really appears on the engraving material.

1 Like

More info:

When using this setup, the printer ā€œhomeā€ moves to the rear right, not the front left.

Where does this system home when you first turn it on?

Thanks for the help, Rick. The printer does not ā€œhomeā€ when powered up at all.

This is turn if I power up the printer first then then the connected Falcon 3 box or when I start the Falcon 3 box then the printer.

However, the limiter switches would engage when the printer / laser head is in the front left position.

Just so I understand, you are saying the system does not home on startup, and the limit switches are located in the front-left, correct?

Yes. Thatā€™s exactly right. Does not home at all upon start up and the limit switches are in the front-left.

EDIT: Limit switches cause the head to stop moving when the head is fully forward on the plate and fully left on the plate.

Where does the system go when you issue a $H - Run homing cycle?

$H causes the printer head to move to the far right, also causing the grinding sound.

Additionally, when I use the ā€œmoveā€ function arrows the X axis is backwards. Pressing left moves the printer head right and vise versa.

$$

$0=10

$1=250

$2=0

$3=2

$4=0

$5=0

$6=0

$10=1

$11=0.010

$12=0.002

$13=0

$20=0

$21=0

$22=1

$23=3

$24=1500.000

$25=4500.000

$26=20

$27=3.000

$30=1000.000

$31=0.000

$32=1

$100=80.000

$101=80.000

$110=10000.000

$111=10000.000

$120=500.000

$121=500.000

$130=400.000

$131=415.000

ok

A bit of progressā€¦ it seems that you must manually move the laser to the position you want to be 0 and then power on the printer. It will not do this automatically upon boot.

Did a little digging using search and found this, covering this subject. Please review and let us know how you progress. :slight_smile:

That helped! At least the X-Axis moves in the right direction now.

It still doesnā€™t ā€œhomeā€ correctly or obey the limiters but I can manually move the laser to the origin location I want to use.

I think there is a firmware issue.

In what way is it not homing correctly?

Under what circumstances? Does this include at homing?

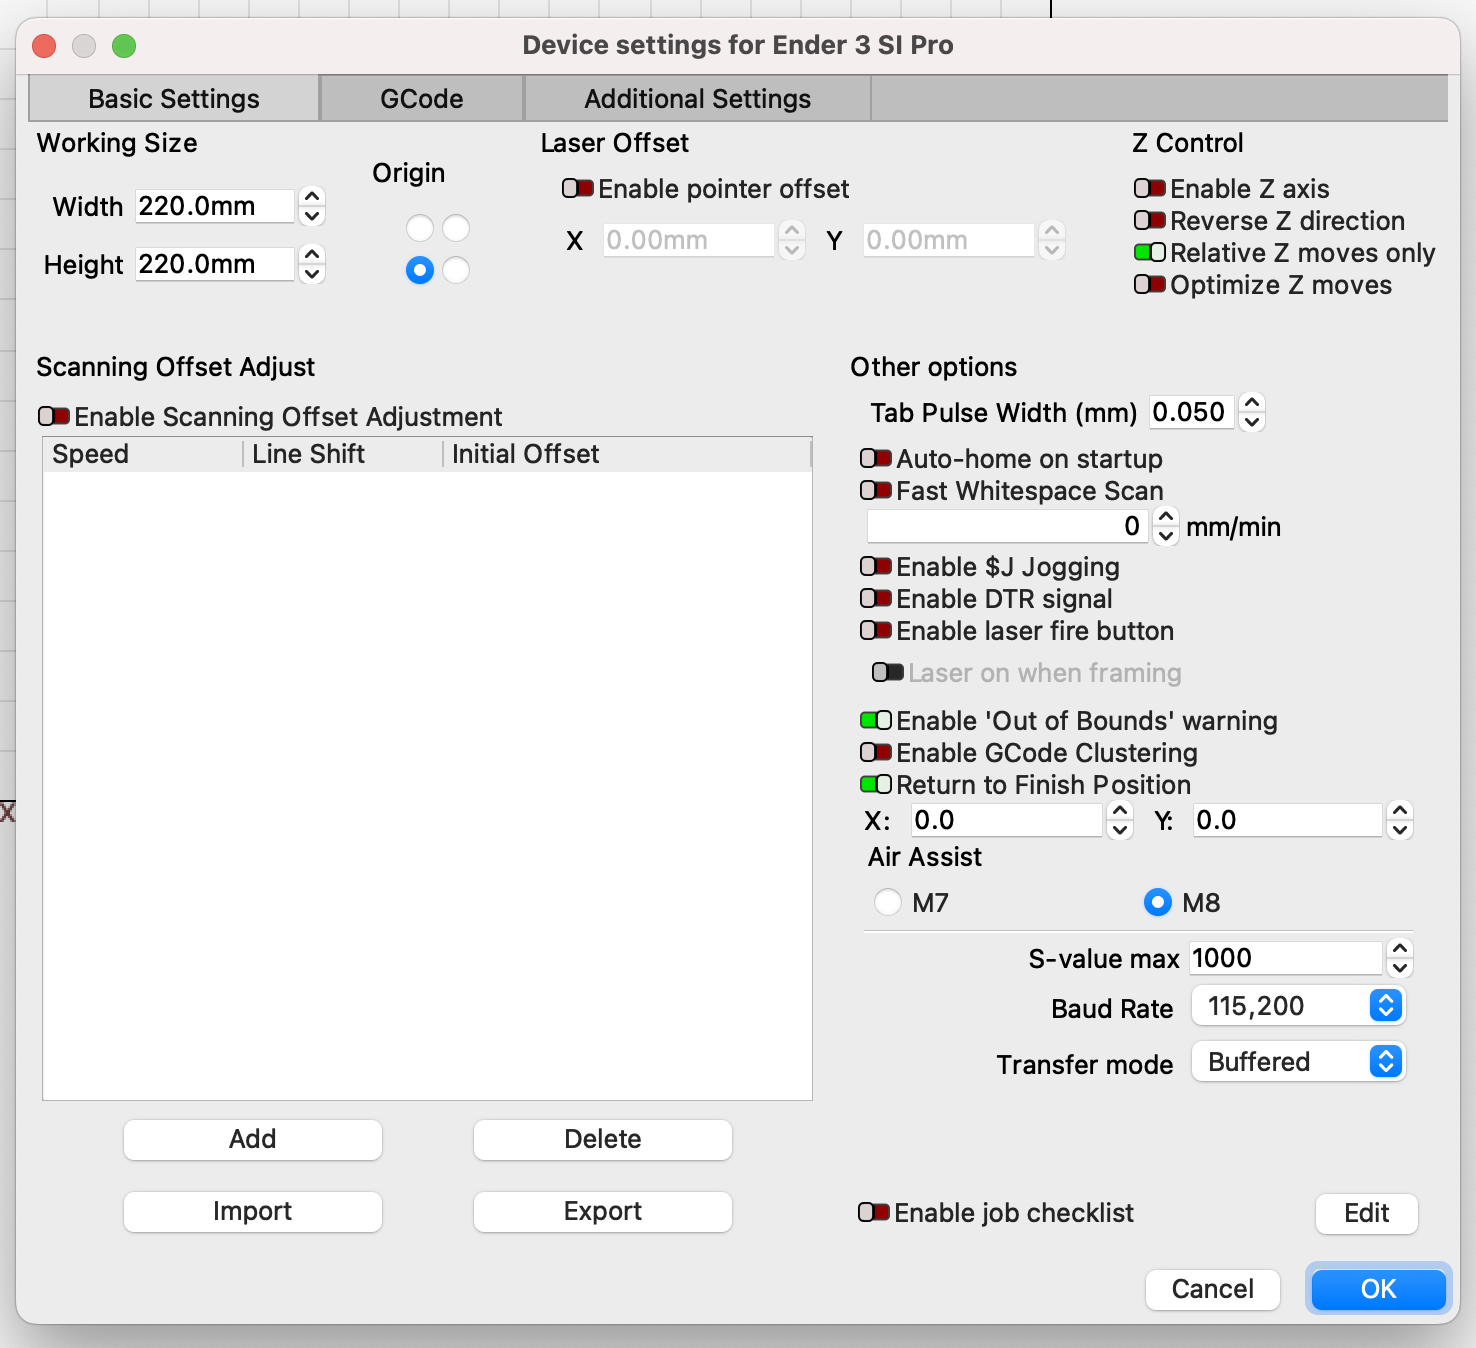
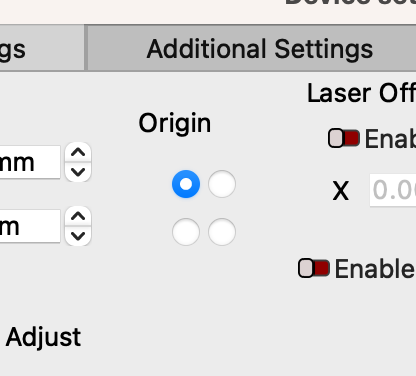
Which dot do you have selected for the Origin radio button under ā€˜Edit > Device Settingsā€™?

image

I expect this dot (above) is what you need, given your limit switch location - though that thread that @Rick linked does dive into some firmware adjustments.

This topic was automatically closed 30 days after the last reply. New replies are no longer allowed.