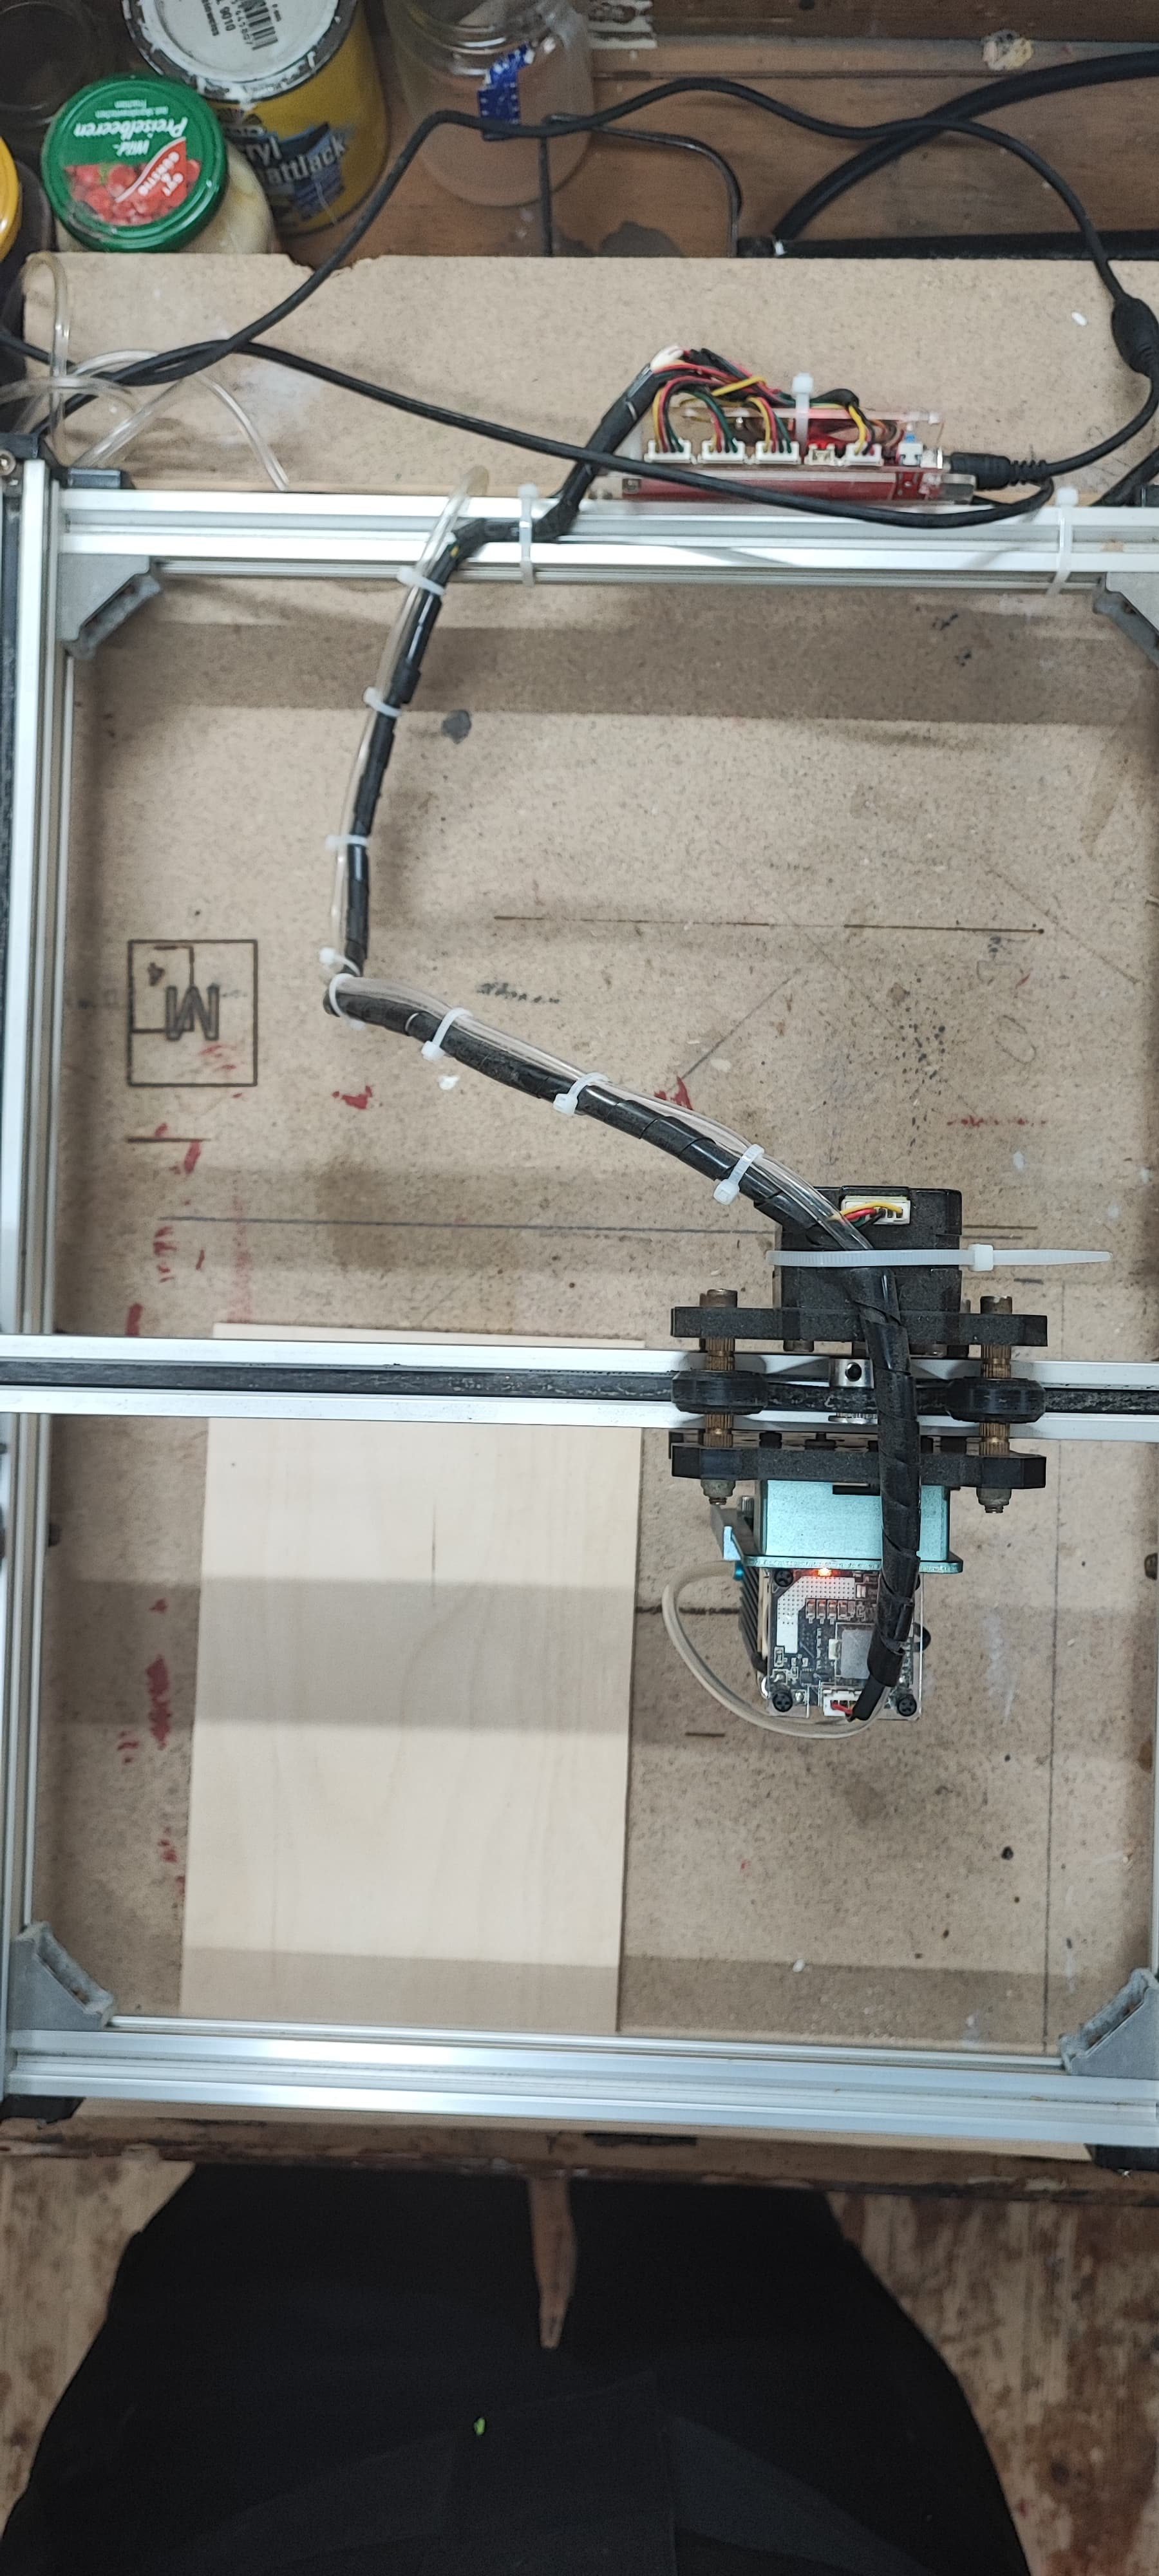
we got a Sculpfun S9 at work a while ago. The latest drivers are installed and it uses GRBL 1.1h.
I’ve just been tasked with settings this thing up. So far, it is recognized and seems to work. The problem that occurs now however is that I have no real clue on how the home position works. When telling the laser to return to its home position, it will move to the “bottom right” position of the workspace. It does not stop there however and tries to go even beyond it, repeatedly hitting the corner. Obviously this would damage the machine in the long run.
What I’ve tried so far:
Set the workspace to 400x400mm
Set the home position to X-0 Y-0
Manually move the laser to the top left when off and then power it on, it will still move to the bottom right regardless
Set $10=0, move the laser to the top left and do G92 X0 Y0
No matter what I do, it will try to move to the bottom right. If I let it do that and type ?, the output I get is:
<Idle|WPos:-62.800,-76.762,0.000|FS:0,0|WCO:270.000,330.000,0.000>
I’ve never worked on lasers before and I’m getting pretty confused… Can someone help me out with this? Thank you!
EDIT:
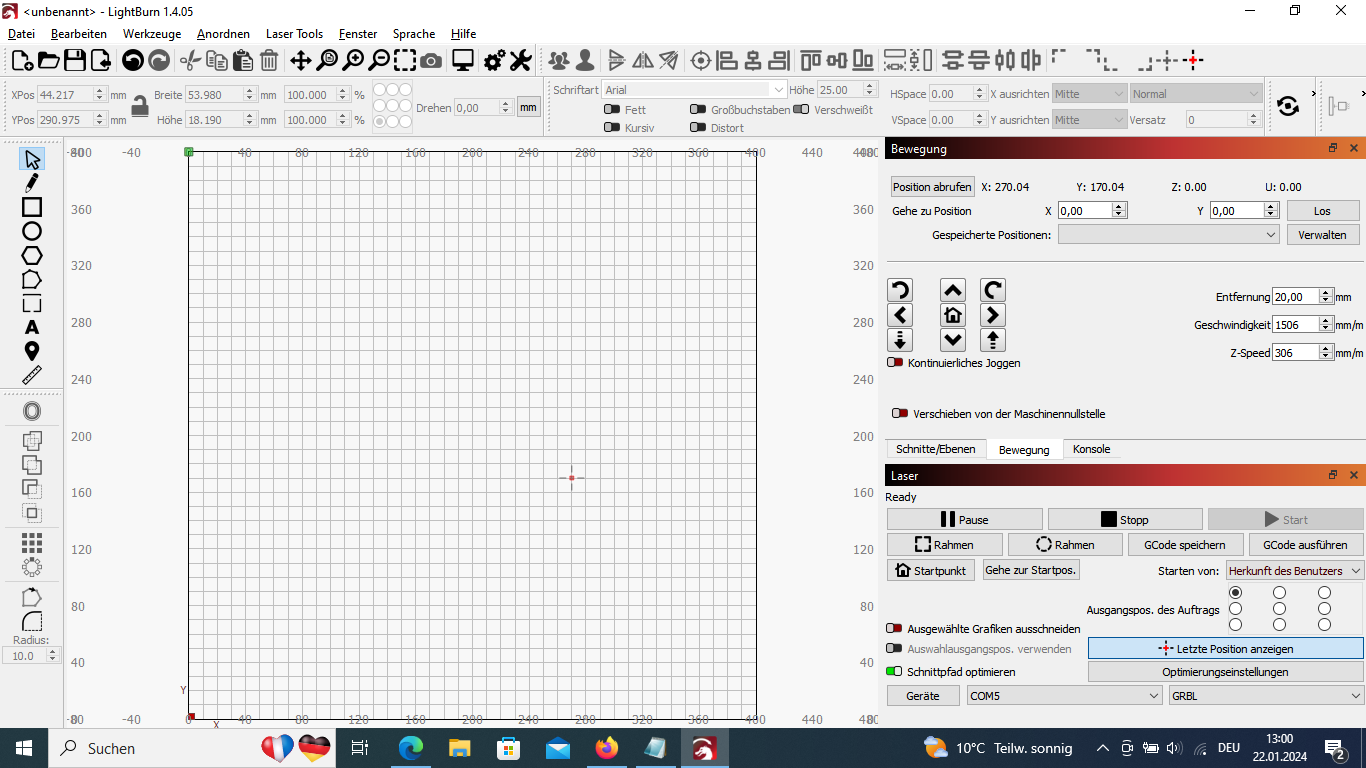
Small update. When using G0 X0 Y0, the position of the laser will change to the position in the image. Using G0 X10 Y10 will move it a little bit to the bottom right.
When moving the laser manually in little increments, moving it to the top left results in the output being <Idle|WPos:270.038,170.038,0.000|FS:0,0|WCO:-400.000,-400.000,0.000>
As you can see in the picture, the top left of the lasers workspace in the physical space does not correlate to the workspace in Lightburn, where the actual position of the laser is not in the top left but somewhat off-center.
The laser was purchased used. After looking at some Vevor and sculpfun products I am fairly certain that it is a Sculpfun laser on a Vevor machine.
If that is the case, is there anything I have to do differently? I followed the steps in the video to no avail.
Maybe disregard the previous post… You seem to be communicating with machine, which is 1/3 of the battle. . It doesn’t appear to have limit switches, so all homing options should disabled. The red dot in the lower left corner of your design grid indicates machine origin. The green dot in upper left is the job origin.
If you use the move window buttons, does the laser move the expected directions?
I have only ever used absolute coordinates, which requires homing…which you can’t use. I’m not certain how to effectively work with your setup, but I believe wherever the laser module is when Lightburn connects is considered machine zero. Try changing you job origin to lower left, disconnect and power off the machine, move the laser module to the lower left (by hand), then power on and reconnect. See if that helps.
I guess the laser has no limit switches for homing and those are also configured wrong in firmware.
But you don’t need homing and absolute coordinates. You can work fine without positioning that way. Here is an article about it:
For what it’s worth your machine is a VEVOR with a Sculpfun Laser module…
Sculpfun frames are green… as you see in the video that Chris posted…
Have fun…
Hello,
I can move the laser with the buttons perfectly. The coordinates it displays however are completely messed up. For example, if I move the laser all the way to the left of the rig, I will be at X 200, not X 0. Same with the Y Axis. All the way at the bottom is Y 200, not Y 0.
I have connected and disconnected the machine and moved it to the bottom left of the machine like you described, that however results in the coordinates being at X 400 and Y 400, not both 0.
Okay, I think I might have done it now? I am not sure.
I once again disconnected the machine as well as the USB cable. I then moved it all the way to the bottom left where I want it to start. Then, I plugged everything back in. LightBurn reported the current position as being X 400 and Y 400. I then typed G92 X0 Y0 into the console. That set both axis to 0. Now, moving the laser with the buttons in the move tab increases the corresponding axis into the positive space. I think it works now?
I think that’s okay considering the circumstances. I’ve made a macro with the G92 command, so at least it’s rather fast to do. Thank you all for the help!
Does the above mean this controller is working in negative space? (Origin at top right). That’s also new to me other being aware that it’s a niche setup with known workarounds. I think I read something about workspace offsets to correct for this?