Hello all, I have a scoulpfun s30 pro max 20 watt and I love it! It was so accurate and precise. So I decided to upgrade to the 935x905mm kit.
Well I built the original laser from the kit and it worked great. I followed every instruction and everything to a T now, the frame is larger it will not cut very accurate at all.
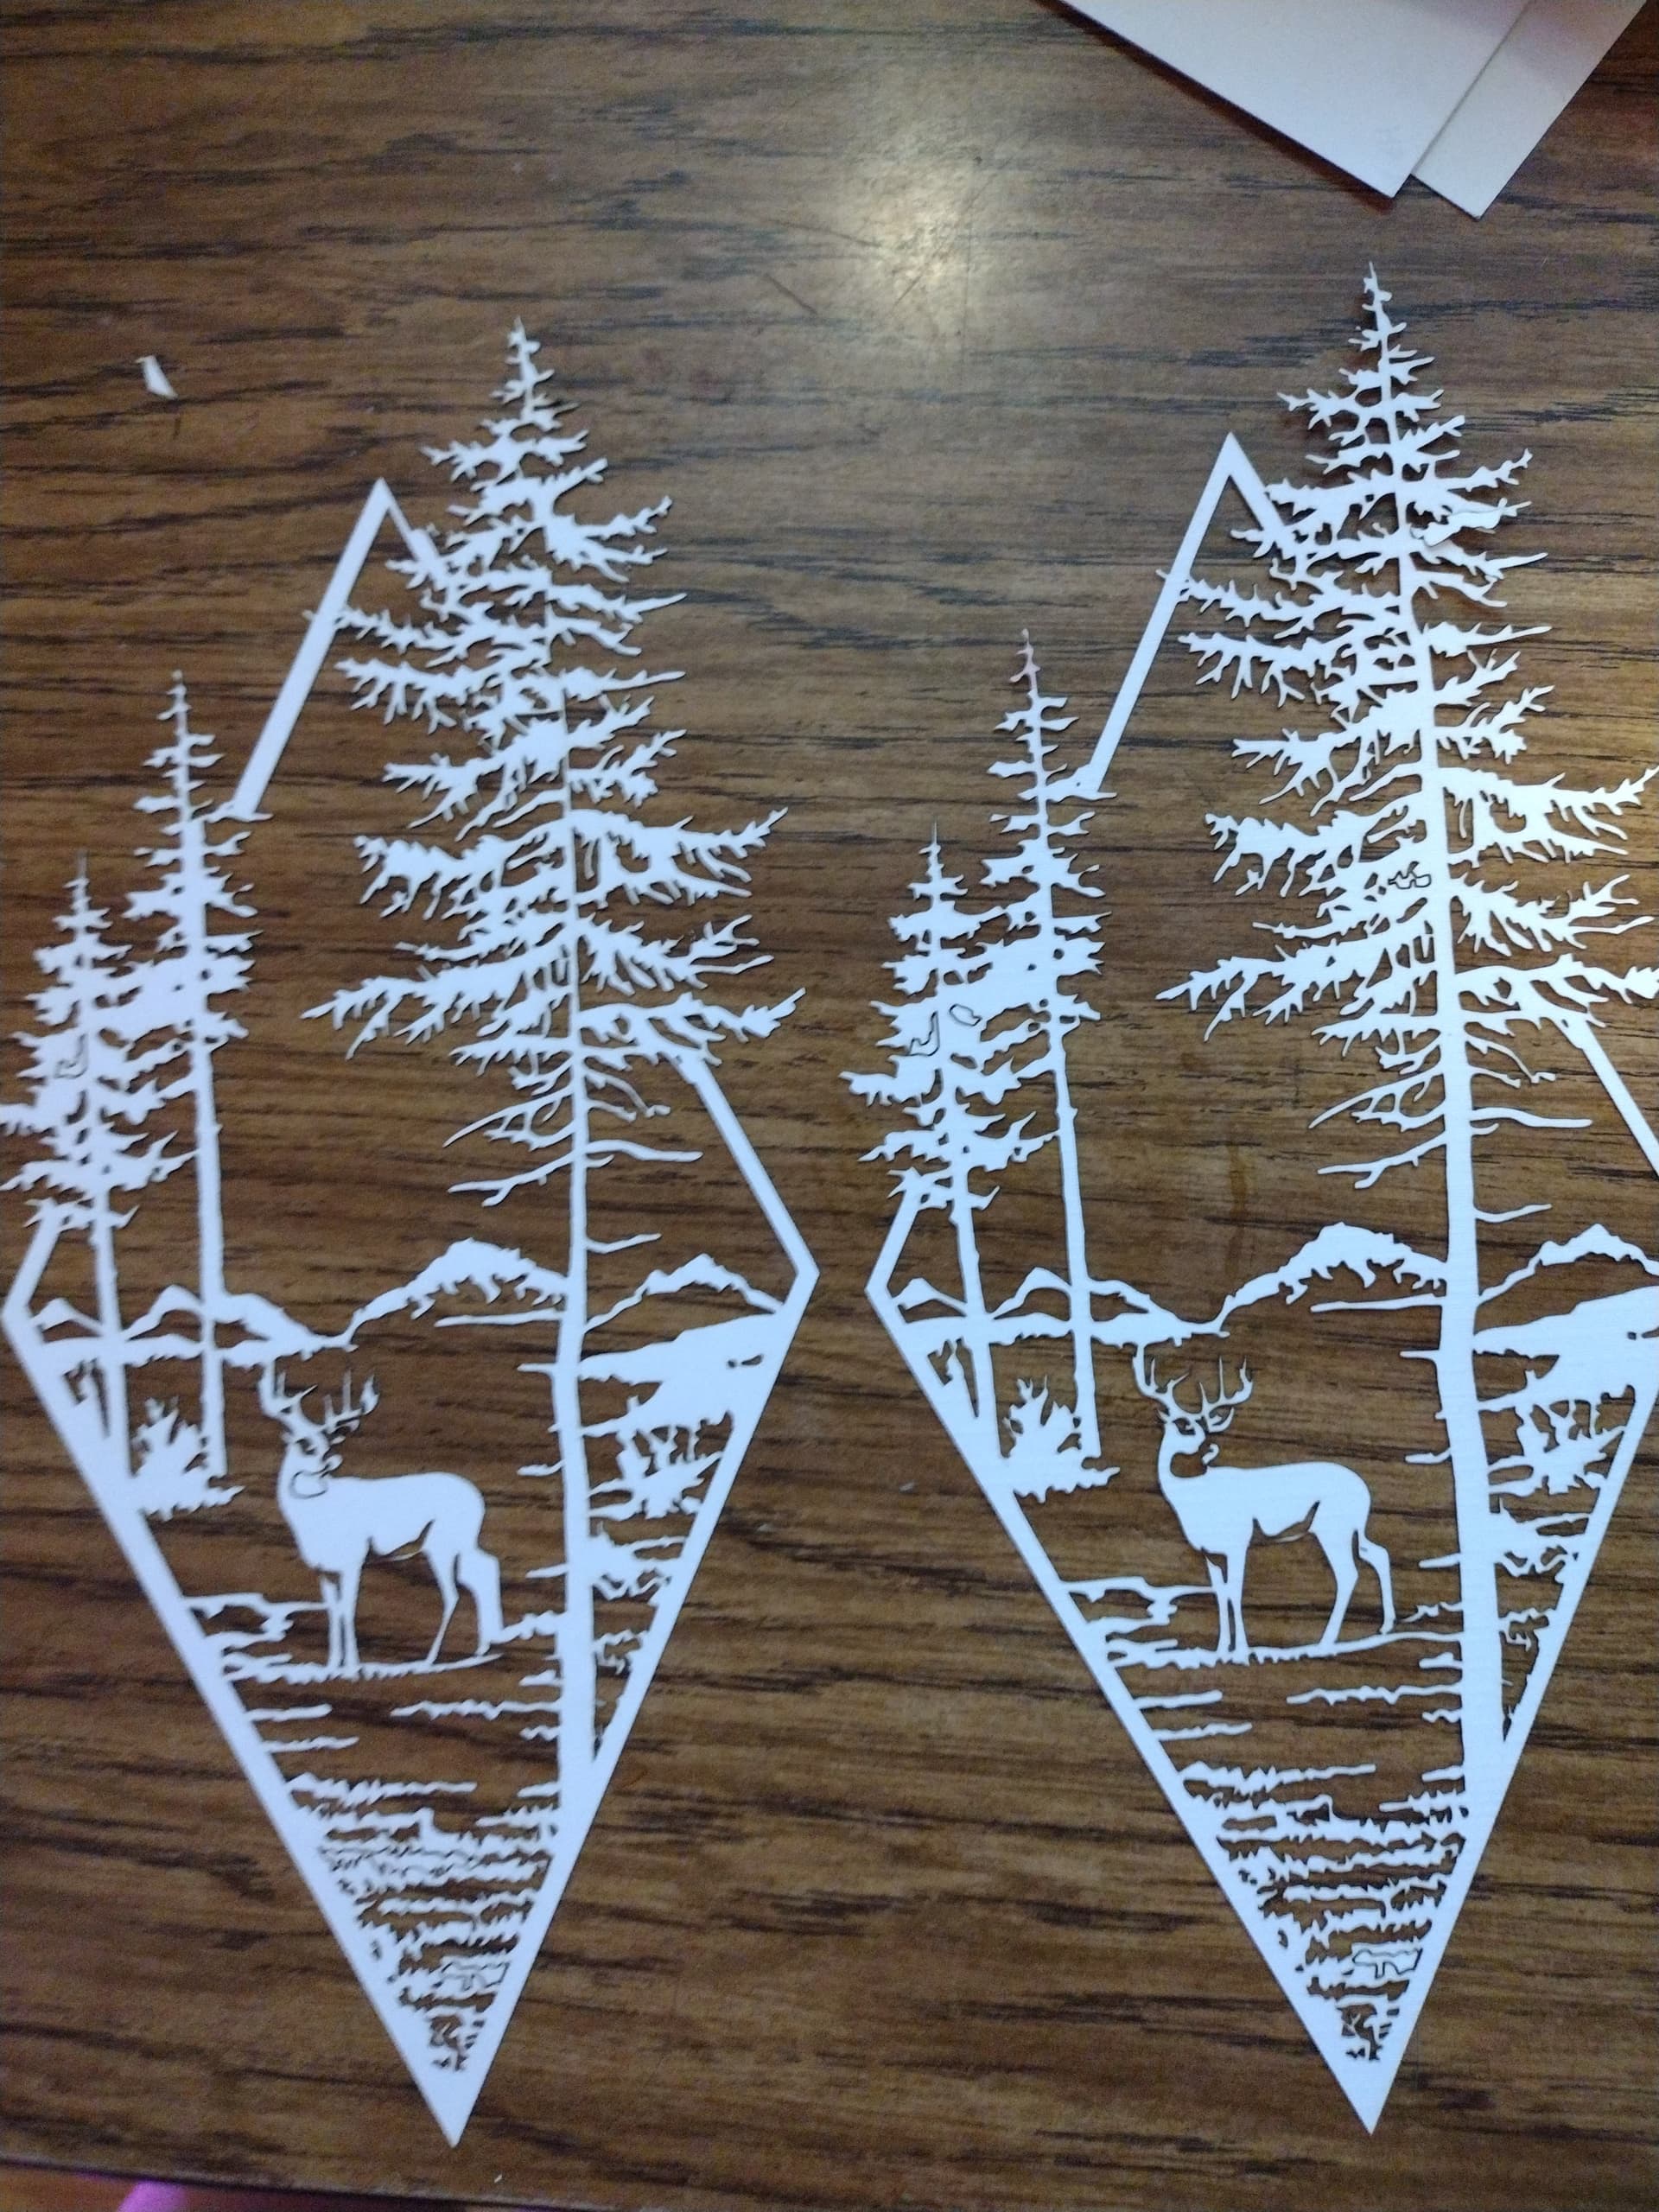
Has anyone got there sculpfun 935x905 running and cutting good and accurate? I will include a picture of the before the upgrade of a deer and tree. Next will be how it’s cutting now.
I have even uninstalled and reinstalled lightburn. It sees the laser and I set the work area (890x900mm) and I set the home. When powered on it does home. The laser will move in the right directions when moved in the software. The coordinates also match what the laser should be at.
I do feel like the framing is off, I am about to go back to the 400x400 setup. The company does not seem to be very helpful at all!!!
That’s what I am figuring, but for the life of me I can’t seem to find it. When moved by hand it’s fine. No jams or odd sounds. Going to go over it again and see.
Thanks.
Mike
I use a steel mesh, and very strong magnets. They have always held and I don’t see any movement. It’s just odd it worked fine before the upgrade.
Starting to think a 1/2 aluminum frame and using alot of the same components from the small one, might not be rigid enough. Thinking the X axis might be flexing when it’s trying to move. There is an adjustment but it does not help. I guess I am rebuilding it back to the smaller size to see if that fixes it.
I run a metal lathe but that’s an entire different beast lol.
@Dskall pretty much said it all. It appears to be more than one problem, and all related to machine assembly. The 20w module is huge, so everything has to be just right.
One step at a time…
Make sure you assemble the frame on a flat surface. A concrete driveway or garage floor rarely meets this requirement.
Make sure the frame is secure and square. the diagonal measurements (corner to corner) should be identical.
Make sure the gantry is snug on the rails. There is an offset nut for keeping the wheels down in the track. Snug, no wiggle, but free to move the full length of the frame.
Make sure the set (grub) screws are all secure on both ends of the gantry drive.
Make sure the Xaxis drive set screws are tight, and one is sitting on the flat area of the shaft.
Make sure all 3 of the belts are snug, but not so tight they sound like a guitar string.
Finally, as you gently push it, check that the gantry hits the frame on both sides at the same time. You can use the back of the frame due to the Yaxis Home switch.
This is exactly what you will have to do if you go back to the original frame. You might as well try it with the extension kit first. You spent a lot of money for the kit, so make it work.
Thanks all for the help, I do agree it’s a mechanical issue. Will go over it again this weekend.
In the back of my mind it’s a huge machine for such tiny rails, I can’t see how they would not flex a little. Now that there over 900mm long.
Will update after I go back over the machine.
Thanks again
Mike T.
Looks like some sory of racking or binding. Check frame for square by measuring diagonal to diagonal on both sides for the same measurement. Pull gantry and laset head to the front and measure gap from rail edge to gantry along the width…check to ensure its not angled at all. Ensure all wires do not get tight or tug on the full range of movement. Check to make sure you arent getting any slippage on smooth rods and the pulleys by holding pulley and turning smooth rods…they should be tightly joined and be unable to move independently.
Hate when an upgrade goes south!!
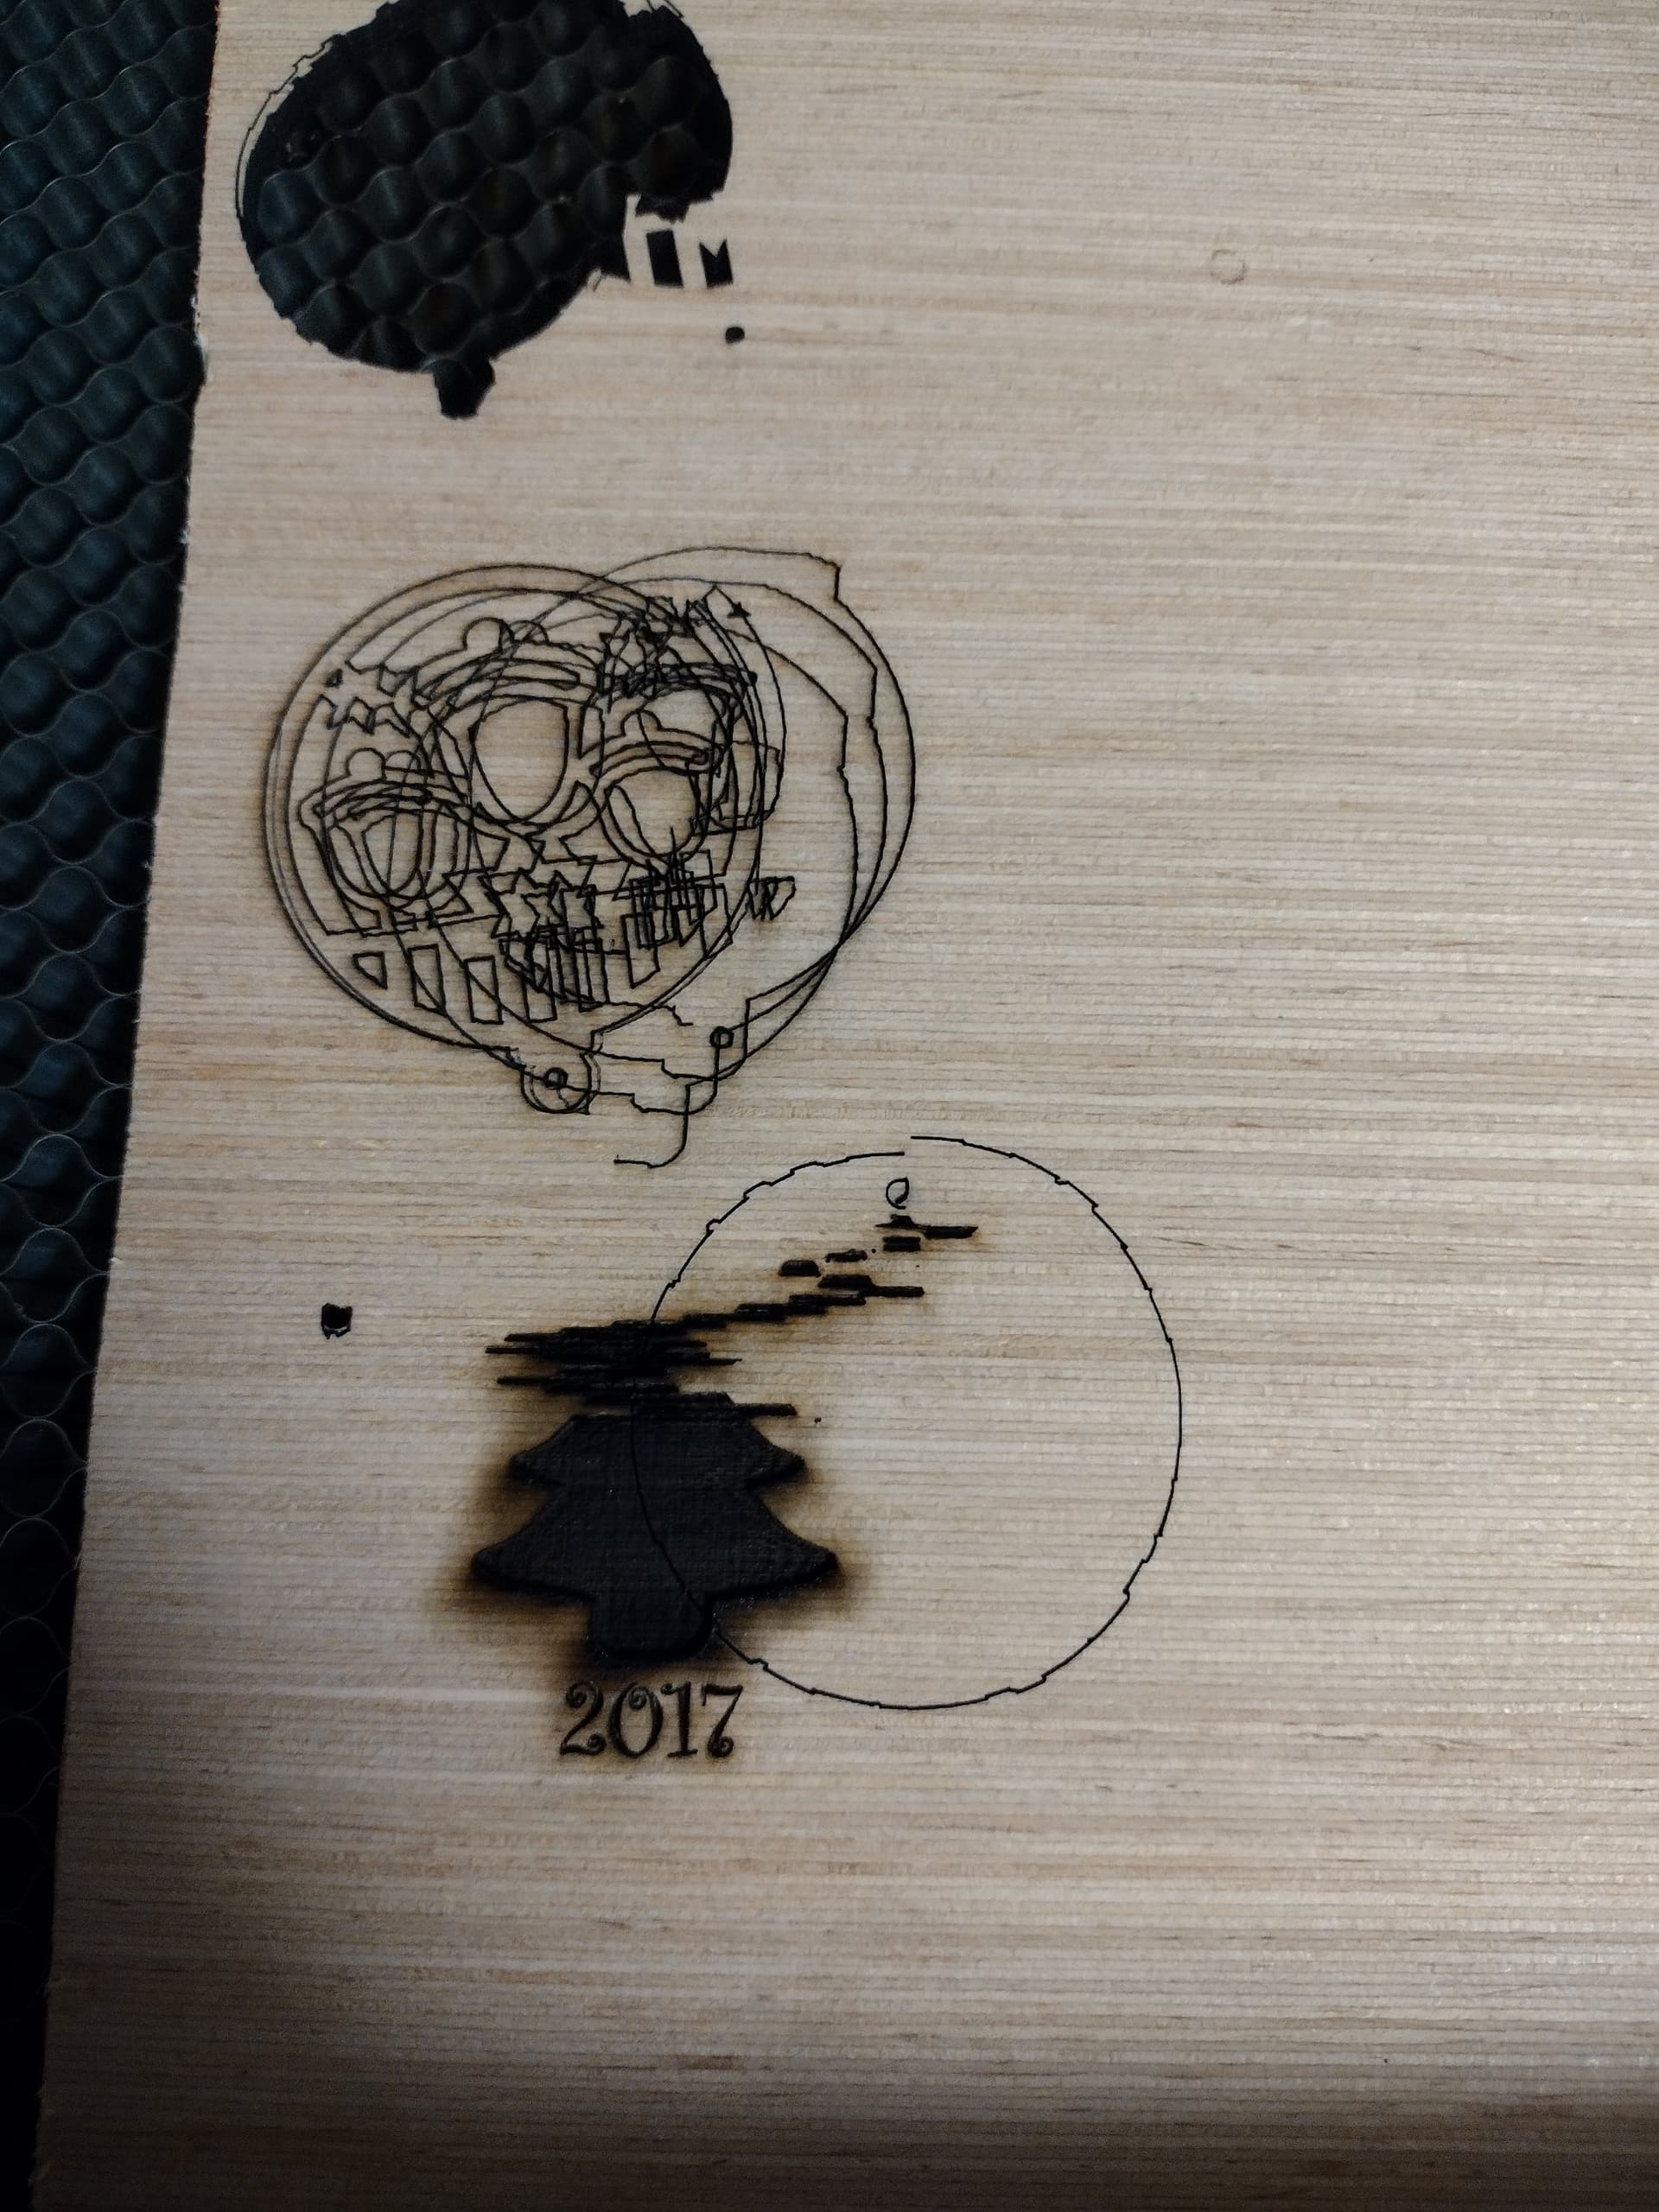
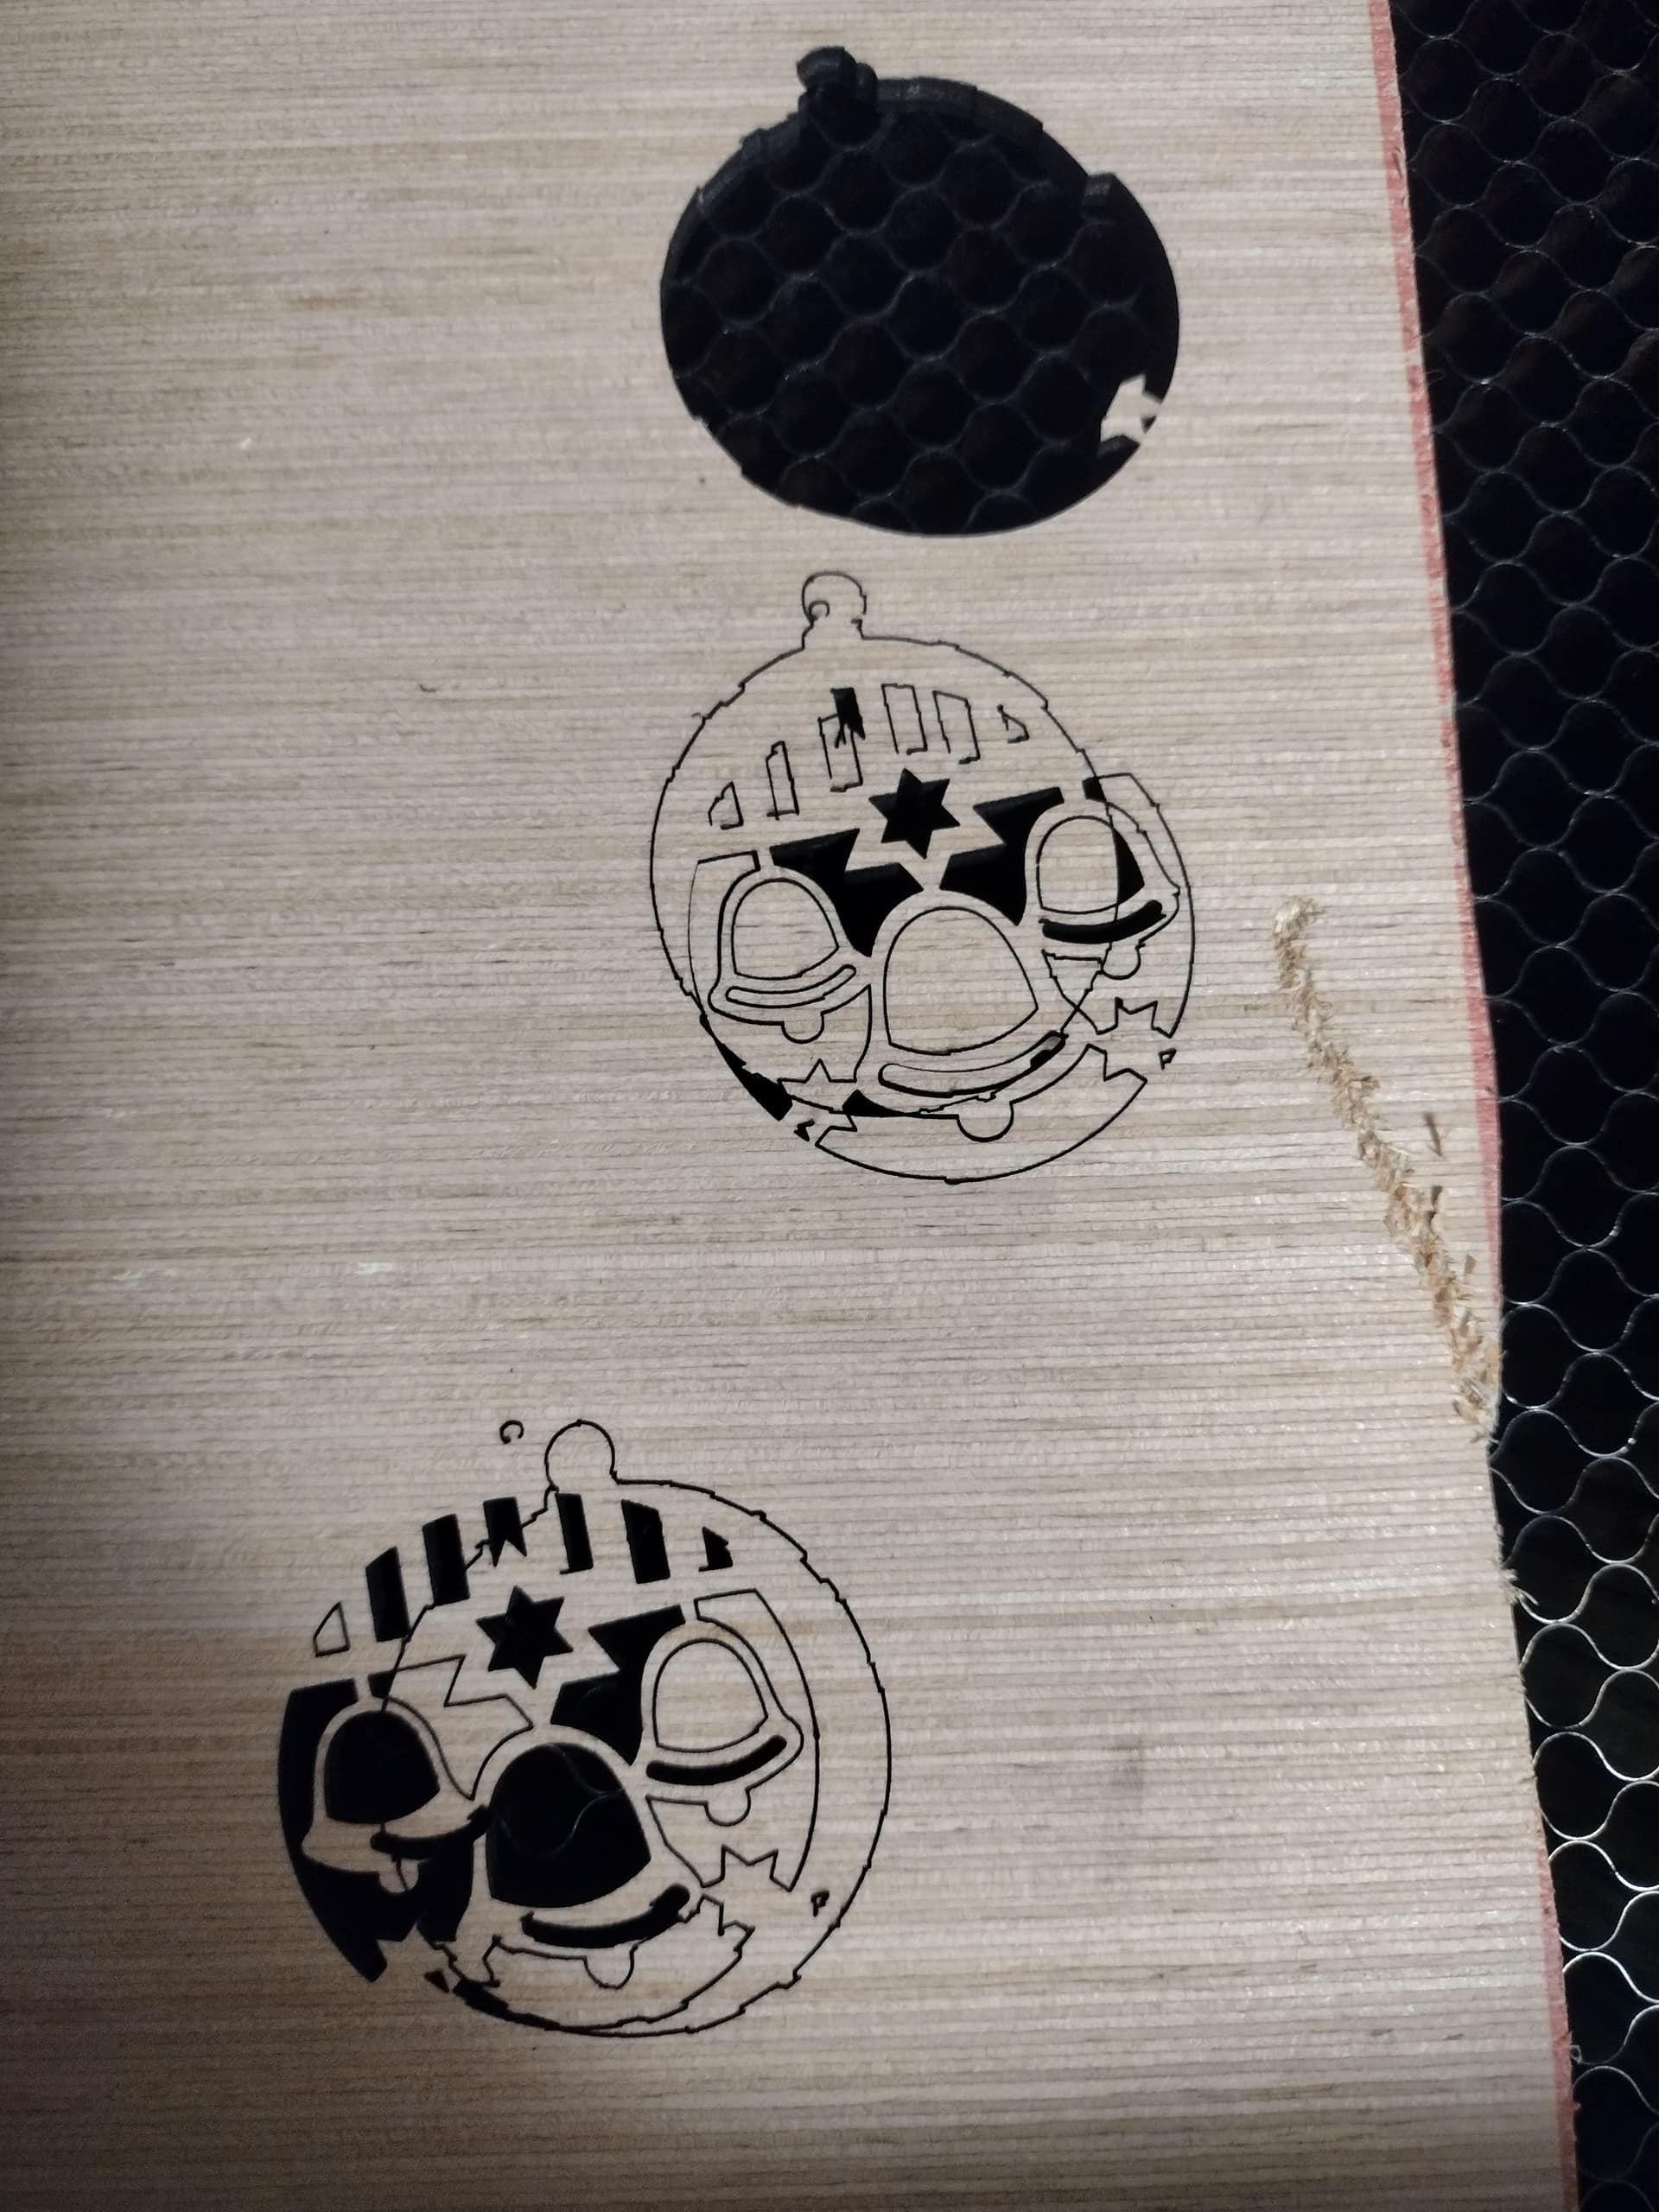
I have went over this machine untill I am blue in the face lol. This is what I don’t get,
Here is a simple circle patterns cut out of cardstock just for speed and not to waste wood. The 1st test turned out sweet!
Test ran back to back. I am starting to think maybe it’s a mother board issue. I can’t see a adjustment ever cutting pretty perfect then going to crap.
I guess I am going back to the smaller setup, its all I know to do. I would just like to talk to someone who has this 935x905 setup and working. I am not sure any of them work right lol.
Not an expert, but what I see here has nothing to do with frame size. Something is not tight, and in the process of traveling into a different area of the machine, and then returning, I suspect something(s) is still loose.
You are going to be really miffed if you go back to the smaller frame and it is still acting bad.
You still have purple and black to go! Taking a video of this while its happening and posting here may help with multiple sets of eyes. Sometimes you cant see the forest fir the trees.
I don’t think so. If it runs good once and the next run it fails, it sounds definitely mechanical to me. Something went loose. Did you check all grub screws carefully? Those tend to be/get loose often.
This is exactly the symptom of set screws being loose or spinning on a smooth rod that has no flat ground to lock the set screw ans pulley to the rod correctly. These companies providing non flat ground smooth rods for movement is a huge joke.
I need to test it on wood tomorrow but I believe I have finally figured it out. Thanks to misken and his power adjustment on the mother board of the laser. I had them maxed out! I could have swore that’s what the video and instruction said to do. So I backed the x and y back off to about 50% power and now it’s been cutting great!
I have just been cutting cars stock but every speed and power turns out pretty good! Will do more test tomorrow.
FYI, I did go over everything over and over the power adjustment was the one thing that made it better and better.
Maybe it’s just happy lol…
Thanks again all!!
Mike T.