That gives me a lot of good ideas…I especially want to add the air assist using a compressor. My machine is the OMTech 60w blue w/700x500 bed. I would like to also have a cutting setup…where is the best place to get the parts I need?
I couldn’t begin without seeing a picture of your head. I know Orion puts out some good machines, but I’m not that familiar to tell you what you need without seeing what we are dealing with. A good straight on the front pic for sure. Knowing if it’s a top or side mount, that kind of thing. With that info and maybe a few more questions I can get you dialed in pretty quickly.
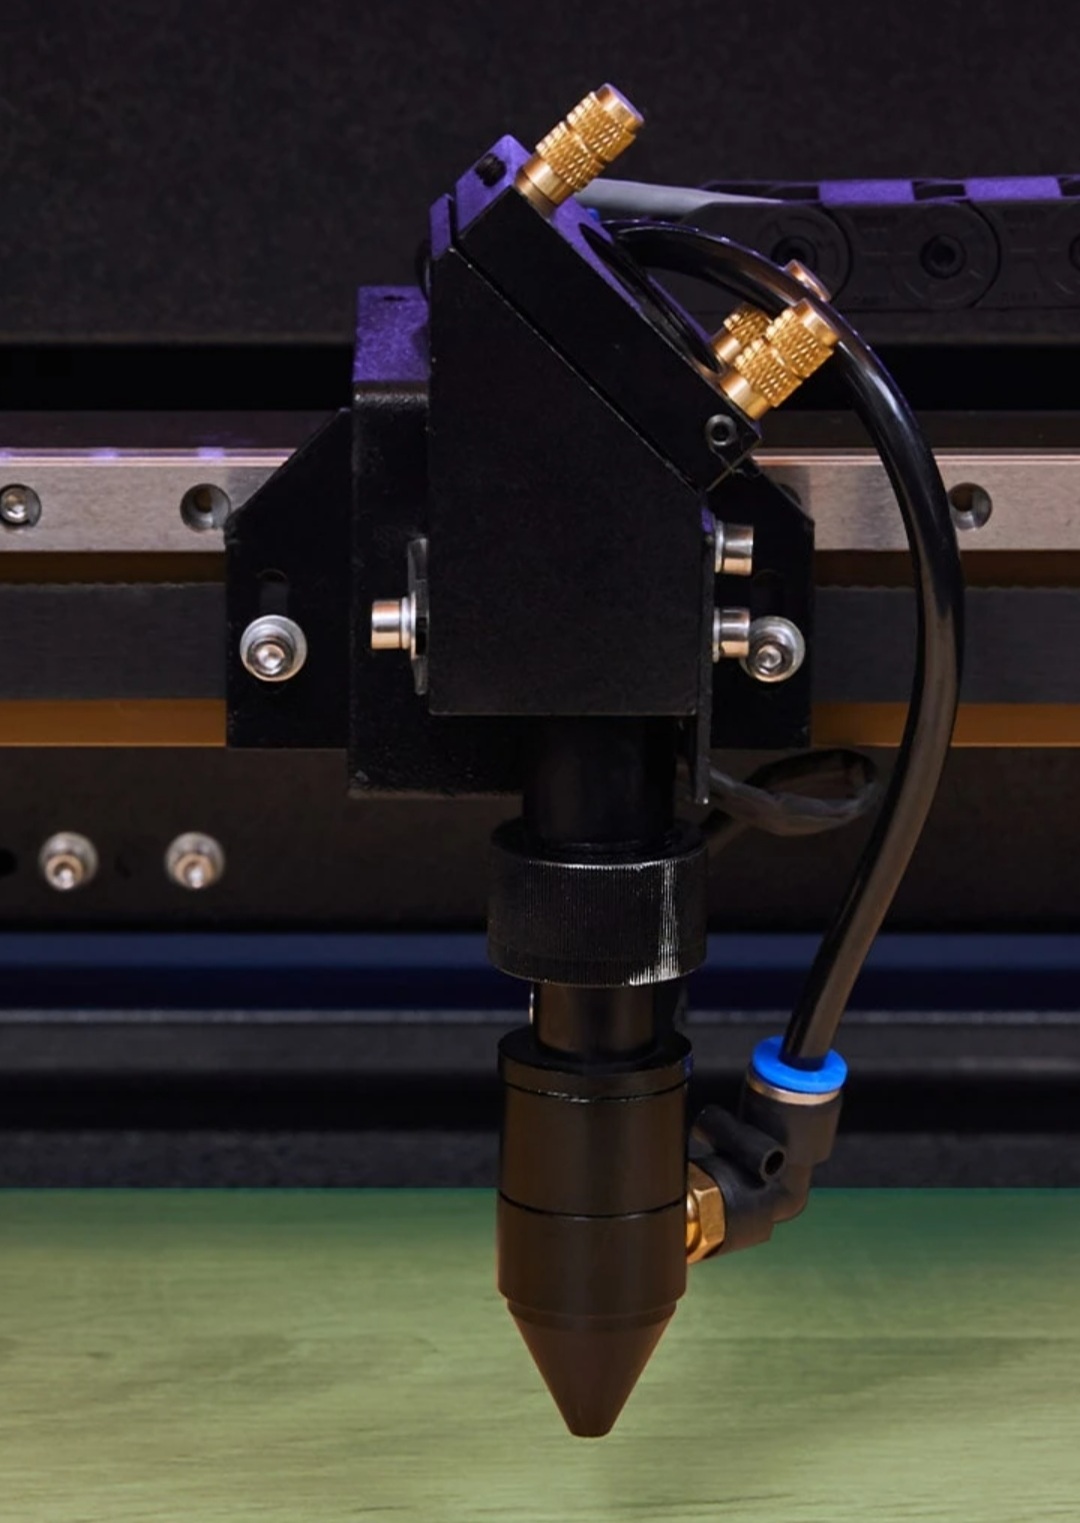
Well, you won’t be upgrading that head beyond a 2.5" lens. Cloudray does make an adapter for that to use a good nozzle. I didn’t have that mirror block, but my original lower tube is the same. The OD on that lower tube is 16.3mm and the nozzle holds an 18mm lens. Not sure if you can put a 2" or a 2.5" in that, but you will not find an M20 nozzle for cutting to go on it.
Personally, Russ’s MK2 lightweight head will bolt right on. In addition to the new head, you will need a 25mm mirror if yours is only a 20mm, a C series lens tube, and a No3 nozzle.
You alternative is something from LightObject, but if I remember right you will need extension tubes to get beyond a 2" or a 2.5" so you are almost back in the same boat except for being able to put an M22 threaded nozzle on it. I don’t remember what the max is for their stock heads. The Cloudray adapter would be cheaper for the same result.
The other plus to converting to something that takes the Cloudray C series tube is Russ is currently working on a long compound cutting arrangement that is based on the Cloudray C or E series lens tube. It should, in theory, let you cut 50% thicker wit the same power.
Are you sure that head will bolt on? It doesn’t look like it will match up very well. The belt show in his video runs flat while looking on top of the rail whereas mine runs on its side…
Yes, the MK2 is a dual mount. It has the back flange for the right angle slider, and it has the side bolts to mount to your existing mount. The back mount holes also have a good chance of hooking right to your rail mount wit the included adapter plate. Send him a message on one of his latest videos with your email address in it. He’ll delete your email from the public comments and respond to you. Send him the same pic you posted here, and any others you might have, and he will tell you right off if it will work for you. If you look at the MK3 slider pics on my Google page, you can just make out the hex holes where the bolts for your style mount go. One of Russ’ machines mounts like yours, in fact it’s his preferred mount style.
Don’t get worried if he doesn’t respond immediately, he’s working on the compound lens set up right now, plus he’s over in the UK so you have a day / time difference to work around. But he will get back to you.
I didn’t think to post them, but I guess I should add a pic of the included adapters he sends just for these kinds of questions.
I took a quick look back at his videos. If you go about 2 minutes into #184, you will see the plates he says do not apply to the machine he’s showing. They apply to a machine like yours, his china blue with the front bearing rail. At about 3 minuets in he switches to a machine like yours.
I was looking around different forums and came across an email address for him in one of your posts…is it still active or relevant?
If it’s the @sabar one it should be good.
Timing…I received a reply from both of you at almost the same moment. I just emailed that pic to him and he is going to make sure I get the right parts.
LOL, that was quick. Sometimes he’s like me and can get a bit of tunnel vision in his projects. Although it’s 2:30 in the afternoon over there, so you may have gotten lucky and caught him on a coffee break.
We emailed back and forth for a couple hours…he gave me a short list of links (cloudray) of everything I need to get it all together. I ordered one of the MK2’s from him and the remainder from cloudray. Thanks for steering me in the right direction!
Yeah, Russ is pretty knowledgeable on this. He did industrial stuff before retiring, and now plays with the ‘little ones’. You wouldn’t know it from listening to him or watching his videos, but a lot of the really neat things for CO2 lasers on the Cloudray site are actually his designs.
Have you decided on what you’re going to do on the air assist? A lot has to do with what you have or are planning on getting for a compressor set up. A dedicated compressor will use the kit, bought from Cloudray or purchased by individual item. If the compressor is going to be left on and up to pressure, then you are looking at a dual solenoid set up instead of a solenoid and relay. Without the second solenoid, the bypass will be a 24/7 ‘leak’.
If you do get the parts and make your own, beware the fittings on the solenoids. There are three different fitting depending on what part of the world you live in. And NP and NPT are not the same. Only using plastic fittings saved me when I ordered the wrong one for my first solenoid.
Actually, I am going to use a dedicated compressor with a reserve tank probably a home made PVC tank cuz of the low pressure) for the air assist. I have solenoids by the thousand here at work so I’m sure I can find a spare or obsolete one around. The compressor will probably go in the storage area above my garage to keep the db’s down. Between the exhaust blower, the internal fans on the laser, and the ceiling furnace, I already have a good amount of noise. Lol
Russ seems like a really nice guy…he was super helpful, as are you. I think I ordered everything I need.
Watch the minimum activation pressure on the solenoids. There are quite a few that will work just fine at a higher pressure, but the AirTac 3V208 is one of the few that will operate with almost 0 pressure if you ever have to switch back to the little one in an emergency.
I guess you could say I have a multi stage feed. I have between 100 and 120 psi on the 120 gallon compressor in the shop. I have a line from that that runs to a little 2 gallon tank that is regulated down to 60 psi on the output in the laser shed. That also gets me a good spot to plug in a short hose to blow the dust out of things. That feeds the regulator and solenoid panel on my laser. The little regulator and gauge combos are cheap at Harbor freight, so I have one at the 2 gallon tank, and two more at my three solenoid panel.
Unless you want to put a manual valve in, you are going to have to let the compressor pump up every time you fire up the laser. That was my reason for the solenoid connected to the STATUS terminal instead of the compressor relay. And since I have forgotten to change pressures when switching between acrylic and MDF, I put a pair of switch selectable solenoids with regulators on the WIND terminal. I can change from 5 psi flow for acrylic to 15 psi flow for MDF with the flip of a switch.
The pics of my console, air solenoid board, and coolant control board on my Google Mod Page are not that current. All three are going through changes, moving components between boards and arrangements on the boards. Will update pics when I have settled on an arrangement for more than a few days.
I am curious about the “Latch-ups” lol, some of you construct to use a shop vac.
Omtech 60 W blue and grey
My laser is in my wood shop, convenient and yet it would be nice to not have the very minor amount of fine dust that seems to escape my large dust vac plus a ceiling mounted air cleaner.
Shop vac provides 120psi to multiple pieces of machinery. Each outlet has separator plus commercial pressure regulator. I find it unnecessary to provide solenoids etc. Please explain to me why my regulators are not sufficient.
BTW: Air compressor has a 150 gallon pressure tank.
The built in air pump in my laser does fine if I am engraving most pieces. Definitely not sufficient for cutting or deep engraving.
Is there any reason I should not connect air to laser where that little pump exhales?
Not sure what you mean by little pump exhales.
For me, air assist ( through the cutting nozzle ) comes at three levels. The minimal bypass for engraving, just enough flow to blow bubbles in water to keep the lens clean. I run 5 psi flow rate for cutting acrylic, and 15 psi for cutting my Premium MDF. All of that is totally separate from my exhaust. I have the noisy centrifugal exhaust blower that came with my machine, and when it dies I will replace it with a much quieter in line fan.
My laser is in a separate building from my compressor, so I run a full pressure line to that building, then a small buffer tank and a knock down regulator that feeds the array at the laser solenoids and regulators.
I would have thought that acrylic would require more air than 5psi flow. I put a piece of acrylic in mine and all that happened was that it turned black with seemingly very little penetration. I then decided to wait until I get mine set up better for cutting.
If it turned black, it wasn’t acrylic. Maybe some other type. There is a four letter acronym for one that is much more flexible that acrylic, but I can’t remember what it is. It turns brown and yellow in my 80W and it STINKS!
Acrylic and material like it doesn’t burn like wood or MDF, it turns to liquid and then vapor. Only once it’s turned to vapor do you need the air assist. To much air flow and it cools the liquid requiring more power to do the same job, or literally welding the cut piece back in place.
I was using some scraps from work…it may have been polycarbonate, now that I think about it. I will have to look at the full sheets to see if I can match up the protective covering for identification since the pieces are small.