I’m trying to calibrate the laser and want to add the test fire button. I looked in the device settings but can’t seem to find the option to add the fire button.
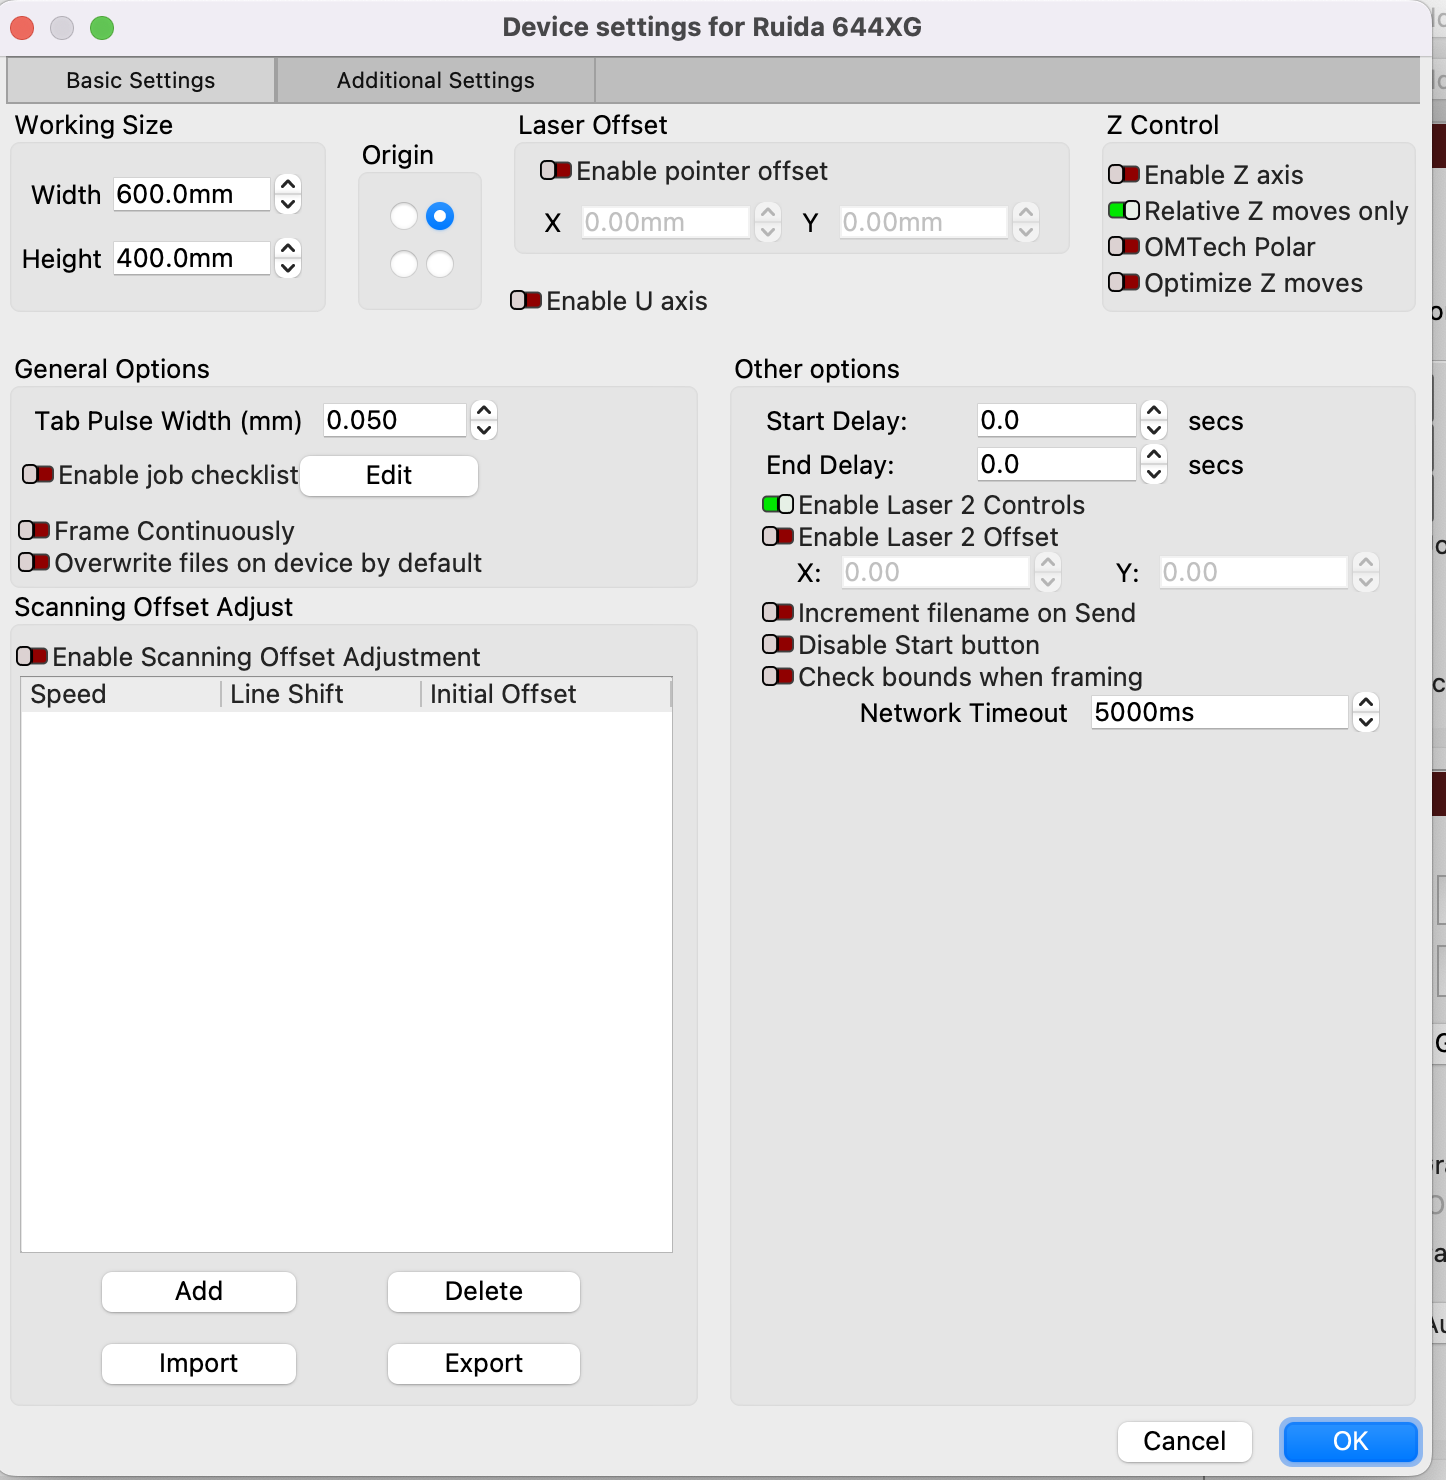
I’ve attached my device settings. Can you tell me how to add this?
While LightBurn offers a “Fire Button” for certain laser types, it’s not directly applicable to machines using a Ruida controller. Ruida controllers, often used with CO2 lasers, have their own manual control mechanisms, and the LightBurn “Fire Button” feature is designed for GCode-based systems.
But I also found this.
To add a “fire button” functionality for focusing and positioning with a Ruida controller in LightBurn, you’ll need to enable the “Enable Laser Fire Button” setting within the Device Settings, then restart LightBurn.
So i guess if you have a GCode machine you can add it. It you have a CO2 machine you cant
The Ruida controller uses the machine console to manually control the machine… this includes pulse (fire) and origin set.
To “fire” a Ruida controller (activate the laser), you typically use the “Pulse” button on the controller panel
You’re right there is a pulse button on the Ruida control. I’ve tried that but it doesn’t fire. Not sure if it’s the control or the CO2 cylinder or something else. Was hoping to test fire through lightburn, but that doesn’t seem like an option in this case. I’m in contact with the manufacturer, so hopefully they can help me get to the bottom of it.
This should never be used for a CO2 laser, which has an invisible beam that could blind you or start a fire
I think that part of the doc is left over from when that option wasn’t entirely suppressed for DSP devices. If the machine doesn’t have a red-dot pointer, the only way to know where the beam hits is to burn a track, which is probably not what you want.
You can fire single pulses using the Pulse button on the controller’s keypad. I use pulses to verify the red-dot pointer position is at the beam position, but AFAICT it’s not much use beyond that.
There’s apparently a setting buried in the controller to let you turn on the laser while traversing what the machine thinks is the border, but it sounds terrifying:
(4)Go scale parameters
Go scale Mode: “Blanked Bordering” means idling to start border preview; “Outputted Border Cutting” can manually cut off the well-processed figure; “4-corner Dotting” means to emit the light at four corner points of the frame to make a point and turn off light. The size and position of this figure can be checked intuitively through the four points. The bordering speed is the speed value set on the keyboard when the system is idle. For light output, its minimum/maximum power is the corresponding value set on the keyboard when the system is idle (The lasering power on the 4-corner dotting means the well-set maximum power).
One manual pulse to verify the red dot still coincides with the laser beam, then it’s red-dot action from there on. Which works for me only because I use the same 2.5 inch focus lens for everything; you change lenses more often than I change socks.
That bewildering quote comes from the RDC6445 manual and there’s a similar section for my KT332N. Some day I must crank my courage up to a dangerous chattering whine and see what happens …