I’m still new at Lightburn but I’m hoping you can help me with this project. I’m trying to cut out around the horse for these earings but it will either cut out only around the outside teardrop or even both parts of the teardrop which really messes up the pattern. But what I would really like is to just cut out the inside only around the horse front area. I tried to Boolean but nothing happens on any of the boolean button. Hoping someone has good and easy to understand advice. I am so excited to give my horse friends these earings! Thank you for any help!

Can you upload load file?
Can you outline where you want the cut?
Yes, here is the file for Lightburn pattern but I don’t know hw to outline where to cut. But hoping for between the front of the horse and the inside cut and have the neck and part of the mane inside the outside hoop. Hope that make sense.
Earrings with horse head 2 done.lbrn2 (194.7 KB)

I’d like to cut out this area. Not the best at lining where I want it but I think you will get the idea. ![]()

1 Like
I think you will need to trace image of the horse, then put in the vector and do some node editing to get an outline to cut.
You will need to change the horse from an image to a path. Use trace button.
Duplicate the horse part.
Change the second copy to a different layer.
Edit the nodes to only leave the cut through area.
Overlay the two horse parts
Then it will etch/engrave and then cut through, also.


OMGOSH that looks awesome! I’ll give it a try. But one question, where do I change an image to a path? I haven’t seen how to do that yet.
Ungroup to image. Select image right click and select trace image.
You will need to get on first name basis with node editing. The most powerful tool in Lightburn.
1 Like
I would give you the file but I lost it trying to save on this computer.
DSkall got the work done before I could sit down at my design station. His steps show exactly what I was trying to convey. This is a great community!

The difference is that an image will scan the entire width and you can control the logic for interpolation. Your original was set to STUKI. When the object is a path, you have the options to use LINE or FILL or OFFSET FILL.
Oh, that’s what I was just coming back to ask that question, I only was able to get “image” and kept trying to change to line. I’ll give that a try to get the cut to line. So do I need to change from Stucki to something else like Threshold? I really do appreciate all the help, I have been frustrated with just this one project all day!
I have been working on nodes the las couple days but couldn’t figure out how to do with with intricate lines. Straight lines was fairly easy.
Also how do I get all three patterns to fit together? I thought there was a rubberband button but I couldn’t find it. And yes, this really is a great community.

DSkall has it done more neatly.
I will put the red layer onto layer 25 for the cut. Red fill was easier for me to see while I pushed nodes around.
Yes, THRESHOLD is what works best for black and white images.
horse head cut out.lbrn2 (269.0 KB)
Preview shows the cut and engrave areas

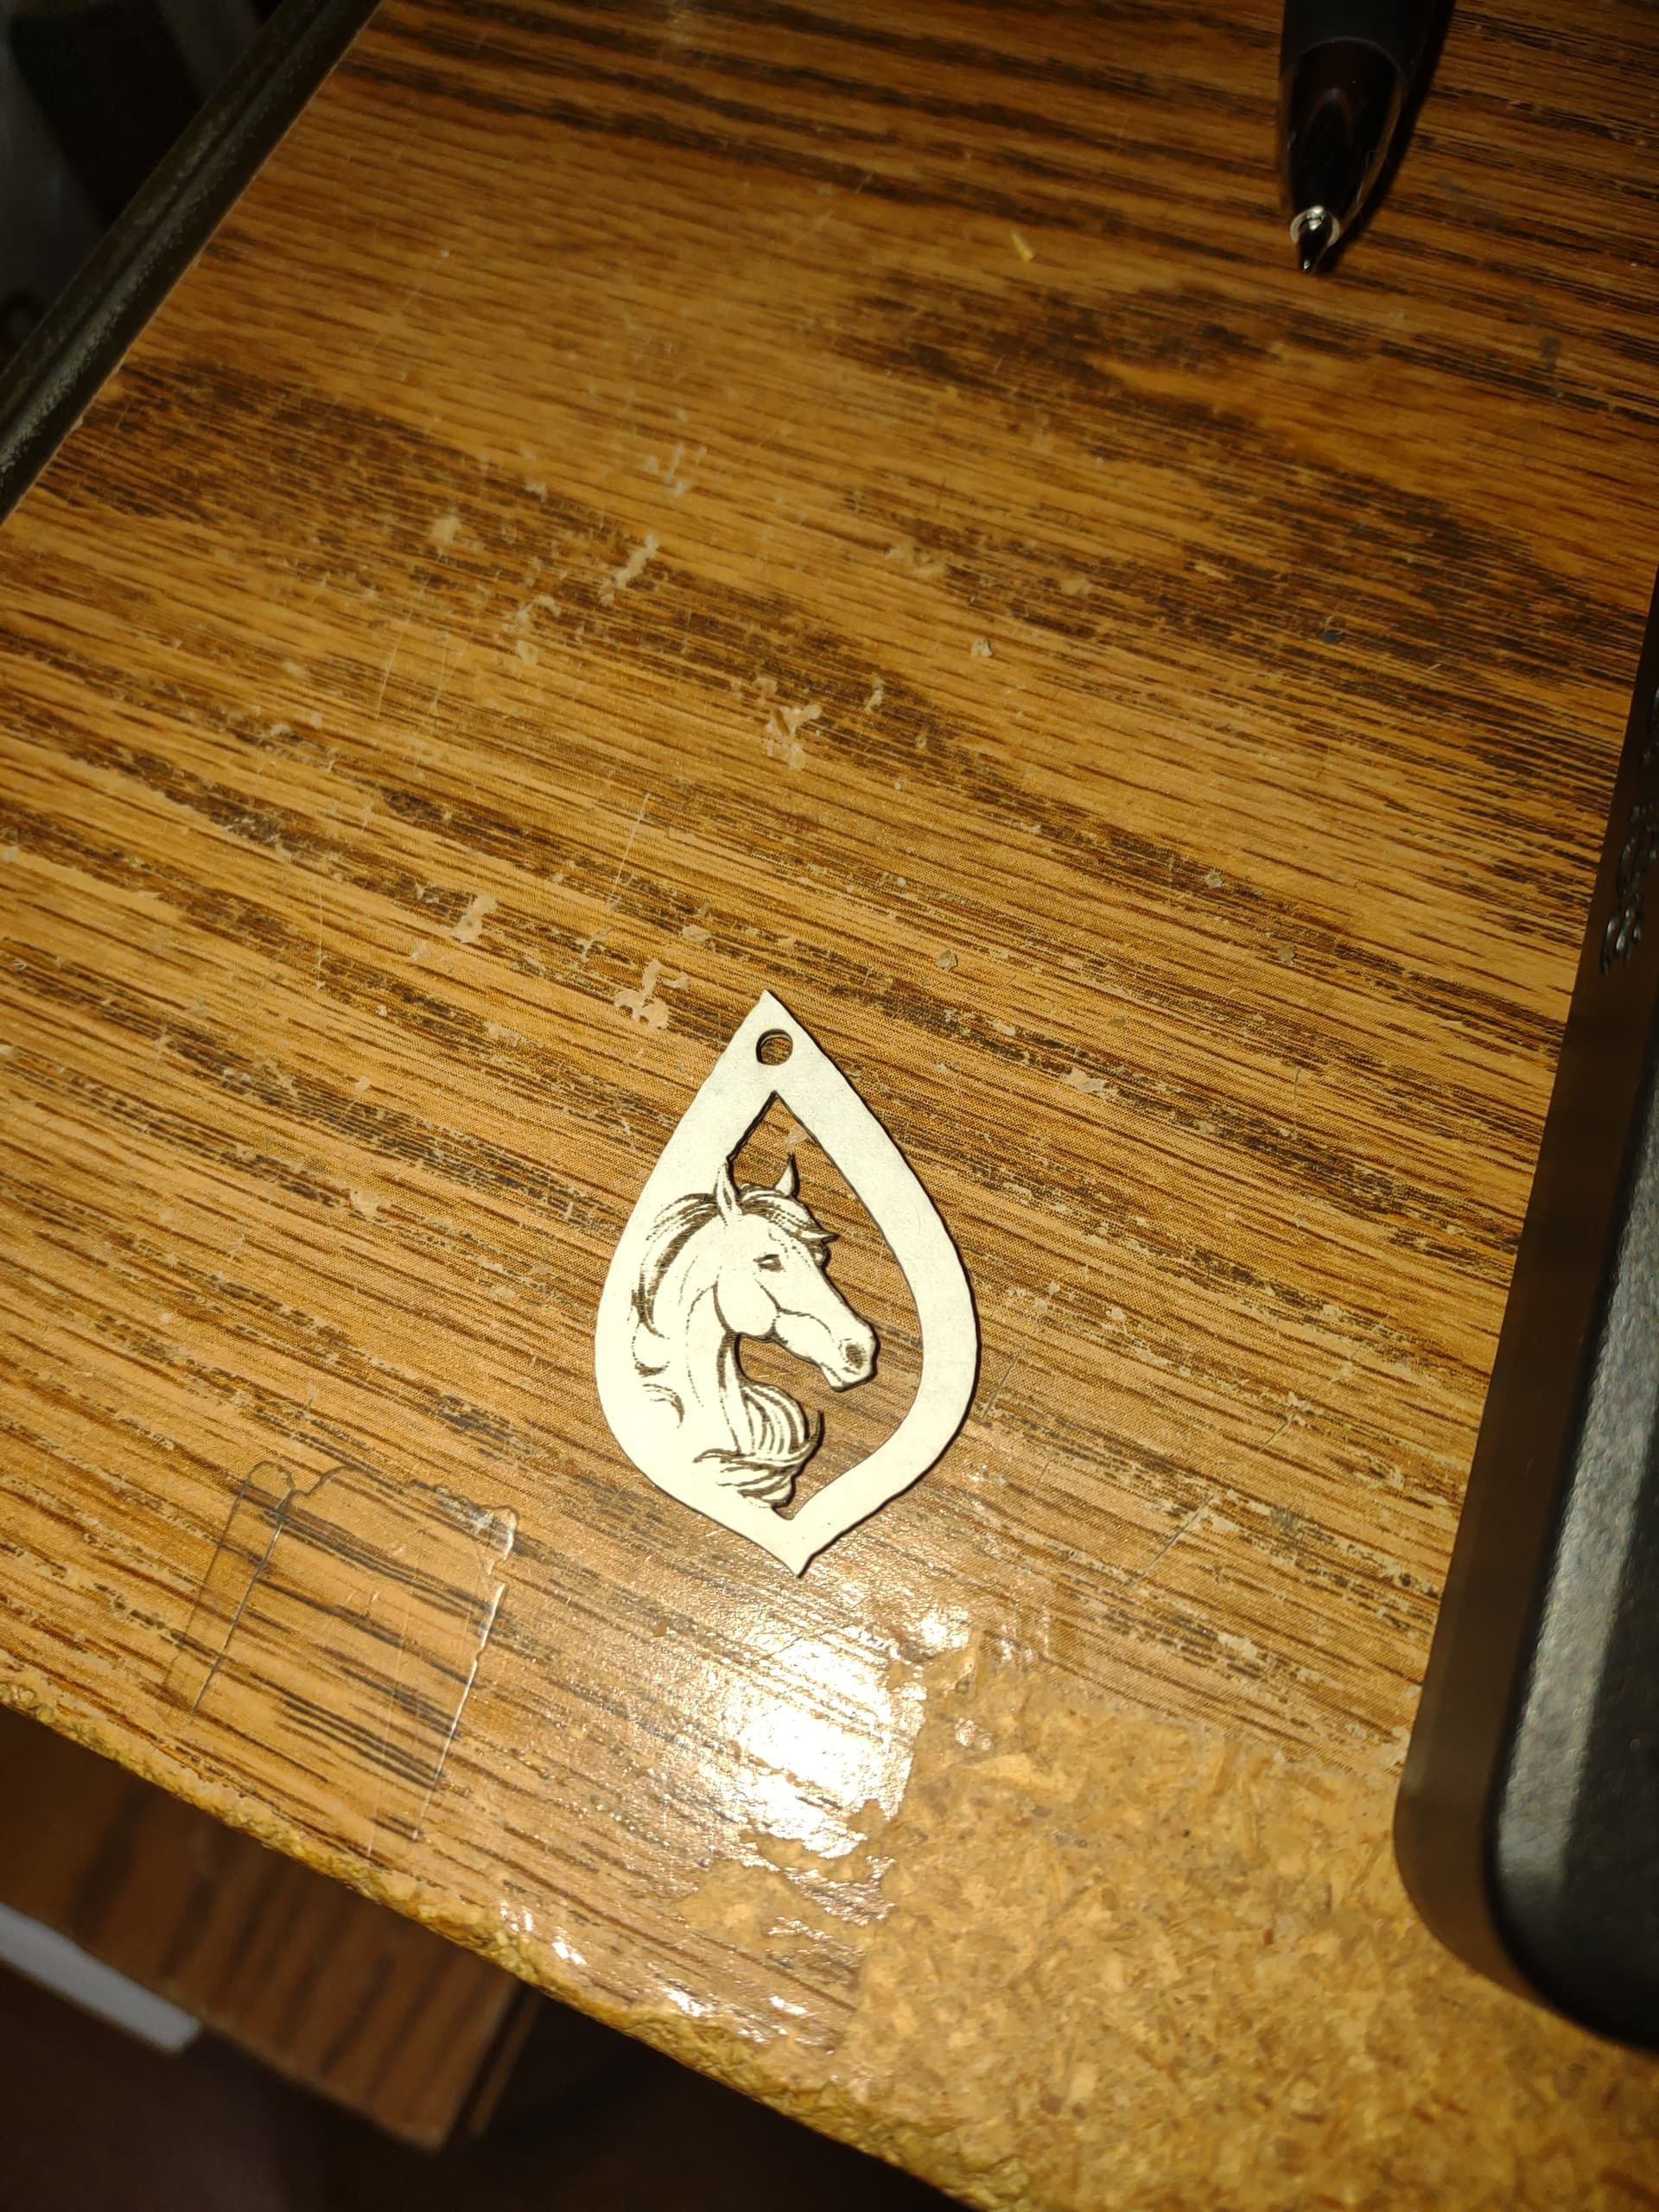
A quick test on white cardboard. This needs a little tweaking, but I am happy with the first test.
1 Like
Just wanted to let you know everything came out wonderfully. Thanks so much for your help couldn’t have done it without you.
2 Likes
Happy to help you learn a new trick, anytime. When you are ready for the node edit step, send a message and I will go over it with you. It is one of the most powerful tools in the program, but it does have a few tricks.
1 Like
I still find joining nodes hit and miss.
I just saw a video in another posting about this. When the nodes match, the cursor will switch from an X to a +.If you hold the ALT key (I think), it will give you a 3-pixel leeway. I hope I got this right!
2 Likes
If you can, post the link
![]()