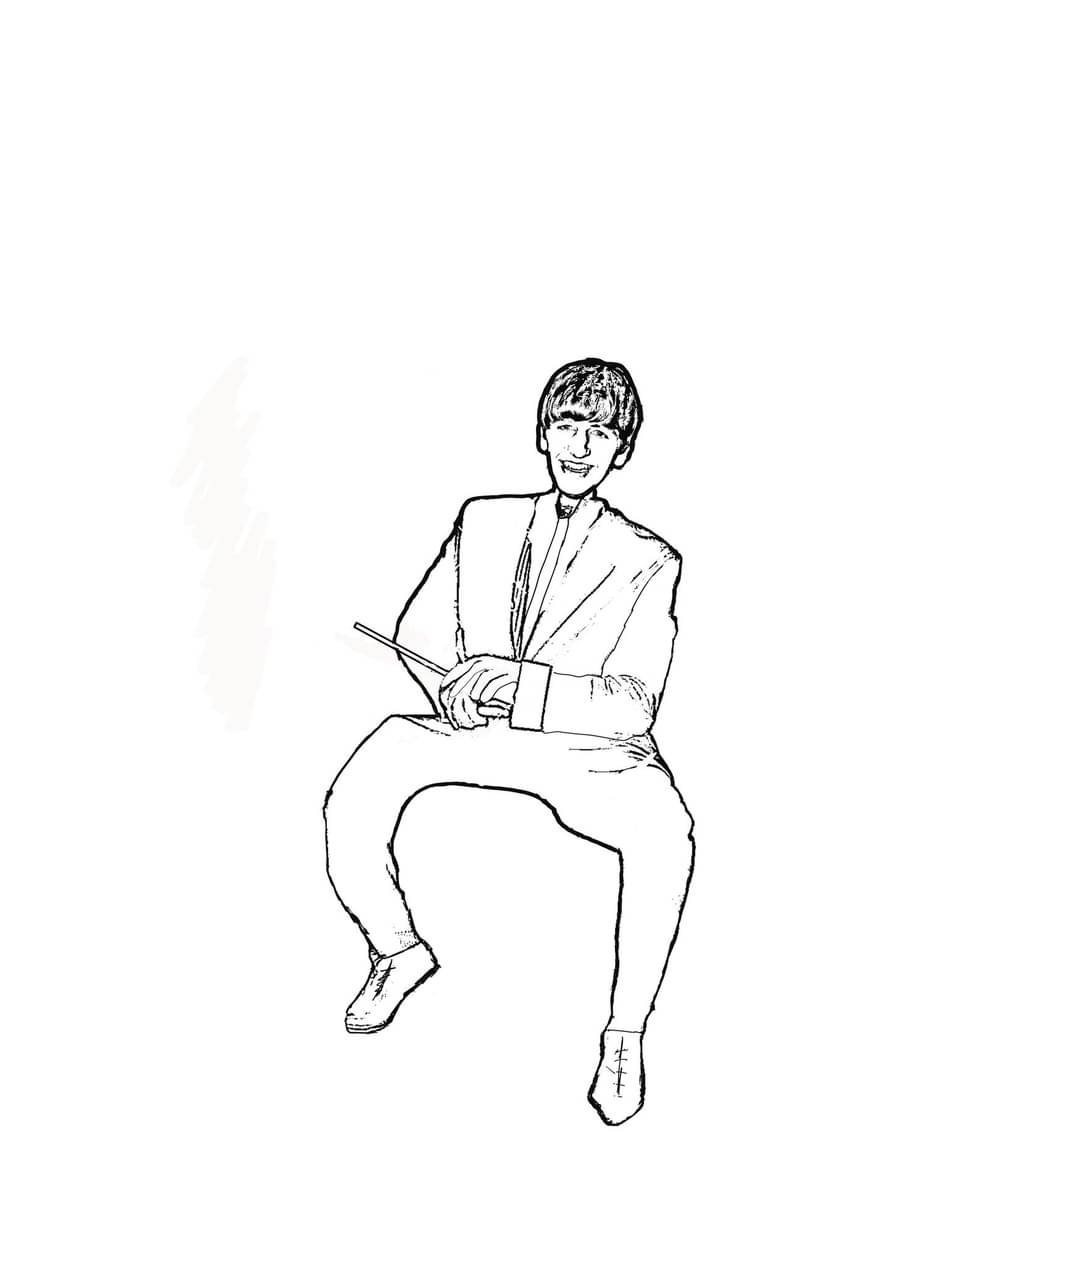
I have a 80 watt red and black co2 laser and want to engrave a face onto a plywood figure. I have tried doing a vector line engraving also tried a fill engrave.
Due to the small size of the engrave, the figure is 80mm tall so the actual face is only 15mm x 10mm it just burns it. I have my laser set at the lowest power setting 13% and speed at 250mm/sec. I think the problem is it does not have time to reach the speed before it changes direction due to the small size. So it burns and chars the plywood even at 13%
Exactly right: the rated speed happens only during relatively long straight vectors or curves.
At the slow speeds required to follow short vectors, a CO₂ laser has too much power and can’t be throttled down.
Try Dot Mode at 1 ms spaced at 0.25 mm, perhaps just for the face, and see if you like the results. Increasing the pulse time will darken the burn and reducing the spacing will merge the dots.
I found that out while trying to make a very fine hairline:
Reducing the spacing to 0.1 mm produced a continuous line, which might be sufficient for your purposes:
The alternative for your figure would be to engrave it as an image, rather draw it as vectors, because the engraving scans run at higher speeds to reduce the intensity.
If I understand what you have so far, the file contains a vector drawing and the Cut layer follows them with entirely too much power. The file probably has an SVG, AI, DXF, or similar extension, which Windows may inconveniently hide from your attention.
What I propose is converting the vector file into a raster image, then using an Image layer to engrave it. I’d convert it to a PNG image, rather than a JPG image, to eliminate compression artifacts. A resolution of 300 dpi should provide fine-enough detail.
If, instead, it’s already a raster image, skip the conversion!
Unlike a “picture” with grayscale values from black to white, the line drawing seems to have only white and black lines & dots. After you import it into LightBurn as an Image layer, setting the Image Mode to Threshold` will (probably) recreate the original lines and leave the background untouched.
Then it’s just (hah!) a matter of figuring out what speed and power values will produce the results you want on the material you’re using. Running some Material Tests on samples will help narrow down the possibilities.
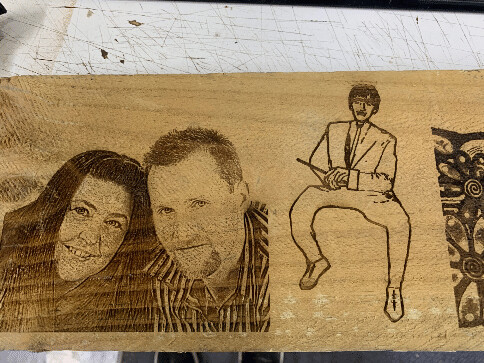
I trièd both methods and the image way seemed easier and since my work started as an image it saved a step of tracing it into a vector.
I normally put an offet line around each figure to be used as a cut line to cut them out…since im using a image now it does not seem to give me this choice?
A way round i found was to copy the image and then covert one to vectors and put an offset around that. Then delete the vectors and move the offset around the image…is that the correct way?
Raster images are basically a rectangular block of dots with no internal structure, so there’s no way to pick out any particular shape to use as an outline.
Conversely, vector images consist of lines & curves with nothing between them, so the laser must follow each one while skipping everything else. You can select a subset of the lines and perform operations (like drawing a new line at an offset) on them.
So, depending on what you want to accomplish, you may need both versions to create the final product.
Last question, ive tried it on one of the images. If i had a row of the images would it do each one then start on the next?
If so is there anyway it would scan/ engrave all images in the job at once then move down a line and do a full width scan of the next line etc
( just thought it would be quicker and get up to full speed on wider scans)
Try using overscan on small images to prevent burning. The smaller the image the more overscan needed to achieve your speed. Some controllers (Trocen) have this built in and can’t be adjusted via Lightburn.
Thanks to everybody gor the suggestions.
Ive bedn away this week so only had a quick dabble. But all the ideas seem to greatly improve on the results i was getting before
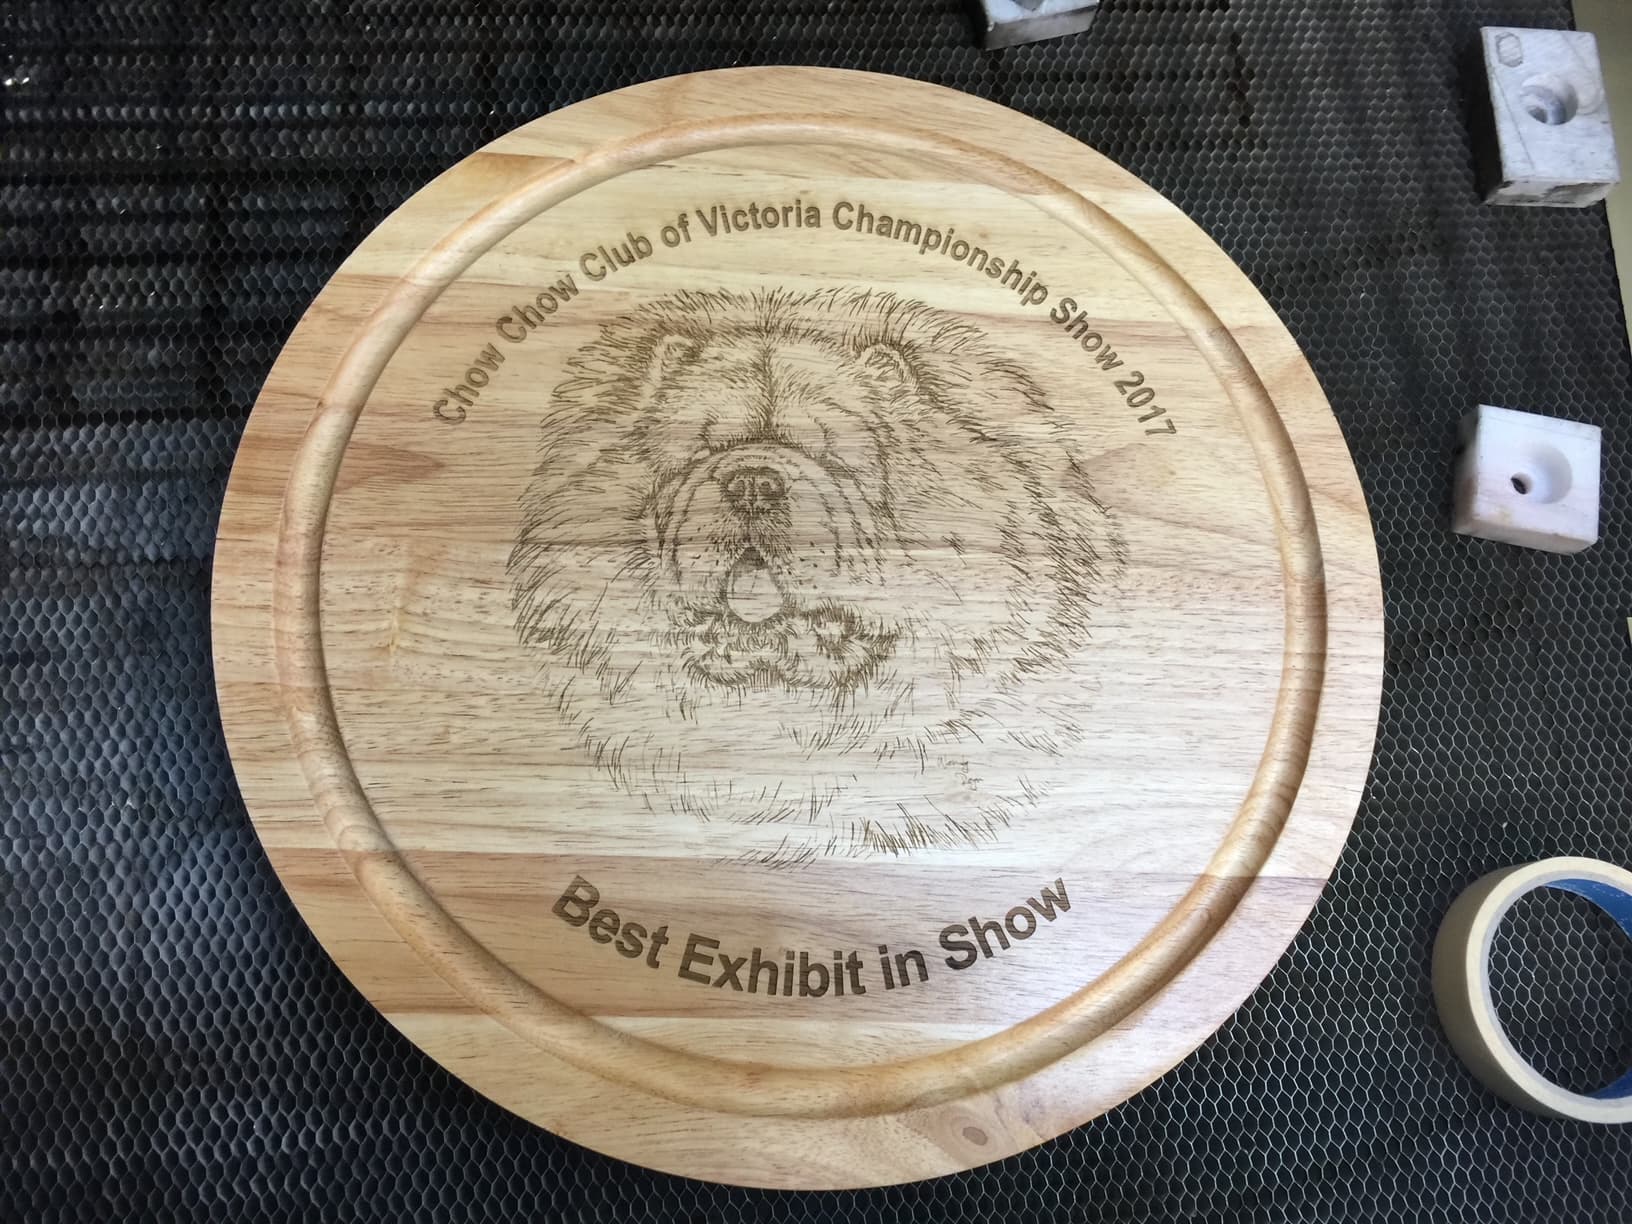
Make sure you change it to Black and white in corel or AI to remove artifacts in the backgroud I didn;t have Vector artwork to begin with just a copy and paste of what you posted here
Consider using this Plugin at The Original Dude With A Lazer | Facebook
There is also a wealth of information on processing and lasering graphics on this site, I use the plugin a lot in Gimp but you can use it in most packages.