I have a image that has with multiple internal shapes within the outer image line. When I engrave it will treat the smaller shapes as separate items but when it does the outer part to the image it fills the whole image including the separate smaller shapes. How can I isolate the area between the outer border and the inner shape borders as its own layer and not overlap on all the little shapes? If I take this image and make it an SVG, I can isolate the little shapes easily as is but I need to not fill the complete image with black then try and do a second burn on the small shapes. I found the option to subtract individual shapes for another but when I try with current dwg it will subtract one item from the big border image so now I have the hole in the back but loose the fill ability for the little shape I just removed. thanks in advance.

You don’t show your Lightburn screen, so one can only guess. You likely have the graphic set on separate layers. Place everything on the same layer and it should work as desired. Make sure there are no duplicate lines as that will invert the engraving.
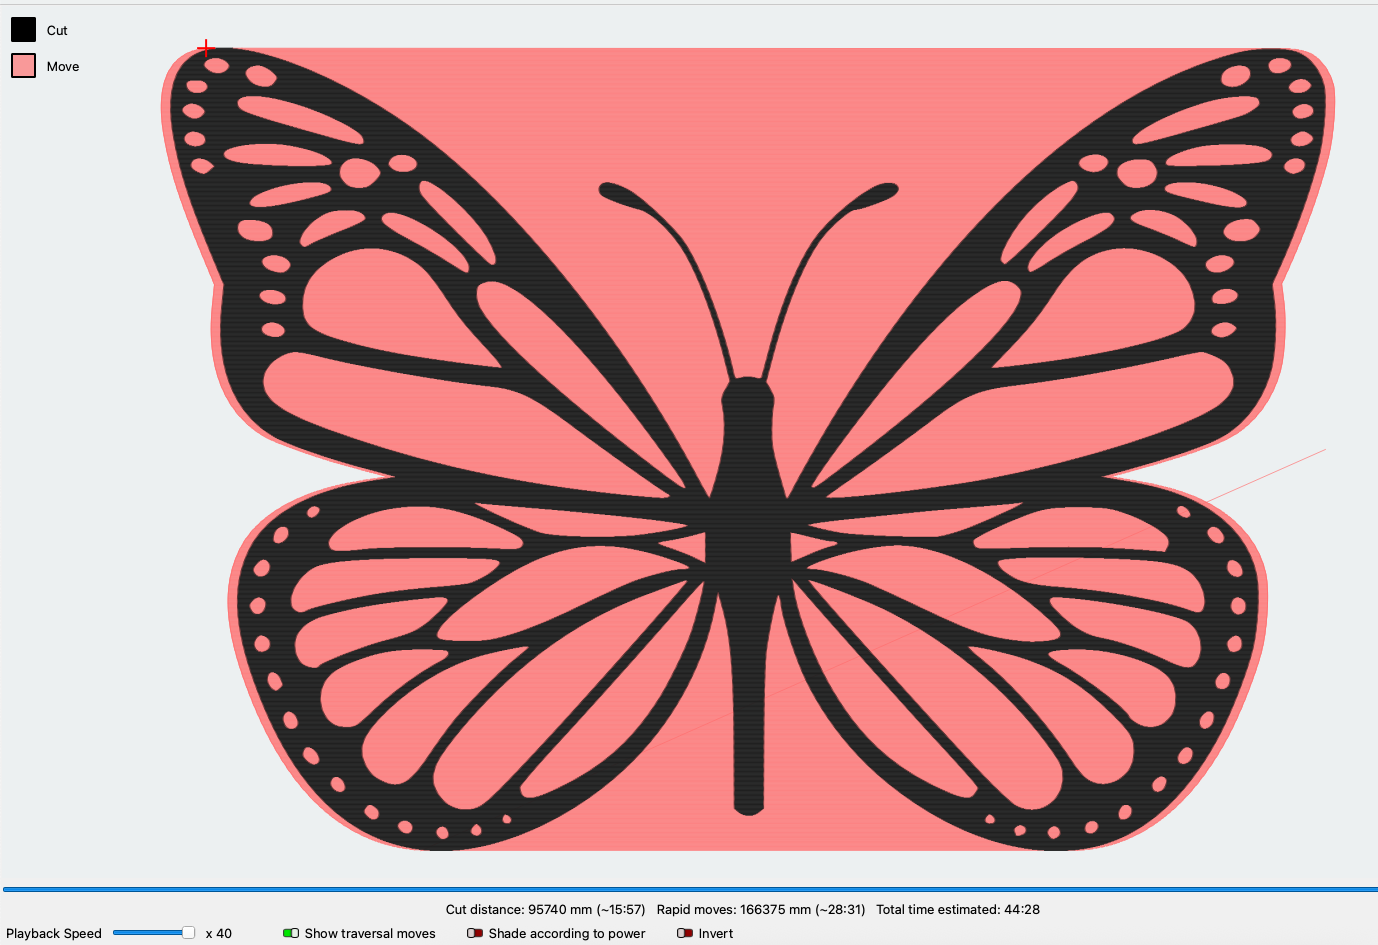
All on one layer, no duplicates.
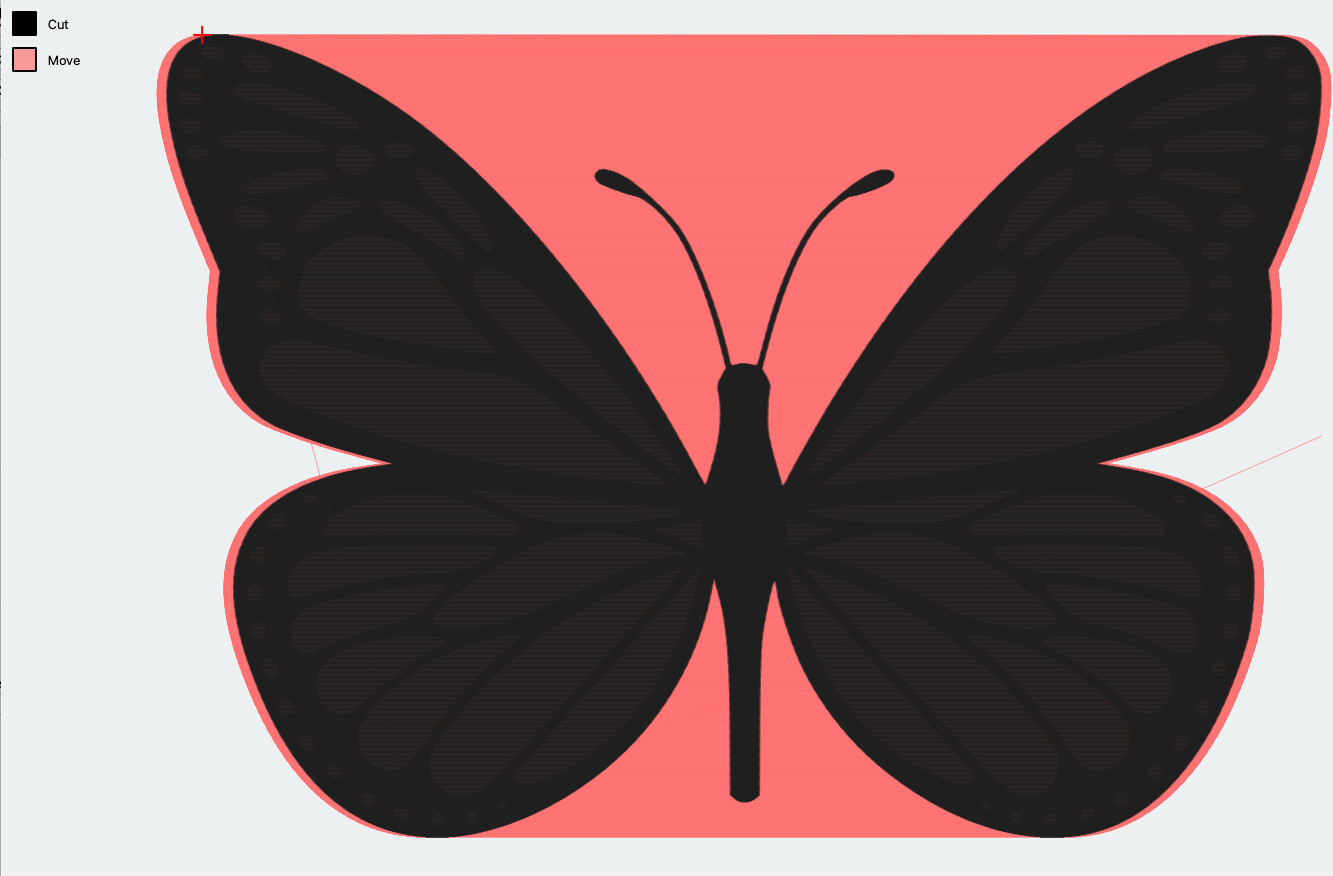
With the outline duplicated and on the same layer.
With the outline duplicated and on a separate fill layer.
Thanks for the response, I can see how to and I can get those results, I am trying to be able to have the software isolate the image like your first image, but be able to select and engrave the individual shapes as different layers with no overlap between your first and 2nd images. I have a engraver that does color so want to do the 1st image in one color(shade) then the individulal small shapes in different colors(shades). I can load the image twice and eliminate the outer line to give me the small shapes then one at a time cut the small shapes from the big image like your third image but that takes a while. Just wondering if there was a faster way. kinda like color filling in paint.
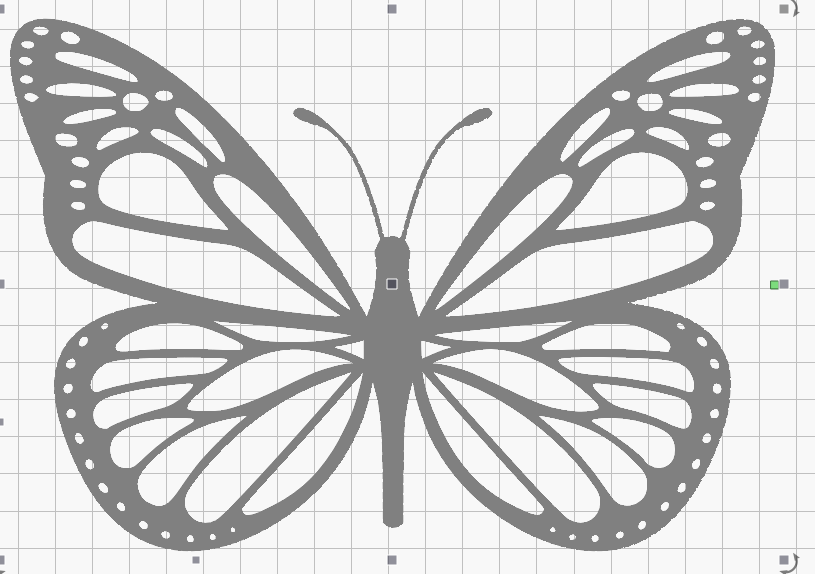
Simple, duplicate the entire image. Move the duplicate to another layer then delete the outline. Adjust your layer settings as desired to get the results.
Now if you want to set different settings for each individual piece you will need to place the individual pieces on their own layers. Example.

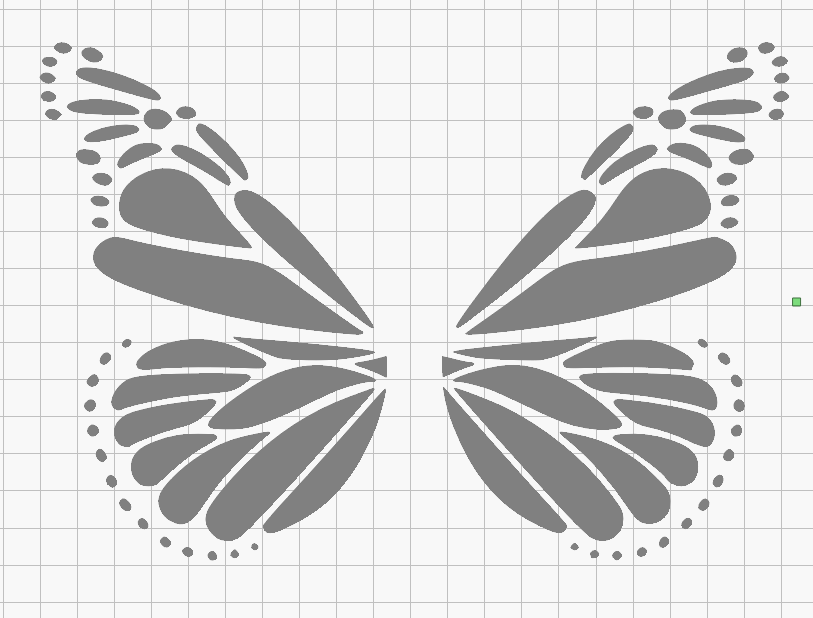
Image duplicated and moved to new layer. Outer line only selected.
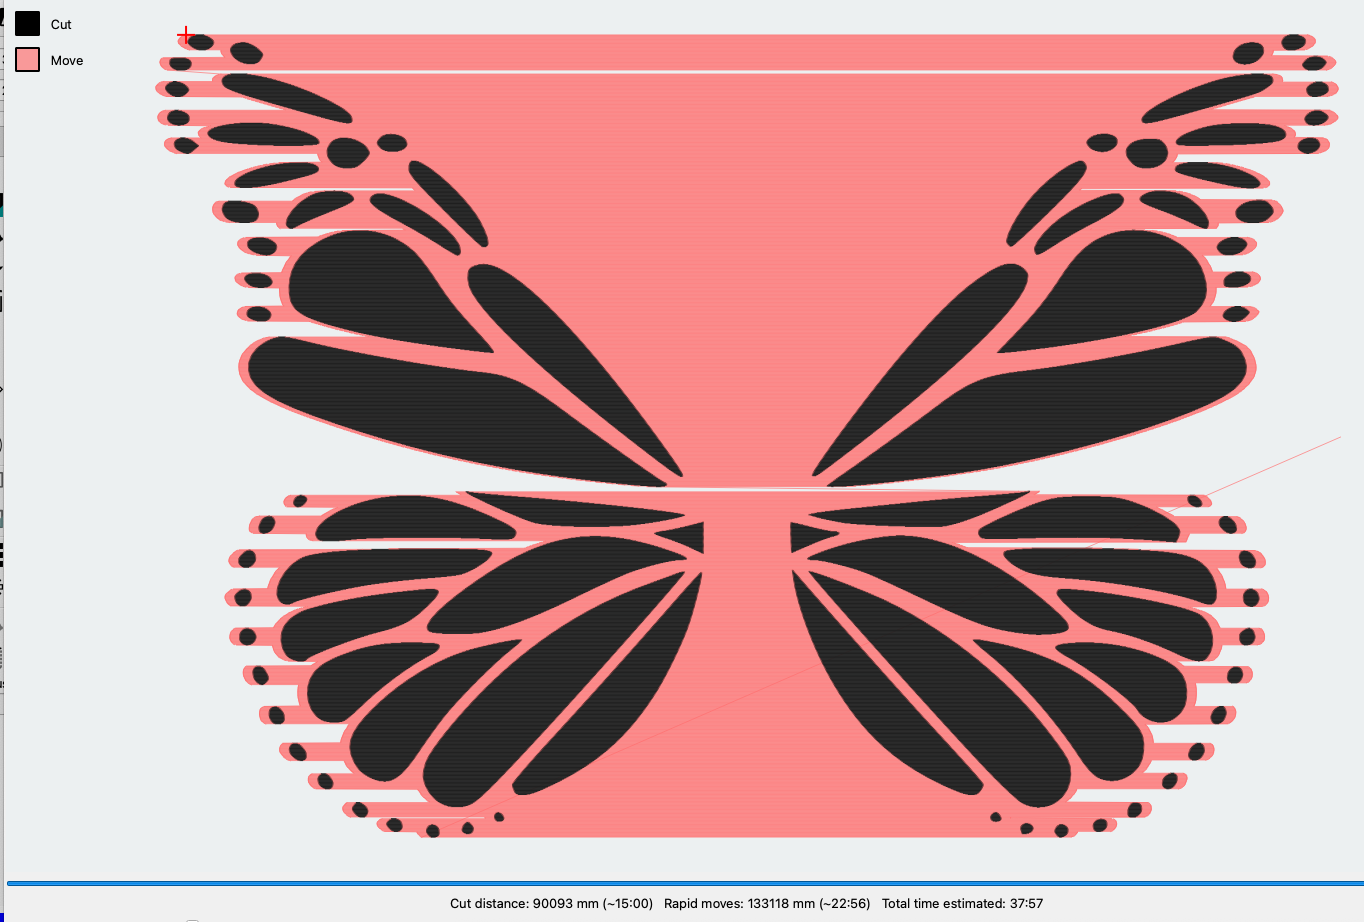
Outer line deleted. Noice how the fill inverts.
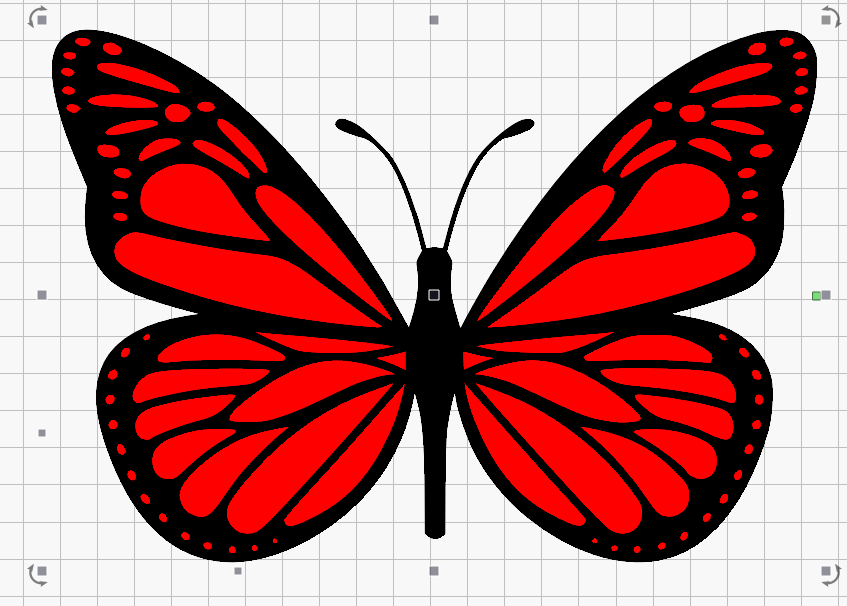
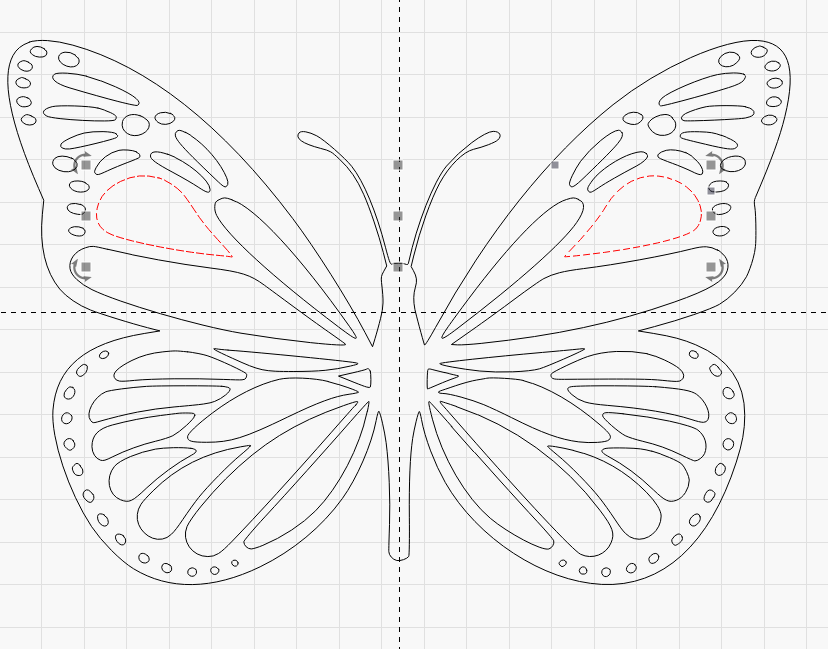
Why not just trace the image, then ungroup. You can then select each piece and assign it to a different layer.
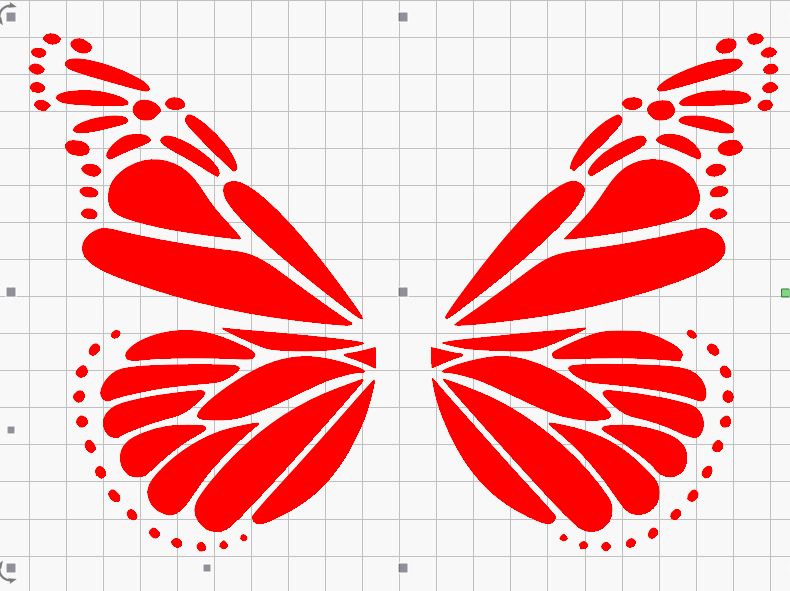
That’s what I did here, ^click to select multiple objects. I picked two asymmetrical pieces and selected the red layer.
Easy as cake.
![]()
I have to say these guys really are excellent in working the LB tools!
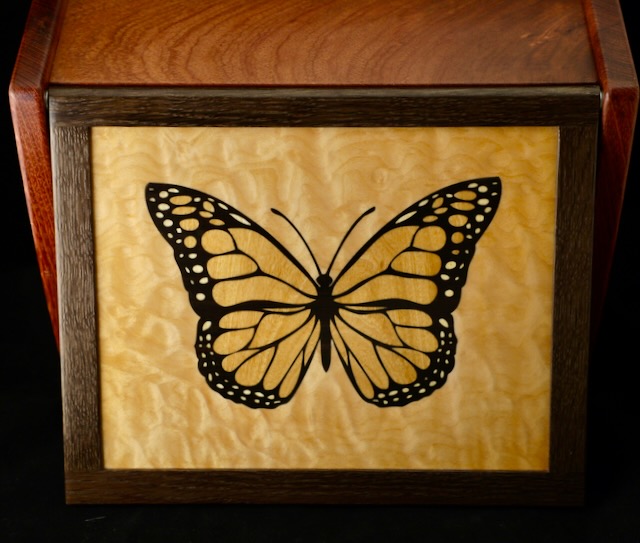
I did something similar with veneers so just line cutting, but the possibilities are endless!
This topic was automatically closed 30 days after the last reply. New replies are no longer allowed.