The answer here would be yes. The left and right panels will get anchored to the feet of the laser. I’ll create work panels to position and hold other work jigs using targets for repeat positioning.
I am also trying to learn new techniques to aid me down the road.
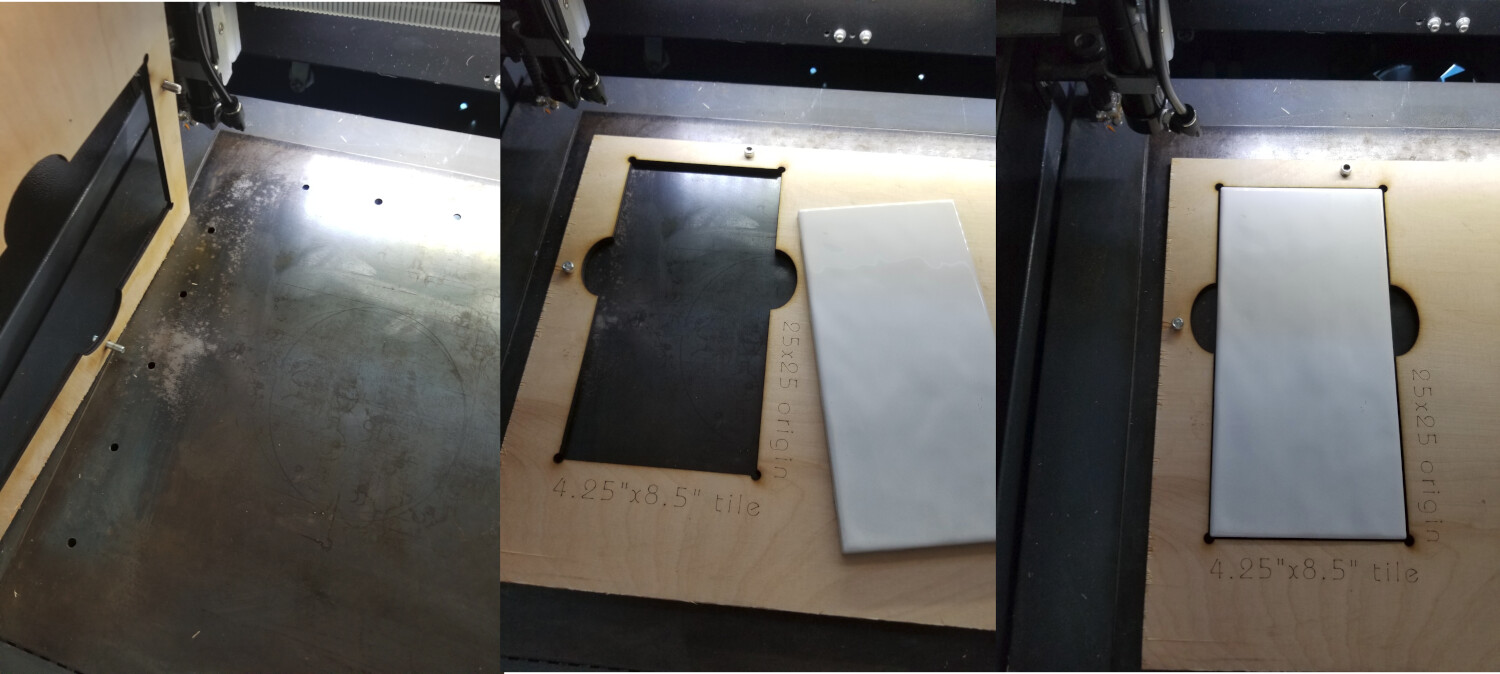
I have a makeshift honeycomb under my laser and do not want to try and drill holes into it.
I tend to use cardboard as my jig material, keyed off a corner “L” piece that is fixed to my waste board near the 0,0 location. I weight the card board down with 3/8" acorn nuts to keep the air assist from moving the jig.
Alternately, I will staple a piece of card board tona piece of heavy scrap wood that will index on the “L” shaped witness post.
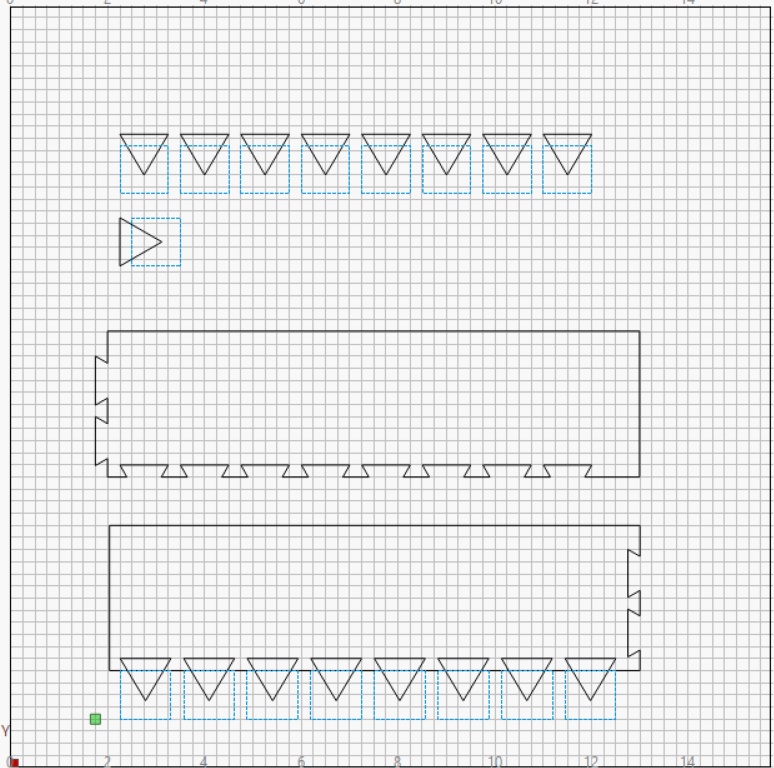
If you can come up with a single tab / socket pair that matches correctly, store it in the Art Library and deploy as needed.
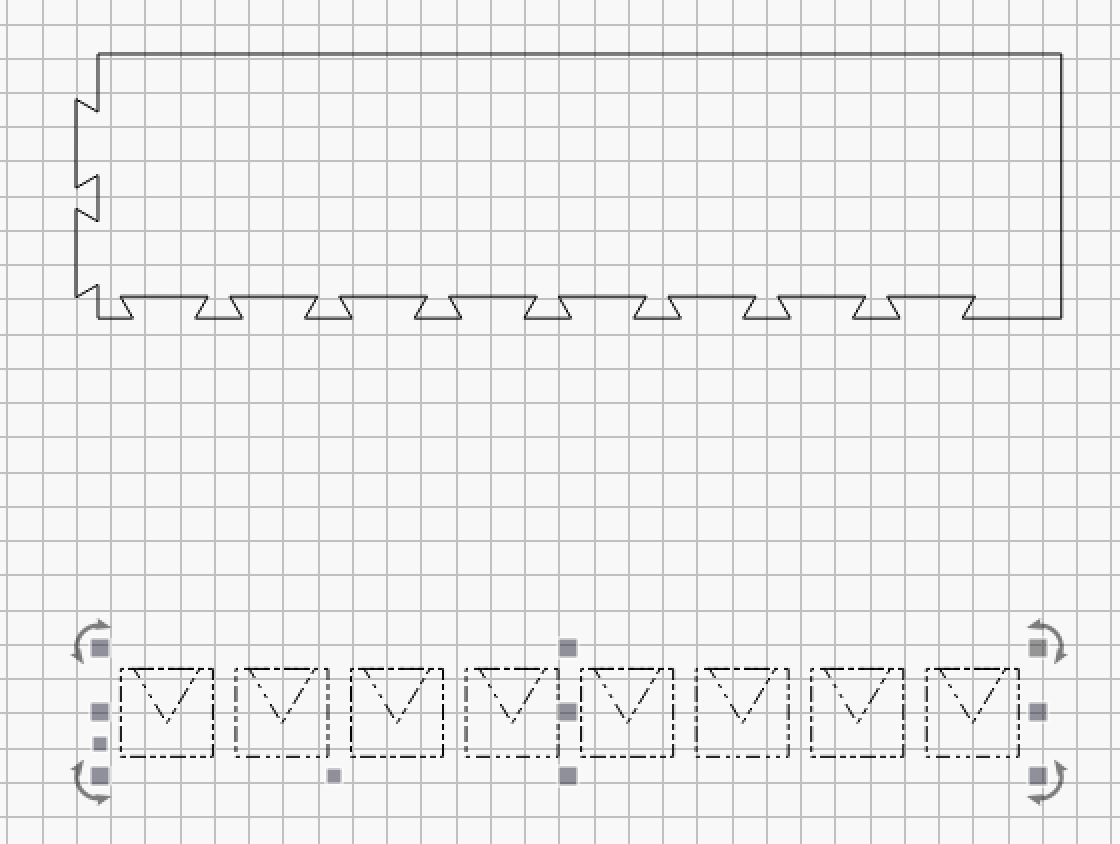
To get consistent spacing, use the Grid Array tool to replicate that pair with exact linear spacing, then splice them into the perimeter of whatever you’re building.
I’d try really hard to lay out the tabs symmetric with the midlines of the shape, so I could snap / align the arrays to the shape without numeric fiddling.
If you design the tab sticking out of a rectangle, you can align the rectangle edge with the main perimeter, then Weld the shapes to put the tabs in place.
You can convert the socket into a positive shape (similar to the tab-on-a-rectangle), align it so the fake tab sticks into the main shape, then Difference it to leave the socket.
You can add construction shapes / targets / lines on Tool layers to the tab design to simplify snapping them into place.
I do not understand “socket pair”?
Anyway, I believe I came up with what you are inferring. As I go about other things around the house I sometimes come up with ideas that may work in what I am trying to figure out.
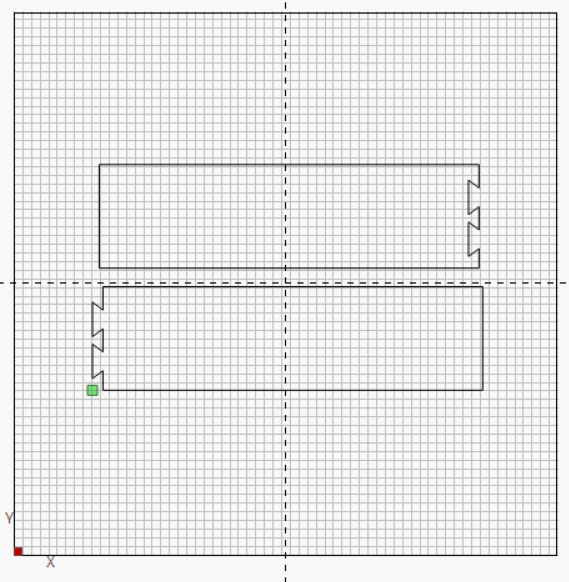
I created a square and triangle combination for size and depth duplication. Square is a Tool from the pallet and triangle using black. The square is placed to accurately place the depth of the tab, both the tab and the subtraction. Then used the array tool.
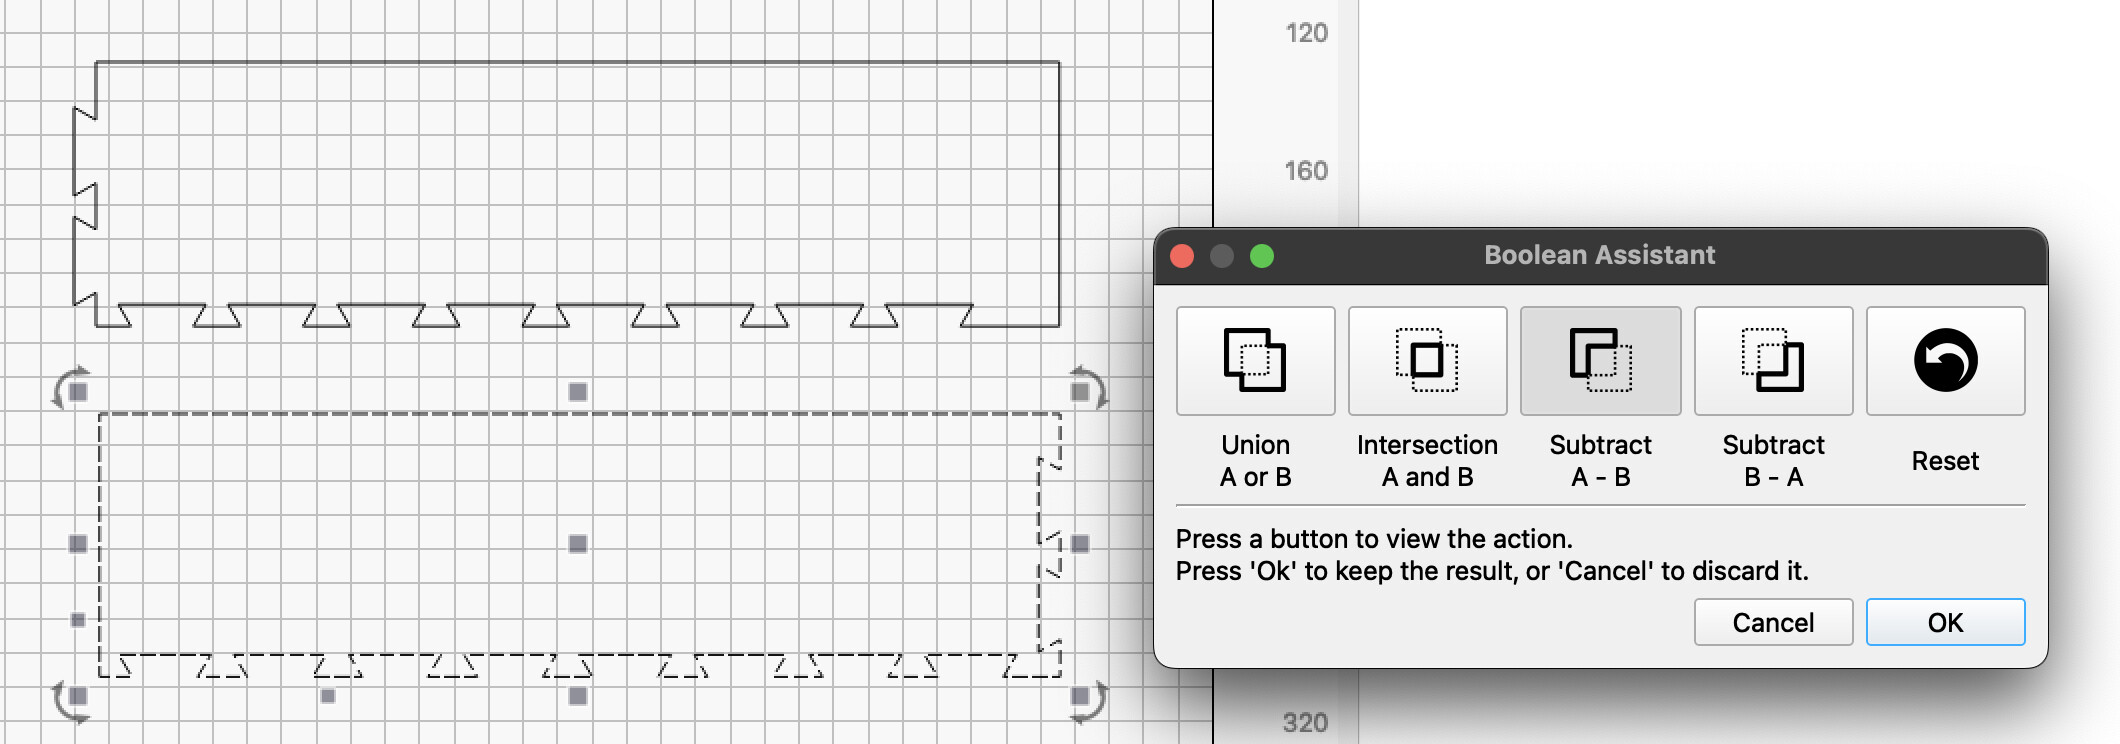
I have one half of my holder complete with Boolean Subtraction. However on the second half, for some reason, Boolean Subtract isn’t working properly? Including image and file for input as to why.
If so, it’s because of your selection order. There are a few ways to address this. First undo and select the subtract button again. That will change the subtraction order. Second option, select the other shape first, then subtract. Third, and my favorite, use the boolean assistant (Tools Menu> Boolean Assistant or CTRL + B). That way you can preview what will happen before committing.
The tab sticks out of one side of the joint and fits into the recessed socket on the other side. If I knew more about joinery, I might know the proper terms.