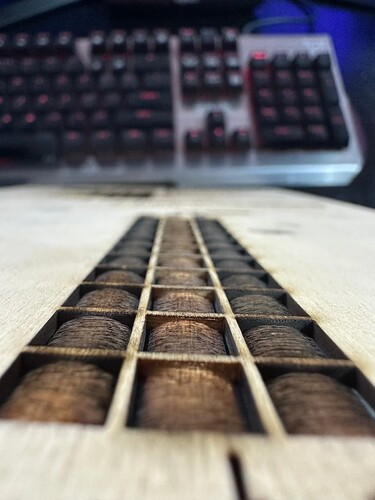
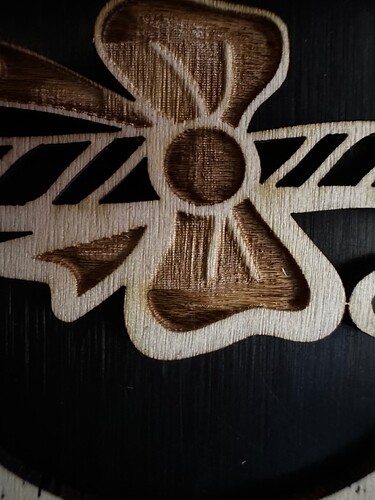
As the title suggests, how can I stop the arching of the engraving? I am using the tool that came with my Falcon 2 to set the height to 1-3 mm, as I am only working with 2 mm materials. During testing on various materials, I’ve noticed that the arching in the middle caused by the laser is also removing more material from the edges while leaving the middle untouched by the laser.
Could you post your Cut/layers settings Common and Advanced tabs? maybe you have some ramp…
If the Overscan setting is too small, the laser head will decelerate & accelerate within the bounds of those little squares and overcook the edges.
Be generous with the Overscan to let the head get up to speed outside the region of interest. If it’s currently zero, try 10% and see what happens.
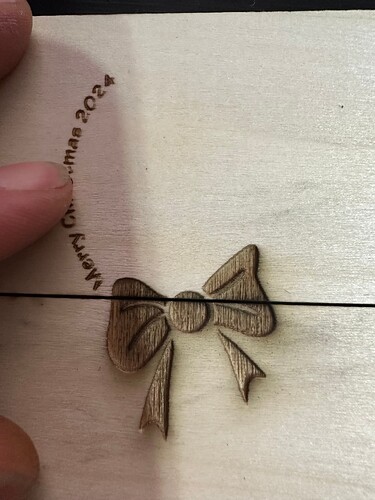
well, I think that’s what my problem was 12 test runs later, well see for yourself.
before overscaning addjustment It was @ .5%
and now with 5%
ignore the cut line I’m using some scrap.
well I could not go pass 5% as Id get this
ALARM:3
Reset while in motion. Grbl cannot guarantee position. Lost steps are likely. Re-homing is highly recommended.
On or near line 0:
Job halted
Stream completed in 1:42
ok
[MSG:Using cpu_map…esp32-s3]
Grbl 1.1f [‘$’ for help]
[OK] ILmp Link connect ok
[OK] ILmp Link connect ok
[OK] ILmp Link connect ok
[OK] ILmp Link connect ok
[OK] ILmp Link connect ok
[OK] ILmp Link connect ok
[OK] ILmp Link connect ok
[OK] ILmp Link connect ok
[OK] ILmp Link connect ok
[OK] ILmp Link connect ok
[OK] ILmp Link connect ok
Is there a way to copy all that info and paste it? or do I have to input it manually?
P.S
I am very, very new to all this. I’ve only had the unit for about 3 weeks, and with some PC hick-ups, I’ve only begun making sense of all the things to know/remember.
For screenshot you can activate the Snip tool by pressing Shift+Win+S.
Type $$ in Lightburn Console Window and copy/paste here all the output.
.
Have you followed Creality setup instructions?
https://wiki.creality.com/en/laser-engraver/creality-falcon2-series-troubleshooting/lightburn-software-compatibility-machine-tutorial
.
Maybe this also get you going:
Perhaps that’s because the pattern is now close enough to the edge of the machine that the (embiggened) overscan region extends beyond the boundary. It can have other causes, but let’s clear the easy one first.
Skootch the pattern toward the middle of the workspace and, if you’re using Start from: Current Position, skootch that over, too.
The screenshots @parsec asked for will be helpful.
@parsec [quote=“parsec, post:6, topic:158749”]
Type $$ in Lightburn Console Window and copy/paste here all the output.
[/quote]
does not work nothing happens. ![]()
I did some time after I got my Falcon as the USB KEY was corrupted and I could not read or even copy from it and my PC does not see it anymore so Iv had to go online to find the info.
Thanks but there was nothing here I did not already know or I had tried.
When this happened, my workspace was dead center, so there was no risk of going out of bounds. I’ve noticed that my Mac does not handle the LightBurn as well as my Windows PC does.
However, returning to the original issue, it was resolved as soon as I adjusted the overscan to 5%. For some of my test jobs, I increased it to 15%. I’m thinking this may be related to the size and space you’re working with, although this is just an assumption.
Sorry, have you pressed enter after keying $$?
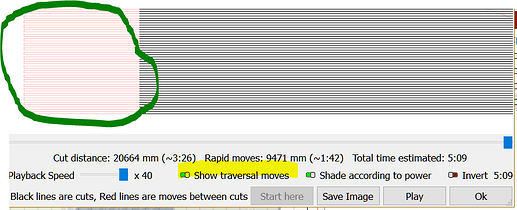
Always do a preview of the job you want to run.
If you want to see where your laser head goes (red lines) with the overscan you defined enable Show traversal moves on Preview window
Yes.
yes i am aware, I do have that option enabled.
This topic was automatically closed 30 days after the last reply. New replies are no longer allowed.


