I know this question was asked by another member back in 2021 but the answer didn’t help my problem. I am trying to use Lightburn to cut music rolls for my Busker organ using a system similar to the one in this video https://youtu.be/HcXOI4swigI?si=tfl4JH2iw82yWC3u
Each layer represents one ‘page’ of the music which are cut sequentially onto rolls of paper for use in the organ. Some of the music files I have are up to 54 ‘pages’ and therefore layers, long and so the current resriction of 29 layers very much limits the files I can cut and therefore the length of the music I can play. I realise that this is a fairly niche use but your help would be greatly appreciated.
LightBurn uses “layers” to define a collection of laser settings that define how to process the geometry (the pattern of holes) on that layer.
If I understand the structure of the PDF correctly, each “page” of the PDF corresponds to one section of the roll, with a bounding box around the hole patterns. I assume each page will import as a grouped set of shapes, so that you can select the whole page with one click.
If so, that dramatically simplifies the process.
Import all the pages into LightBurn on the same layer, because they will all cut using the same settings. If the pages import stacked atop each other, sort them out in order from left to right, somewhere off the main workspace corresponding to the machine platform. Using the Alignment tools will make the sequence much prettier. ![]()
Set the border around each page to a tool layer so it does not cut. This may require un-grouping the page so you can select the border separately, but re-group the page when you’re done. Now you can move the whole page, but only the holes will cut.
Set up a template box (on a tool layer) the same size as the border box where it matches the position of the paper roller gadget on the laser platform. This is easiest in Absolute Coordinate mode, so that the position in the workspace matches the position on the platform. Lock the template position so you can’t inadvertently move it.
Now, for each page, drag-n-drop the imported geometry onto the template box, using snap-to-position so it’s centered on the template.
Fire the laser to cut the holes!
Delete that page, drag the next page in place, and repeat.
That uses the layers as they’re intended, lets you have an unlimited number of pages, and pretty much reduces the process to a series of identical motions.
It Would Be Nice If this whole process could be scripted, but LightBurn doesn’t do scripting.
1 Like
Thanks, I’m going to have to study this closely and do some experimenting as it is not immediately obvious to me but I’m sure it should work. The ‘bounding box’ isn’t exactly that as I delete both ends and the the top and bottom cut the edges of the roll of paper accurately (there is hardly any tolerance on the final paper width). That being said, I would have to find a way to accurately define the start and finish of each ‘page’ without the vertical sides of the box being there. Perhaps I could isolate these end lines onto a different, non cutting, layer but have them still display in the right place.
Duplicate the original box, put the duplicate on a tool layer, then have your way with the original. The tool layer box serves to locate everything inside it, so you can snap the box-with-contents onto the template marking the platform location.
I’d be tempted to pre-cut the entire paper length using a pair of blades at a fixed distance, maybe between two pairs of rollers driving / tensioning the paper. Then you roll the paper on the feed spool and cut only the holes with the laser.
I engraved a pocket for a mini-knife blade to make an envelope opener:
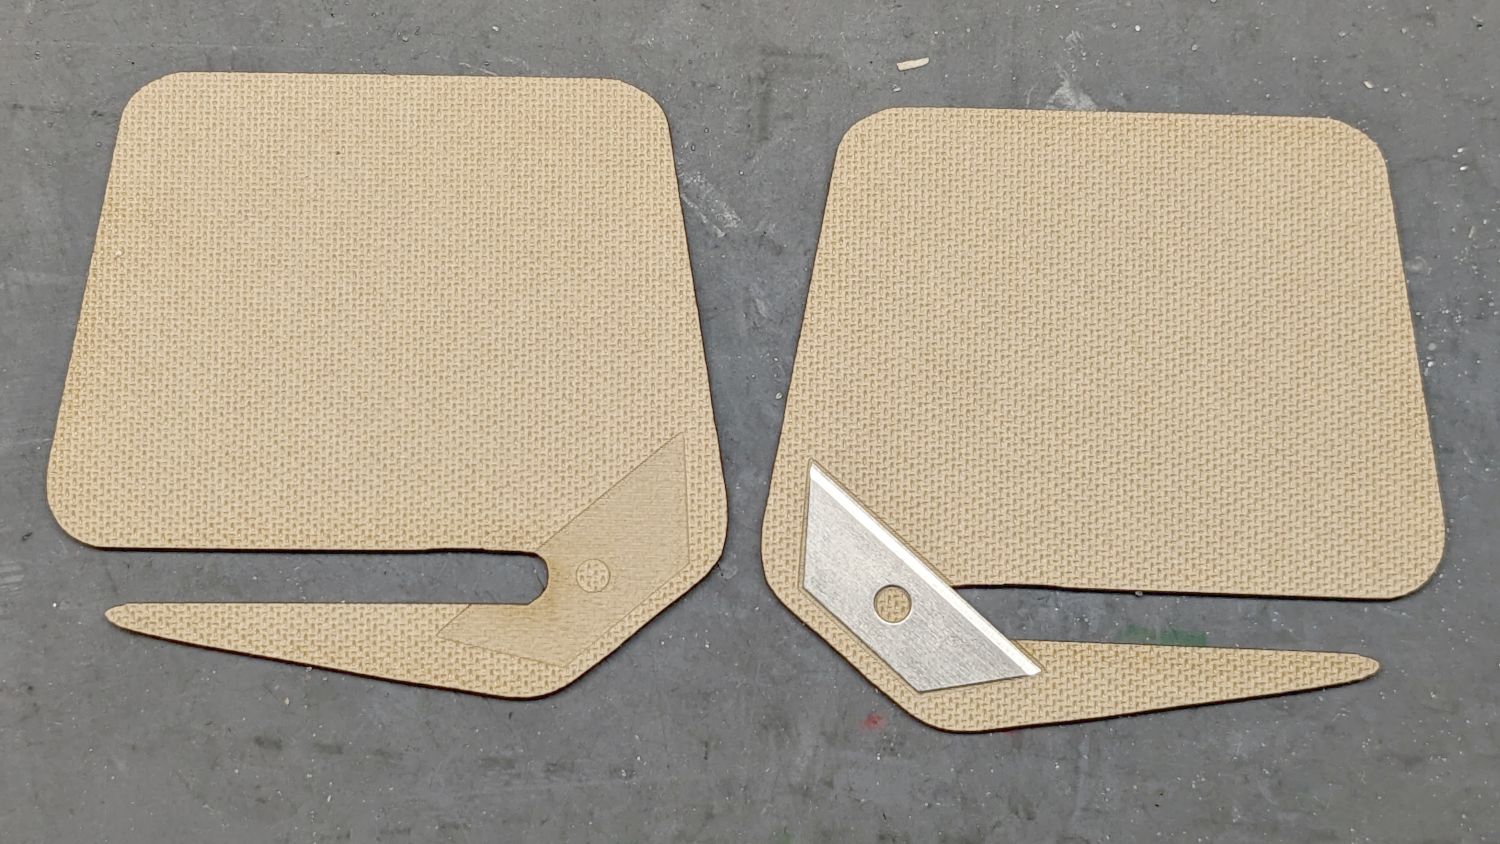
Maybe something like that, with the blades+holders set at the proper distance, could serve as a roll cutter.
You can (I think) arrange to park the laser head at a known location relative to the paper at the end of each page “cut job”, so you could crank the takeup spool to position the roll. Add an engraved / marked alignment target at that position on each layout, so the laser parks and you crank the spools until the target sits under the parked laser spot. Maybe the “target” is just an end line from the original bounding box, set on a layer that just barely marks a line across the paper.
Got yourself a fun project, it looks like! ![]()
Take a look at the cut and print functionality. Using some index marks you could potentially limit the alignment on the paper issue…
I grew up with a player piano in the house. I’d never thought of how a laser cutter could be used to make new rolls. This is a very cool application. Have fun!
This topic was automatically closed 30 days after the last reply. New replies are no longer allowed.