How to change "picture" on galvo

When I have a page with writing or anything ells

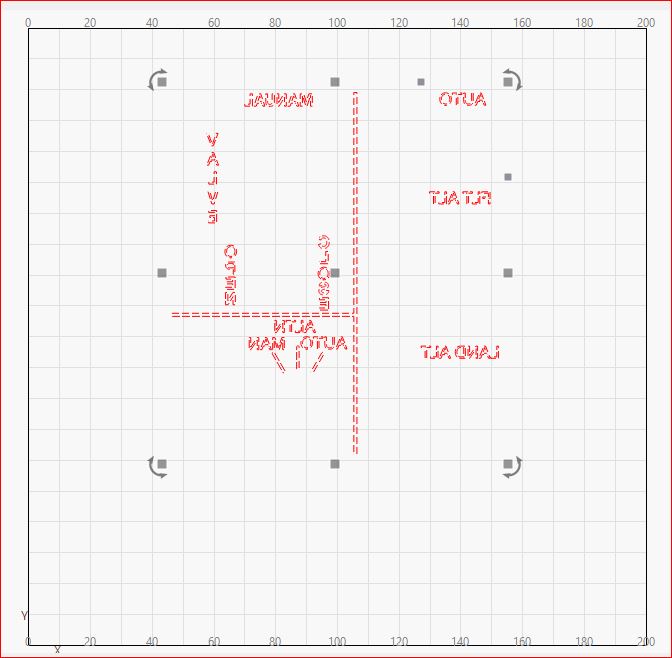
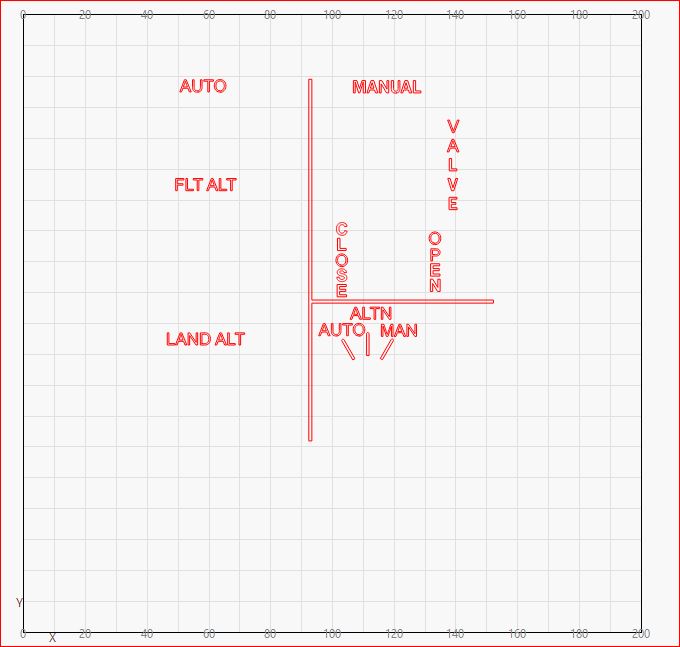
on LB and sending that to the Fiber Laser it is turned around so I look at it from the backside.( fliped over)
How do I do to get the laser look lioke the page I have on LB.
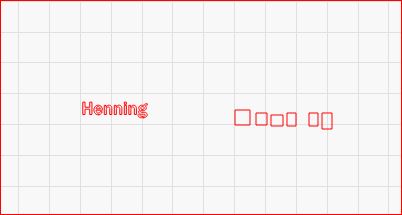
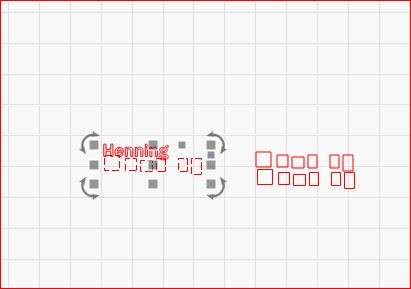
Also marking a word and run frame it comes out like an square and not with the lettering as it did before update.
How do I correct that.

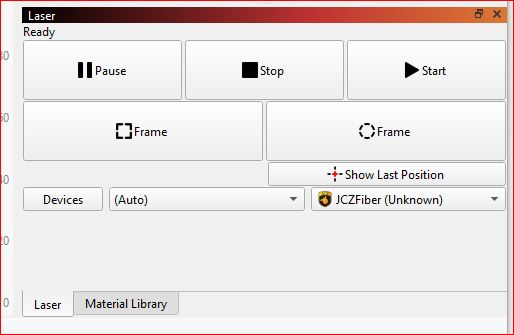
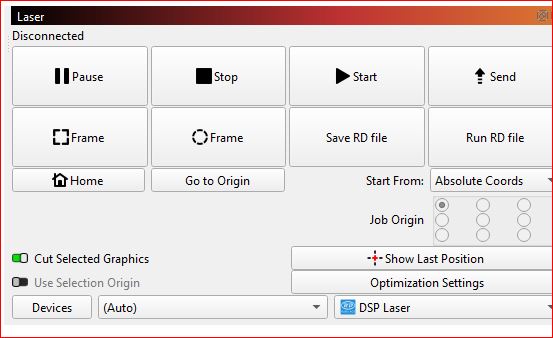
Upper pict is Laser, lower pict is LB

Perhaps the Galvo suggestion near the bottom will be helpful:

Which leads to the Galvo setup doc:

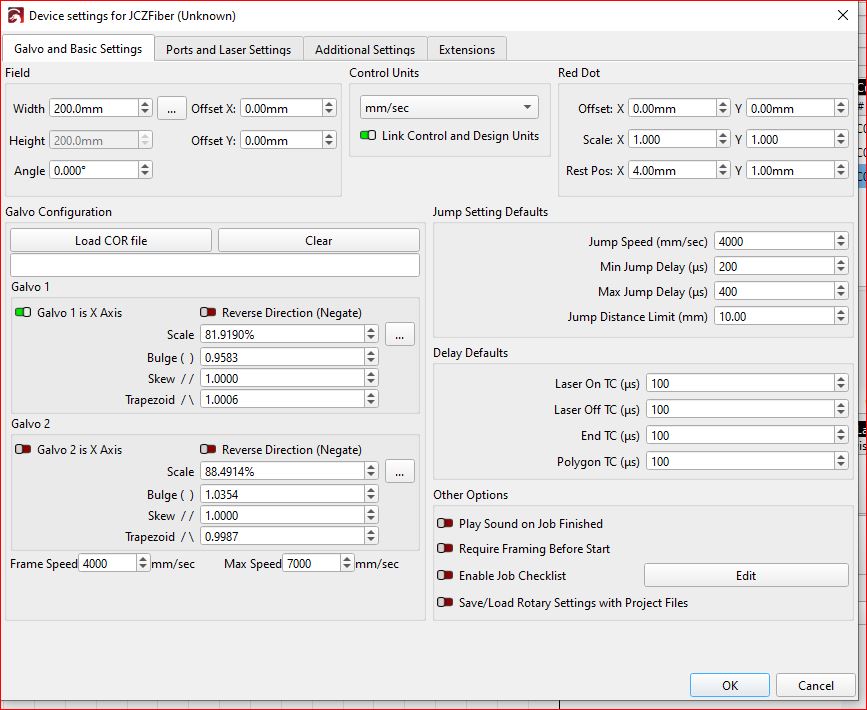
Which suggests flipping the Reverse Direction switch for the inverted axes.

If that doesn’t help, screenshots of the galvo settings will help us look over your shoulder.

Text like Henning is showing almost like the squares on the laser Why

When printing the lower squares are showing on laser and the upper is where it is printing (approx)

Crisp photographs of the actual results on the machine will be helpful, because it is difficult for us to imagine what you are describing.

If the problem is now the location on the laser platform, the Framing configuration may need adjustment:

You may benefit from reading the Galvo documentation, rather than encountering one problem after another:

I believe what you’re seeing is during the live framing function on your galvo - it displays the boundaries of the shapes to be etched as a rectangle - you can select ‘Contour’ to show the actual shapes.

How can I get the lines back on my Laser page as they nare on the educational page

The upper pict is my page, the lower is from LB page. “Cut Selected Graphics”

It looks like you are in ‘beginner mode’ turn that off in the settings dropdown menu

To add to the above, to get the final cut (what is “printed” by the laser) in the same position as the framing preview (the rectangles you see per letter right now) is to adjust the red dot offset in the device settings.