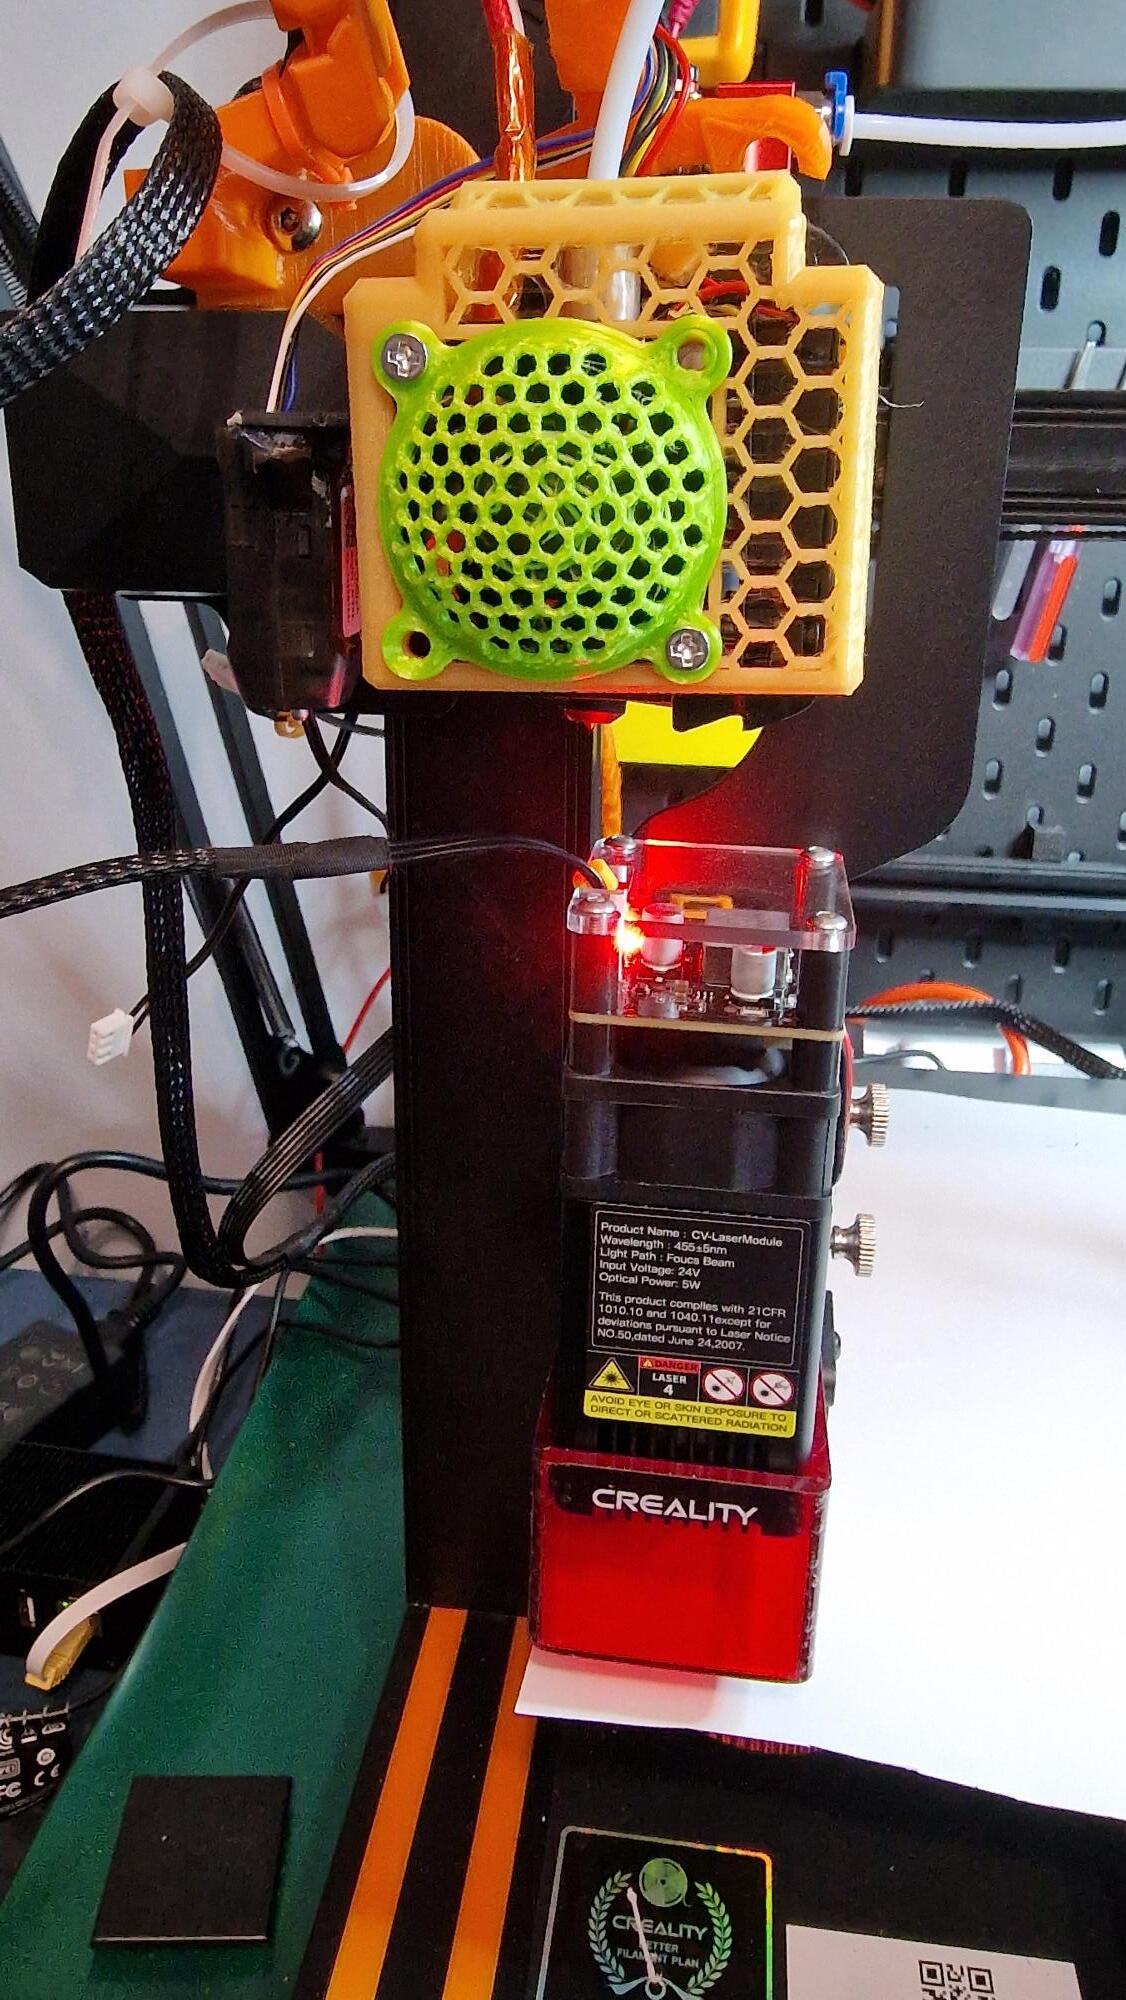
First time user experimenting with a Creality Ender 3 V2 Neo printer with their Falcon 5W laser accessory.
When homed, the laser correctly moves to lower left, but the end stop switches also correctly create a physical hard stop which results in the tip of the laser being 15mm inside the design space. Effectively I have an inaccessible 15mm border on the left hand side.
What settings do I need to change to reflect that the 15mm border is inaccessible? It looks like there’s a similar effect of about 10mm on the right, caused by the laser protective casing bumping over the frrame there.
“Get Position” reports Home as 3,3
I note also that Im able to (try and) move the head beyond the limits set in Device Settings and $130,$131. Is that expected?
Thanks @MikeyH@jkwilborn
I suspect many of the problems are caused by it being an accessory on a 3D printer! The basic functionality of engraving and cutting seem to work, but I want to be able place things at absolute coords on the bed and know that the location is reflected accurately on the design page. (I have read that the same outcome can be achieved by jogging the head and using Origins, but I dont know if I want to try that yet).
The hard and soft limits looked a good option and I was trying those as you suggested them.
The Hard limit seems to have no effect.
The Soft Limit causes an immediate alarm on any movement except a home. I cant then unlock (even with right clicking the Devices) and I have to power cycle the controller!
When Mike mentions that the 15mm is inaccessible, I wanted that also to be reflected in Lightburn though. Any way of having some shading or border so I remember not to use it?
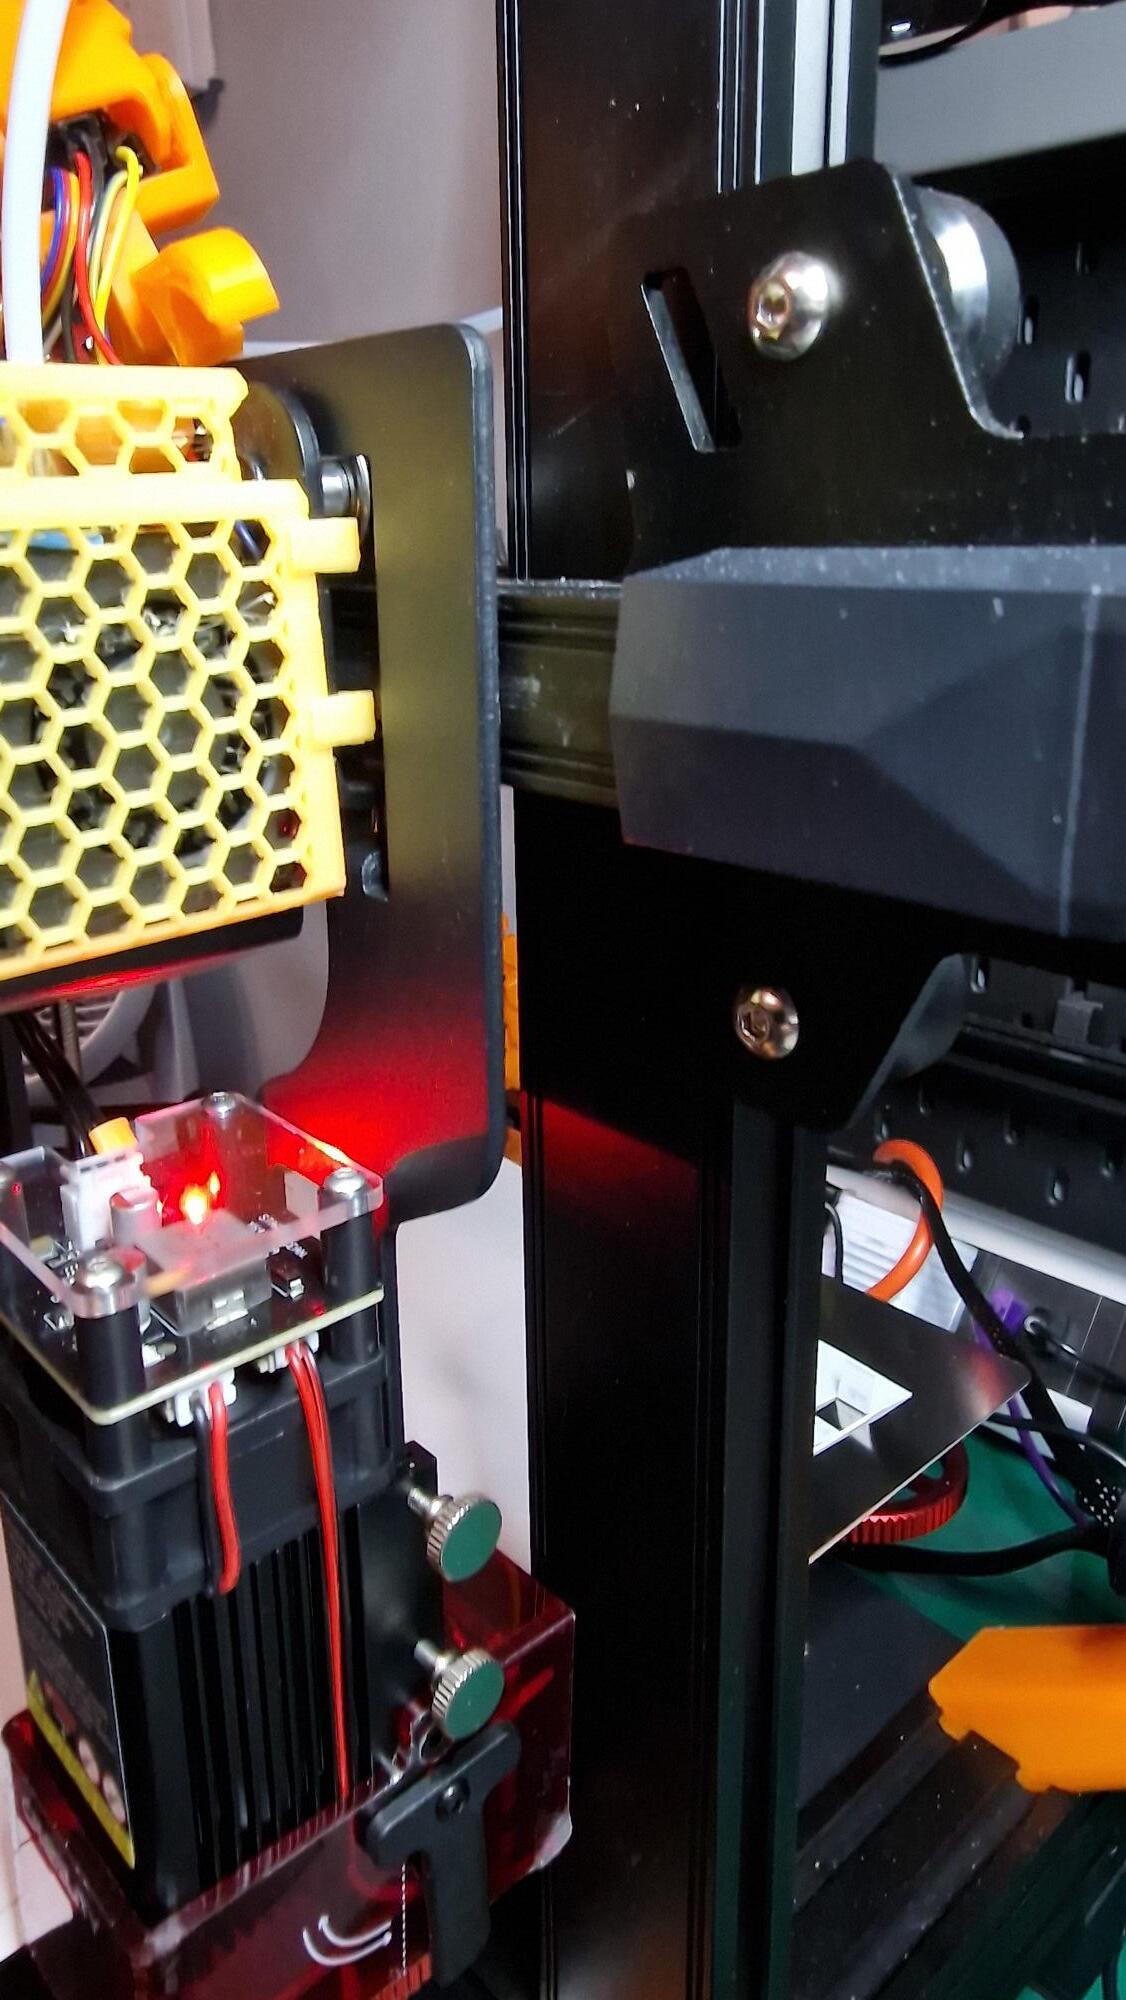
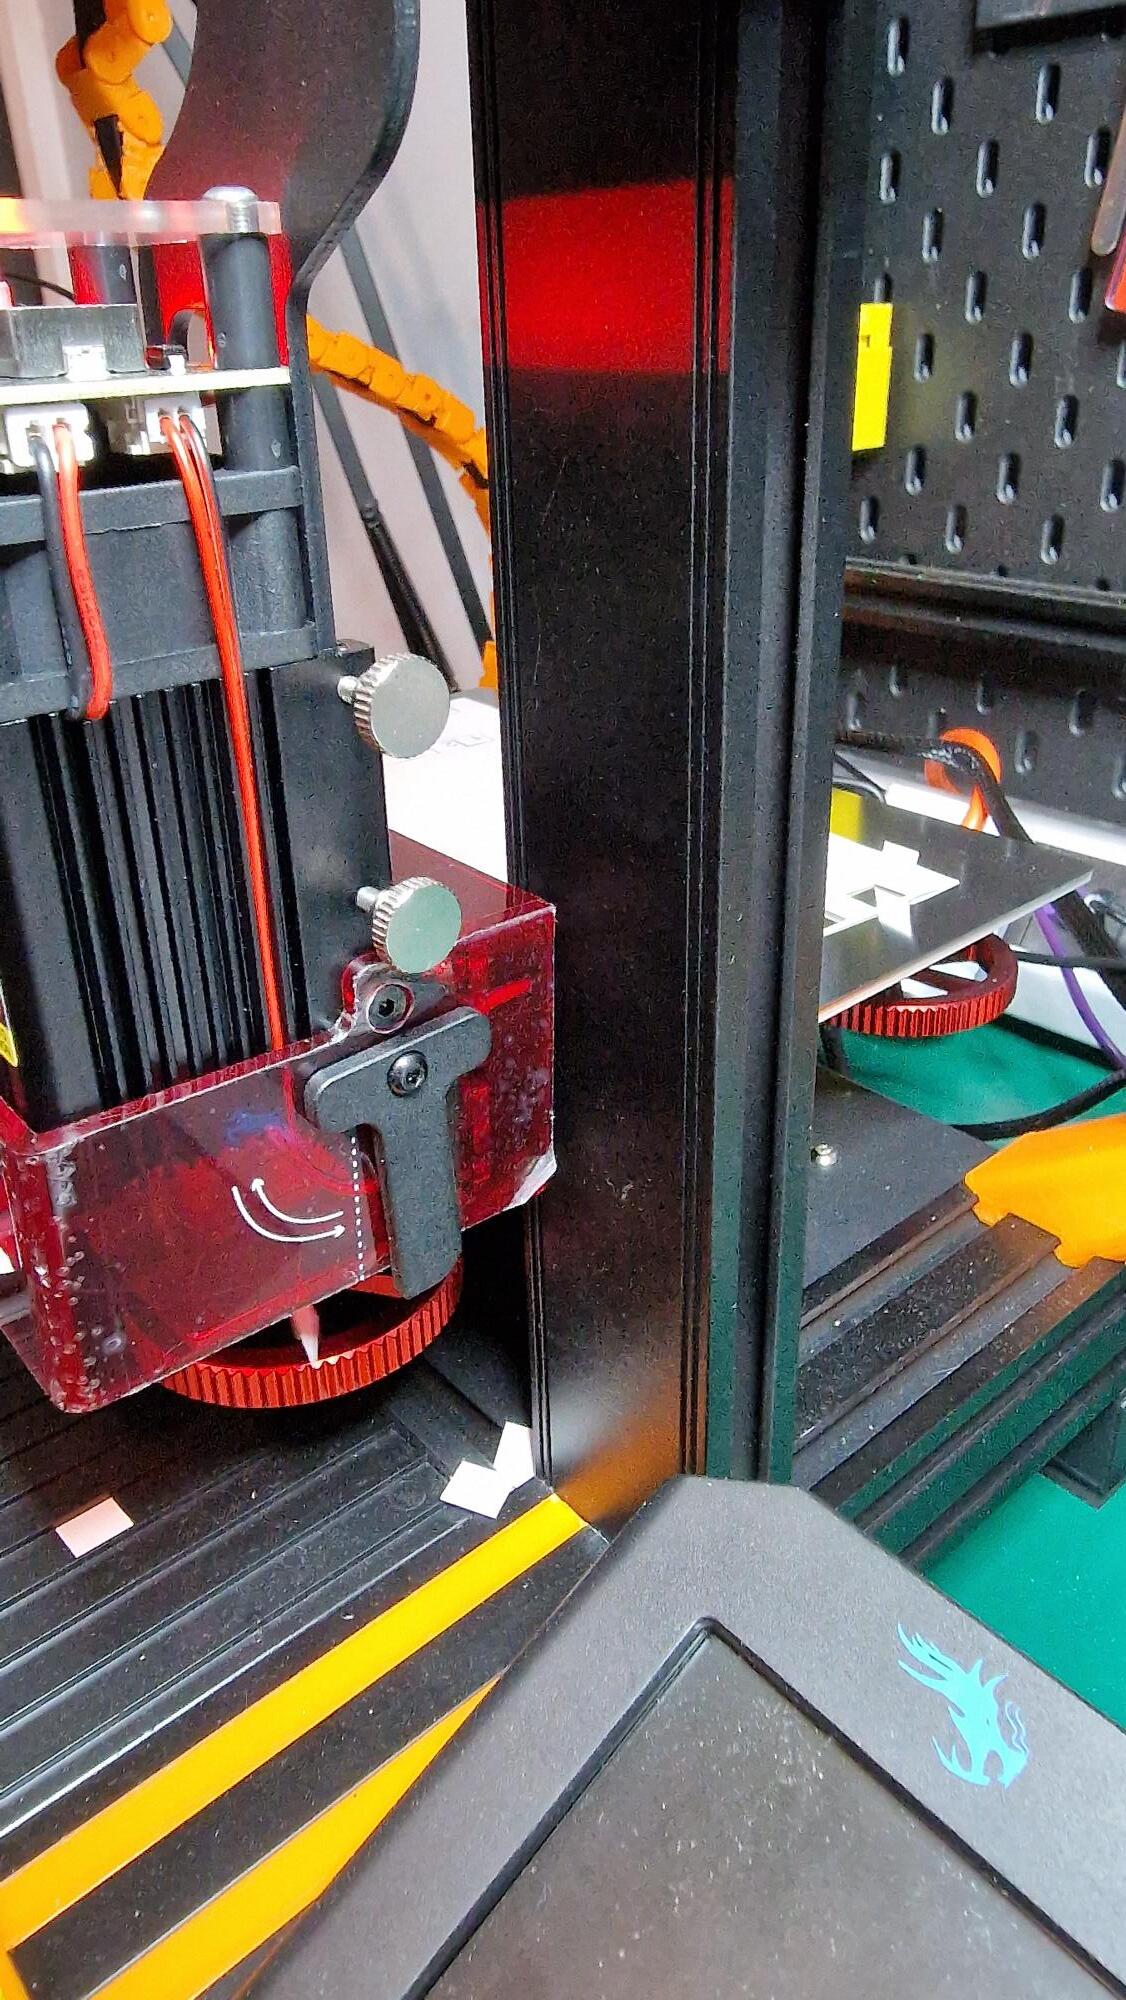
Here are some pics of the unit showing the physical limitations.
The right hand side has no end stop switch but it physcally stopped by the gantry connector, and ‘interferred with’ by the red plastic laser housing bumping over the frame. (I guess if I spent some time aligning the mounting bracket, that might go away).
The left hand side has the end stop, but you can then see that the stop causes the diode to be position at x=15 not x=0. Not looking to be able to use that space, but as mentioned above, want to exclude it from the design space.
If you set your max travels in your LB workspace (Edit, Device Settings, Basic Settings tab), you will always know if you are drawing/burning out of bounds. My machine is a “3040”, but the actual workspace is closer to 295x305mm. As you can see, I lose a lot of Y-axis capability due to the mechanical design of the machine.
Before turning printer on, move laser to home position, turn printer on THEN start lightburn (LB will recognise the laser position as home). Then you can jog the laser to top right to check maximum travel and in LB set that as your work area, In theory this should resolve homing and X axis reference problem.