I have a file with many pieces that make up a picture, much like a mosaic. The file wasn’t created to cut each piece separately as so many shapes share lines. Then end result isn’t an inlay rather it is more like a puzzle. I think to apply the right kerf to each piece, I would need to separate the pieces a little bit (explode?). I tried to break apart but it left some lines too long and some arcs span more than one shape. I was thinking if I could trace the image, each intersection would be a node and I could group and move shapes, duplicating shared lines. But it’s already an SVG so trace isn’t available. I’ll attach a small section of the design, I’d like to cut, stain, reassemble and frame without gaps from the cut.
Mountain Sun.lbrn2 (28.2 KB)
Kerf will only be available for closed shapes so your challenge will be in isolating each shape and getting them closed. Here’s an approach that I think may work.
- Duplicate the segments of the design such that every distinct shape has a complete set of sides. Alternatively you could simply duplicate the entire design as many times as you have parts and just discard what you don’t need.
- Isolate the necessary segments for each piece making sure you keep the parts for a single piece aligned
- Use Edit nodes tool to trim the excess portions so that each piece is now made up of only those parts necessary to close the shape
- Close the shapes by selecting all the segments for a shape and then using “Edit->Auto-join selected shapes”. If things don’t quite line up you may need to tweak the segment ends to join them manually. You can use Edit->Close Shape or Edit->Close shape with tolerance if you have only a single break in the shape
- Repeat this for every shape
- Rearrange parts appropriately
- Apply kerf to layer
- Burn
- Profit
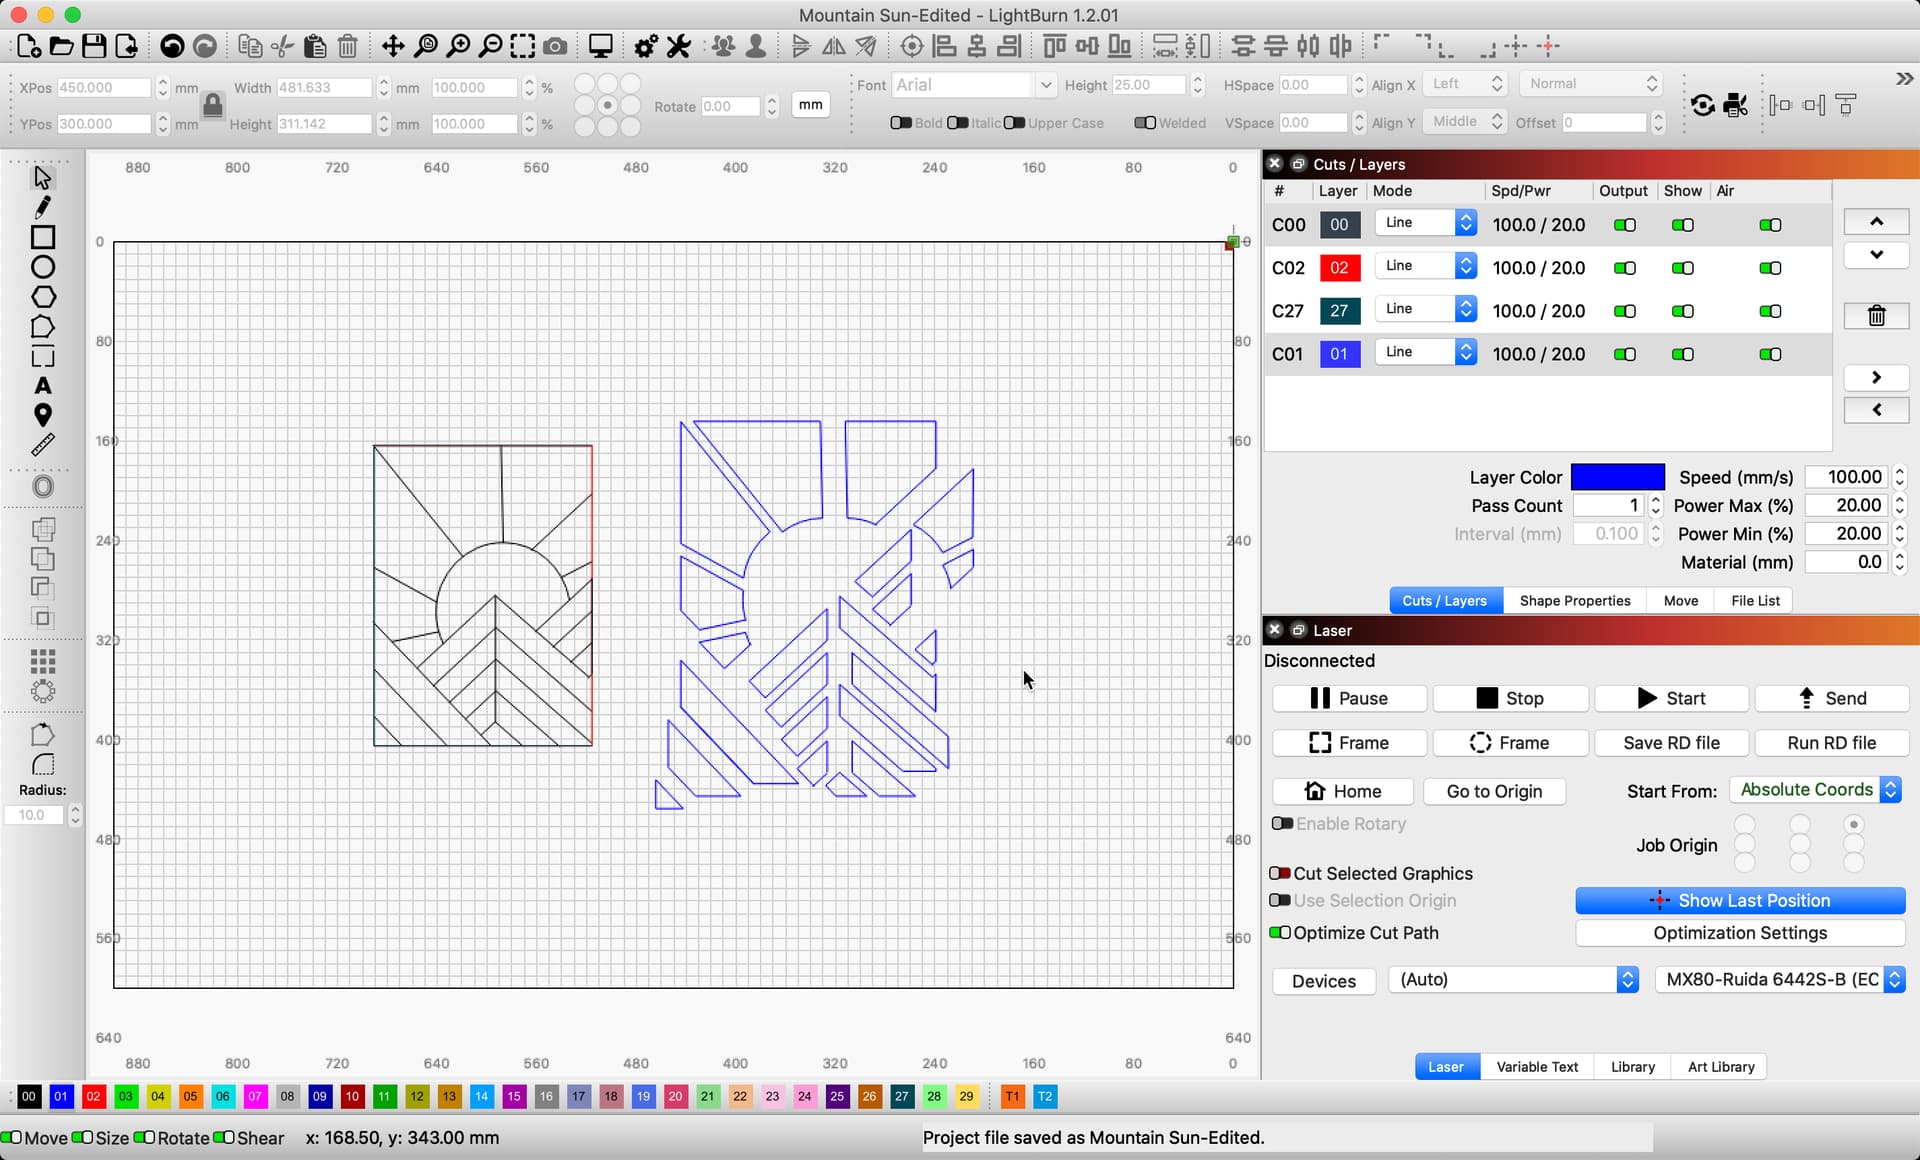
@berainlb has you. The suggested process should yield what you are after. ![]() Worked for me.
Worked for me.
Mountain Sun-Edited.lbrn2 (41.0 KB)
Thank you so much, I started to do it this way but it was slow going. I’ll get faster with practice. One more question about the nodes, is the best way to delete a portion of a line (especially on a arc) to add two nodes where I want the break and delete the gap?
That’s one way. But would be hard to place with any precision. I think you’d be better off creating a shape that you can position precisely and using that to cut the shape.
By the way, hope you’re not trying that with this current project. My approach should not require you to do much manual manipulation at all. Simply trimming excess from already existing lines.
Wow, thank you for the response, yes this is the way I’ve done these edits all along. When I saw Rick replied with the image cut away so quickly, I thought I aspire to be that good. Now I realize there is a better way and when I return home tonight I’ll look for a tutorial. Thank you so much as I have several files that are much more detailed that I’d like to apply this to.
I suggest you read through my steps again very carefully and try to reproduce them line by line. This should avoid the issue you’re taking about and only require you to duplicate and then trim using ‘t’ key in Edit Nodes tool to trim away the excess.
I absolutely will, thank you.
This topic was automatically closed 30 days after the last reply. New replies are no longer allowed.