Using X pro D1,
Have a project need to etch (burn) text in the middle and after that, cut out the pattern. I have tried to set preferences ( settings) as i added shape. Or text, but it does not fix the order.
I want text, then cut.
Using 1.4.00
Screenshots are very useful to understand what you’re facing.
What does your design look like and how have you setup your layers?
So I want the heart cut out. And want the text to be a light brown, but not burned all the way through.
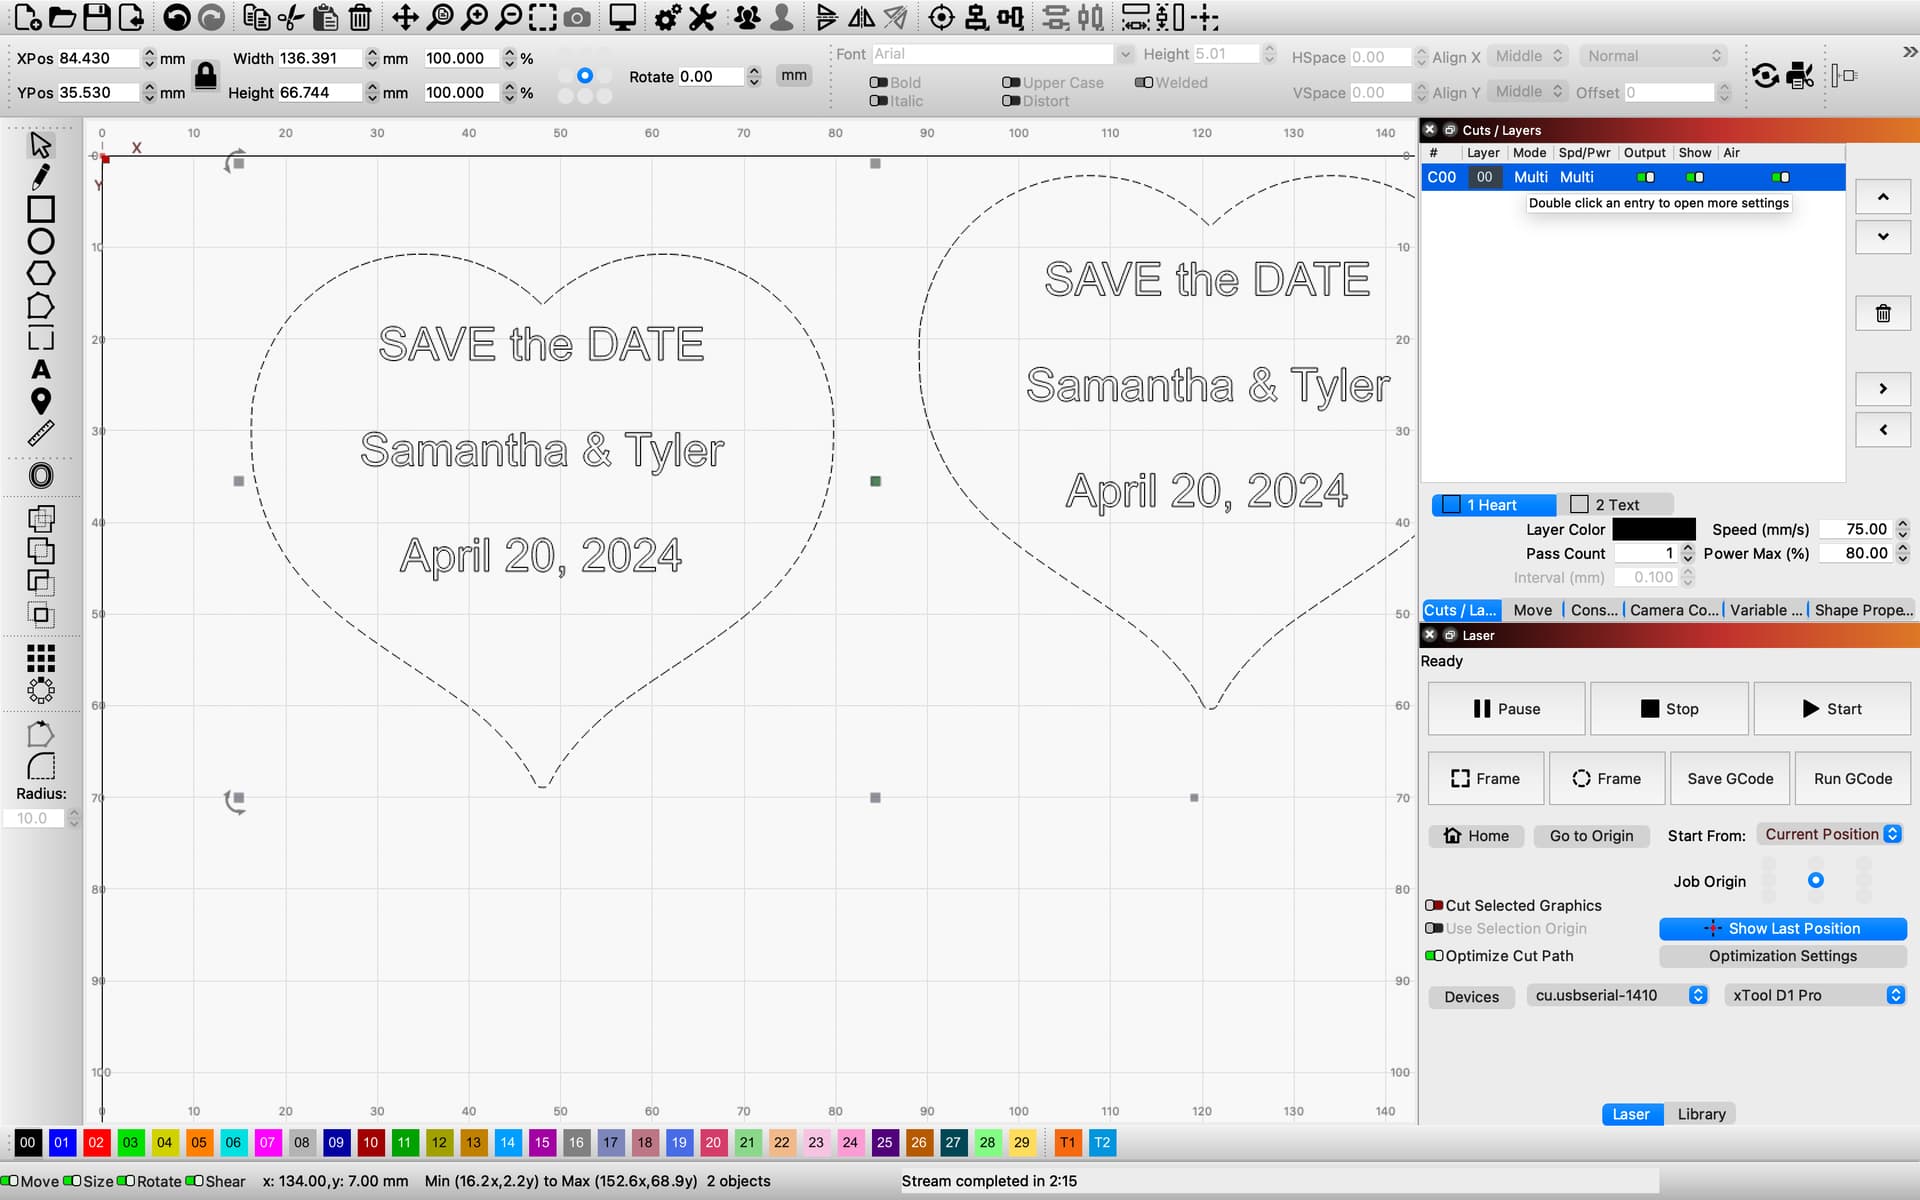

Multi, using sublayers, is only relevant if you want two different operations on the same set of shapes. In this case you want one operation for the text graphics and one operation for the heart.
In that case put the heart on one layer and the text on another. Assign only a single operation/sublayer to each layer as appropriate.
@berainlb , this is where I am falling short. I am not understanding how to separate the layers to complete this process and get this project complete.
Is there any way to show me what you are describing.
- select the heart
- click on one of the colors at the bottom of the screen indicating a layer different than it’s currently on
- repeat for text if you want to change to a different layer otherwise keep on the current layer
- open cut settings for each layer
- remove all but one sublayer per layer
- for text layer, set to Fill, change speed and power appropriately
- for heart layer, set to Line, change speed and power appropriately
@berainlb Awesome, this fixed the different layer settings. It worked great.
NOW however I duplicated the hearts to make 16 per sheet. Somehow the text is not inside the heart now. I thought the first messed up sheet was because the wire loom got caught on the material. It didn’t get caught.

This is likely something mechanical. From the settings you were previously using I suspect your settings are way too fast for your machine and the operation you’re trying to do. This is likely causing your machine to skip and lose steps.
Try reducing speeds and try again. I suggest you test this on scrap or less precious material until you get a handle on how this works.
@berainlb Will do, I got a little too zealous when the layer settings worked. Thank you very much for your help so far. Much appreciated.
So I have redone the entire project, from individually placing each heart and text, to using the array button.
It is still not aligned properly.
Does anyone have insight, or a fix to this problem?
This isn’t likely to be something in the design.
As stated previously this is likely mechanical. High speeds could exasperate those mechanical issues.
Questions:
- What settings were you using for each layer? Please specify units as well.
- Have you reviewed the mechanics of your machine? Check belt tension as well as all pinion gears to make sure that the grub screws are properly secured against the flat of the shaft. Check especially on the Y-axis as that’s where it seems you’re having the bulk of the problem.
I have tried multiple settings, all had the same result. I tightened the belt, squared up the machine. None of that fixed the issue.
I think i have narrowed it down to the file. I remade a new file. And first run it worked. Then tweaked settings and back to same mis-alignment. Closed down the file, and computer, restarted and ran again, it worked fine. Made a setting change, had the mis-alignment. So I think in making the setting change and running the new settings is where it is going wrong. So I am just saving and closing the file, then opening and running it.
Can you upload a .lbrn file where it’s not working correctly?
This topic was automatically closed after 30 days. New replies are no longer allowed.