My use case is as follows:
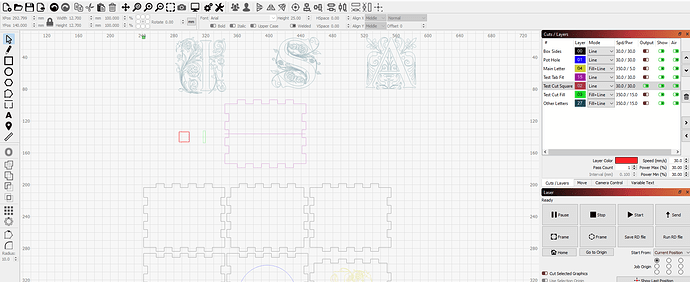
I have a workspace with my main set of objects (i.e. expected to always be sent to machine), as well as some ancillary/additional objects that are kept/used as needed (but need to be stored as part of the overall project), and some test objects, e.g. a test cut square. (see attachment below.)
In general, I’d like to turn off everything but a test object (in this case the square), position the laser head at some arbitrary point over my material (for instance where I know it is a waste/test/extra material area), temporarily set the origin, and cut the square right there. I seem to have a difficult time doing this.
-1) I understand that there are three settings for the “Start From” drop-down: Current Position; User Origin; and Absolute Coords. None of them seem to allow me to start cutting right at where the laser head is positioned or origin is set on machine.
-2) I understand I can re-arrange things such that the test square is the object at topmost/leftmost position, relative to other objects, to do accomplish this…but that means moving test objects around all the time before sending.
-3) So this question is specifically about how to start a cut for a single output object, wherever it may be on the workspace relative to other objects, at an arbitrary/user-selected point on material.
Test square of interest is in red. Note position of green square indicating origin.
