I have to take a minute to brag on LightBurn. I used a multi-step process to overcome a significant difficulty in my shop.
TLDR - LightBurn made it possible for me to 3D print a part for a new machine that arrived with a key component that was damaged. Using Lightburn has opened a new path for me to greatly expand the usefulness of my 3D printer ![]()
The whole story:
I got a new leather sewing machine to facilitate my business of making award banners. The prototype award banners were sub-contracted a brother-in-law for sewing. The proof of concept run of award banners was well received, and follow on orders are coming in at a pretty good rate. My wife ordered the machine from Amazon. There was a small metal piece that was broken in transit. We did not find that until we set the machine up toady. I have 2 weeks before another order is due, and I don’t want to burden the brother-in-law (again).
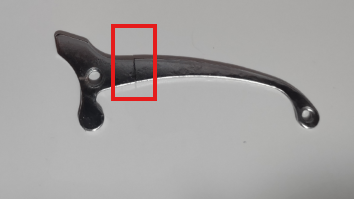
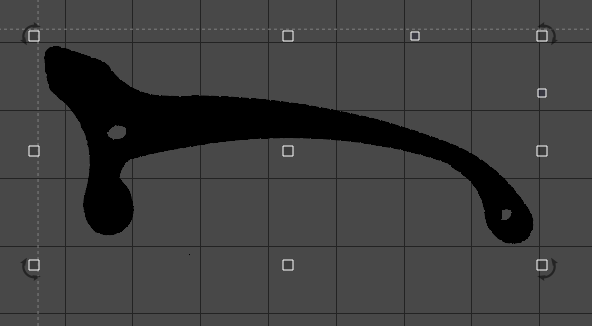
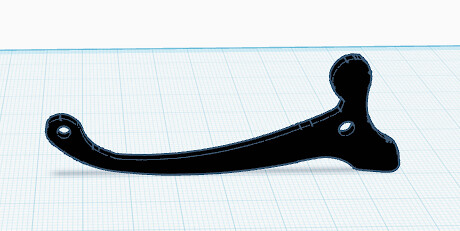
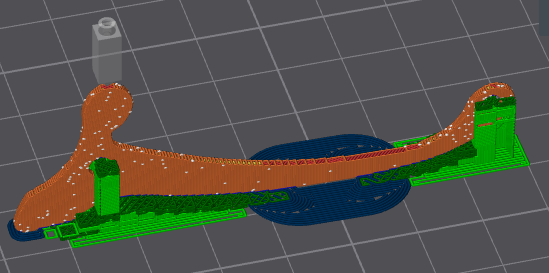
Time for a collaboration between my hobbies. I took a picture of the broken part, imported it into Lightburn. A quick TRACE of the image, cleaned up the results with node editing, set the dimensions as needed and saved as a plain SVG file. I jumped over to TinkerCad, imported the SVG file and exported to the slicer program. Less than 5 minutes later, I had a 3D printed part that would have taken me a great deal of effort to shape in CAD… or taken weeks to resolve through Amazon. We finished the assembly and now have a functional sewing machine and a huge pressure was lifted from my mind.
Photo of broken part
Imported, Traced and node edited
TinkerCAD
Sliced and ready to print
Finished and installed
