I use the offset tool to make edges on the labels I create. However, I notice that the edges are burning through. I have it set on 10% power and 400mm/s, but that doesn’t help with smaller items.
I saw other postings here, but didn’t see a solution. Any ideas?
1 Like
What material is that?
What are your settings, is it line mode or fill…?
Are you using min. power… can you go further down in power…?
I don’t know your machine but 400mm/s is pretty fast.
It is a 2-ply acrylic.
It is Offset Fill mode.
10% power. I can set the power lower, but I have heard the machine won’t generally go lower than 10%.
I set the speed high, hoping it will go faster and have less time to burn through.
I have a Ruida 644XG controller
It’s probably a very thin layer of material I guess. But you should be able to get the power down to almost nothing.
…but at this speed and only 10% power, it’s strange that you still get so much energy in your material…
Have you tested the settings on a piece of scrap material.
How does it look when you use fill instead of offsetfill?
Can you upload your file here?
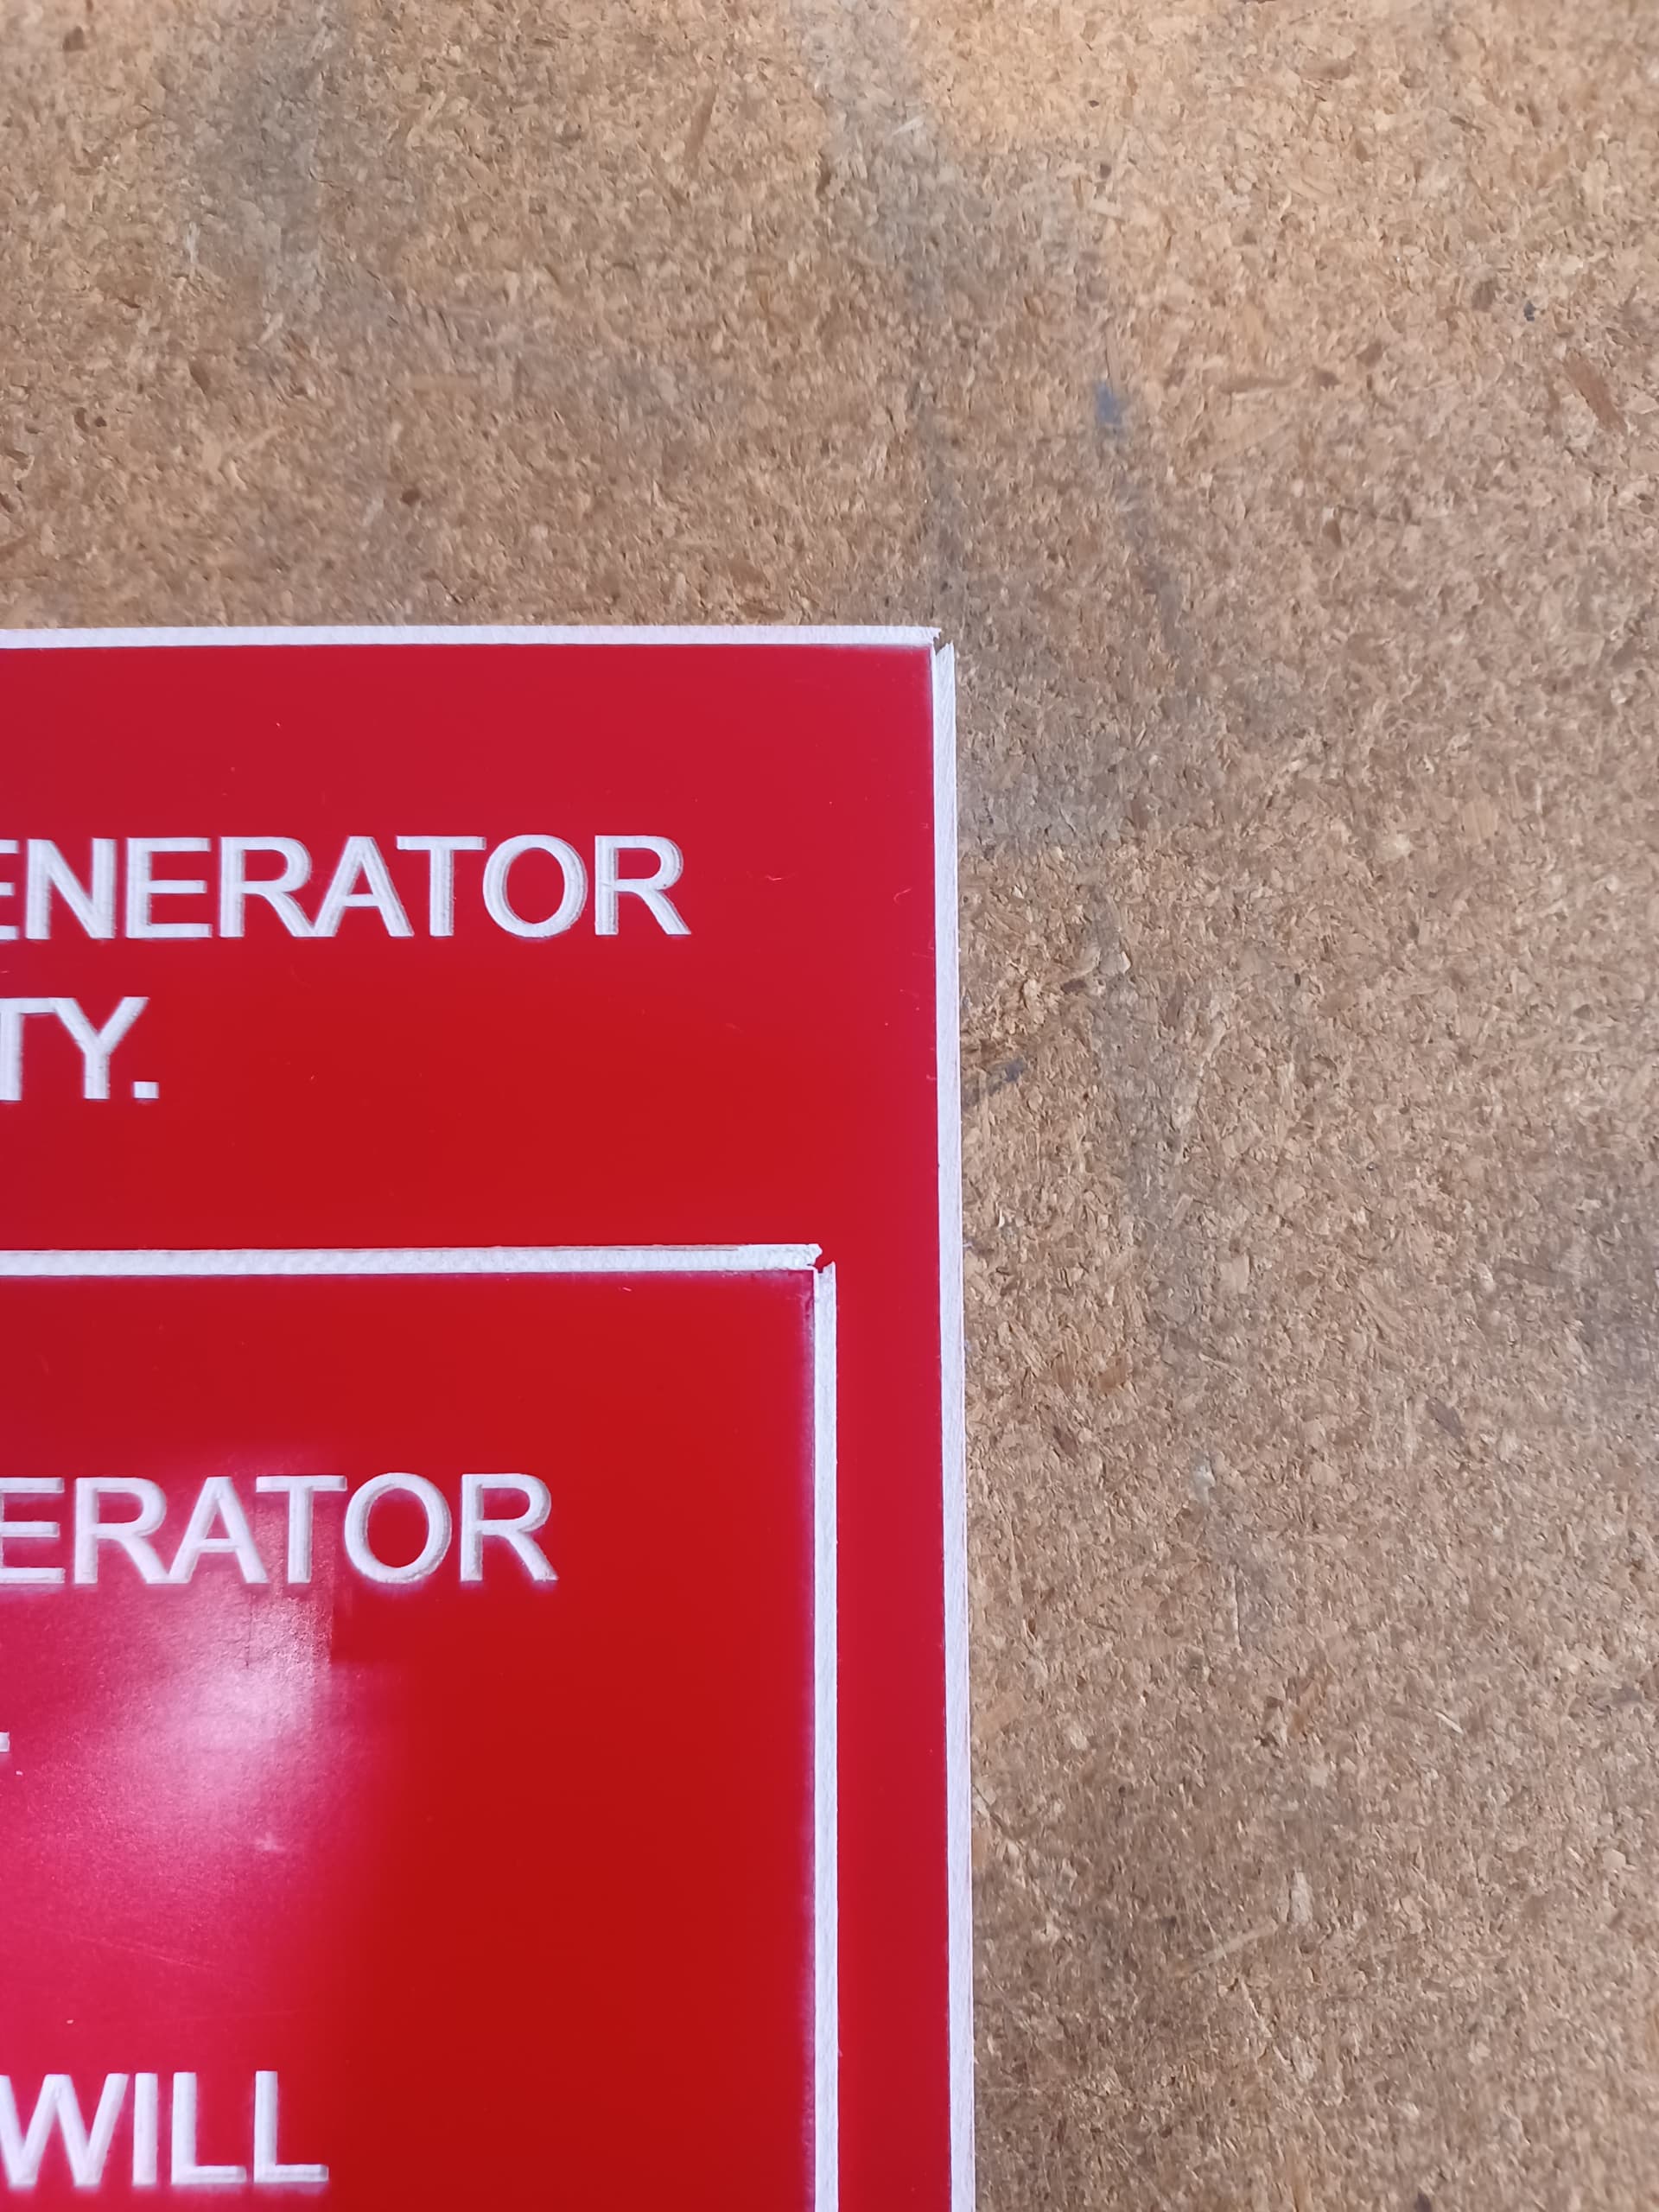
I should mention this happens when I am making letters on white core with colored cap. In order to make the letters white, I have to run through 2 passes. If I only do one pass, the letters look pink or grey from the cap dust falling on it. The second pass burns all that away and make the letters white, but I am getting the burnt corners.
You’re seeing the effect of the laser head slowing down at the corners with a Min power level set allowing too much power at the slowest speeds. Unfortunately, the tube won’t fire much below 10%, so that’s not going to help.
Using Offset Fill is not recommended for fine detailed areas like text & lines:
Does ordinary Fill mode not work for this layout?
I use Offset Fill to create the border. If I then change it to Fill, it doubles the amount of time to create the label. Let me try it and see if it helps. Here is the file, if you want to look at it.
2313 Garfield.lbrn2 (80.1 KB)
I’m not sure how it relates to your ruida controller, but my (and @ednisley ) Ruida KT32N has no trouble going below 10% in min. Power, I often use 8.5% or 8.75% and it works. You can quickly see/try it by a Square test.
In addition to that, I also won’t use offset-fill for this task
I don’t know how else to create a border around my labels.
I will play with different parameters and see if I can make some improvements.
Thank you for your input.
As the old saying puts it, “Quality, Speed, Cost: Pick any two.” ![]()
True, but (IMO) reducing the power from 6 W to 5 W won’t make any significant difference in the results.
You can engrave that border (and the other text & figures) in either Fill or Offset Fill, because the type of fill doesn’t affect geometry.
Ordinary Fill equalizes the power density across the entire engraved area, which is generally what you want for uniform results.
The speed variations in Offset Fill concentrate the laser power in the most complex areas, where the laser head must slow down to follow the path. That’s why it’s recommended only for relatively large, simple areas.
2313 Garfield-retur.lbrn2 (67.3 KB)
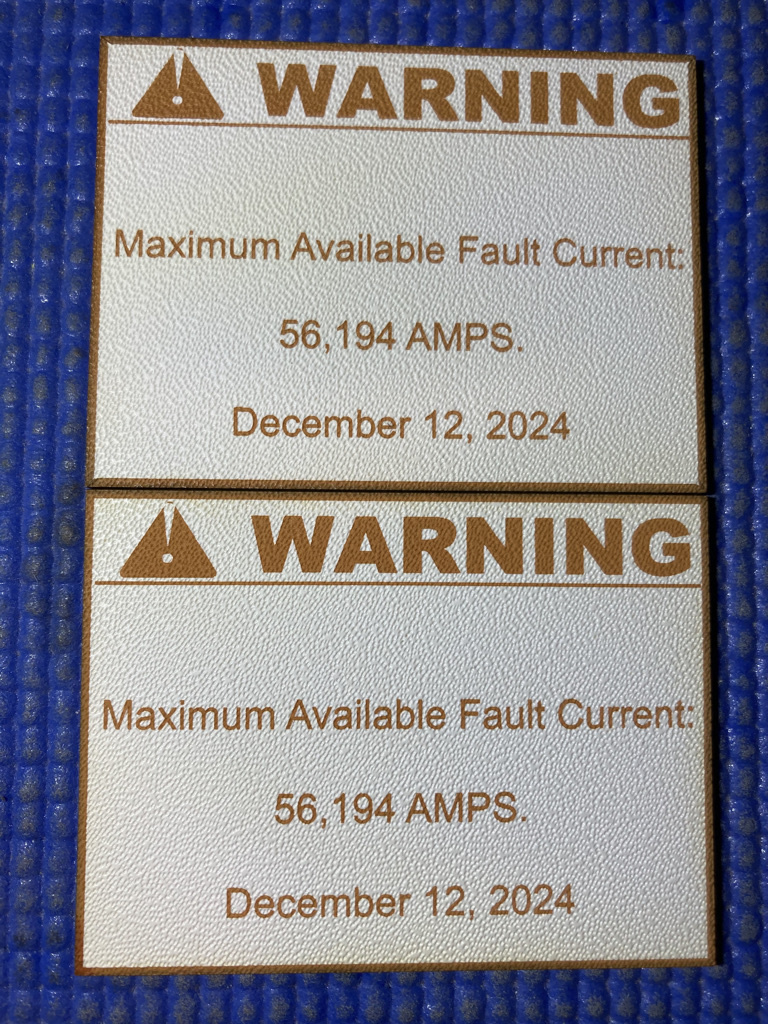
The top one is made with offset fill, the other with normal line.
I reduced the size by 25%, it just fit a leftover I found. It is a PP or PE based material that produces this effect when laser engraved, unfortunately only in this color.
ps the time savings are enormous, 1:49 min for line versus 5:18 with offset fill, so here, with so few errors in the edges, I will probably also choose offset fill.
mmmm, I should have converted it to negative… ![]()
The times for the converter version, 4:35 min and 7:59 min.
You could try building the “offset fill” into the file by offsetting manually, and then running it as a “Line” instead of “Offset Fill”. You have a 0.0625" wide border, so if you offset by 0.00625" and run in “Line” mode, it might be good enough. Or, manually create a 0.003125" offset. See file.
2313 Garfield_Filled_Offset_0.00625.lbrn2 (82.5 KB)
1 Like
When I ran it as Line instead of Offset Fill, I could still see red where the line didn’t burn. I had better results setting the border with Offset Fill, then changing it to Fill (same as the text), but it took a lot longer. I use Line to cut out the label after I engrave it. I never thought to use Line on lower power to create the border. I will have to play with settings, like a tighter Interval to see if I can make this work. I got enough information from you guys, I think I can practice until I find the right balance between results and speed.
Thank you all for your insight.
3 Likes
I’m always a little off kilter, but I’d suggest working on getting the proper interval.
Most of these, my 45W co2, for example, produces a spot size of ~0.20mm with a 2" lens.
Using intervals, such as your 0.02mm means the beam is going over the same area about 10 times, even the 0.05mm is covering the same area 4 times.
Doesn’t sound reasonable to me… just thought I’d mention it.
Keep in mind, if you halve the interval, you’ll cut processing time by half… might be beneficial in more than one way.
Good luck
![]()
1 Like
It seems to me that I played with the interval settings early on, and with a wider interval, I could still see color in the white. Perhaps, 0.02 is too tight, but I think that is what gave me the whitest letters.
Tomorrow, I will run a few tests with different intervals and see what works best.
You have to make those decisions. Sometimes you do cover the same area to get a certain type of results.
I see nothing wrong with the setup other than I question your choice of interval. You can make the beam wider by moving it out of it’s dof area…
Good luck
![]()
Jack, you were absolutely right. I ran some tests when I came in this morning. I ran just text at 0.03mm, 0.05mm, 0.06mm and 0.07mm and they all look good. It’s hard to see in the picture, but I can see some red in the 0.07 run, but the others are fine.
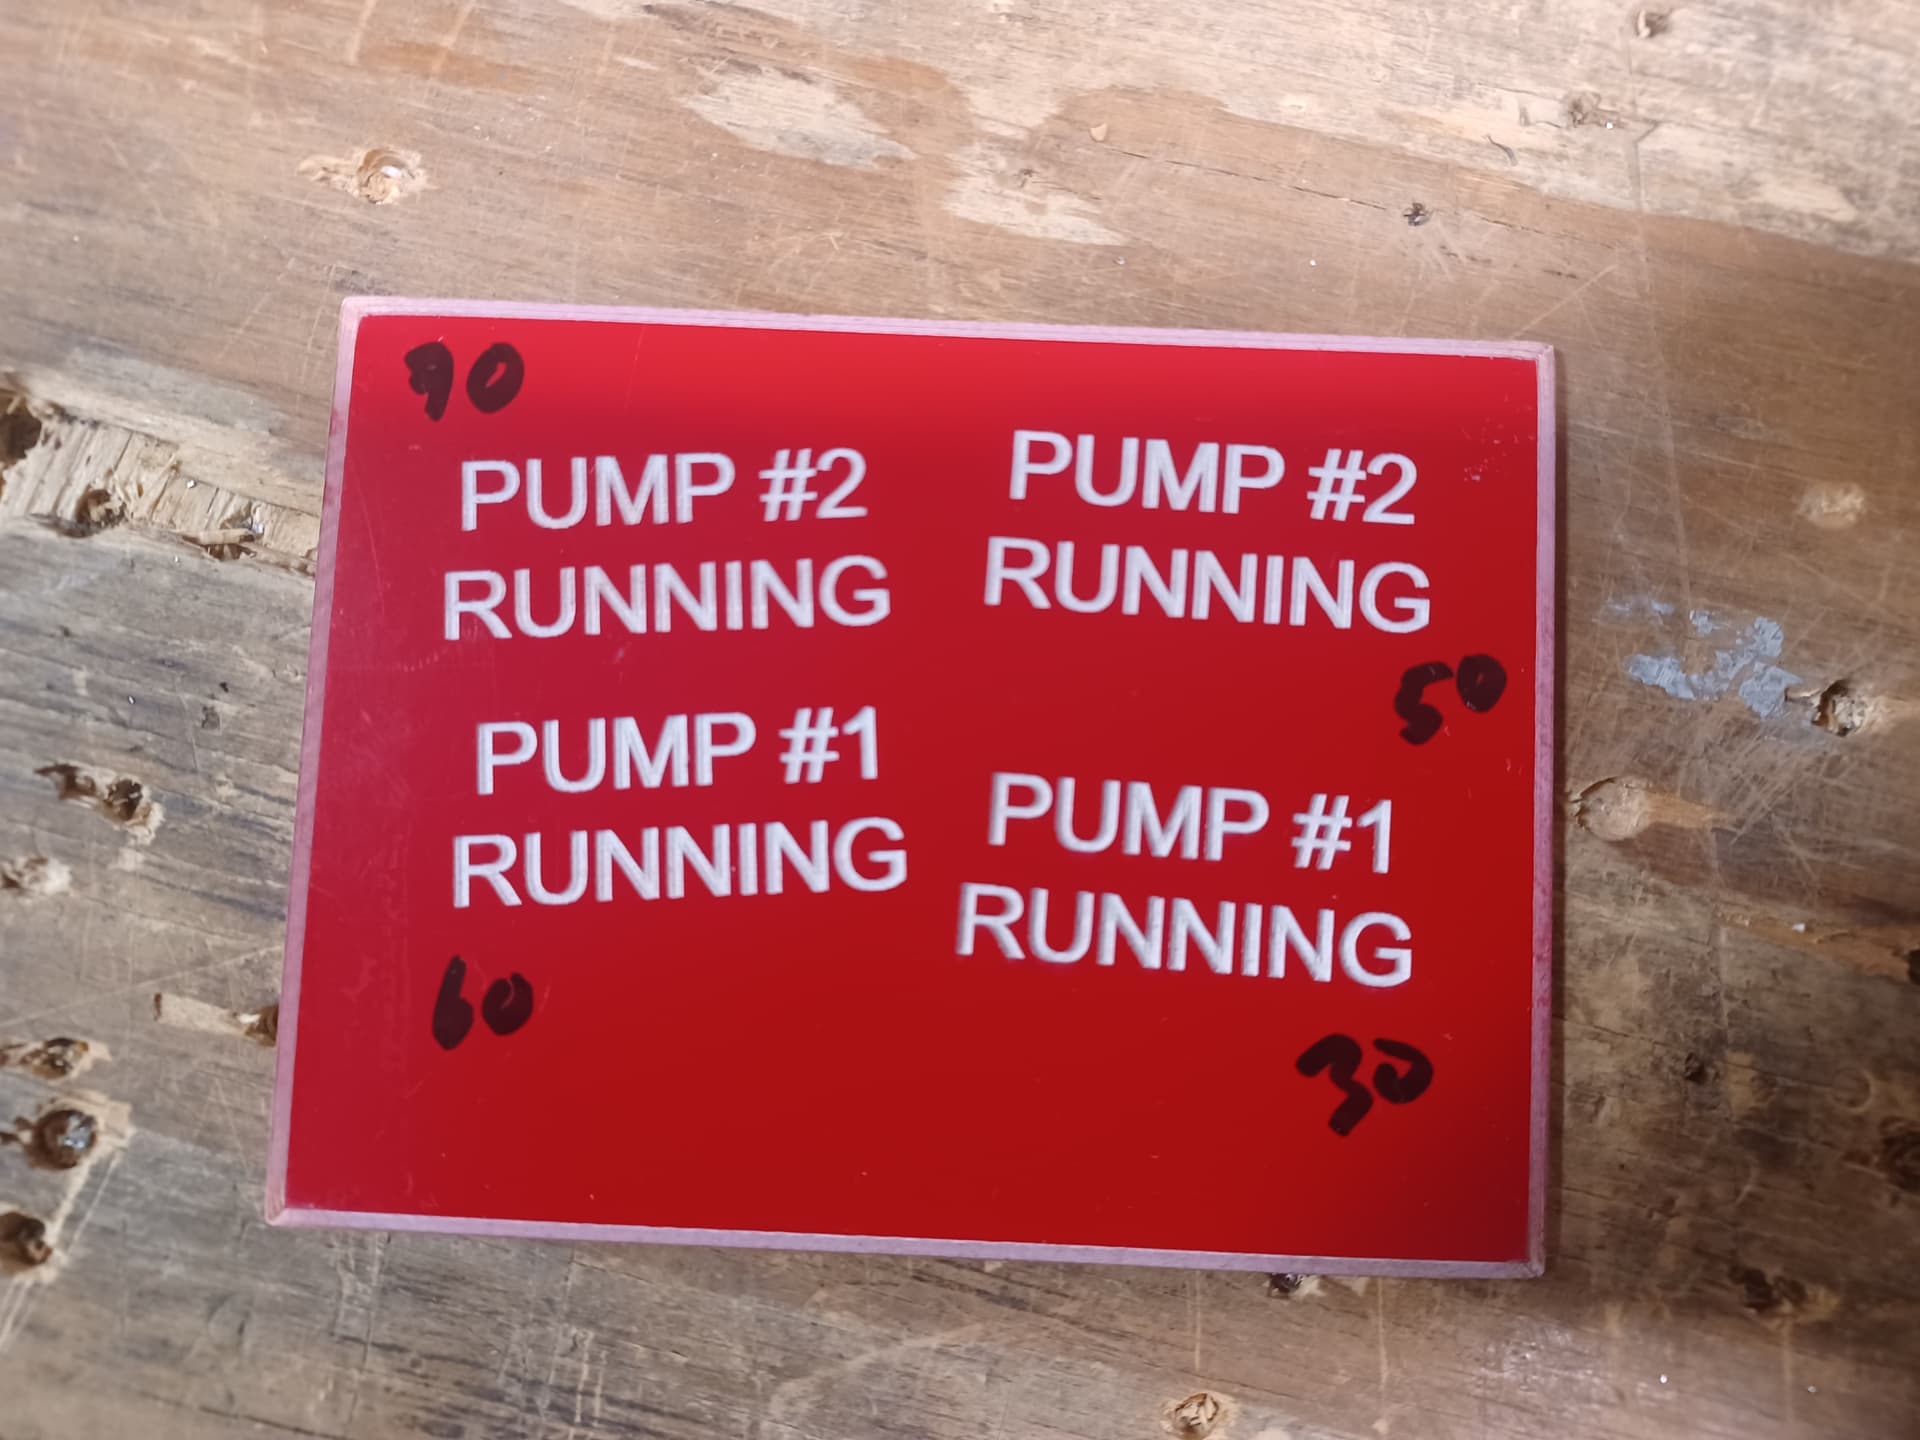
I then ran some full labels at 0.06mm and they were still pink
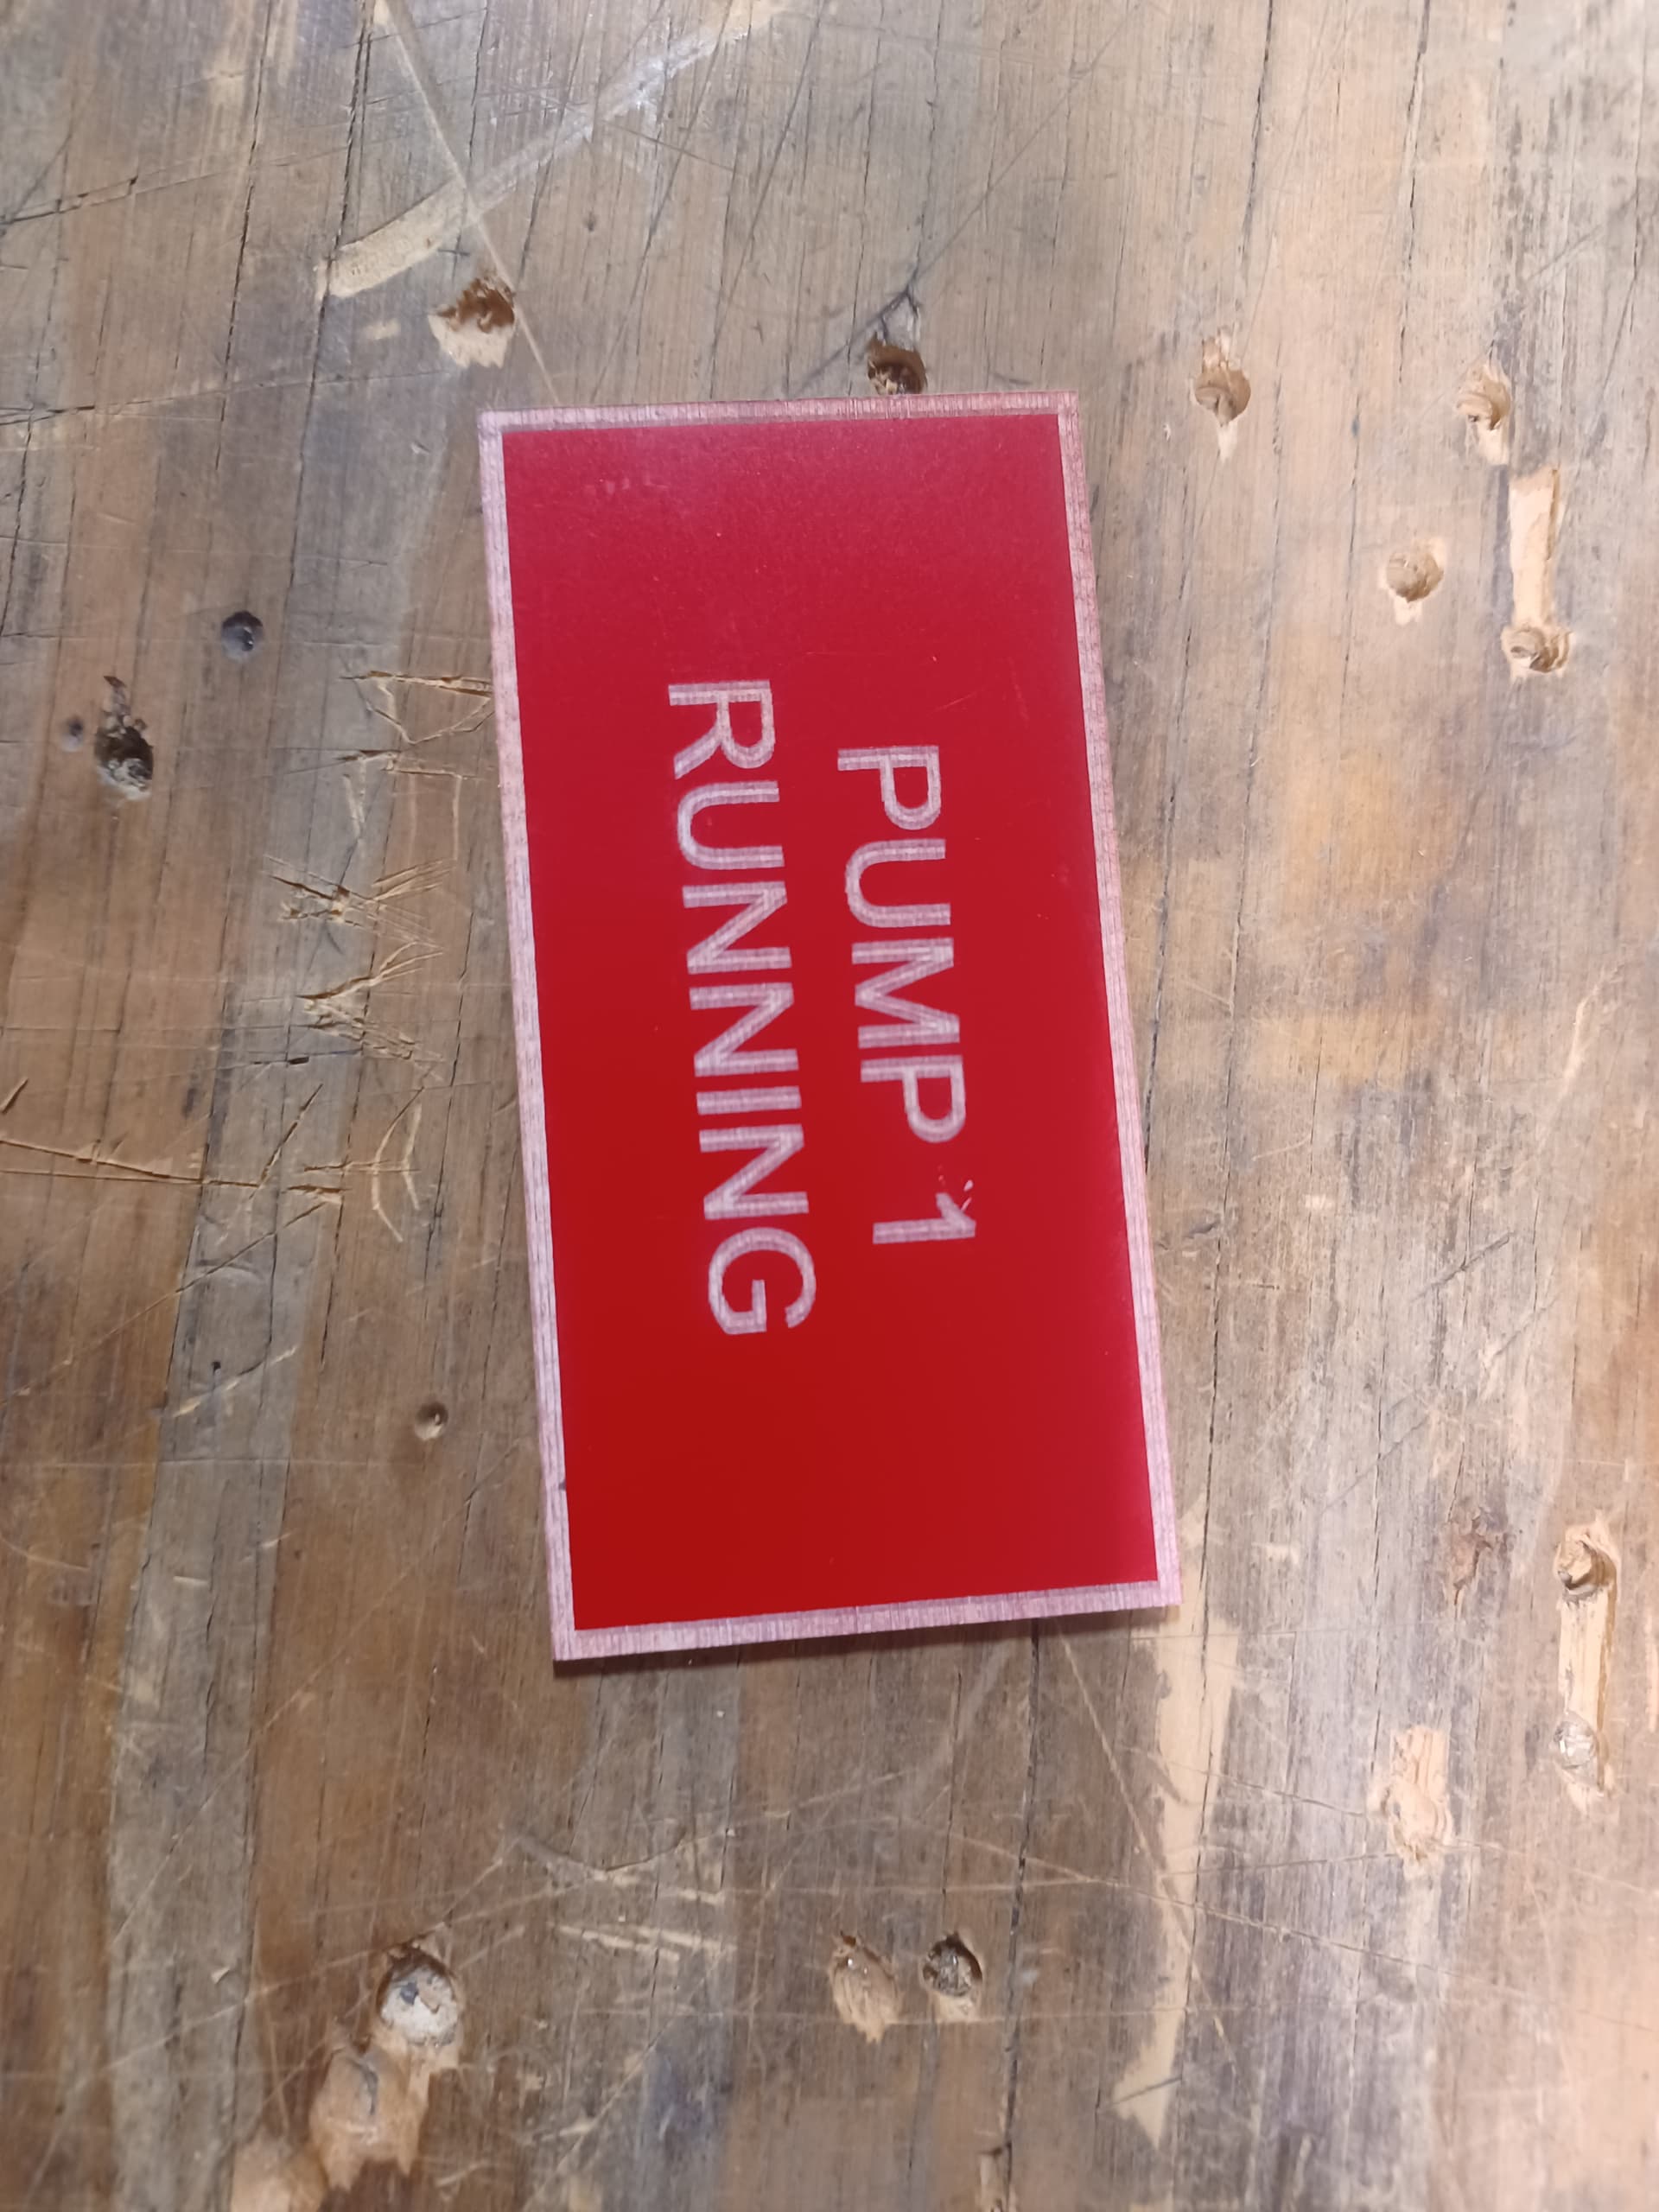
I ran another batch at 0.05mm and it was perfect. The letters are nice and bright white, no burnt corners. It took only like 6 minutes per label, which isn’t bad at all.

Thank you all again for your help. With all the information and insight I got from you all, this will change how I make labels from now on…for the better.
Merry Christmas!
2 Likes
Hey there. I didn’t see where anyone asked this, but are you using any kind of air assist? For things I engrave, without air assist I get some scorching at the edges (more so when the laser slows down to change directions), but with air assist they are clean. Keeps the material cooler and blows away the soot.
Just a thought.