Having my second machine for a while now (a Unique CNC ~130 / ~150 watt 900 x 600 Reci W6) I’ve finally decided to trim back the MYJG150W PSU appropriately to limit the output to the safe 28mA @ 100%.
Why did I wait? Well this is why:
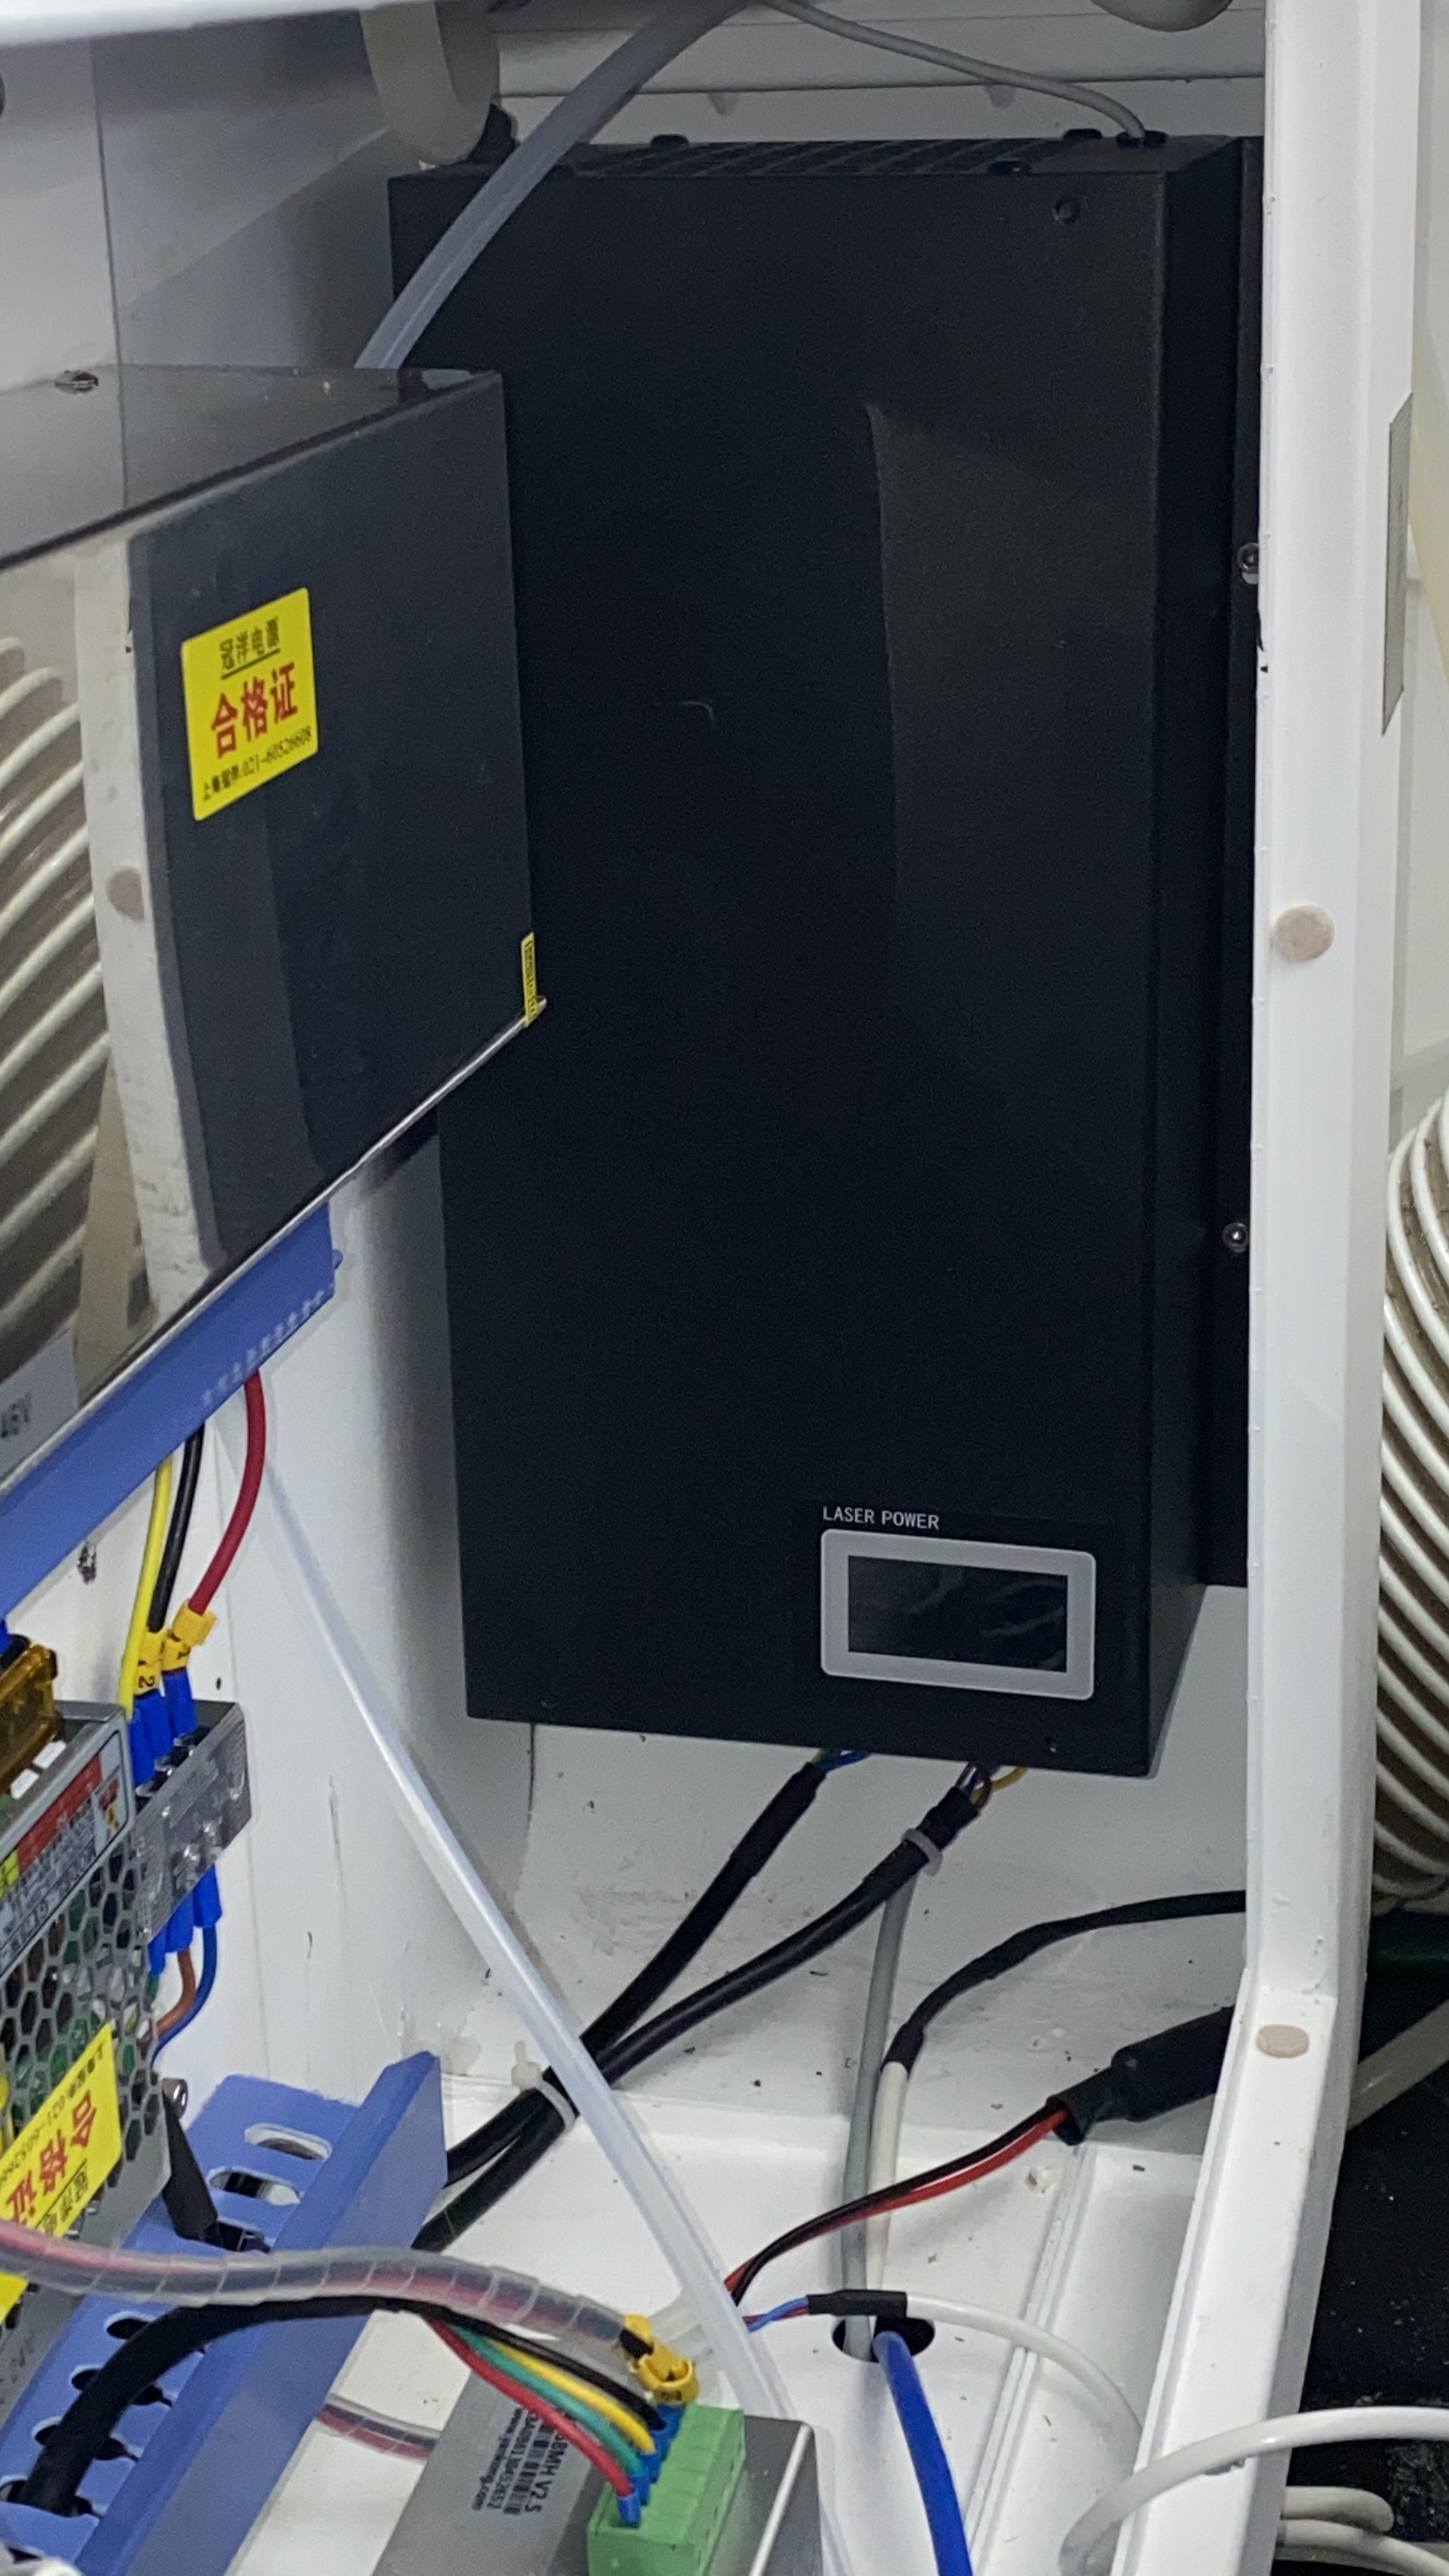
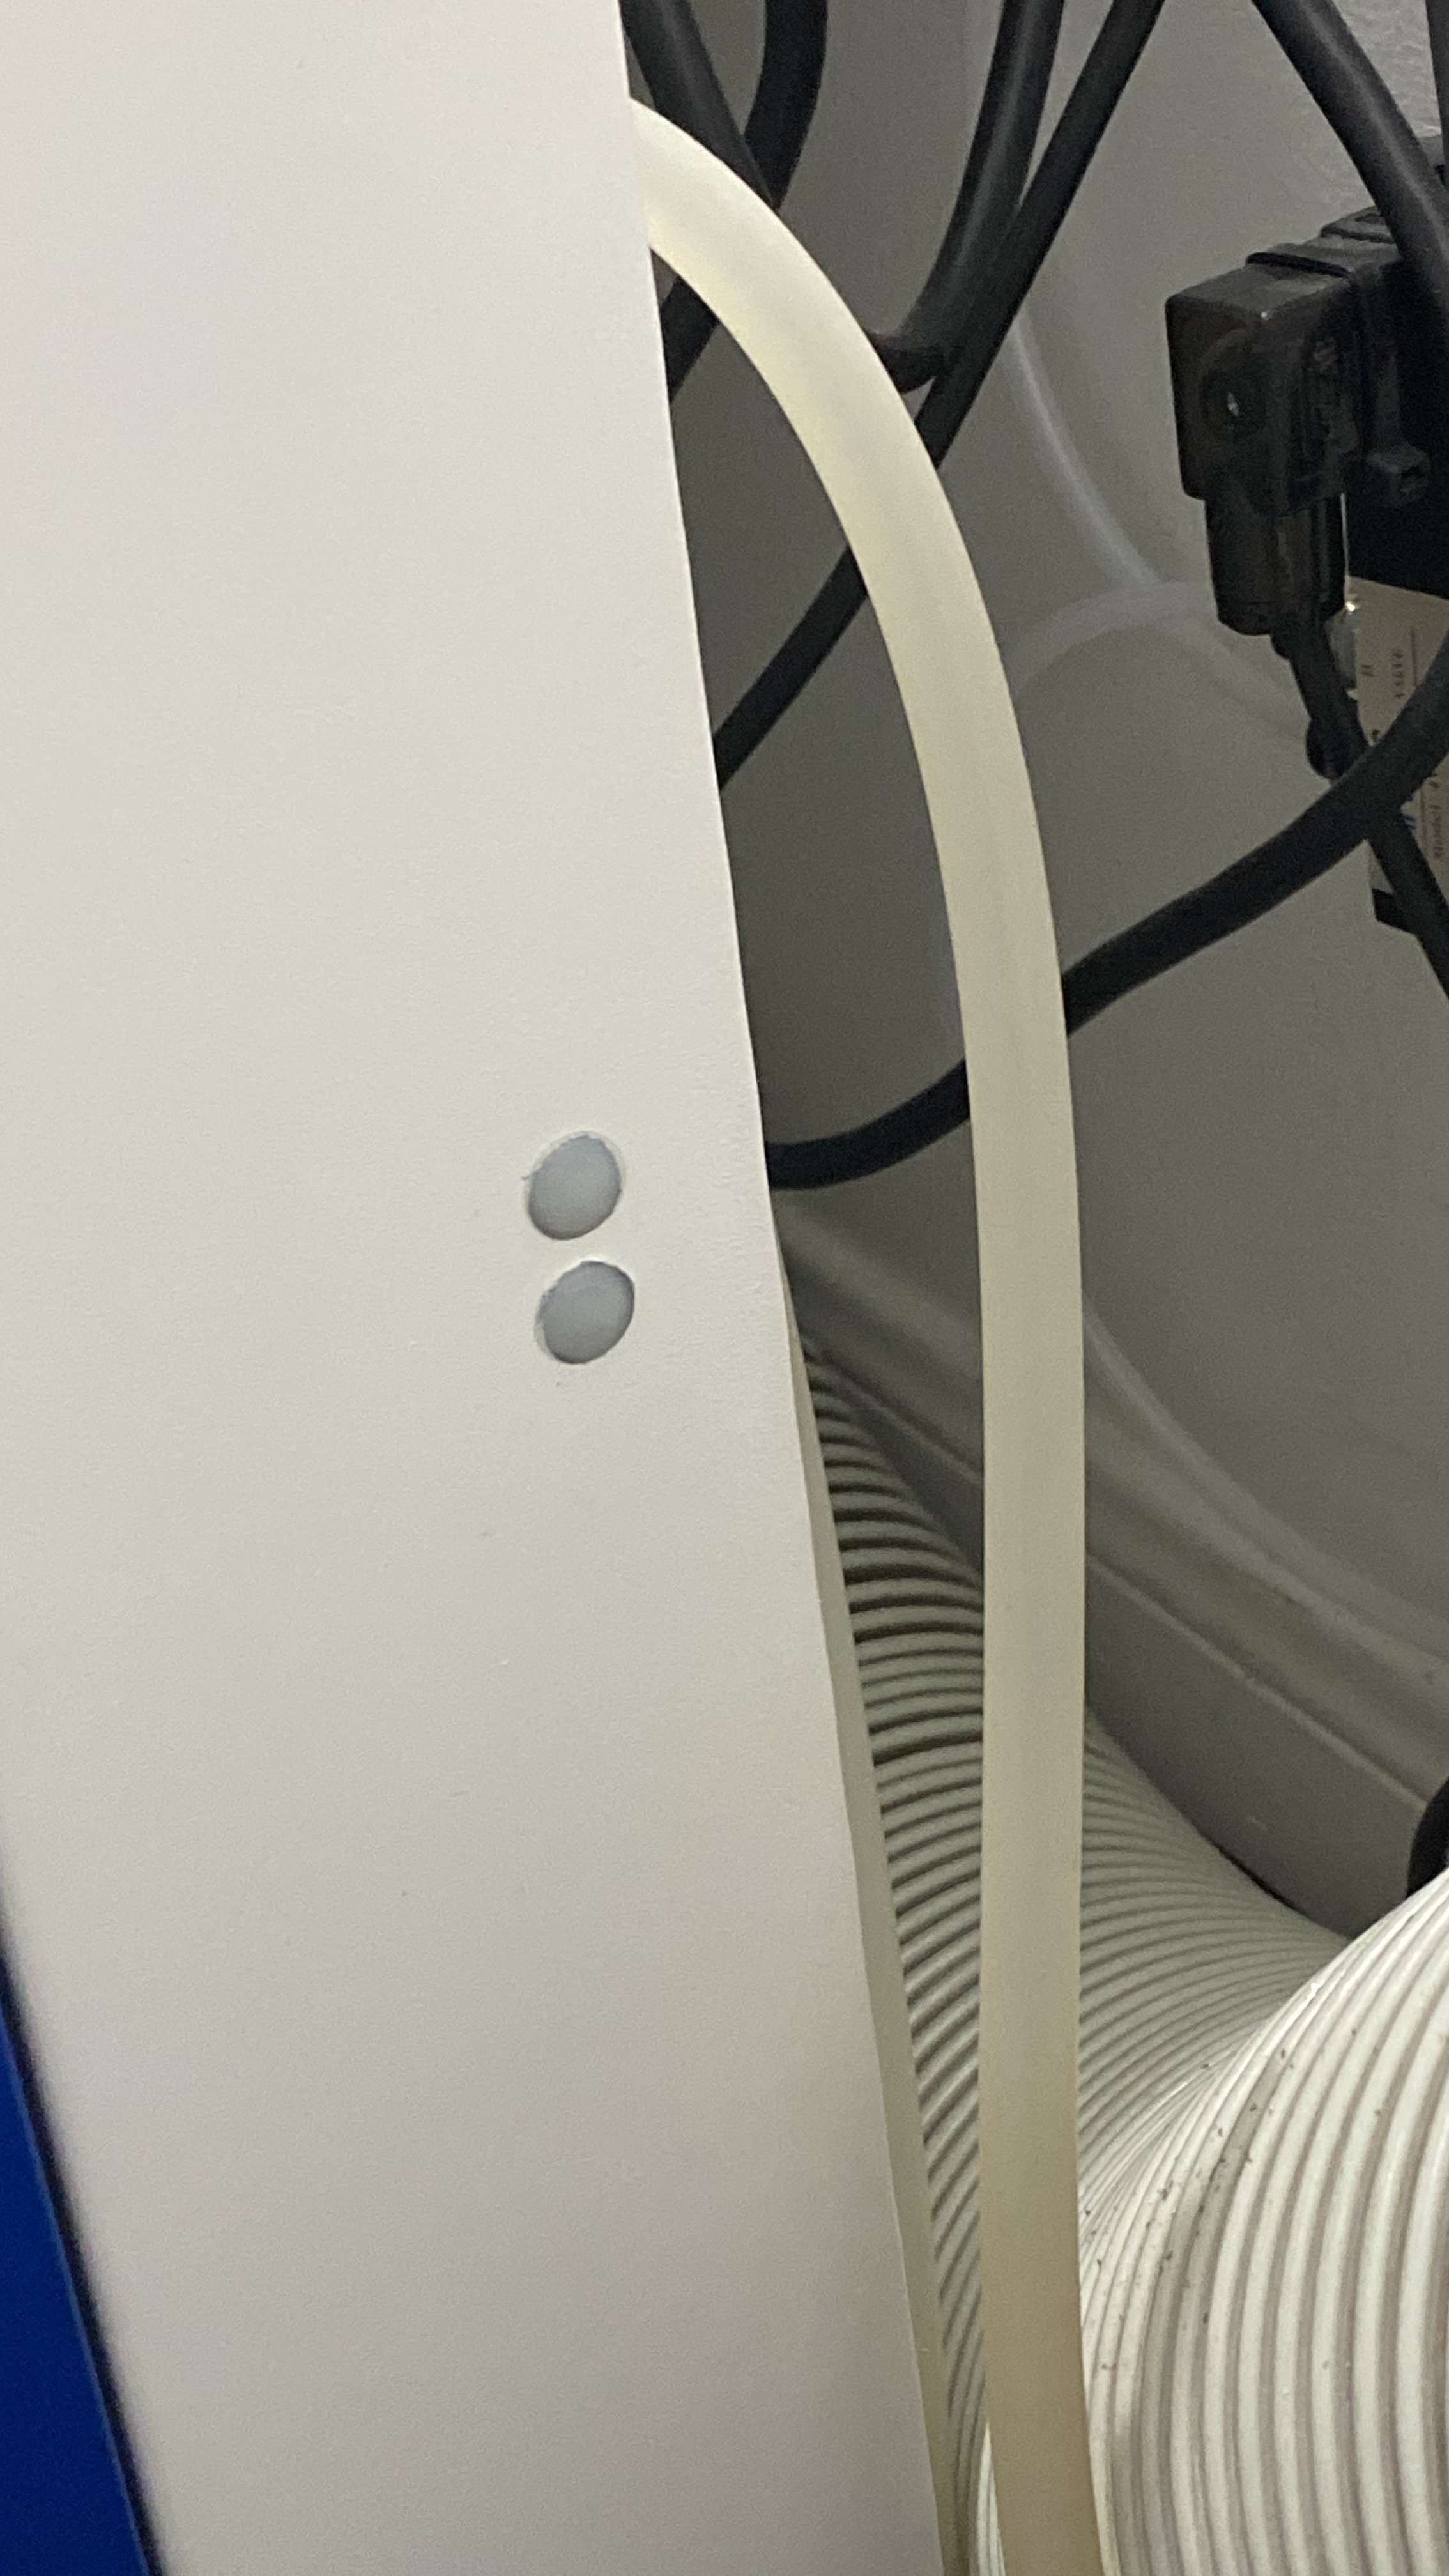
See, the pot is on the right side of the PSU, and there was no way of getting to it. I’ve been disciplined to keep my layers at 60% max which was producing 28mA.
But I felt it was time to set this properly and to do so, well, I decided to just drill a 3/8” access hole right into the side of the machine. And wouldn’t you know? Yes, in spite of my attempt to measure the height correctly, I was a little too high on hole #1, so two holes exist. And that piece of coro I was using to protect the PSU from the drill bit upon penetration? Well, that helped a little, but it looks like I should have used something a little stronger. 
Oh well, no harm other than slight cosmetic marring on the case of the PSU.
So here is what it looks like without the holes covered:
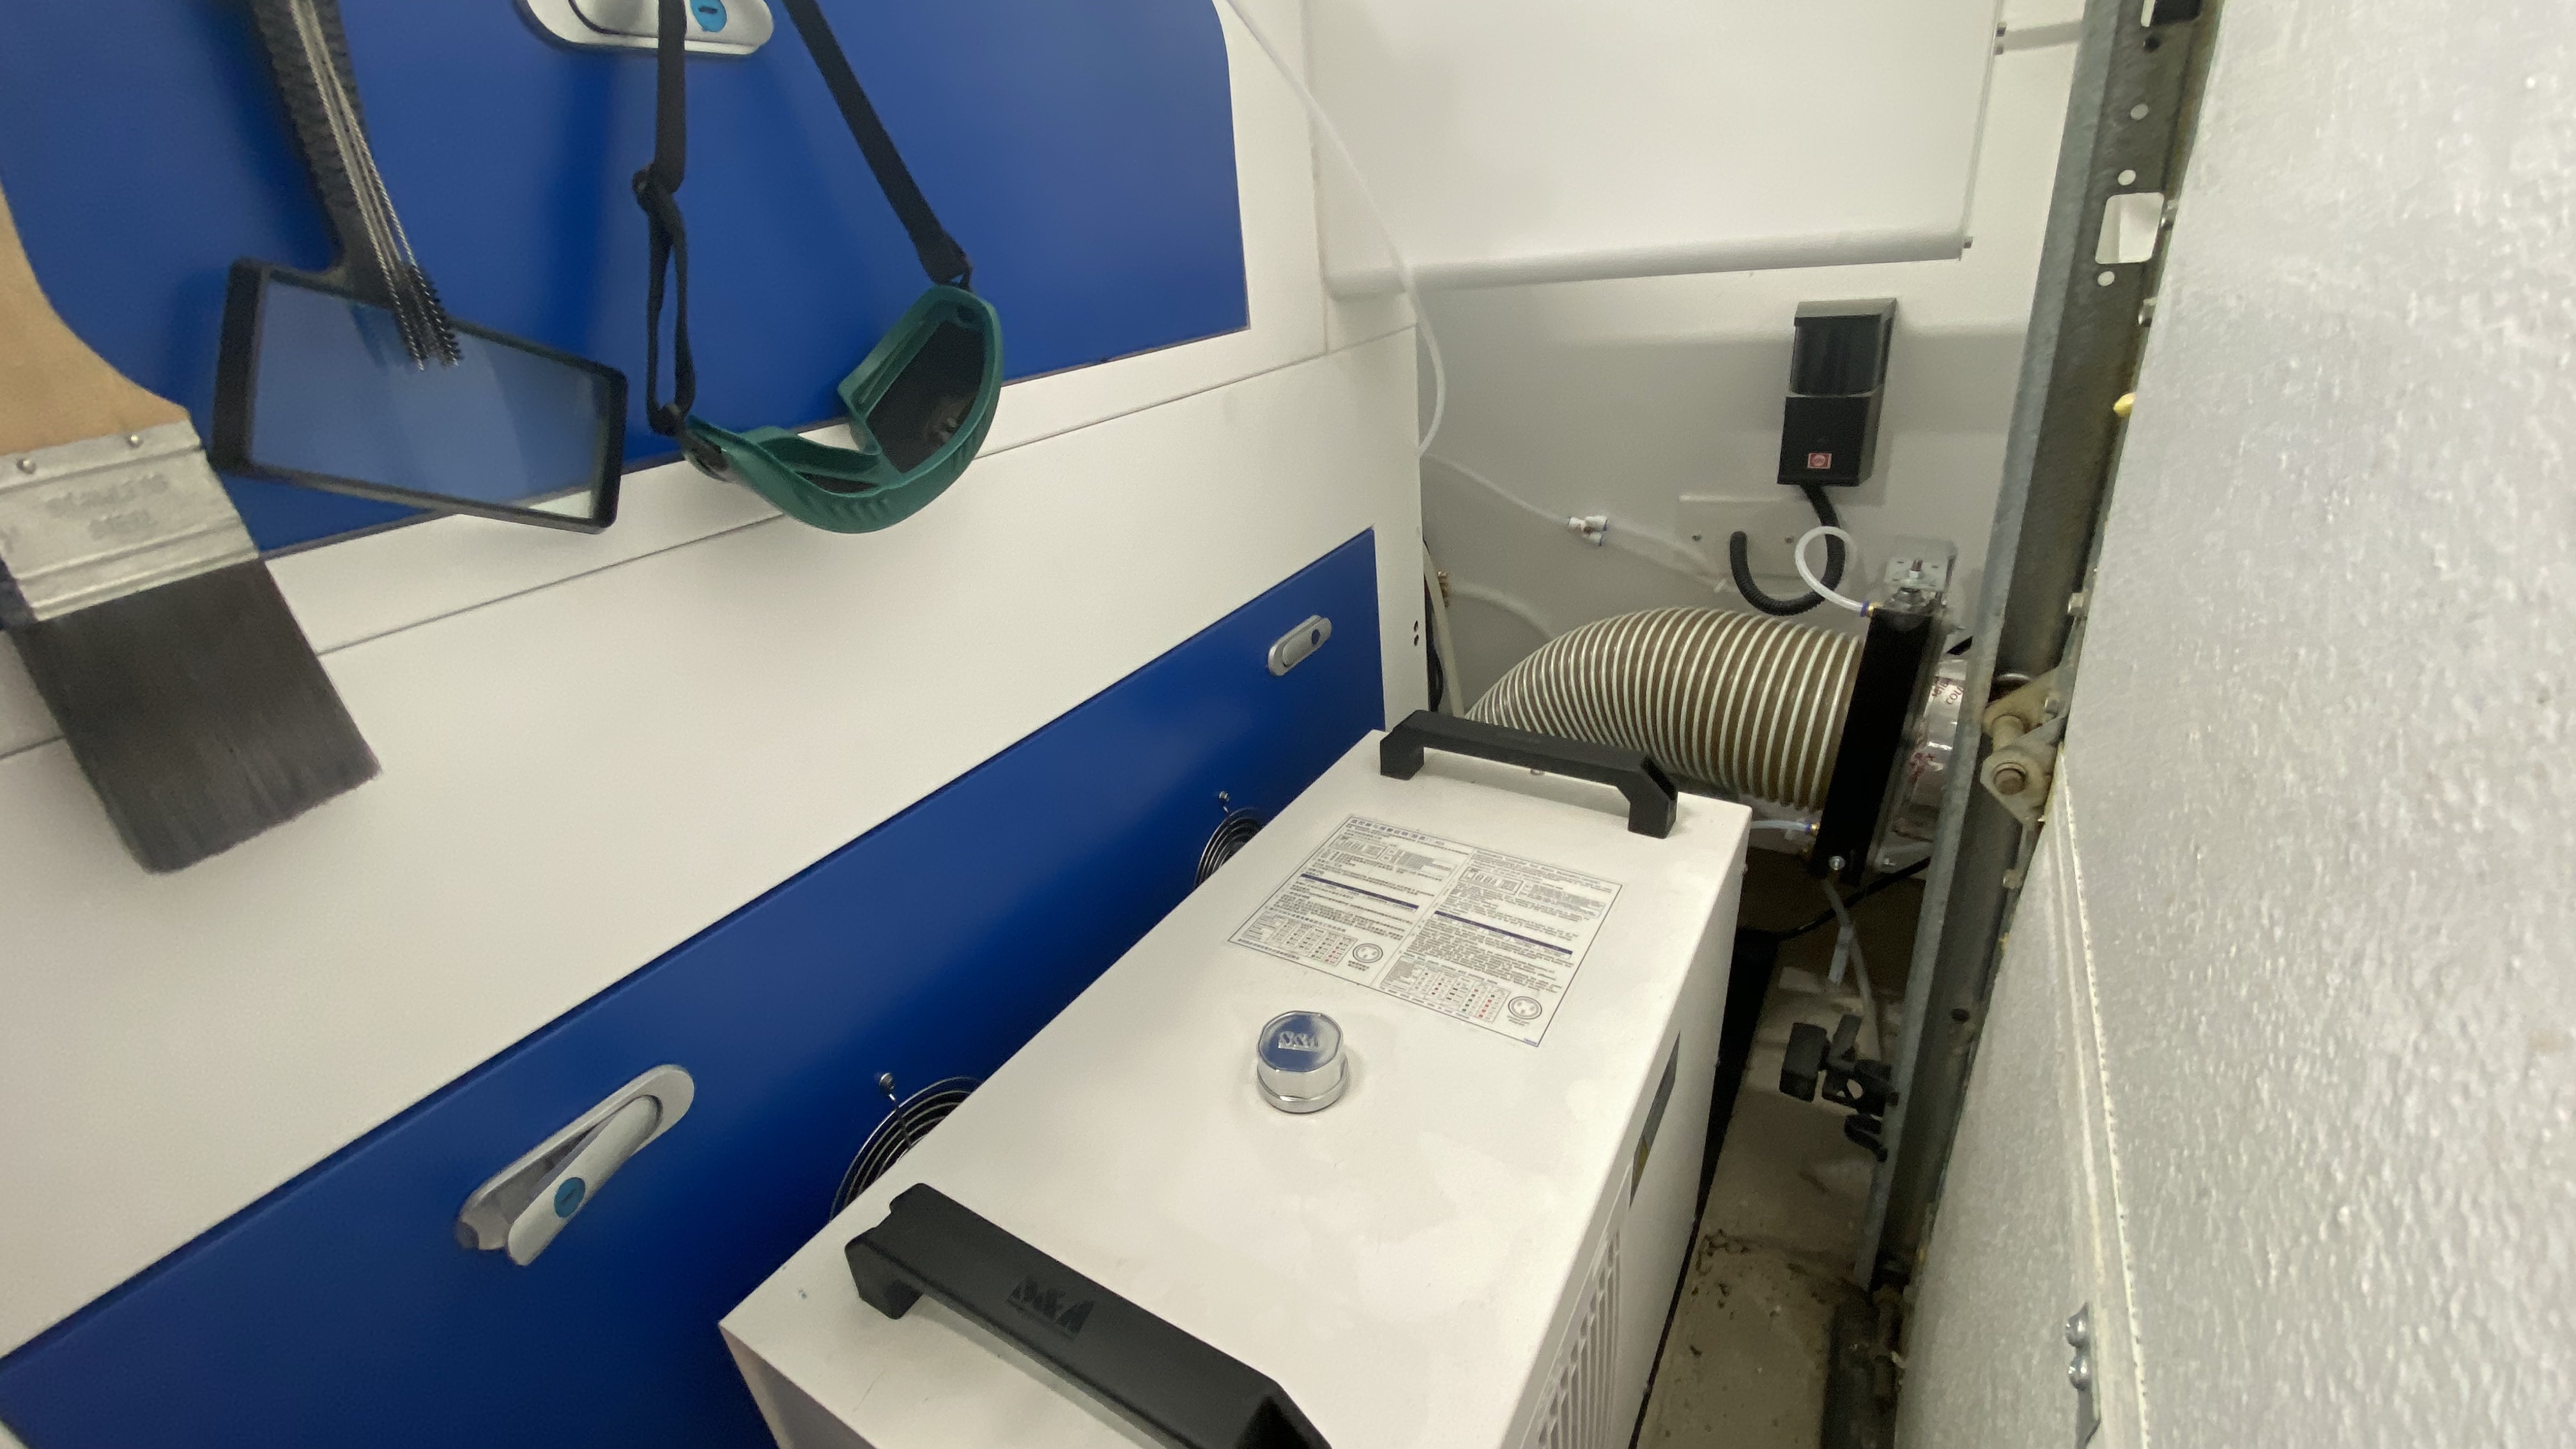
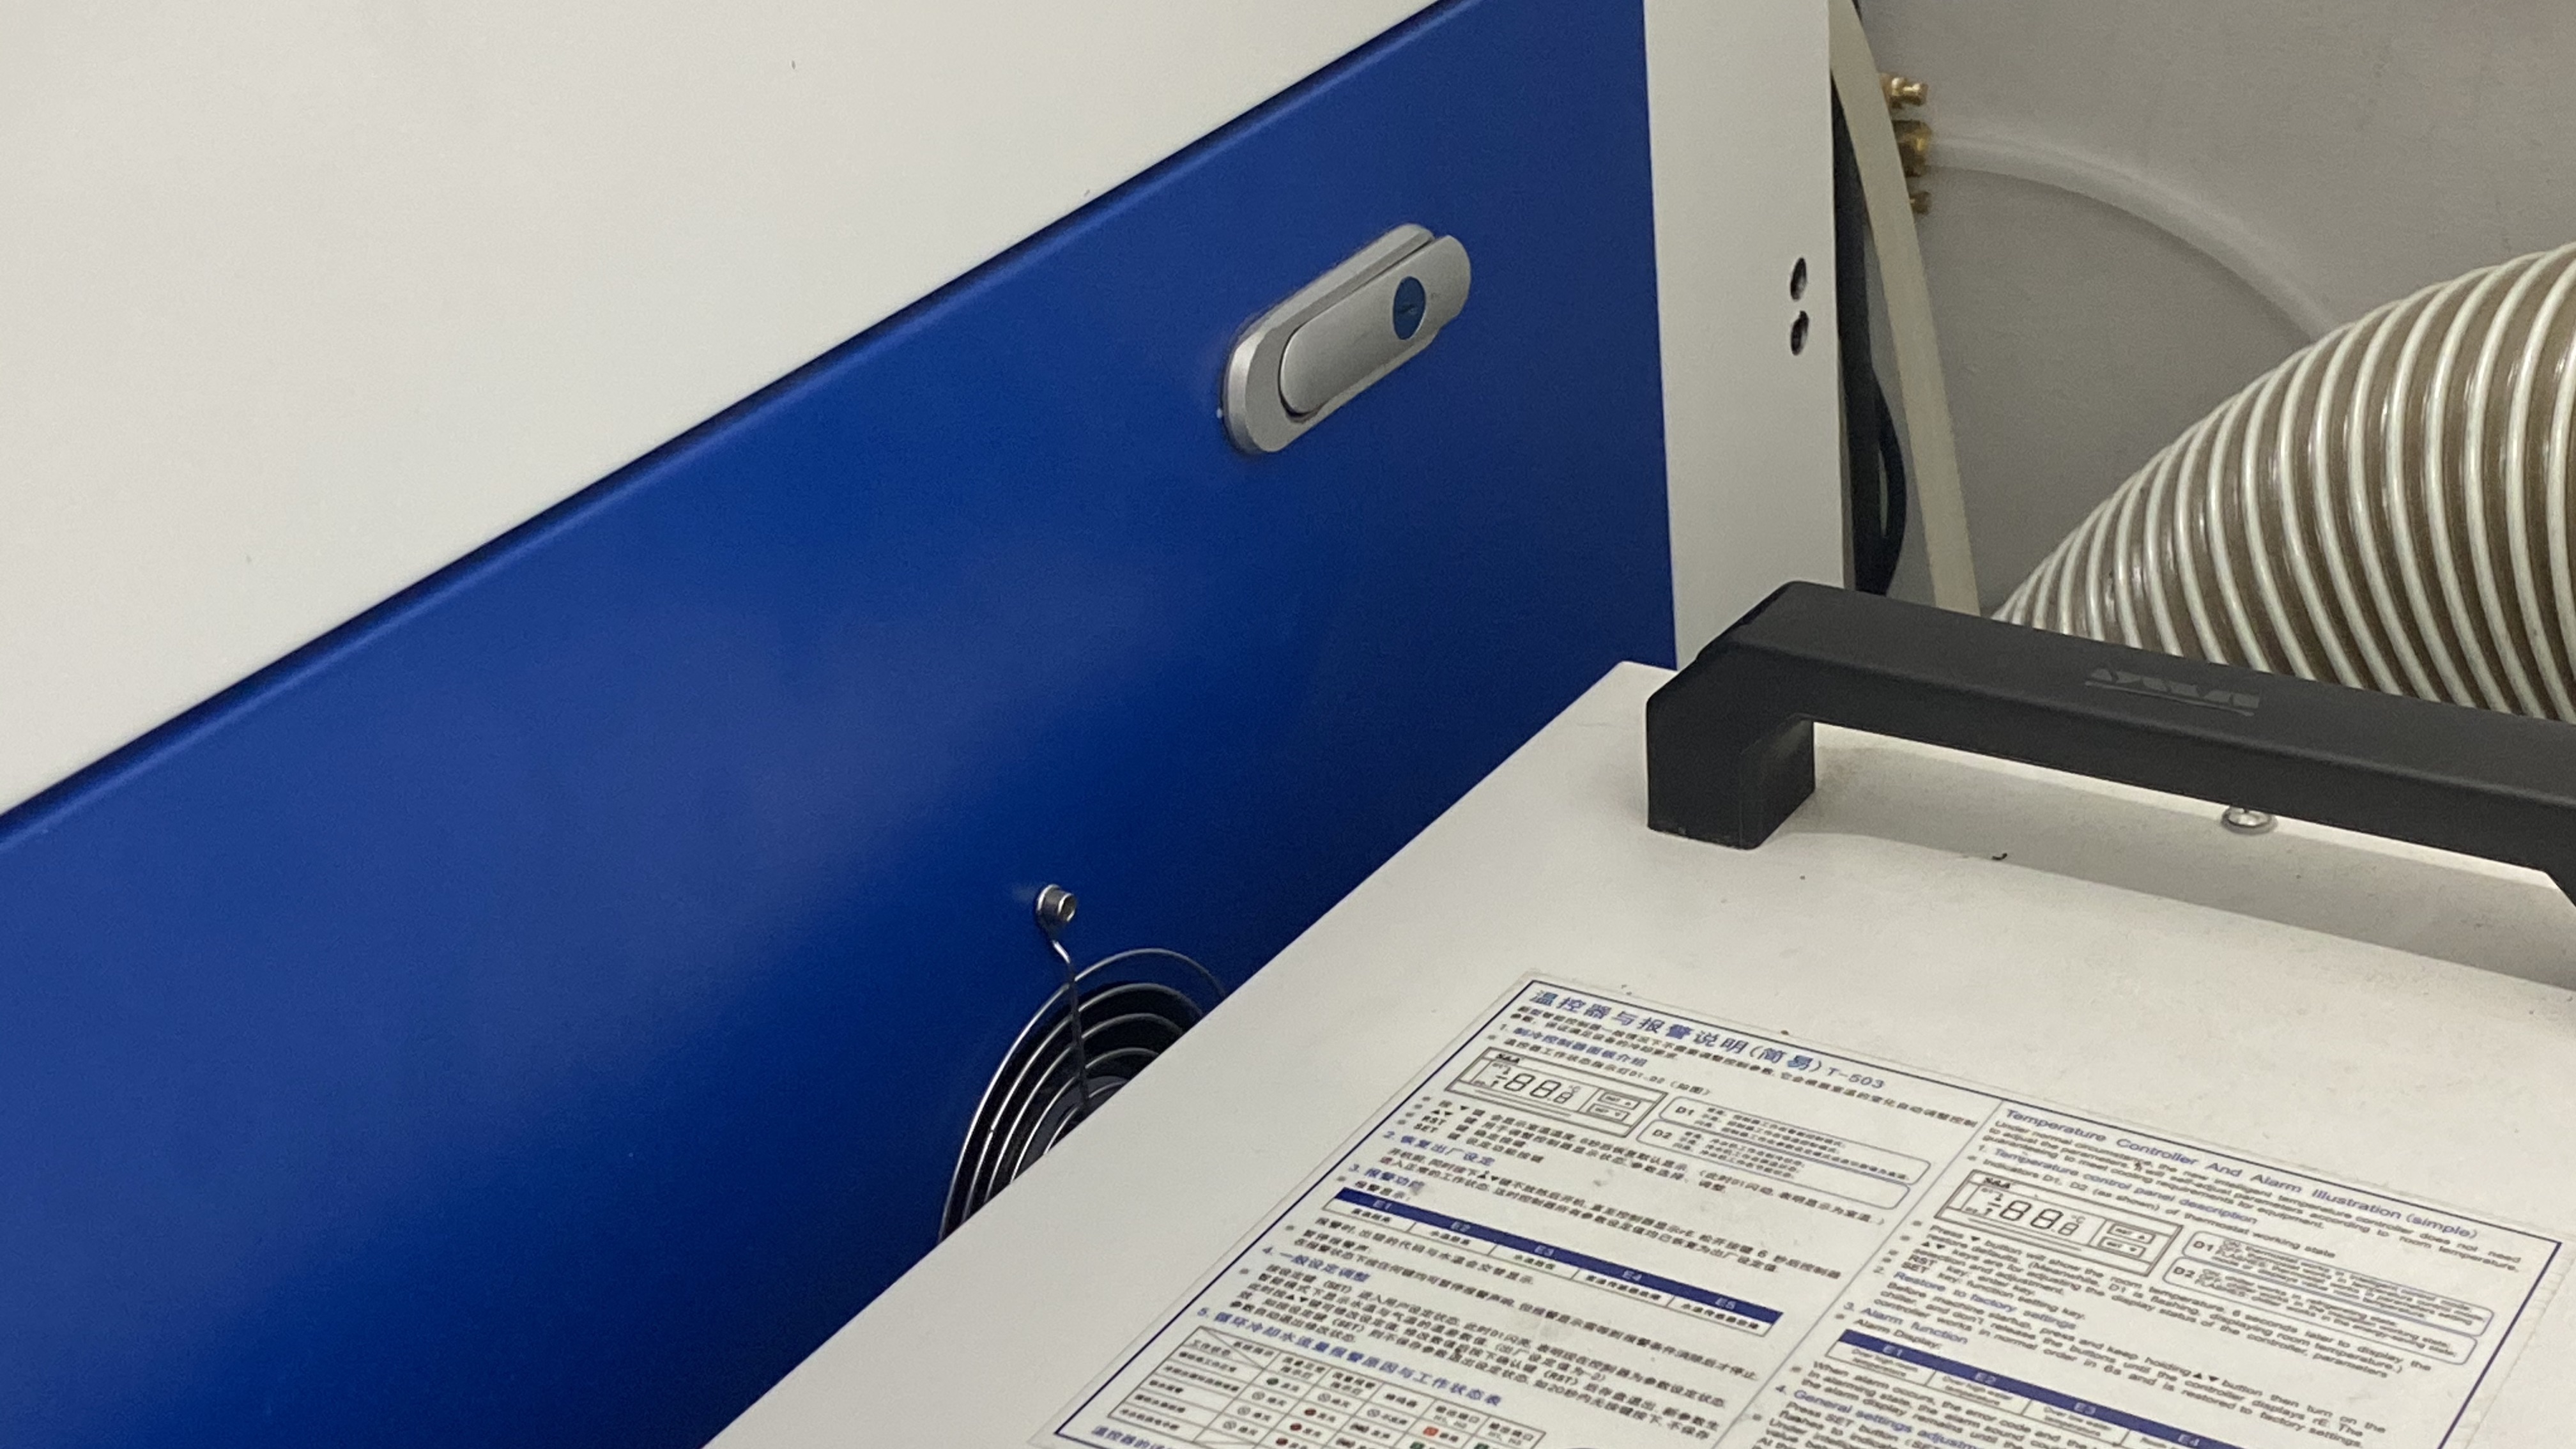
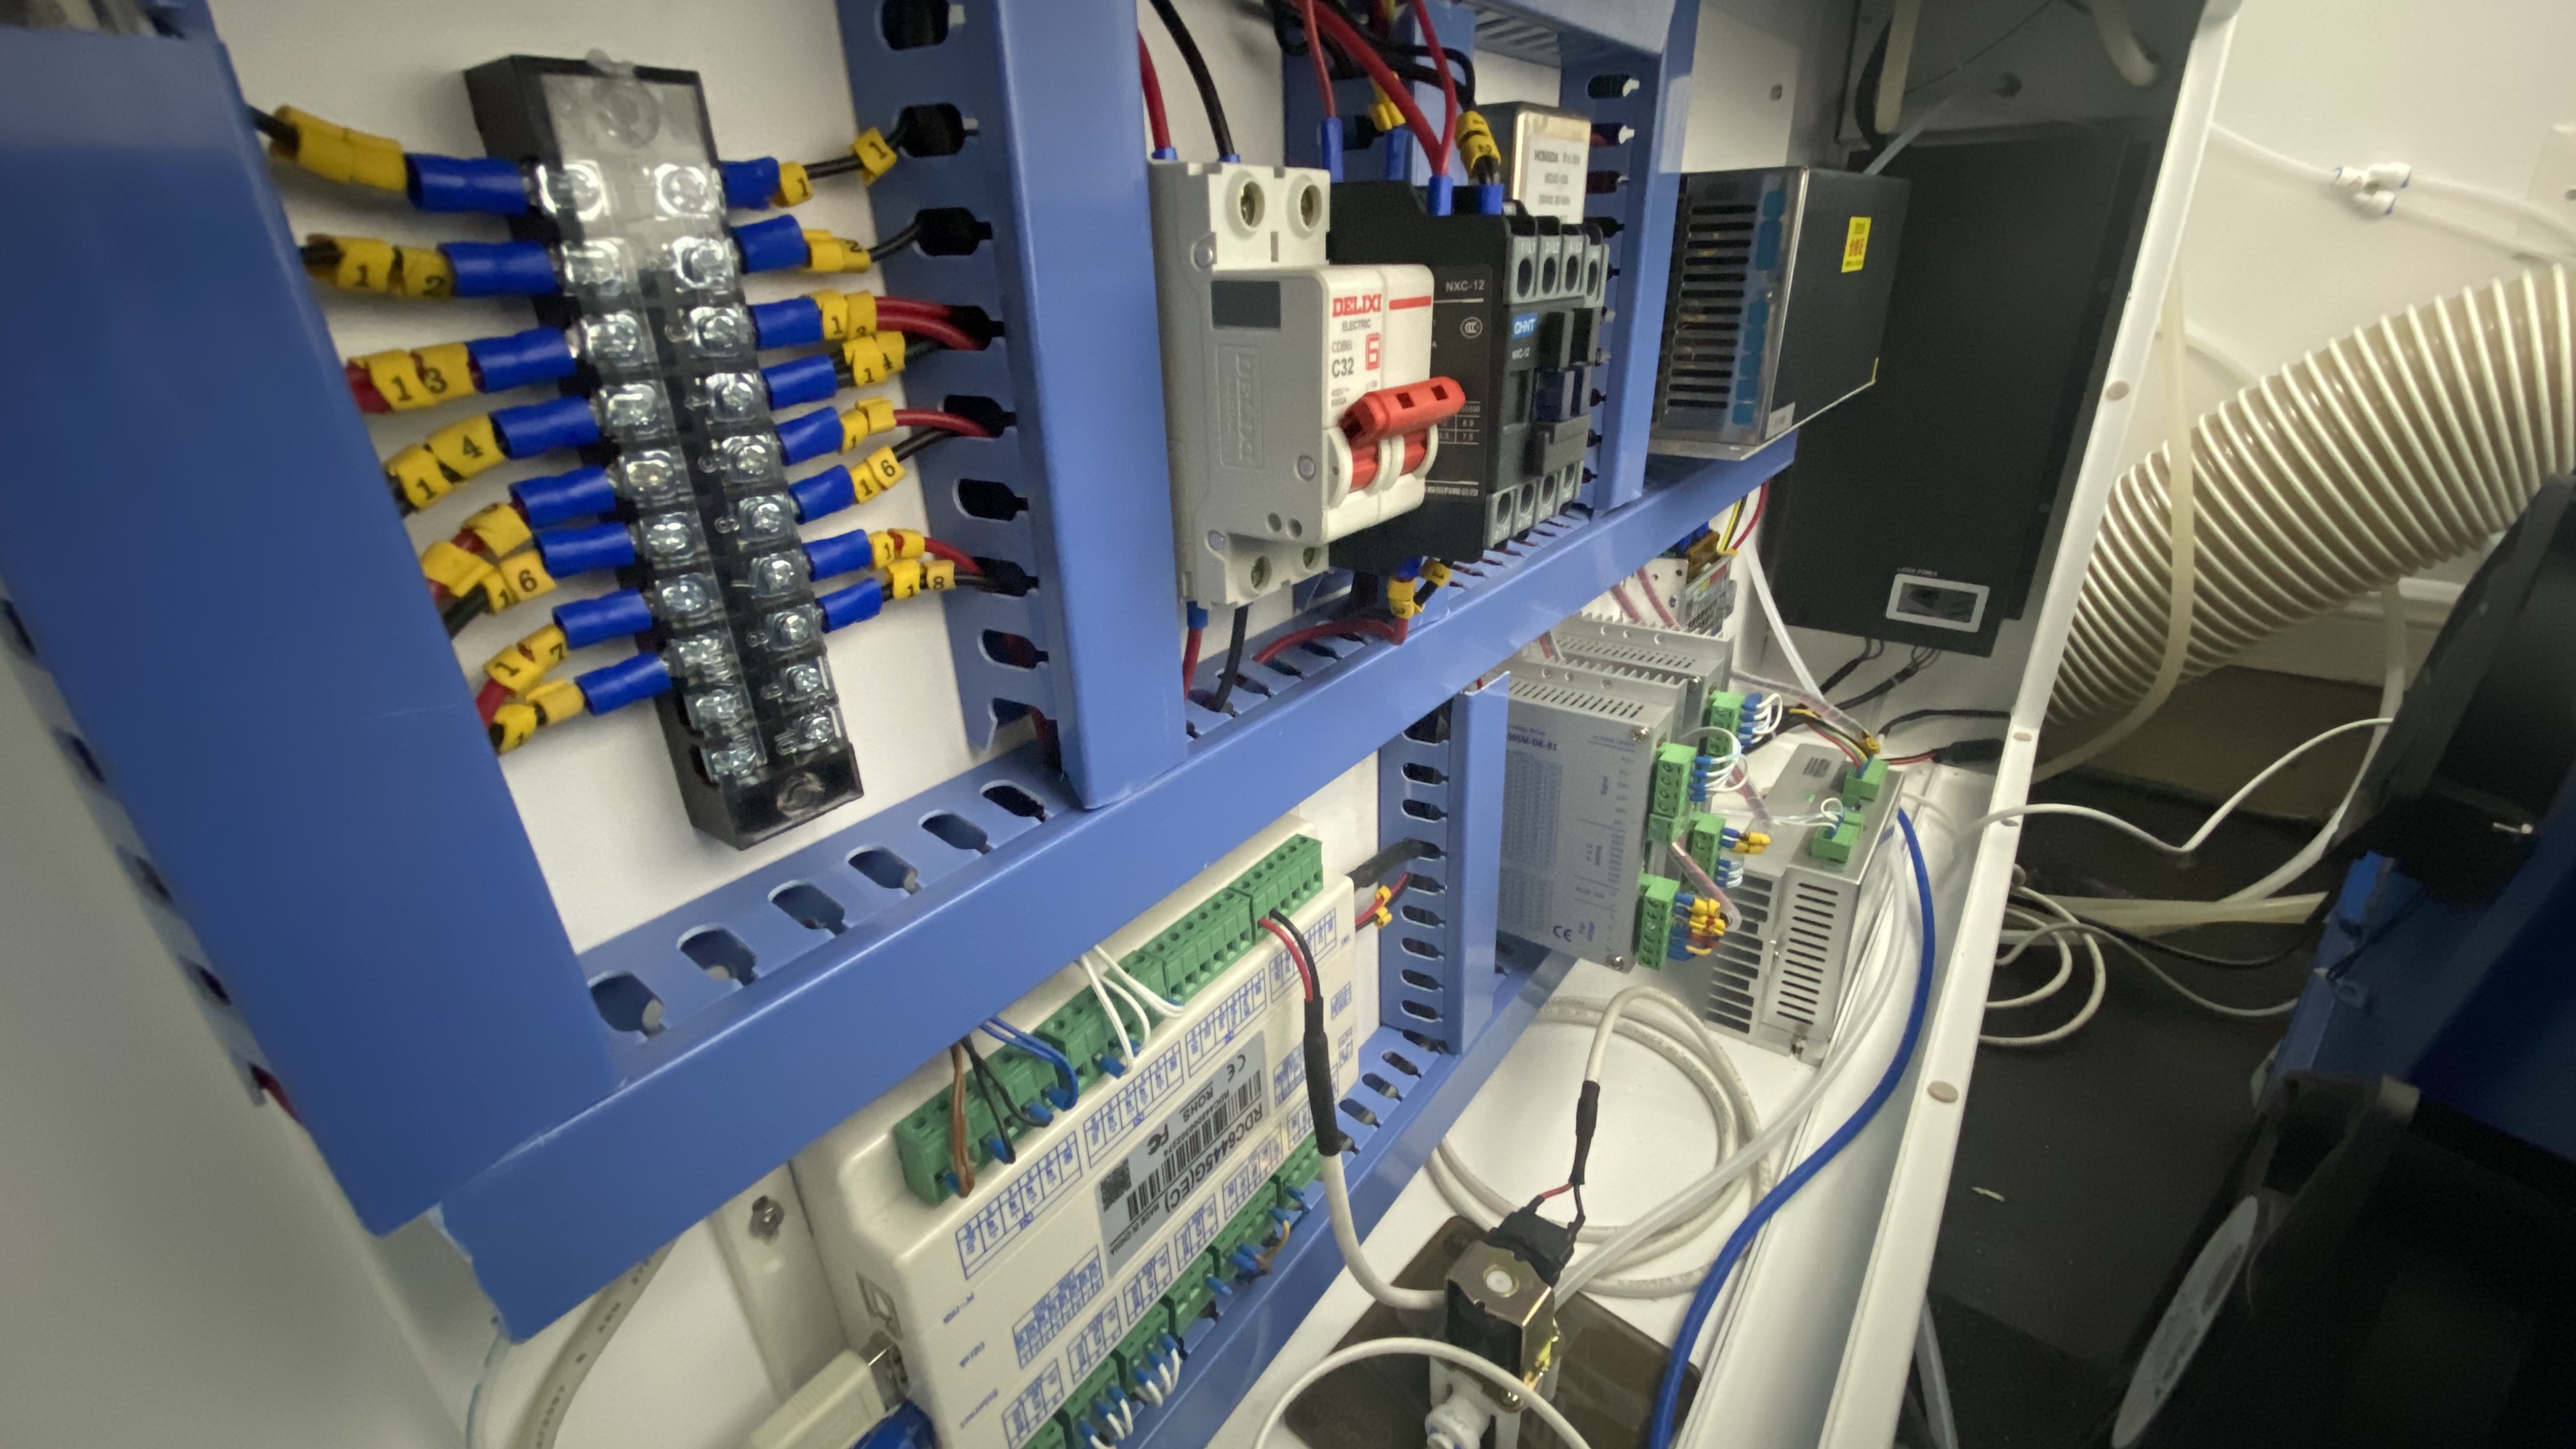
And through the correctly positioned lower hole, there lies that pesky pot:

And a small piece of gorilla tape to close it up:

And with that, after tuning the pot, 28mA @ 100% power setting on a layer.