I knew there had to be a way, its a work around that works

I knew there had to be a way

Starting with an easy shape is a great idea to familiarize yourself with the process. I run both programs at the same time, it works for me

  • Establish the Home Position: Set the home position in LightBurn at the top left of the 9 dots, similar to Creative Space.

image

  • Position the Work: Use the camera in Creative Space to position your work.

  • Note the Coordinates: Record the X and Y coordinates for all pieces.

  • Save Your Work: Save your work as an SVG file in a specific folder for easy access.

  • Import the SVG File: Open LightBurn and import the saved SVG file.

  • Enter the Coordinates: Input the X and Y coordinates from Creative Space.

  • Set the Parameters: Check and adjust your power, speed, and other settings.

  • Start the Process: Press the Start button.
    Test cut squares once with each program and they match up ok
    image

You do not provide any context. What did you want to achieve? The process looks more difficult than it has to be, but I’m not sure what your goal is. Add your laser model and type explicitly, for example, setting the origin to top-left is incorrect for most diode lasers and such the guide does not apply.

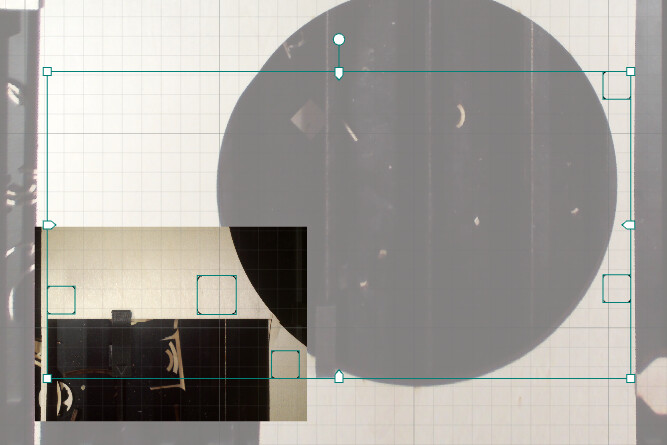
Oops I forgot, It’s about a way to use the Xtool P2 co2 Lasers camera I knew there had to be a way to be able to use the Camera with lightburn, I’ve seen some complain that they can’t position there work very easy, this way is very fast for me

PS Thid is all new to me

Starting with an easy shape is a great idea to familiarize yourself with the process. I run both programs at the same time, it works for me

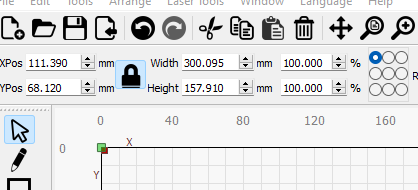
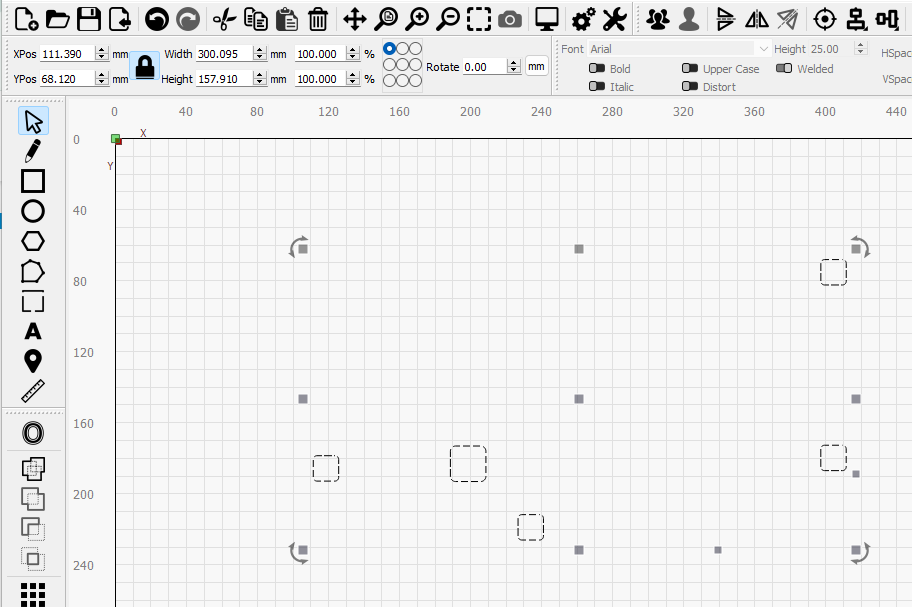
AS for the Home 9 dots Mine was on the center dot, so I moved to the upper right

  • Establish the Home Position: Set the home position in LightBurn at the top left of the 9 dots, similar to Creative Space.

This topic was automatically closed 30 days after the last reply. New replies are no longer allowed.