Hello, I would like to separate the pieces of a kids car track to fit my bed area. I have tried the cut tool but when I cut the piece I want to separate it disappears. It fits together like a puzzle piece. If anyone has a video or can explain what I need to do it is greatly appreciated.
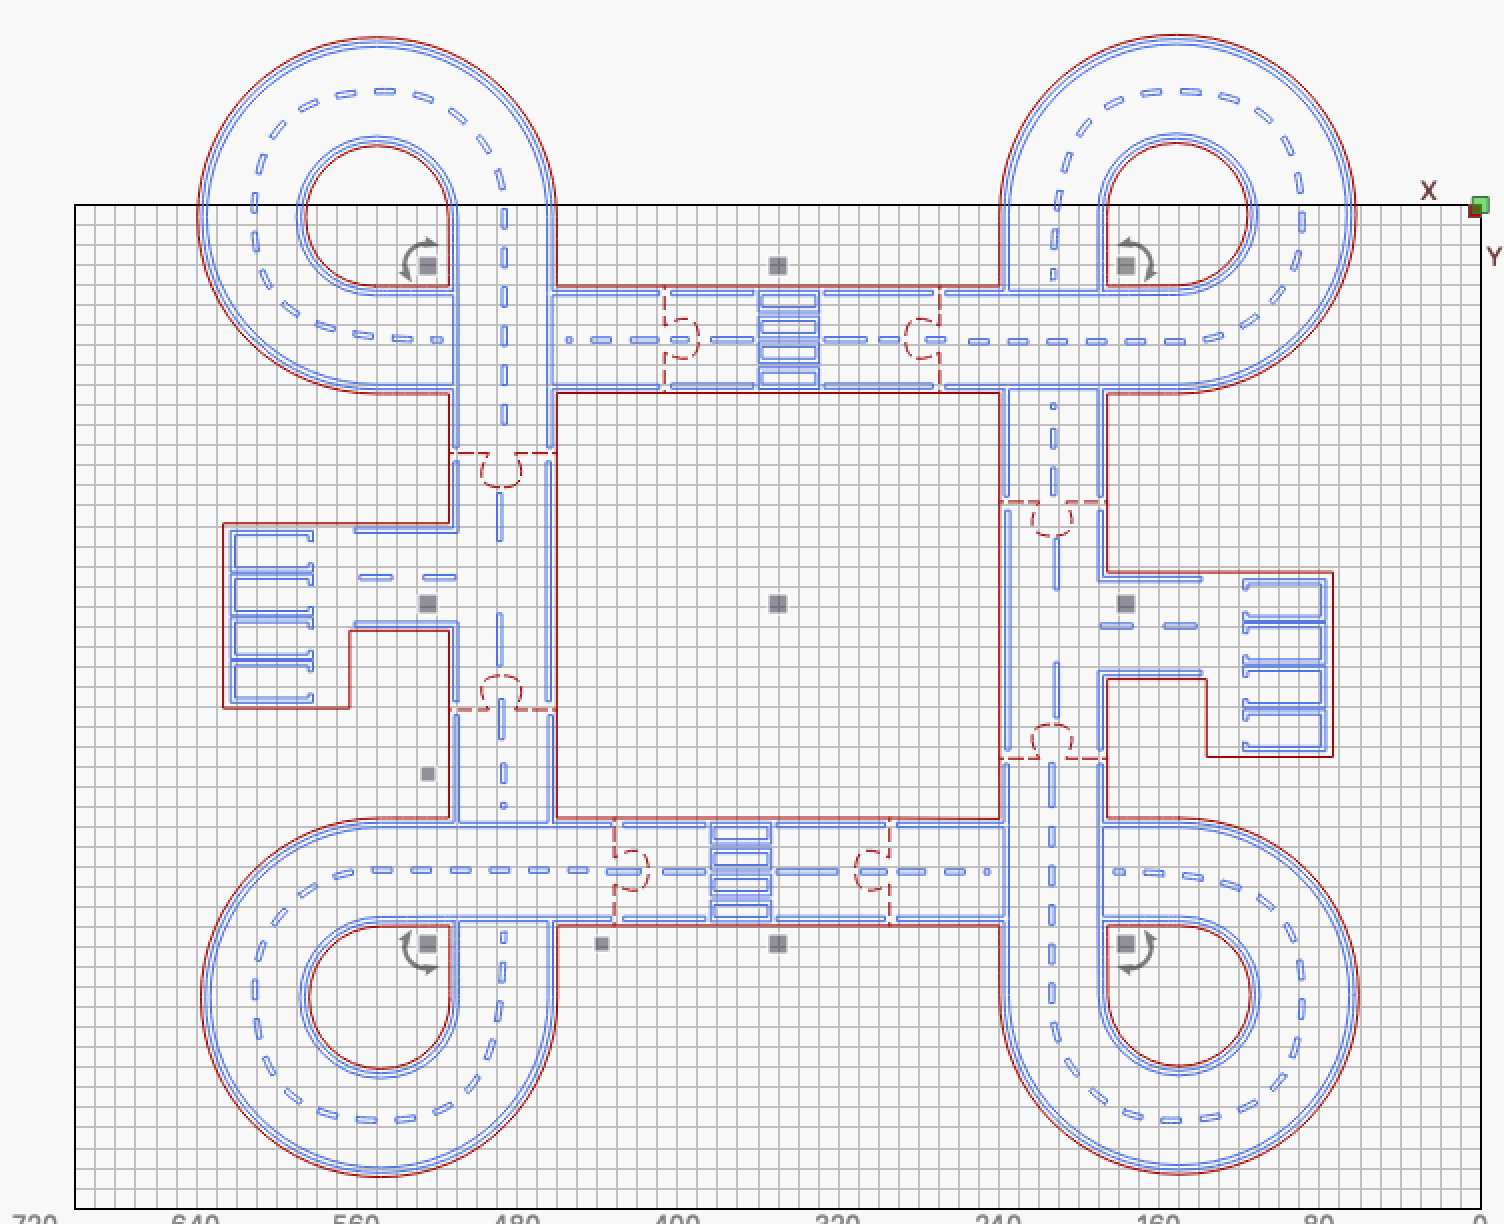
I’ll walk you through it. First, select all of the red cross pieces (shift click each one). Once they’re all selected duplicate them (Ctrl + D) and place them on a different layer, hide that layer.
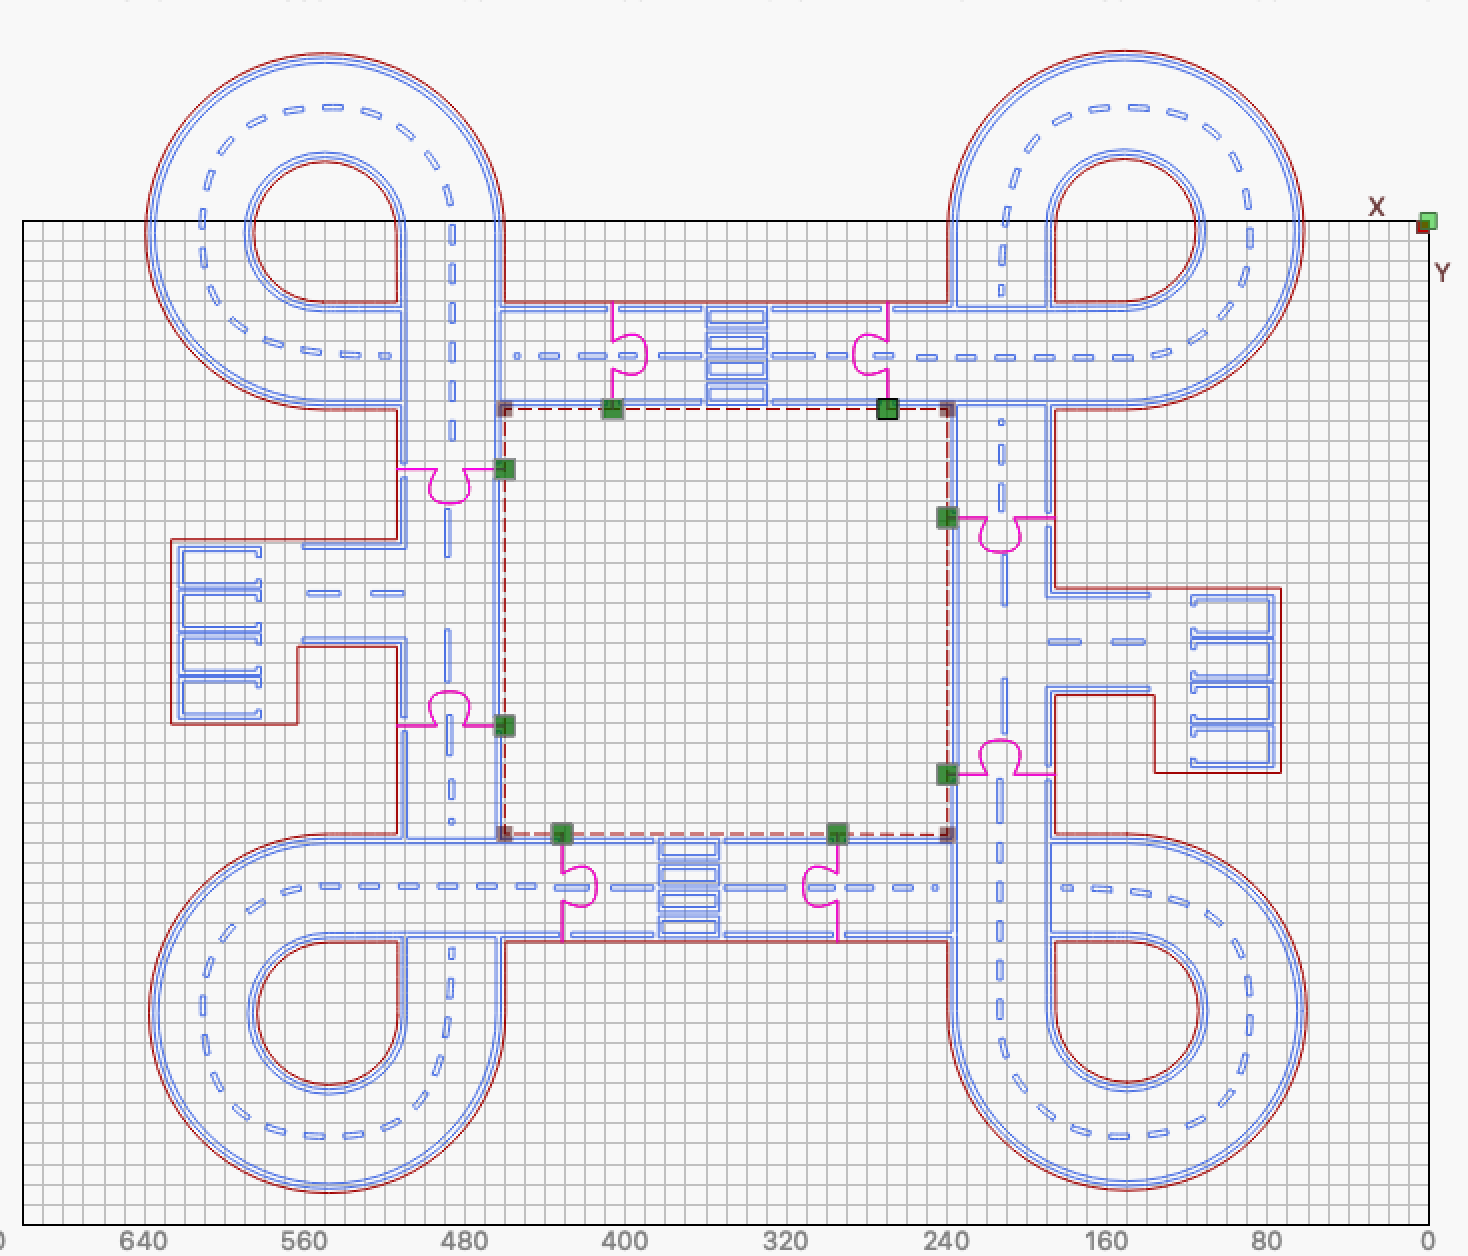
Now use the Node Edit tool. Select one of the red perimiter lines and hover over each intersection point of the cross pieces and the perimiter and press the B key. That will break the line at each location.
Repeat for the other perimiter.
Select the 4 lines that make up a connecting rail and go to Edit> Auto Join Selected Shapes (or Alt + J) Select the inner shapes and the perimiter and group together. Move it out of the way. Repeat the process for the other 3 connector shapes
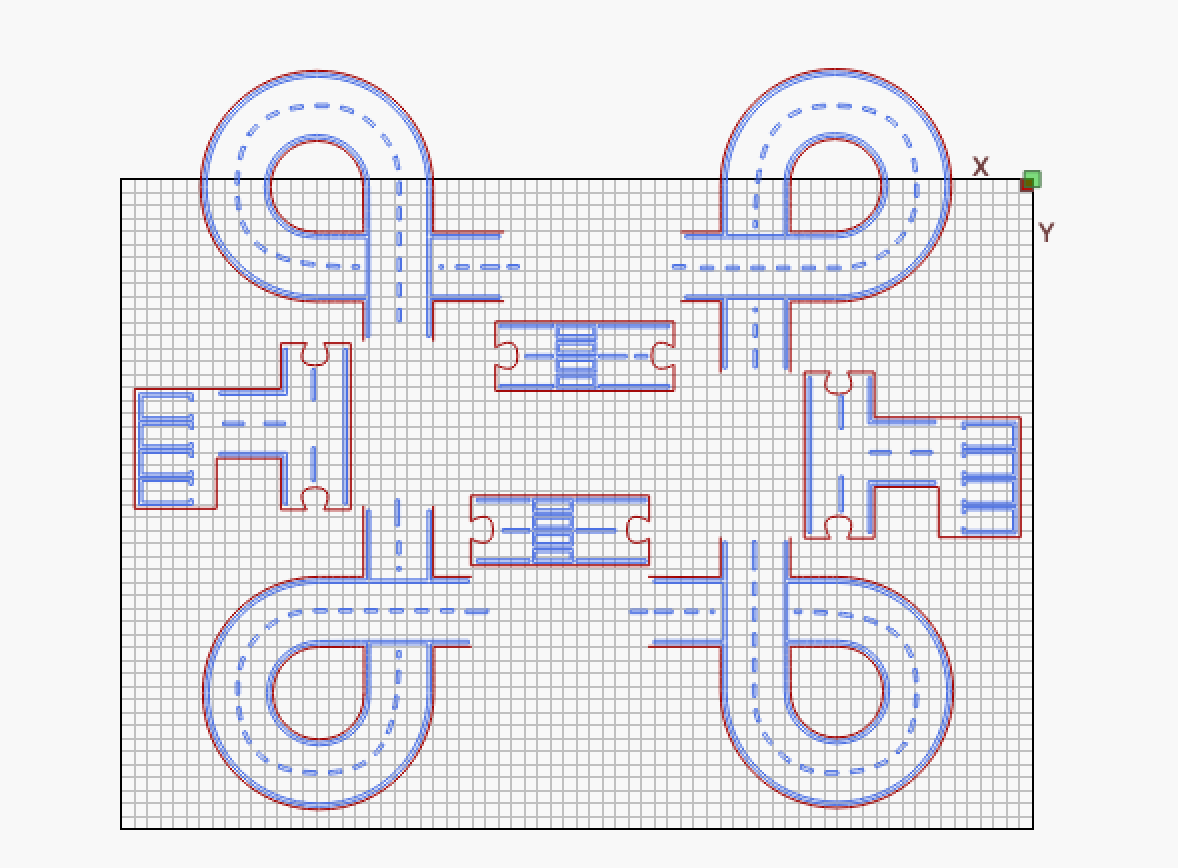
Turn on the hidden layer of cross pieces. Shift click on the Layer number in the Cuts/Layers window to select all those pieces. Place them on the red 10 layer. Shift select on the red 10 layer to select all, then auto join.
Select each corner section complete with inner pieces and group. You can now move any section wherever you want in your cut bed. Don’t forget to change your layer order if necessary to have the red cut last.
Here is the edited file, but I think you should do it yourself for the education. Racetrack.lbrn2 (126.4 KB)
Depending on the material & laser, the sockets and tongues may need slight resizing for a good fit. Applying an inward kerf to the cut layer should do the trick: the sockets get larger and the tongues get smaller.
I know you said you have it figured out, but I made a video outlining my procedure for those that learn better with a video than by text and screenshots.