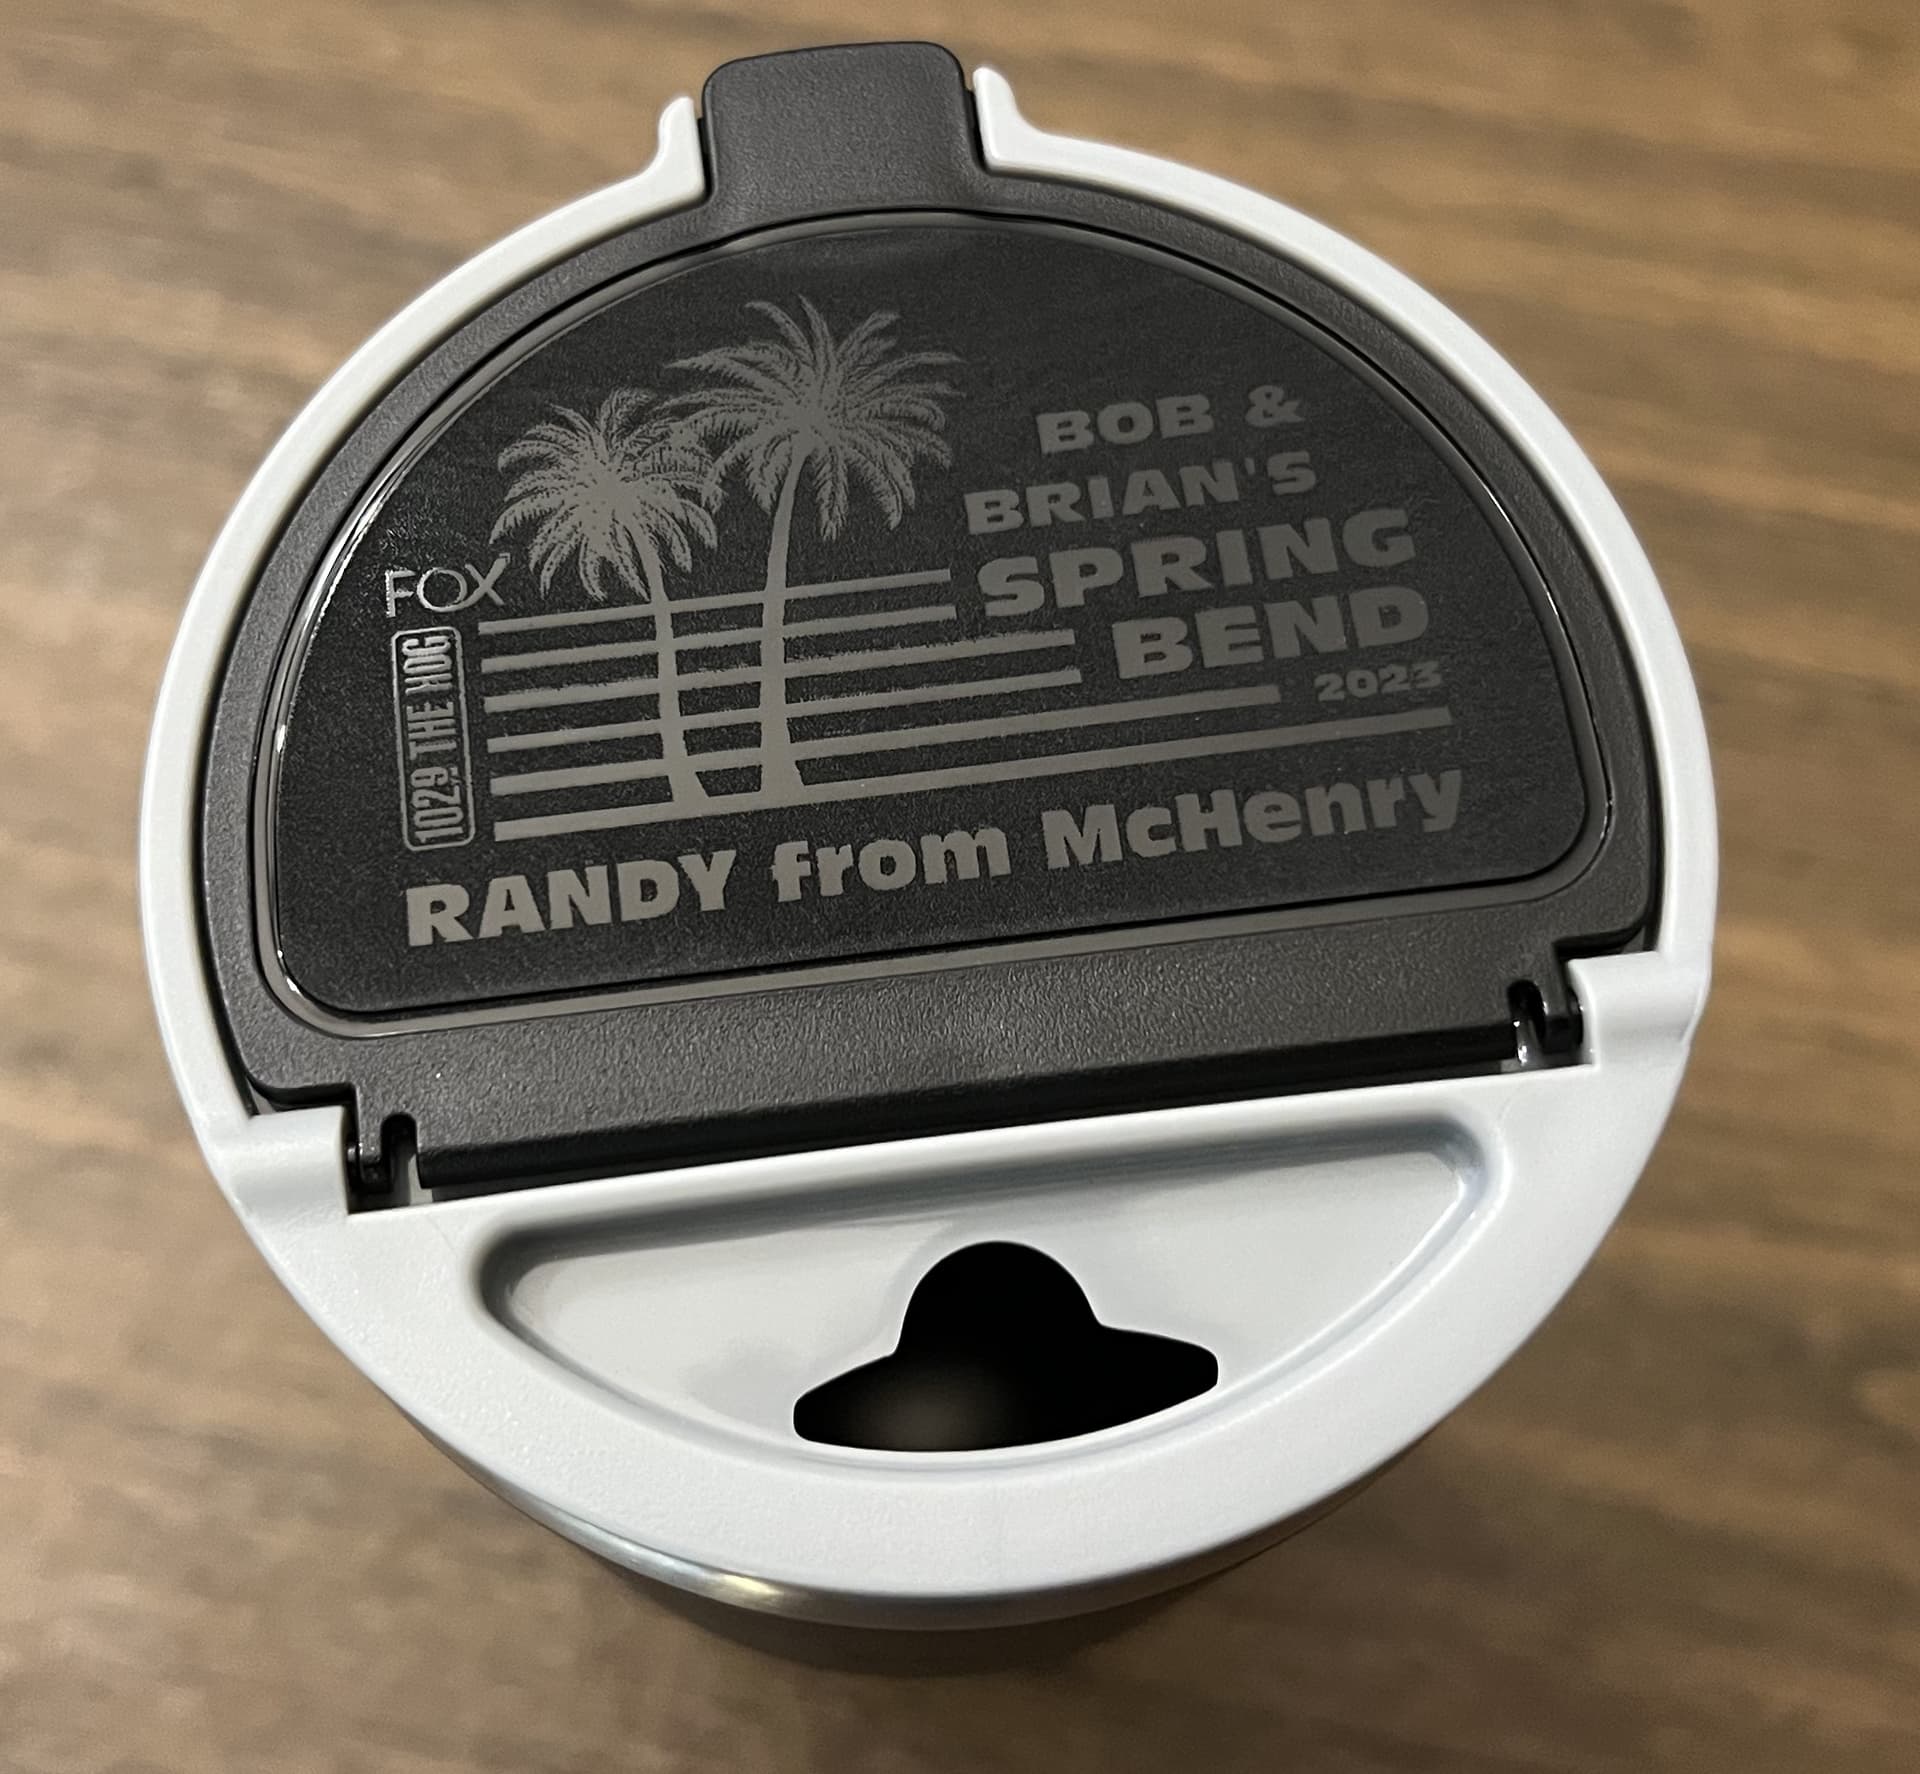
I need to make a bunch of the same object with a different name on each. I am engraving on plastic and have found the proper color and settings to produce the results that I need.
What I would like to do is have Lightburn ignore the red text area without having to create and undo a mask. I would like to be able to just change the text for each one.
Is there a way to fill in the text as white or some other easy way to ignore it?
Otherwise, I have to create each version in Inkscape and import it to my layout. I’m just looking for an easy way out if it’s available.
I’m not really following the ask. You say you want to ignore it but then say you’d like to change it for each one. Those seem to be contradictory goals.
If you don’t want to burn that portion you can disable output for that layer. You’ve already done that so that would lead me to believe you’re trying to do something else.
Can you elaborate on what you’re trying to achieve?
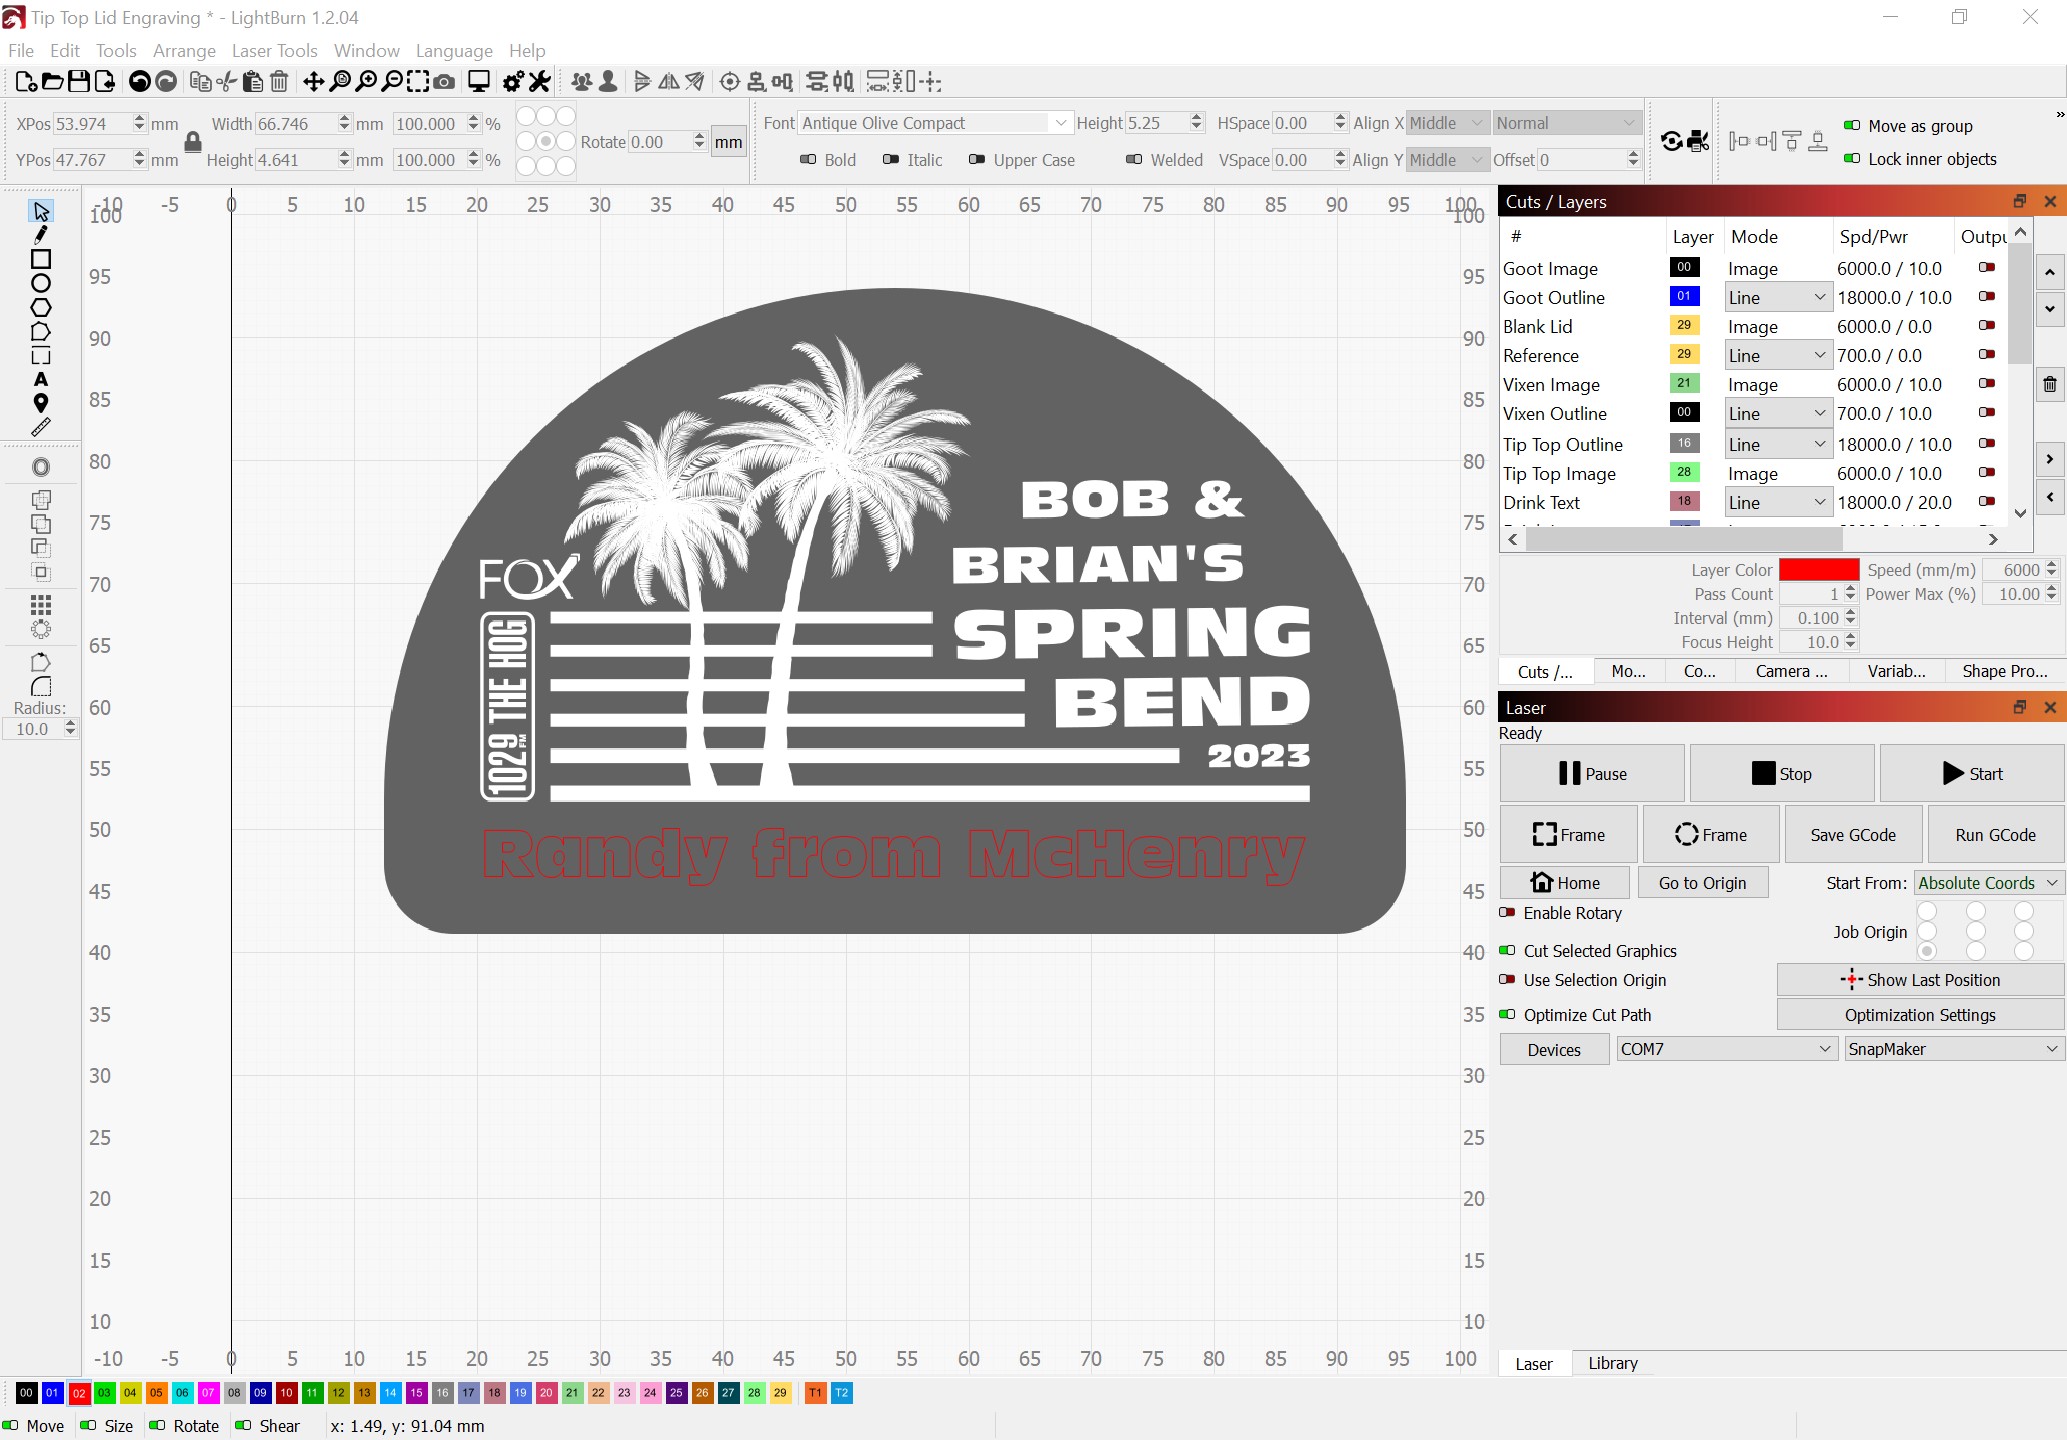
I want the laser to burn everything around the text but not what is underneath it. The only way I can find to do that is either make it in Inkscape and import it or use a mask in Lightburn. Either way it requires a bunch of extra steps.
If I can create the text over my image in Lightburn and have the laser ignore the area in the text, then I could just change the name for each one and send it to the engraver. Avoiding the extra steps listed above.
I may need to make around 100 of these so I am looking for an easy way.
Go into inkscape and remove the bottom text. Then when you import it into lightburn, you should be able to add any text that you want on top of the imported drawing. It would be on it’s own layer and you can easily shut it off.
When it comes time to change the text, just select the text button on the left and select the text on the item. You can then edit it to whatever you want.
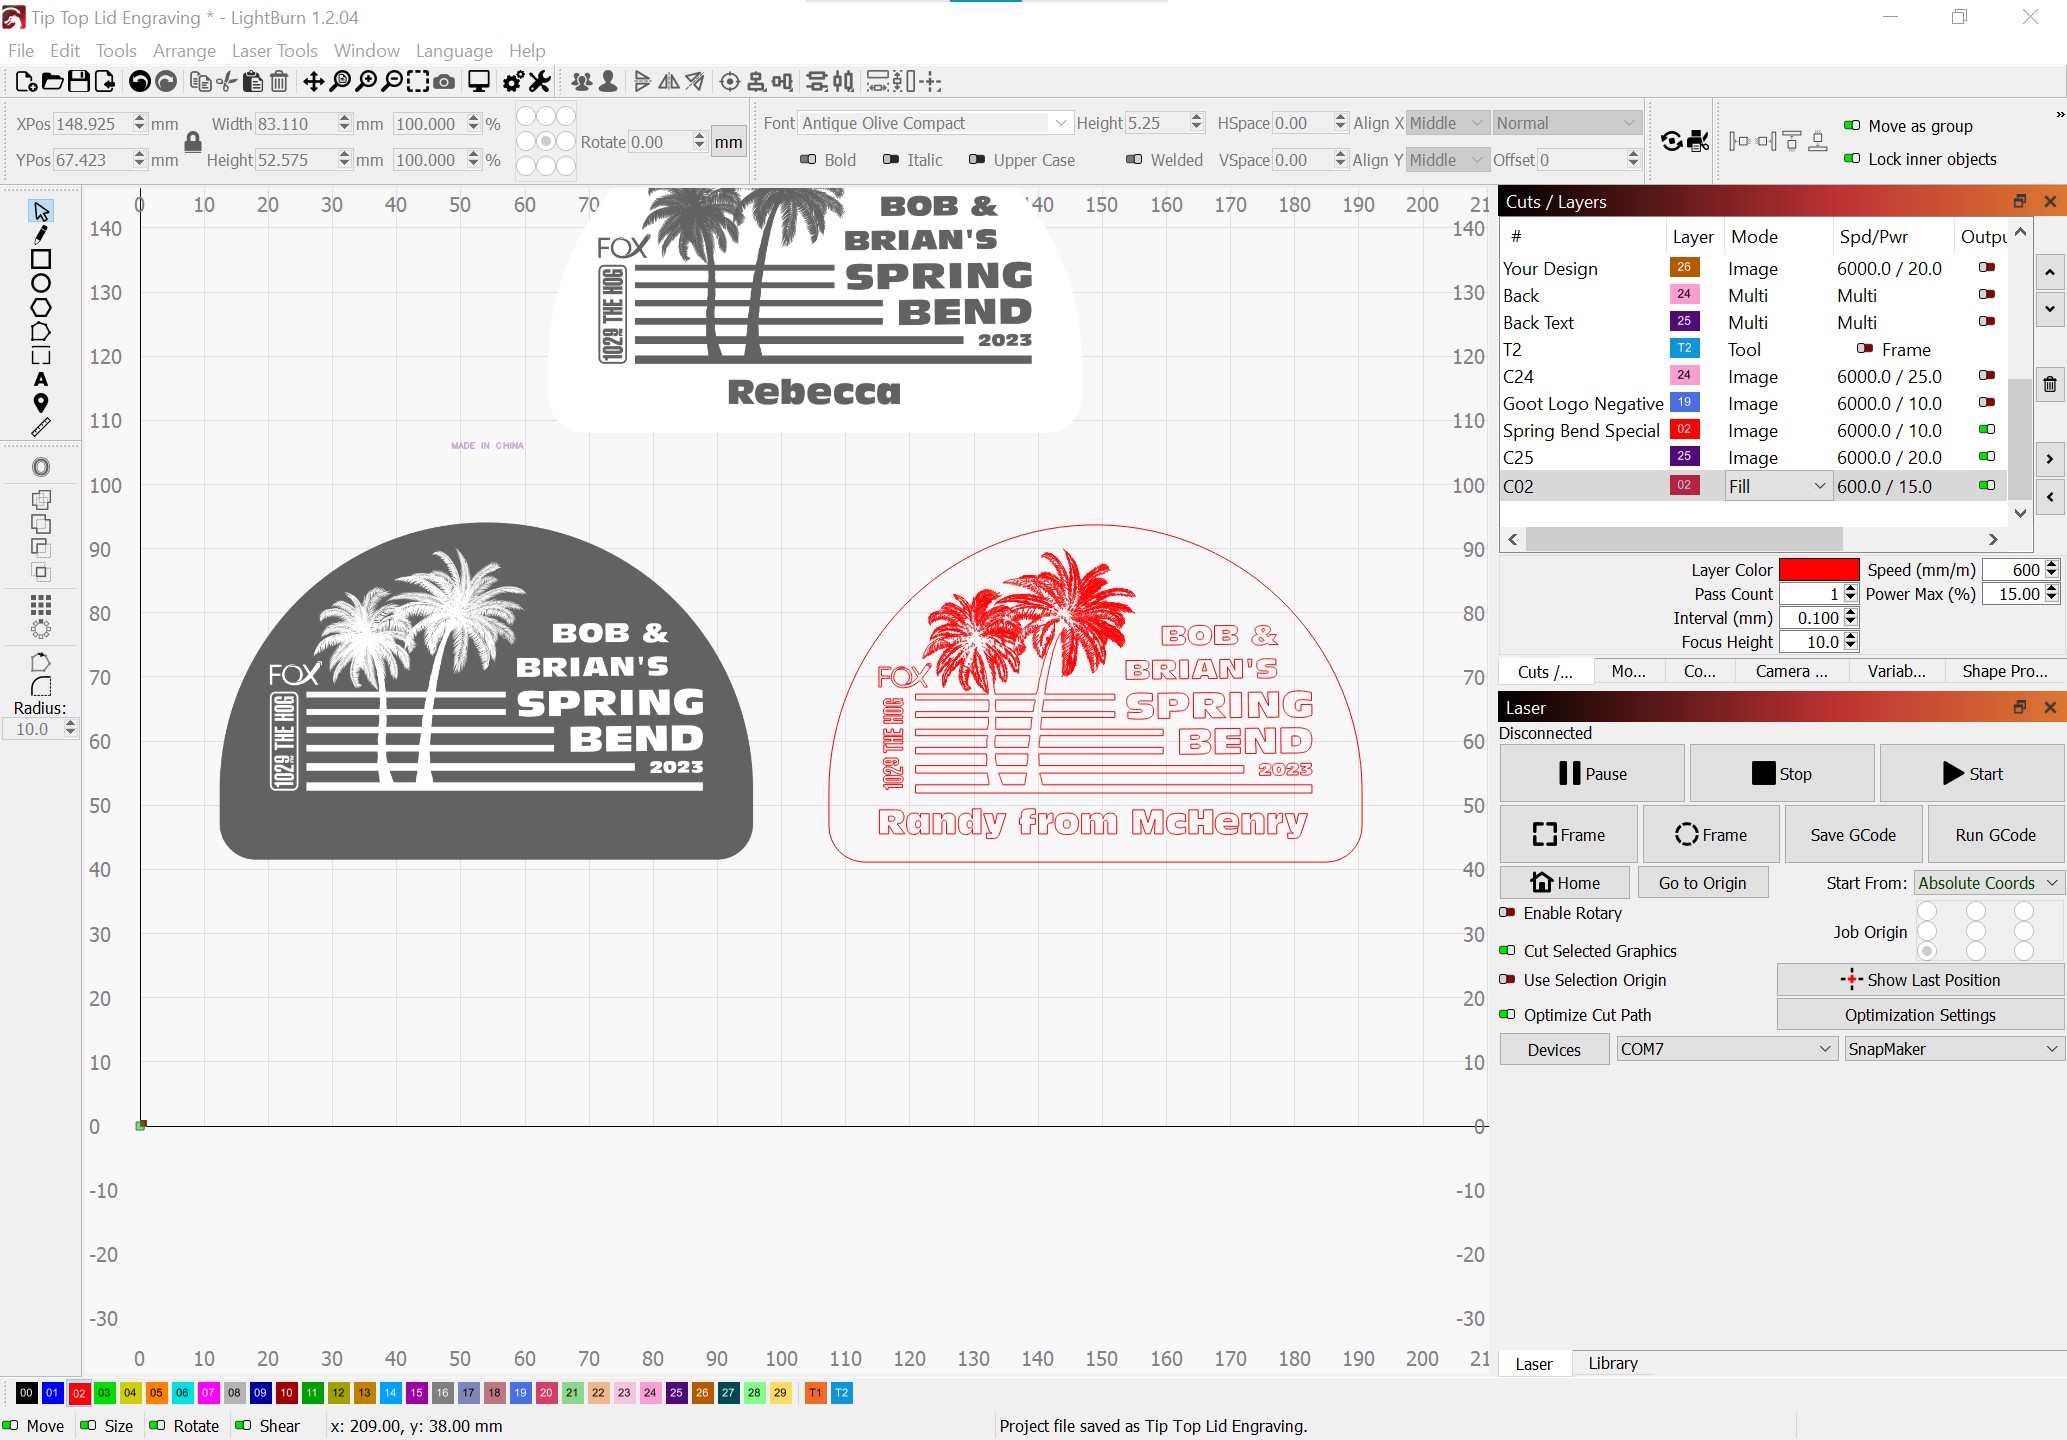
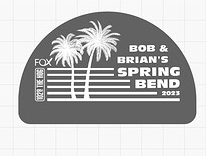
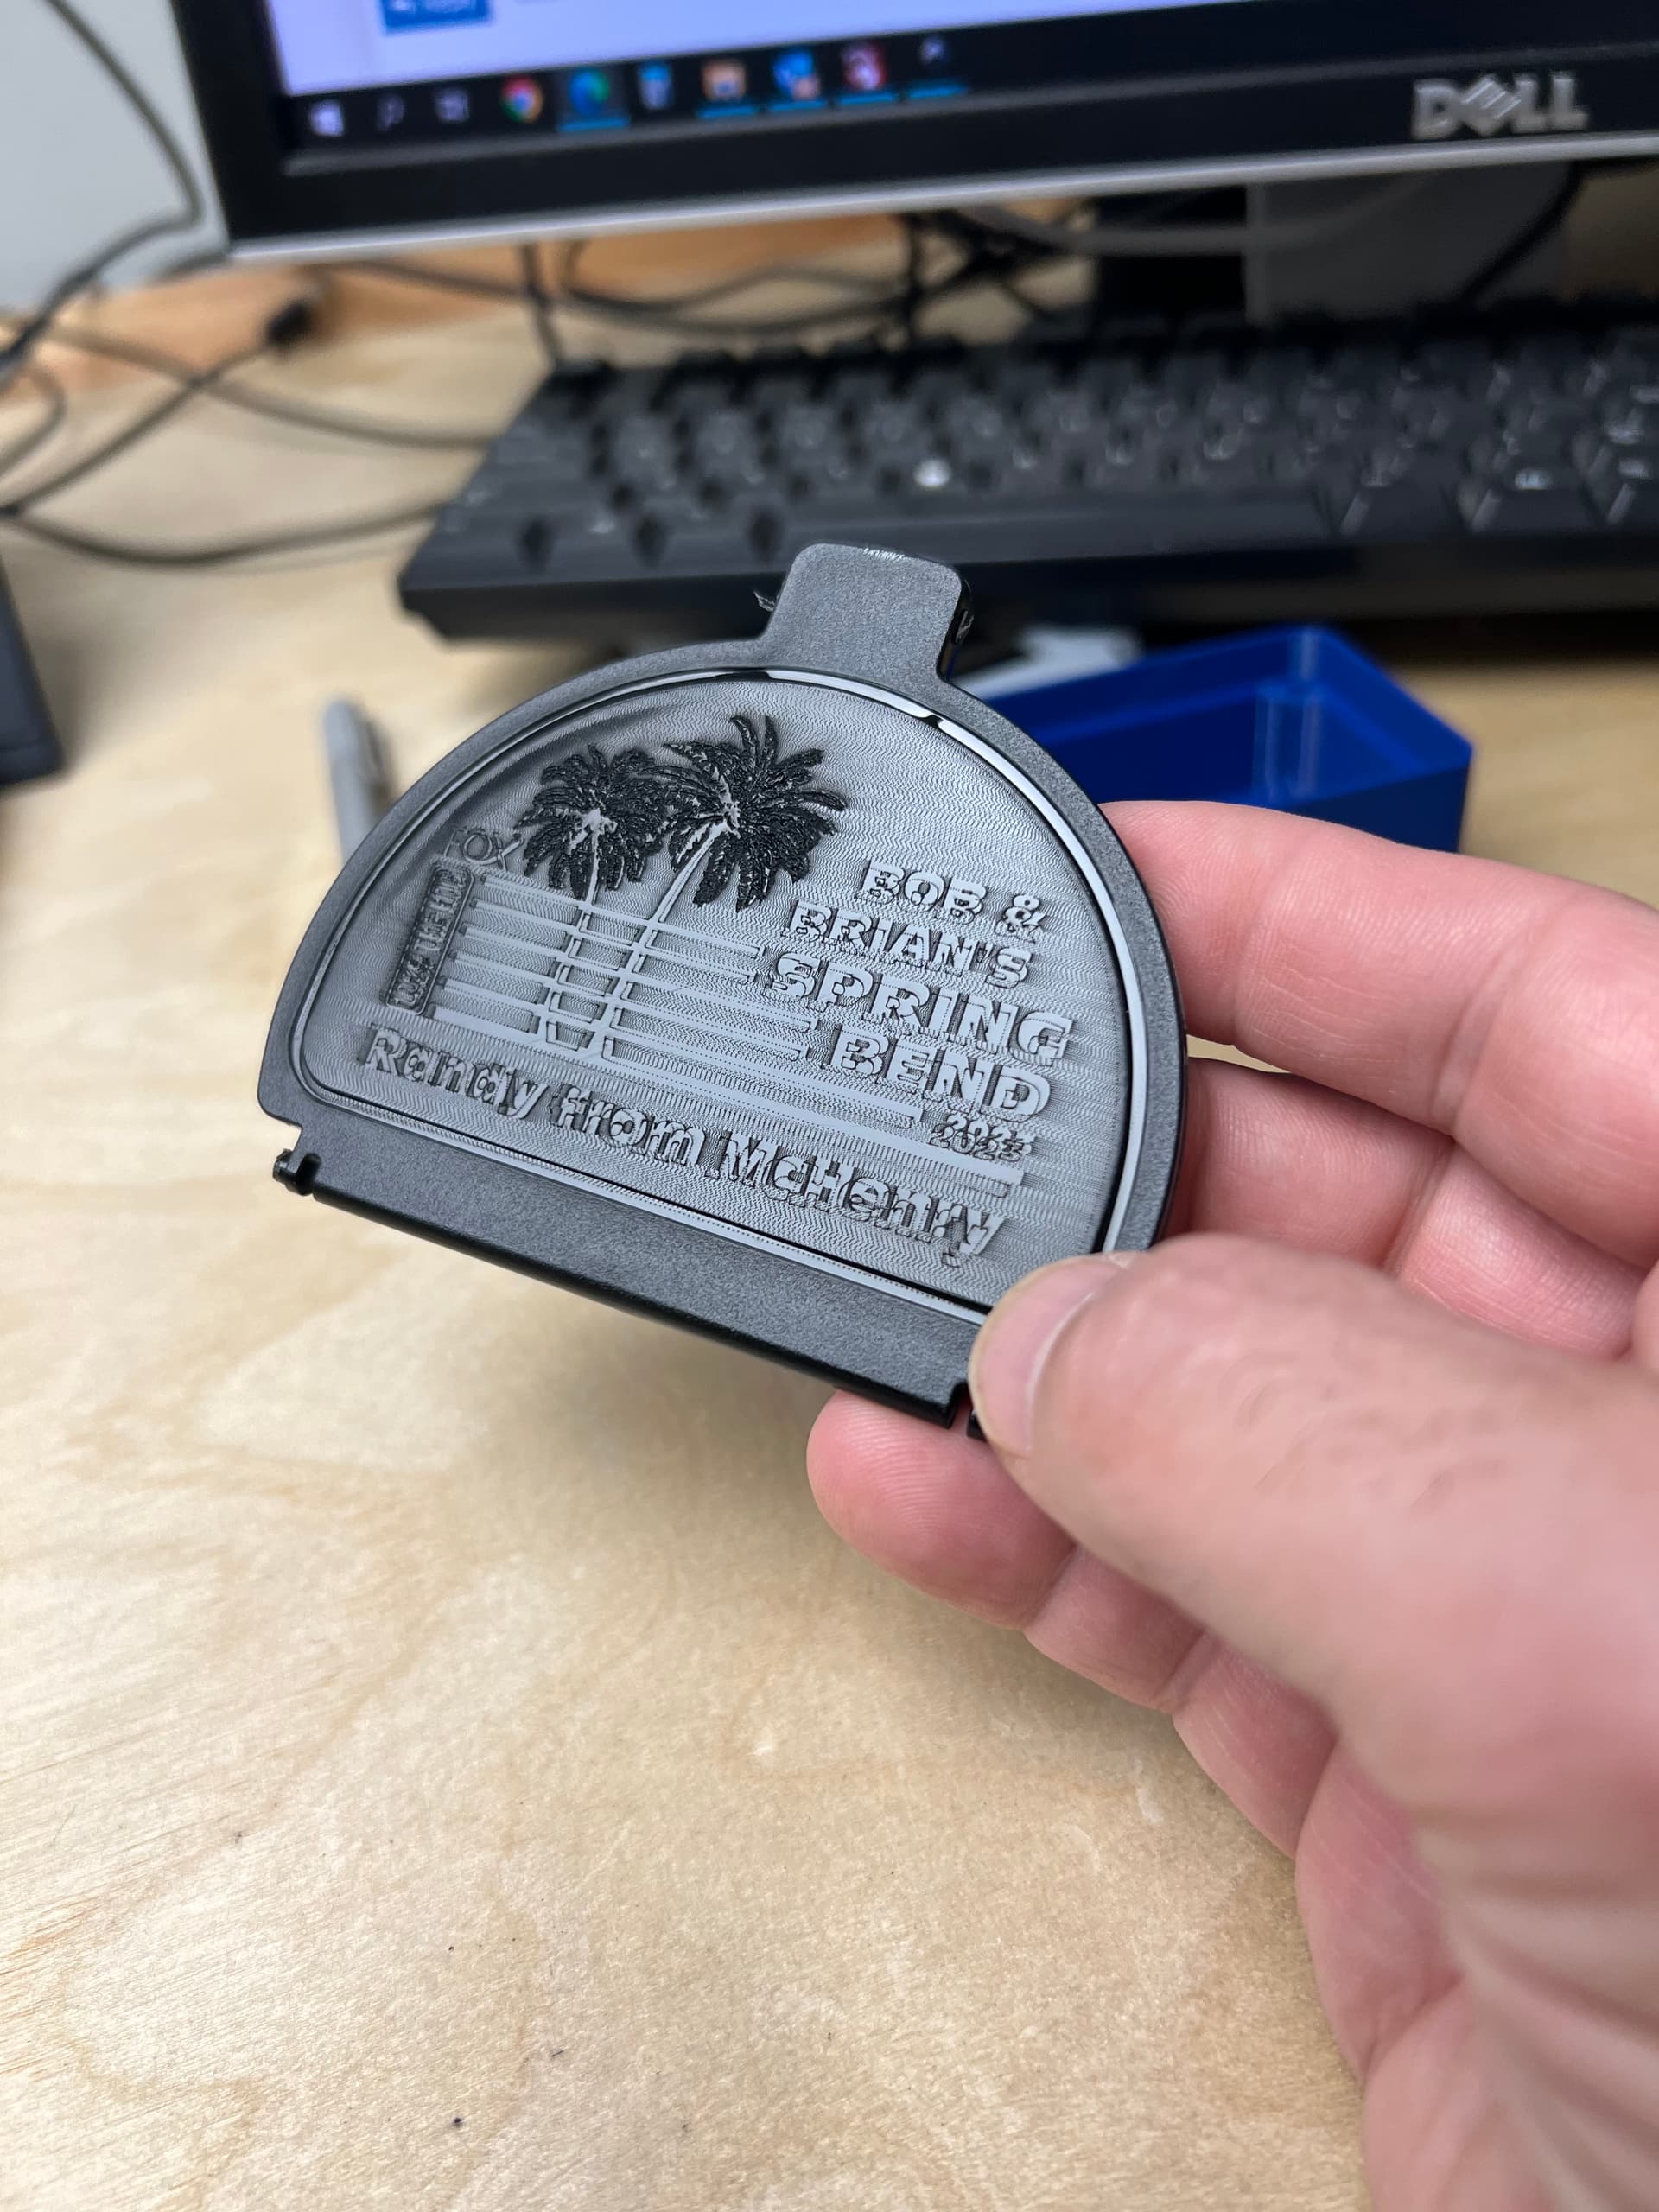
The gray version is an image and the reason I went with that over the vector is to get the textured finish that I want. With that I can’t add text in Lightburn, I need to change that in Inkscape, export it as a PNG and import it into Lightburn.
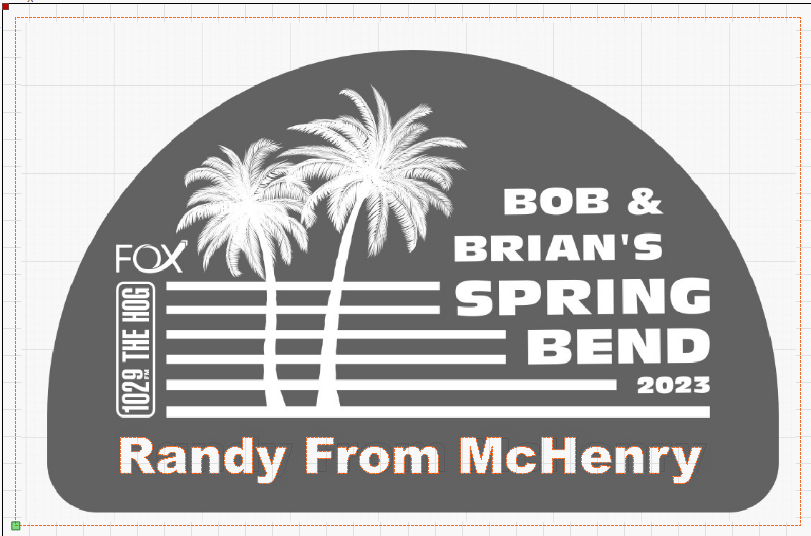
If I make it a vector, I can change the text in Lightburn, but I can’t get it to give me the textured look. It will only burn straight lines giving me a melted finish.
Is there a way to burn the vector image with an irregular pattern like the gray image? That would be a game changer for this project.
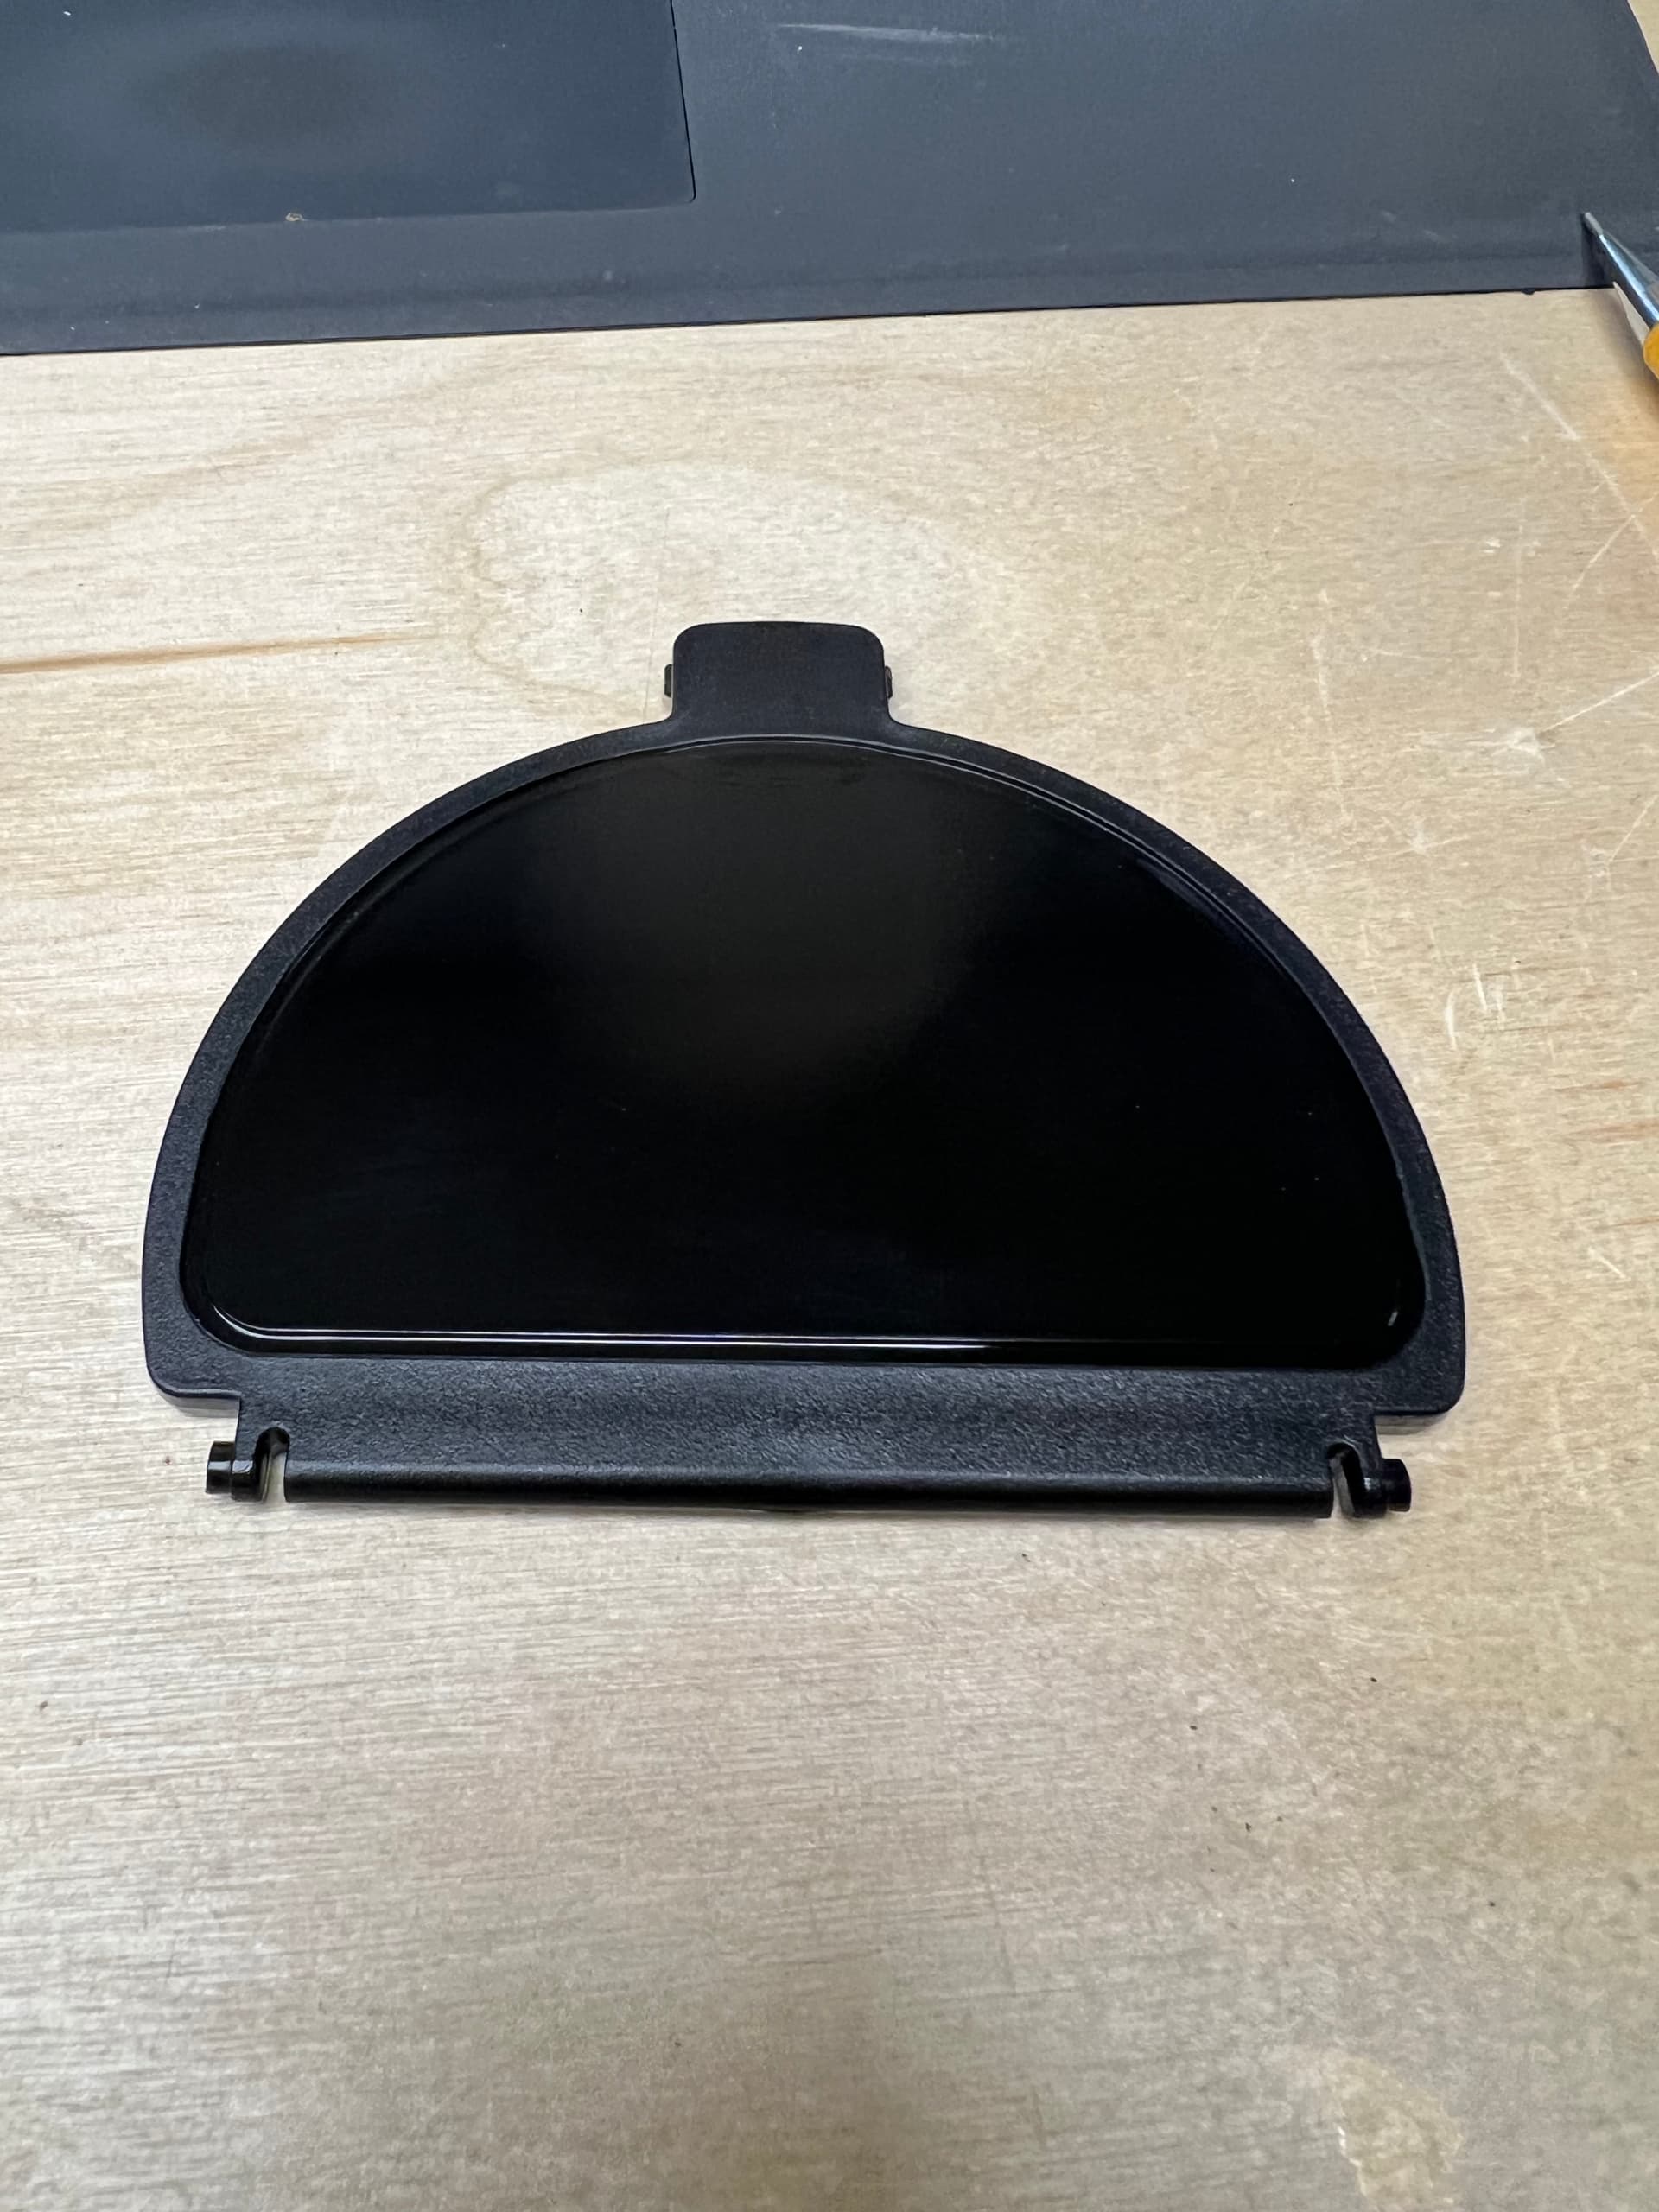
Can’t you just burn this image on all the lids and then add the name after using a different layer?
I expect that you already have a jig set up for the lids. Turn off all the layers that you have already engraved and only turn on the new text layer with the names.
In that case I can’t think of any approach that wouldn’t be a multi-step process. So you’ll have to pick your poison as to where’d you’d want to apply the text.
You can do this with a mask in LightBurn, you just have to make a box around the entire image as well as the text, and group them, and then the text will work as you need it to.
If you want to be able to edit the text, you just un-group the text first, change it, re-group, and re-mask.
If you want to not have to do those extra steps, I’d recommend using the Variable Text feature to pull the names from a file, because then you’d be able to leave it in a group and just modify the file that contains the text itself.
I guess it’s all out there, I just couldn’t find it until you helped point me in the right direction.
I tested it with the mask and spreadsheet, and I’ll be able to use my gray image with variable text to create all of the lids I need. Thank you everyone for your help.
I used the Youtube video and mask info above to find everything I needed.
If you would like to check out my product, it is at tiptoplid.com.