I have been doing engravings for 6 months now but still have not mastered the art of image manipulation. Some come out good by adjusting the gamma, enhancement radius and enhancement amount.
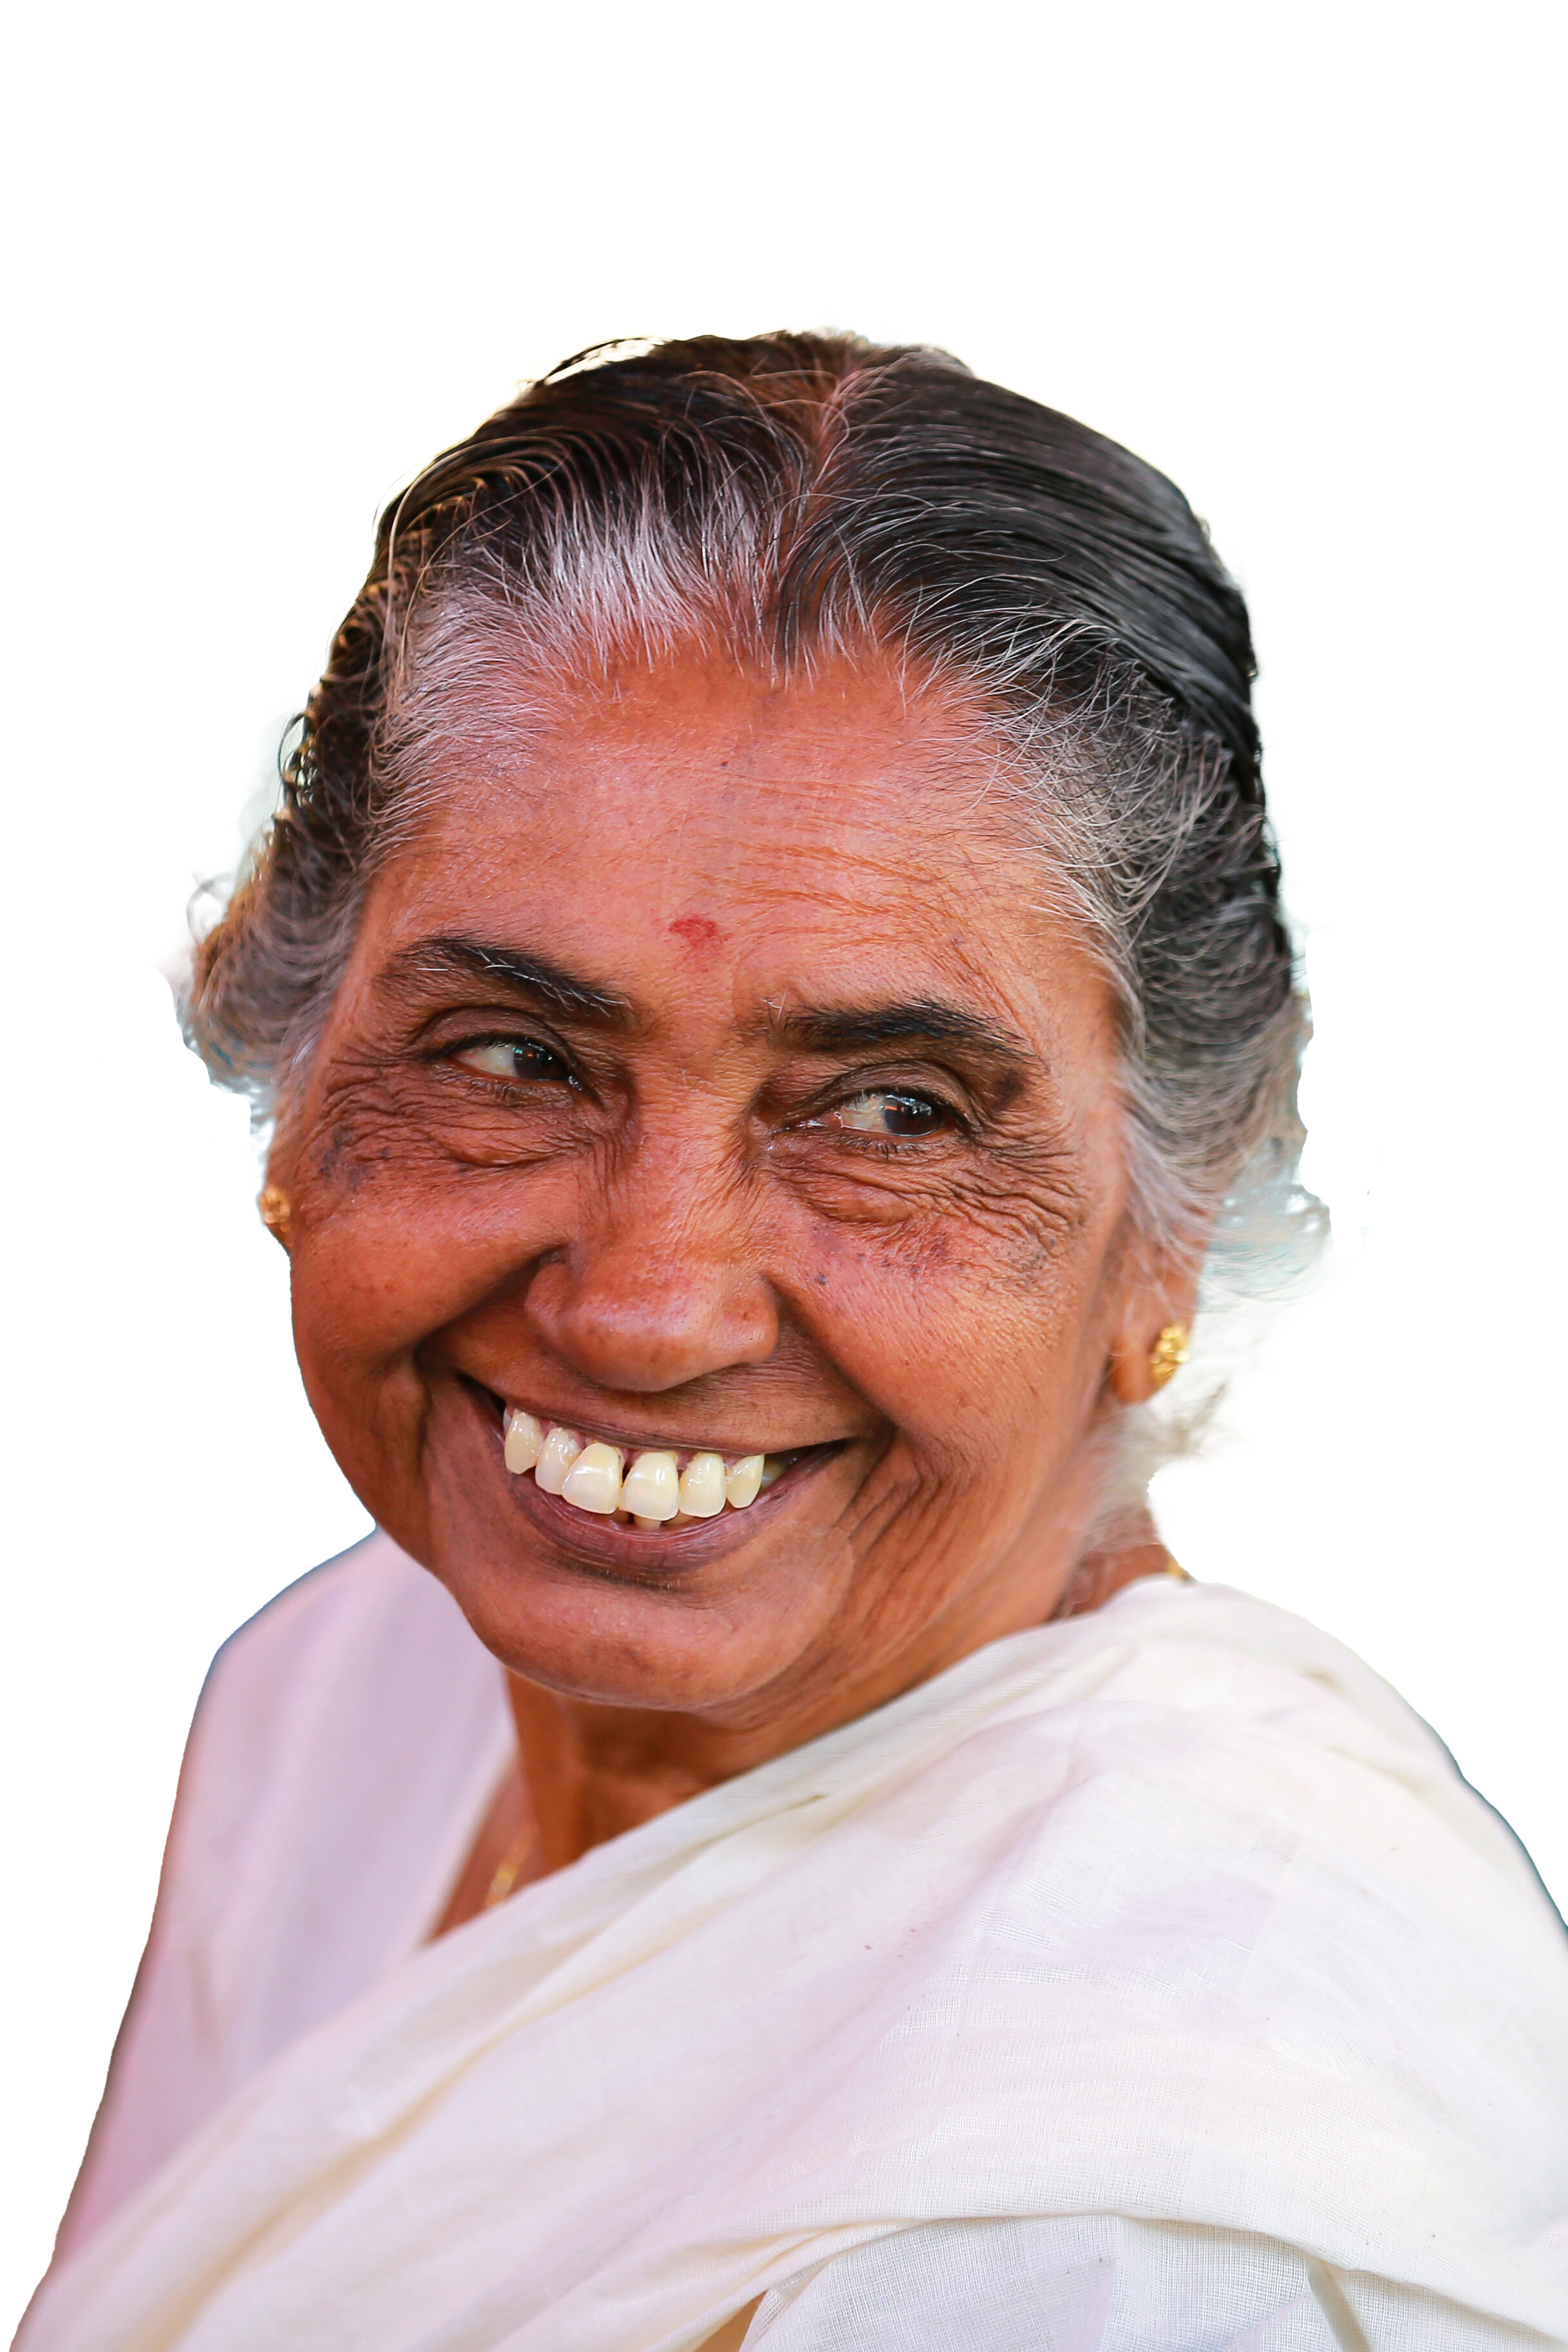
But in case the skin colour is dark and the clothes color is light then whatever I do the images come dark and clothes completely loose edges which makes it look unnatural.
I think this kind of images need enhancements in the external photo editing software like photoshop.
I want to know how can I do that. What shall I learn in photoshop to lighten skin tone and enhance features on face and clothes and edges ?
For this in photoshop I use different layers with a layer mask, removing the parts I do not want that layer to adjust. you have many adjustment options you can apply to that section of the image.
this allows you to adjust the dark skin, and the white clothes seperately.
CTRL+J copies the layer to a new layer
Add a mask at the bottom of the layer properties tab, then select the mask icon on the layer you are workign on and use the Brush with either black or white to remove/Add sections of the image that can be “seen” and worked on, Then make adjustments to that section, beauty is you can go back and change the mask as many times as you want, adding or removing parts or changing the adjustment.
I’m starting with photoshop as I now realize that I can not completely rely on LB for editing. But PS is a beast in itself… There are options but you need to know much more on what to apply when… lighting details… where to dodge where to burn and how it affects the image … blah blah blah
My requirement is simple I need to lighten a area… as you told there are many options… which one to use for it… dodge … levels…curves !!!
other requirement is to make edges after background removal more pronounced… also for light clothers which get washed out and loose all details like wrinkles… what do I do there ? Burn just adds black to whole area instead of creating highlights
First thing to do is to make the image black and white.
Copy the layer to a new layer CTRL+J. remove the background and anything not needed.
Copy this layer CTRL+J, and set it to colour dodge on the blend mode drop down (above the layers list), you can also change the amount of this effect by making the opacity of it lower.
Add a new adjustment layer for levels and add the mask like I explained. then you can choose the areas in the photo the levels effects… so if you lighten one of the layers use the brush tool on that layer mask to remove the white areas you do NOT want to lighten, they will then not be effected by the lighteneing effect. do the same on a new adjustment levels layer for darkening.
Levels is a basic but effective starter, curves is a more advanced version of levels. you can use the burn and dodge tool but I would use this on smaller selective areas.
Finially on the top layer of the IMAGE (not the levels layers) Choose filter - Sharpen- Smart sharpen, play with these settings until you get a good contrast vs detail level.
you can ignore the invert layer, this is used when engraving glass or transparent things.
Lightburn does a great job with images that are evenly toned, applying adjustments over the whole thing, you cannot be selective to certain areas as yet unfortunately.