Only the second day in the forum and as many days with a laser, and I’m already a liar; I really didn’t think I would ever need to do engrave anything but text. Now it has been suggested to me that I use the laser to sign my work (furniture) rather than a sharpie. OK< that doesn’t sound to far-fetched - I’ll give it a go. Except, an actual signature isn’t text, it’s an image.
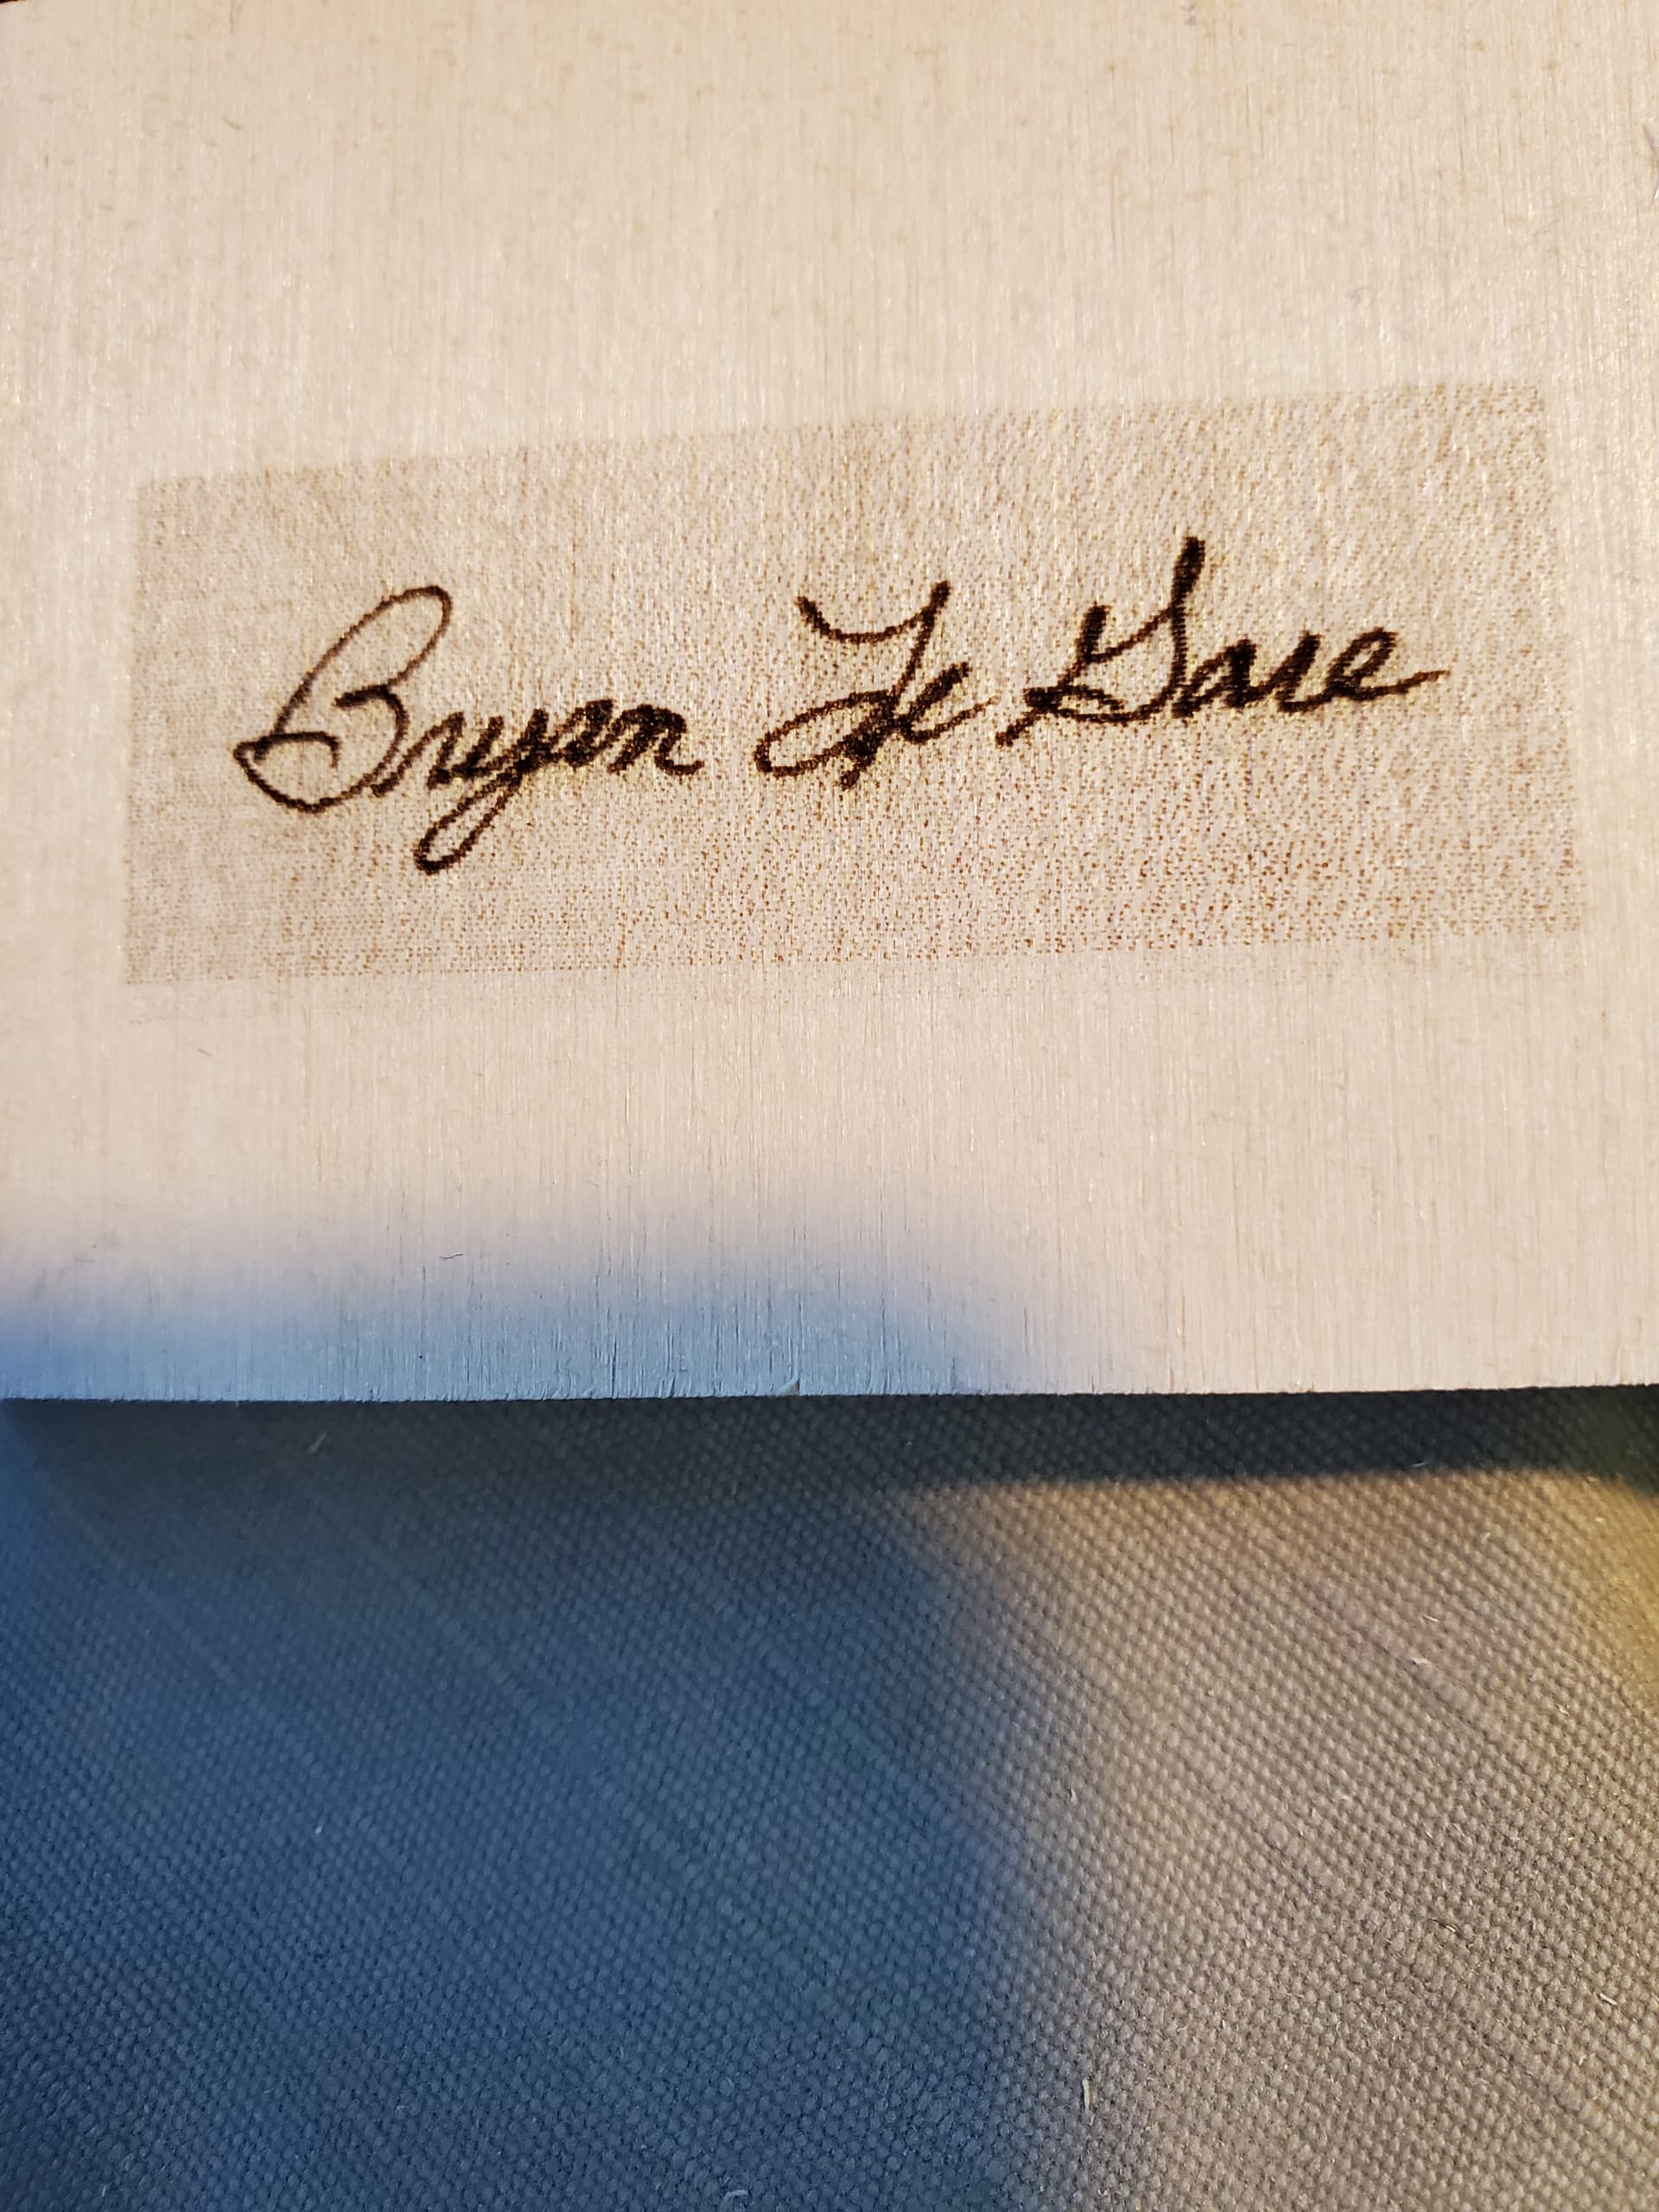
The attached engraving shows the image (picture) of the signature and, while I used the whitest white sheet of paper I could find, the background comes across as beige and the laser is engraving it. Does anyone have a tip on how to clean up the background (as in removing it)? Or, should I do it differently altogether? I really have no idea what I’m doing, so if you can speak idiot that would be helpful.
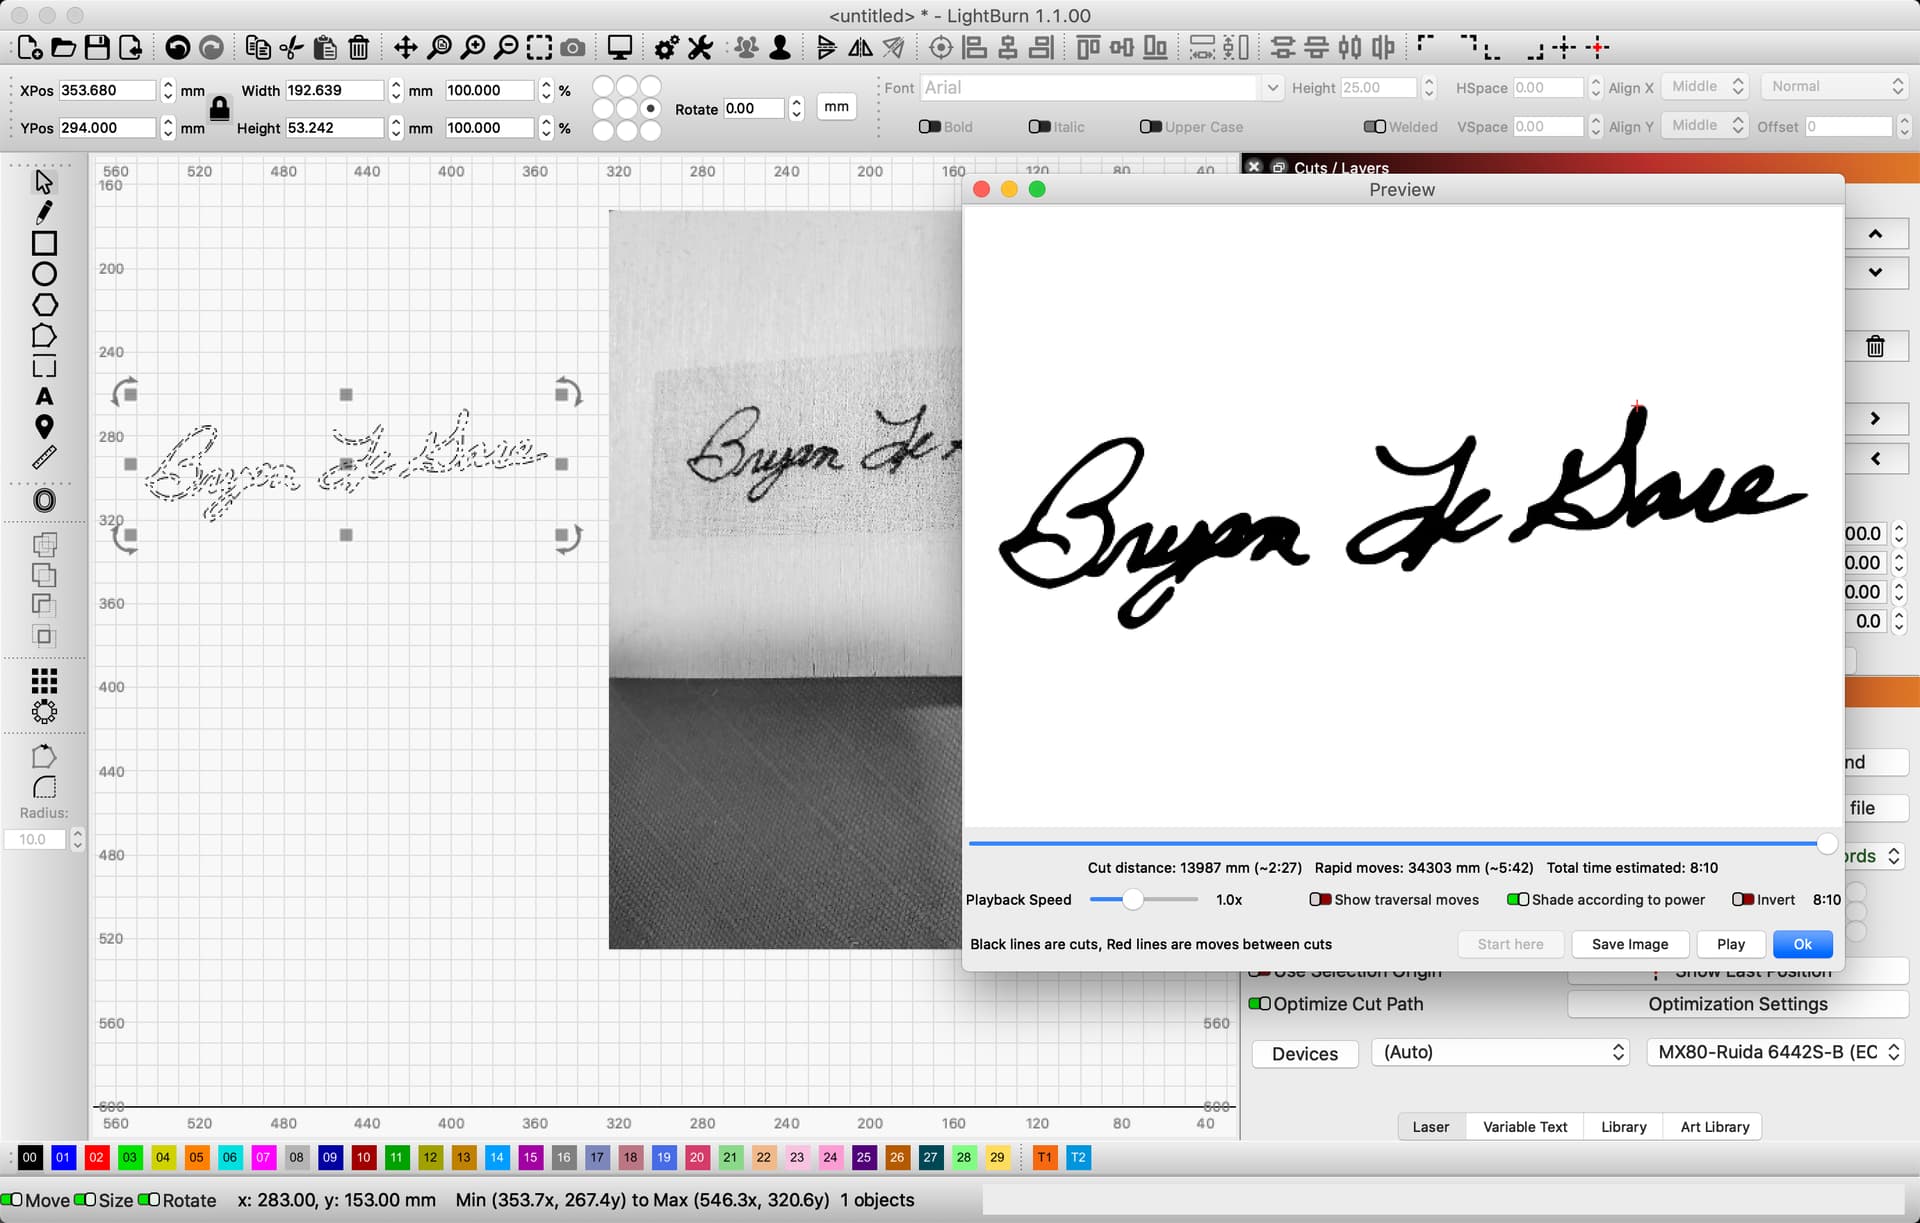
I suggest you explore converting the raster image to a vector using the Trace tool (Tools->Trace image). This way you can isolate just the written portion of the scan.
Wow, that was a fast reply! Not sure what it means, but I’m willing to experiment. I’ll let you know the results. Thanks again for taking the time to reply!
I was able to get the background separated from the ink, but it came out really light and took nearly 5 minutes to burn. I’ll take a look at the article/video you suggested and post back.
This may be as simple as changing the settings for that layer. If you haven’t used vector fills until now you’ll need to tune the settings for your material and desired look.
Explore line interval, scan angle, cross-hatch… there are a lot of tools available to get your desired look.
Oh, and speed wise you should be able to tune this to get at least as fast as your previous image engraving, if not faster.
Your screenshot looks different than mine and the burn is still really light and takes forever. I’m kinda baffled by this so that’s the main problem I did manage to separate the background from the signature though so that’s something
Is there a reason why you’re doing 3 passes? That might be why you’re seeing a high burn time… it might actually be making the burn lighter as well, counterintuitively.
Actually, there isn’t much “reason” involved here; I don’t know what I’m doing
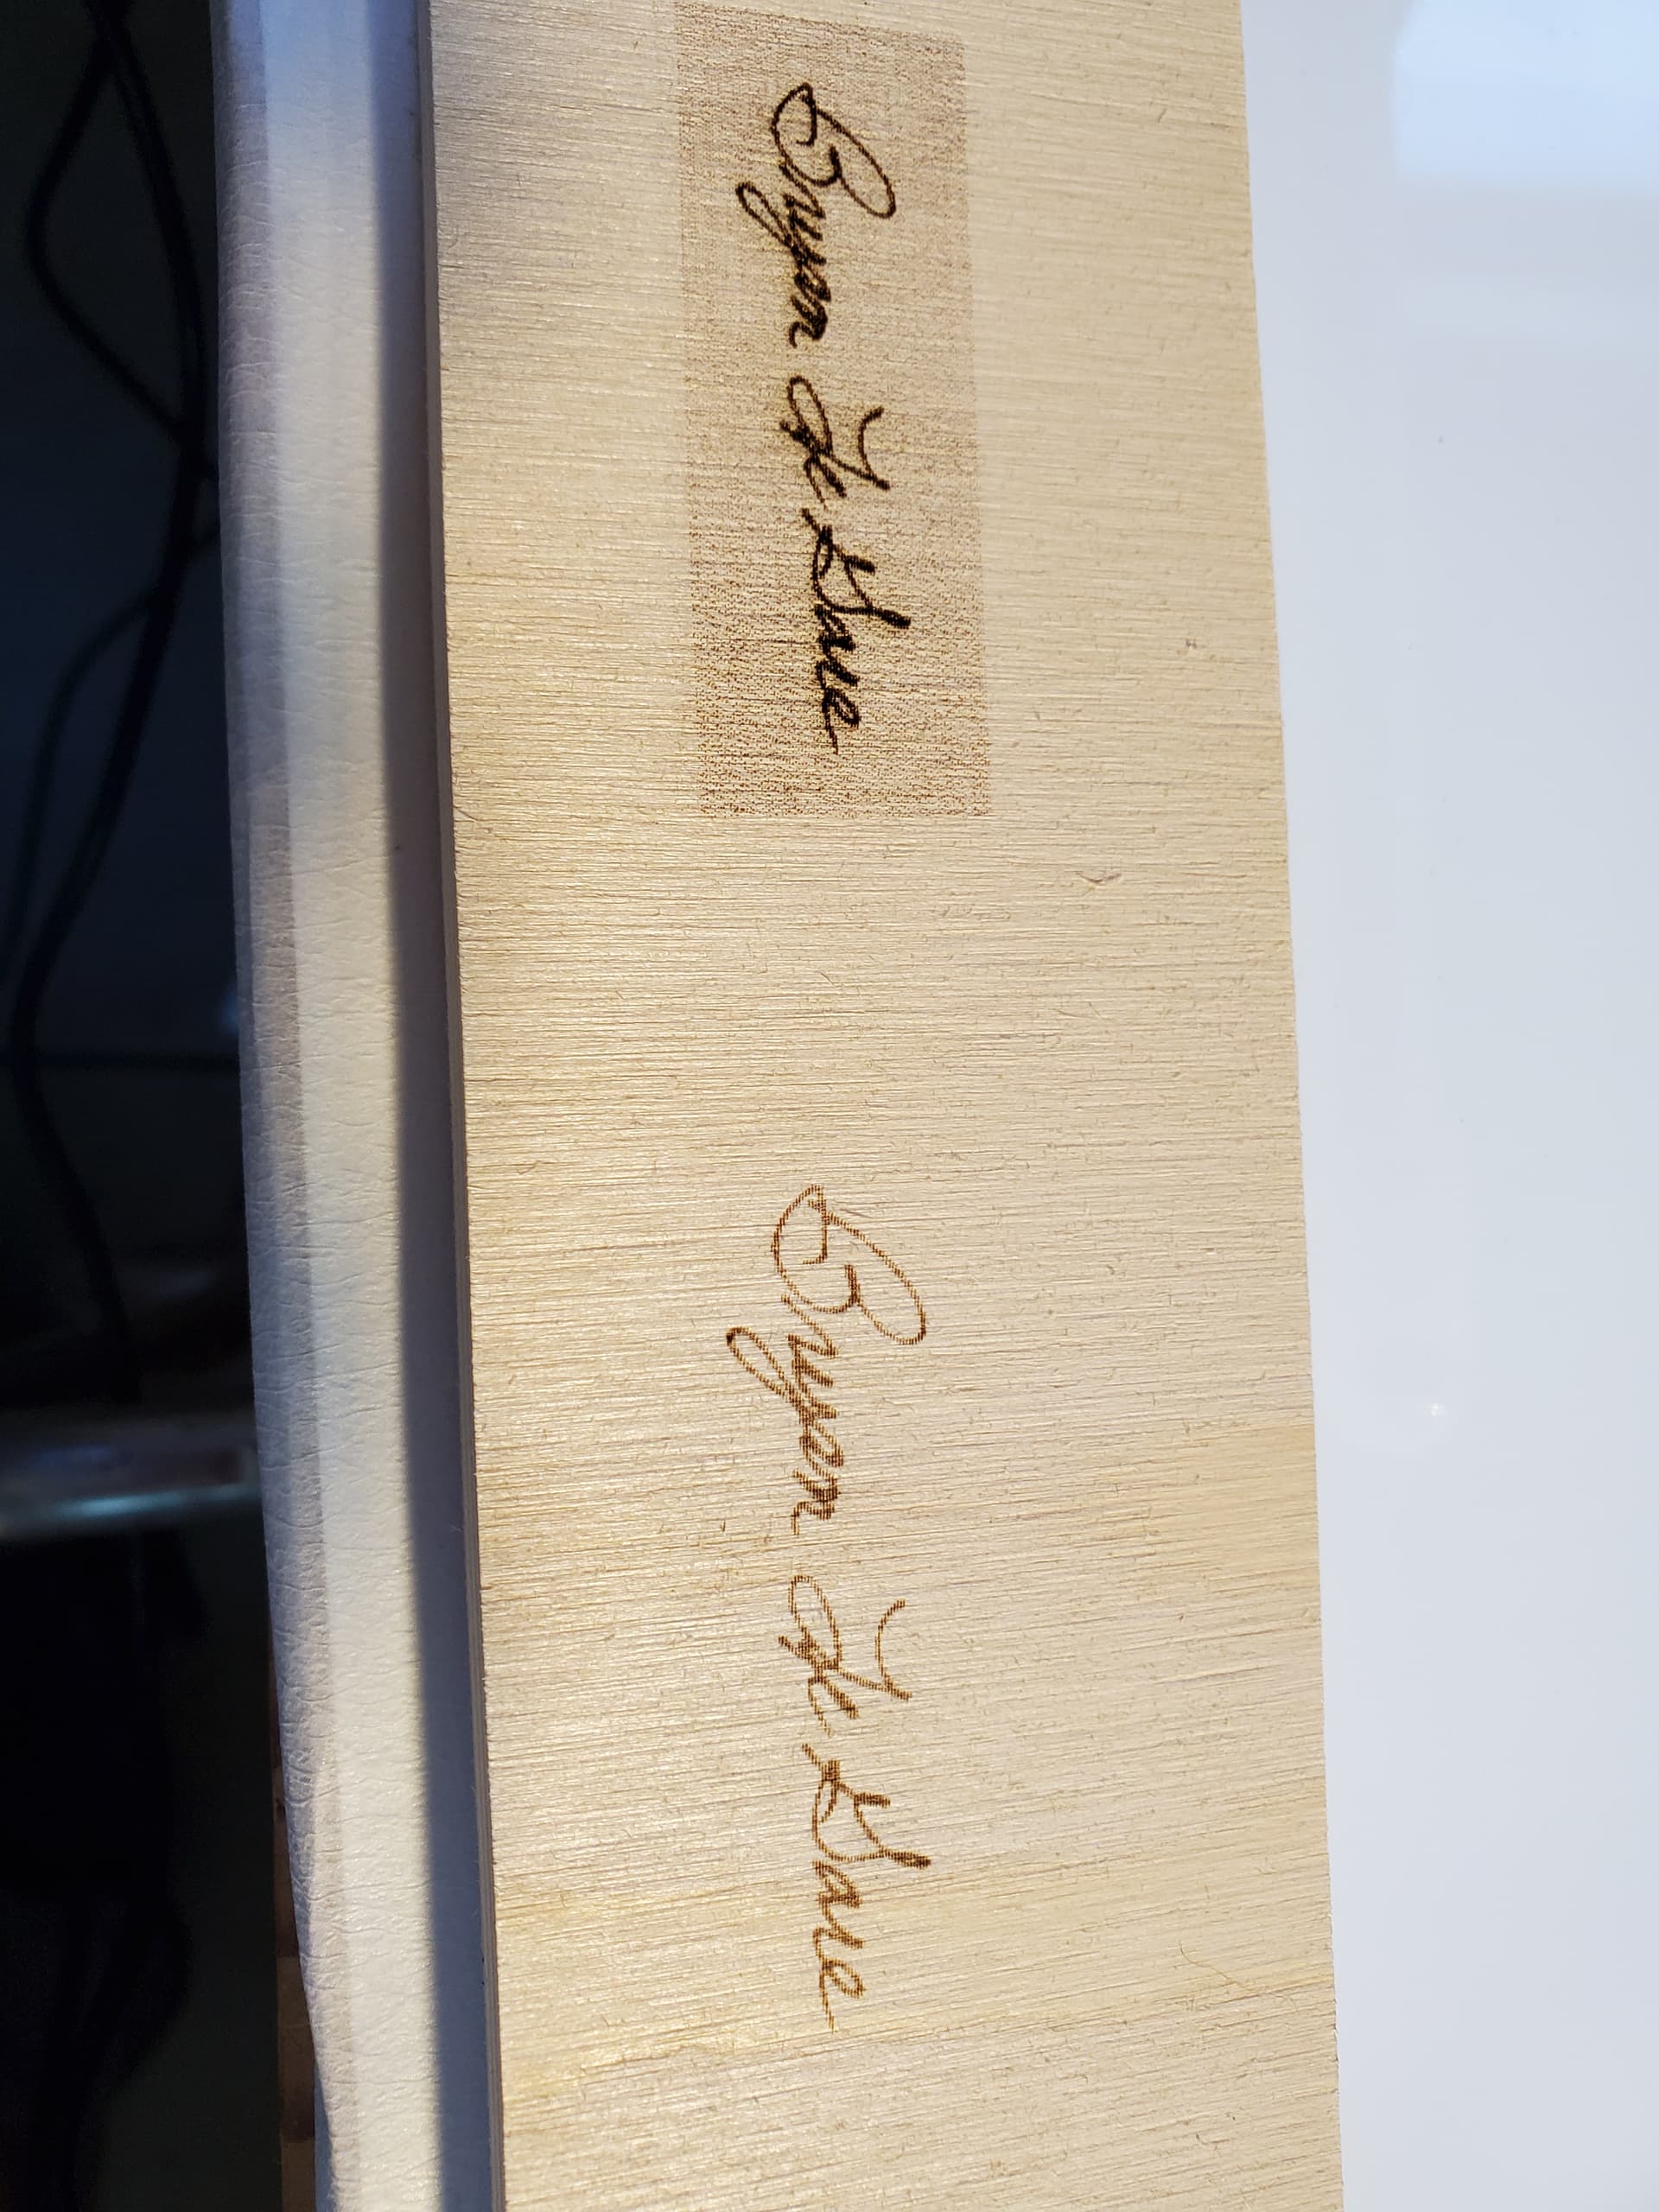
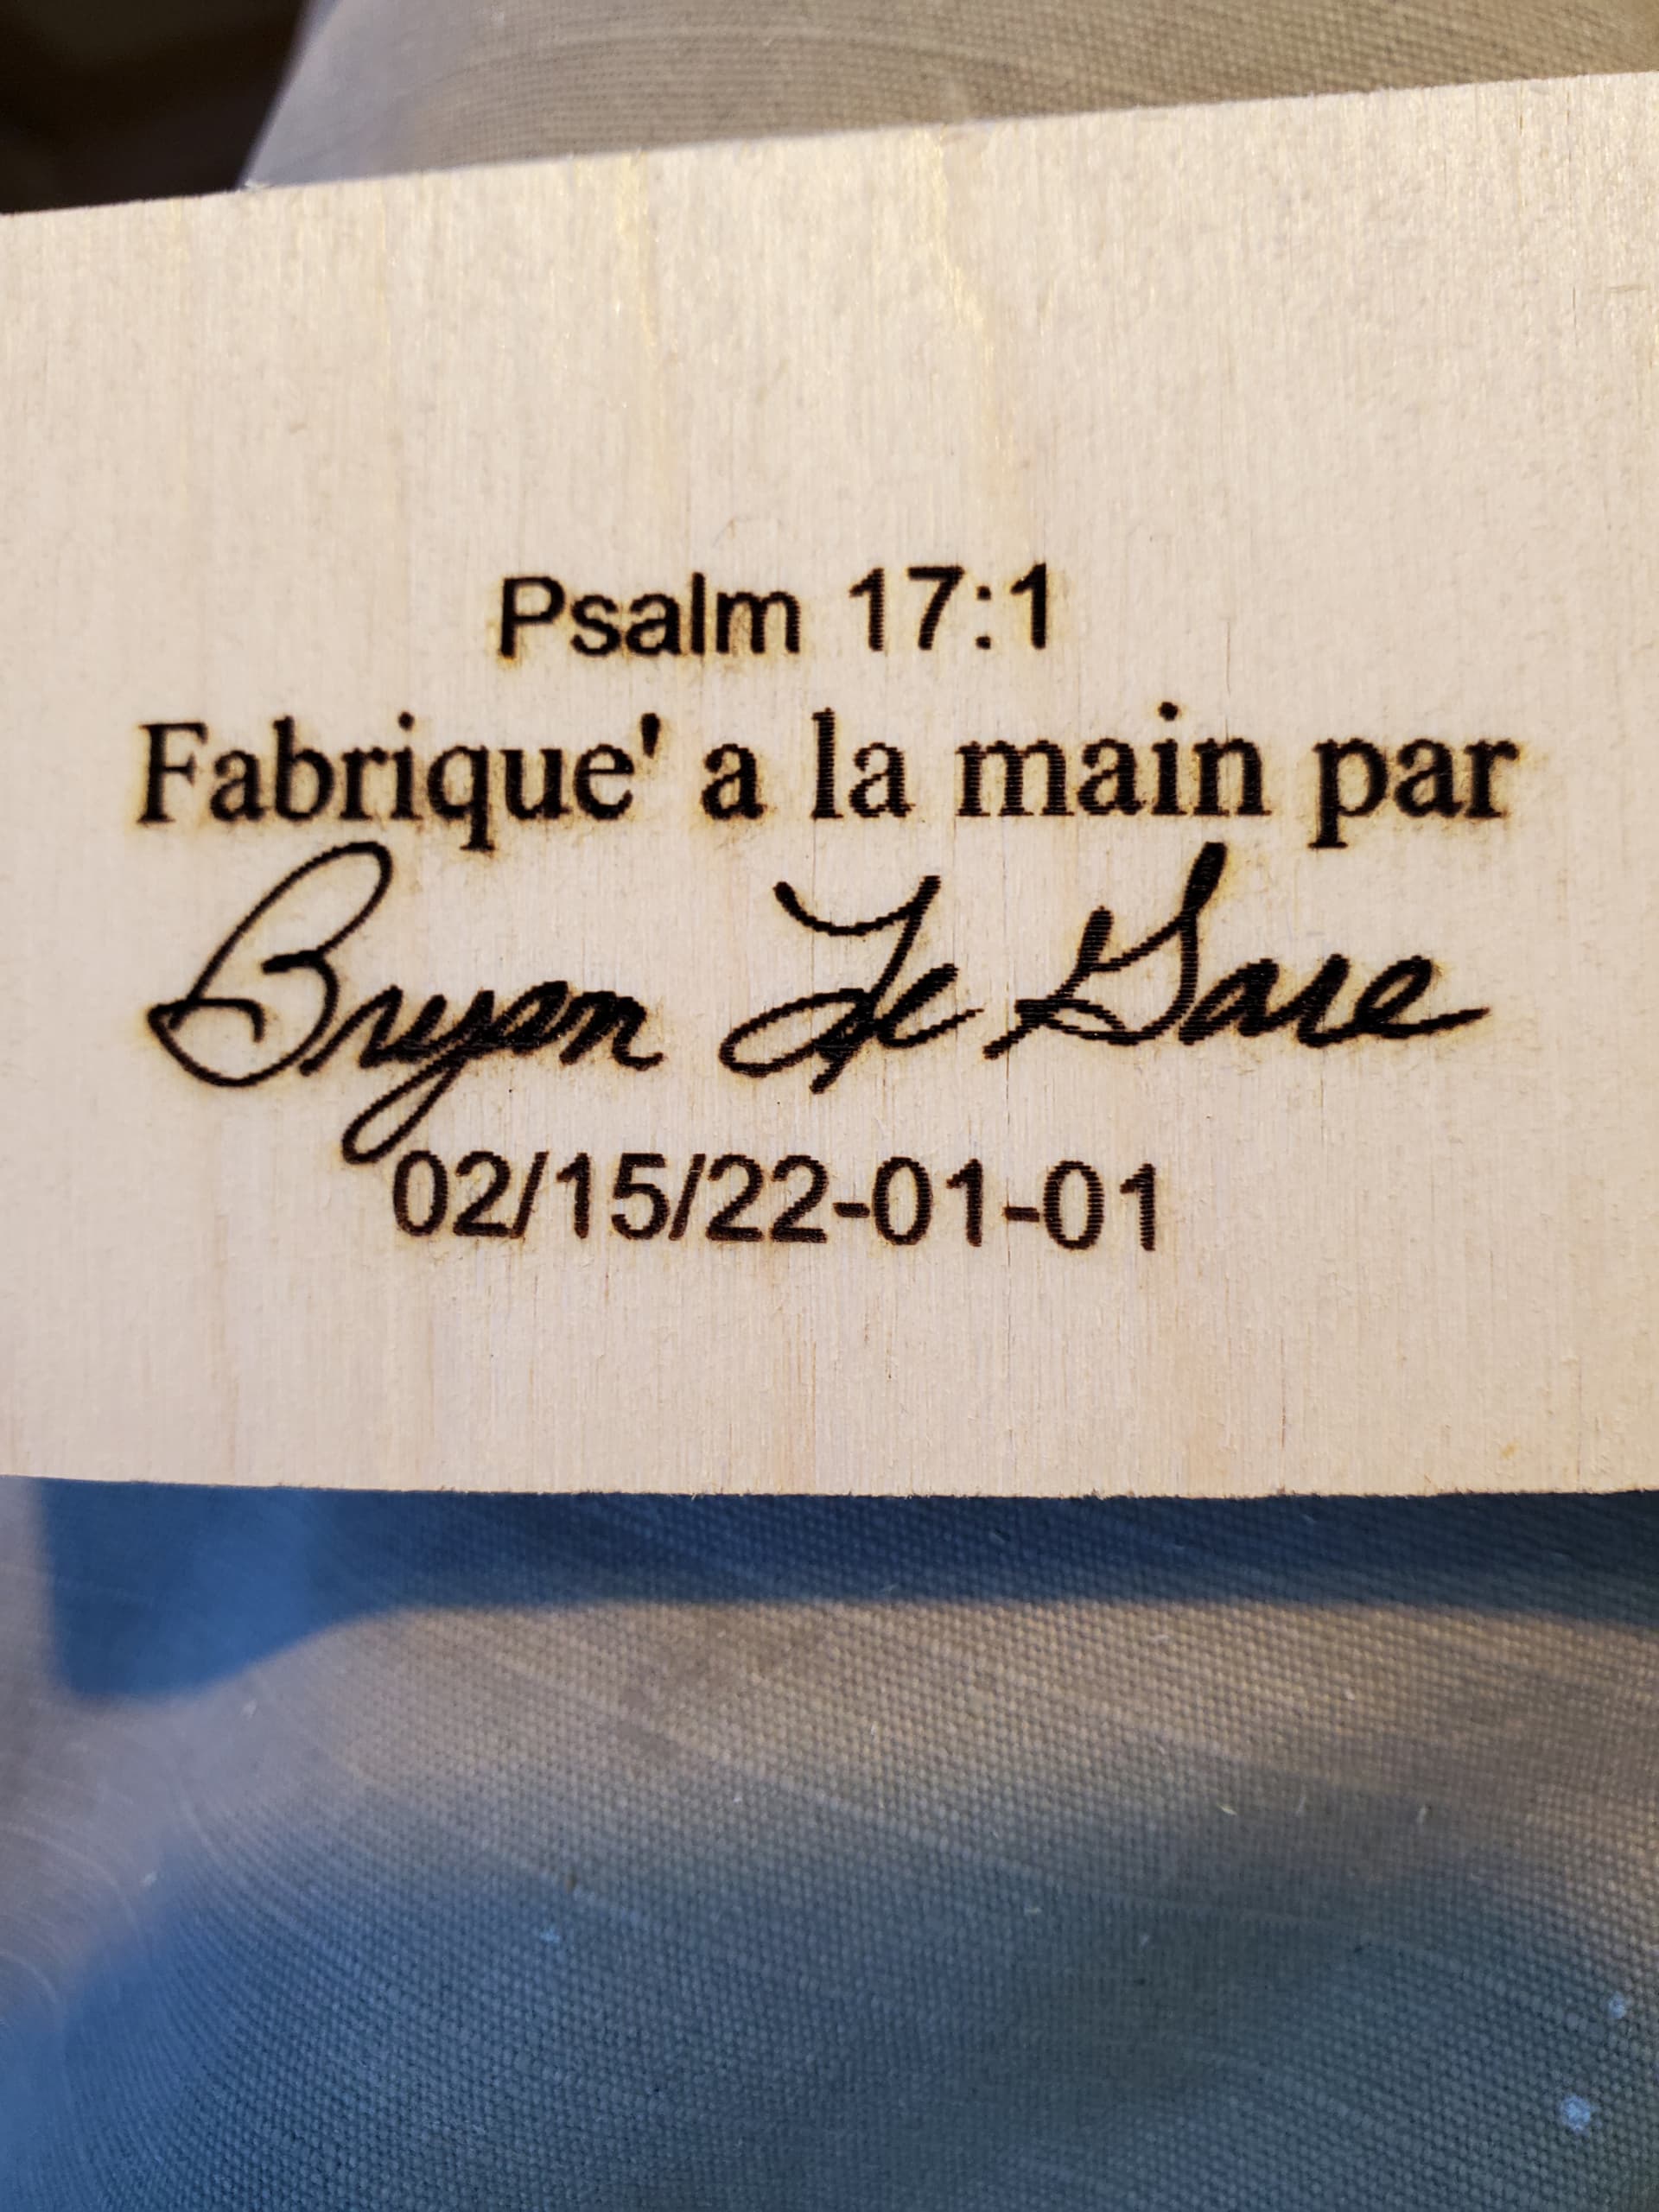
Here is a picture of the last run, which I’m not altogether unhappy with. It could use some refinement, but I don’t know how to go about that.
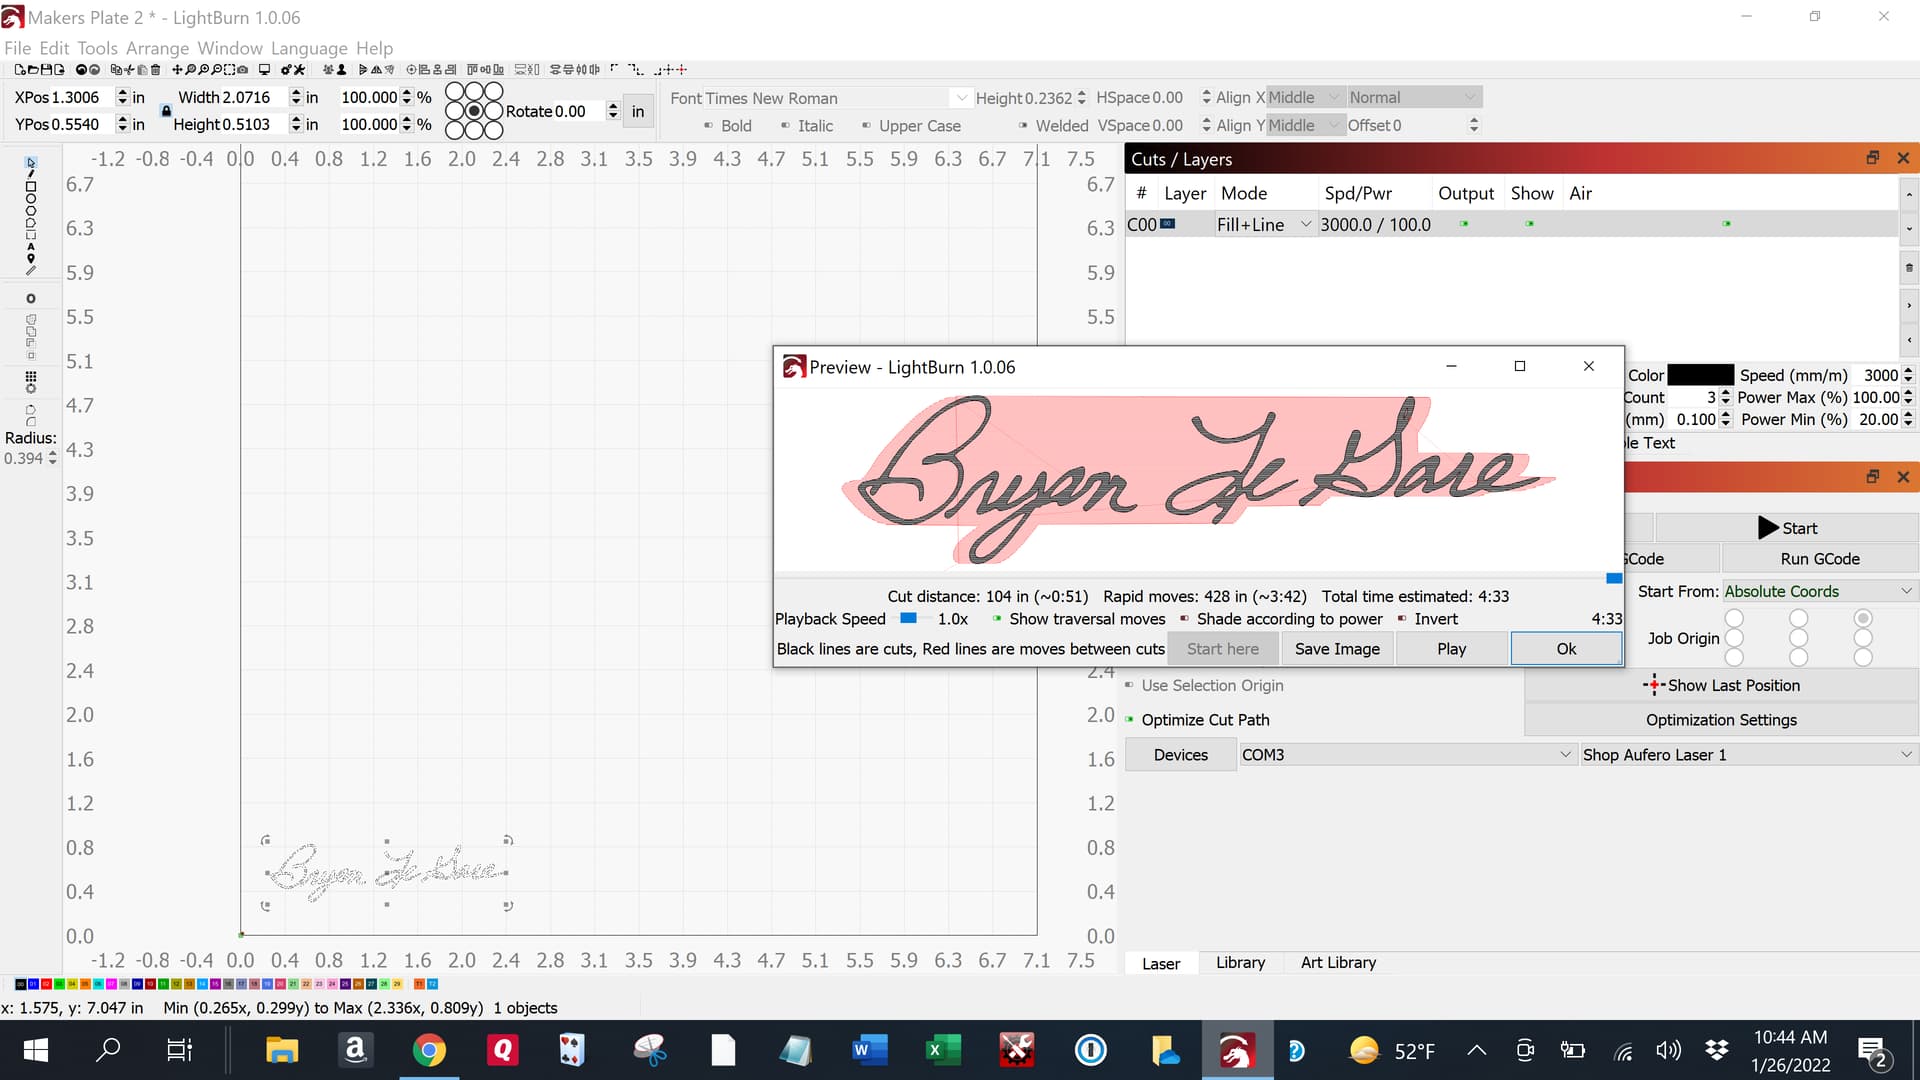
I made a few tweaks to your file… instead of 2 passes I switched to a cross-hatch. This will run horizontally, then vertically. Reduced the power to 85%. I like to run less than 100% to help extend the life of the diode.
Also rotated the signature just slightly so that it ran straight across the signature line.
One thing I’m noticing with your sample is that there appears to be a pretty exaggerated stair-step effect. Not certain but I think this may be caused by an offset scanning issue.
It seems the vertical pass did not finish. But doing this has revealed some additional mechanical issues in your setup.
Check these things:
belt tension for all belts. There should be no slack and be taught but not stretched.
make sure pulley is not loose on the stepper shaft. Make sure grub screw is tight against the flat portion of the shaft.
make sure you have proper wheel gap between wheels and rails. There should be little wobble and no gap especially on the X-Axis gantry. If you need to adjust these there are eccentric nuts that sit between the wheel and the plate. Turn these to adjust height of the wheels until any gap is removed. Take care to not overtighten. The laser head should move freely to all corners with little resistance and no binding.
In your very first image, you’re likely using one of the dithering modes to run the image, and those are typically used with photos to retain accurate shading. If you use ‘Threshold’ mode instead, it’s a simple black / white cutoff, which would likely work better for you, and you wouldn’t need to trace the image to run it.
I think the best way to reproduce a signature with the laser is to make it in a single line vector… I don’t know how to do that in Lightburn, but using the Pencil tool in Inkscape with a Pen Table I make the signature and save it as .svg , then I send it to the machine to do the burning… the laser will traverse the line just like a pen on paper.
I made a video example.
That is what I run into so much. The talk of an experienced user. I can’t explain it well but I’m not experienced. Right click on the picture of your signature and click trace. It should take away the background. While the box is still open make sure the black lines meet everywhere bc if there is not black line there will be no engraving. I’m not sure the name of the button but one right under the image you can slide it a little if there are some light spots. I’m not real familiar with that button but have used it a little. How this helps

 I did manage to separate the background from the signature though so that’s something

 I went back to two passes and slowed it down a bit.
")