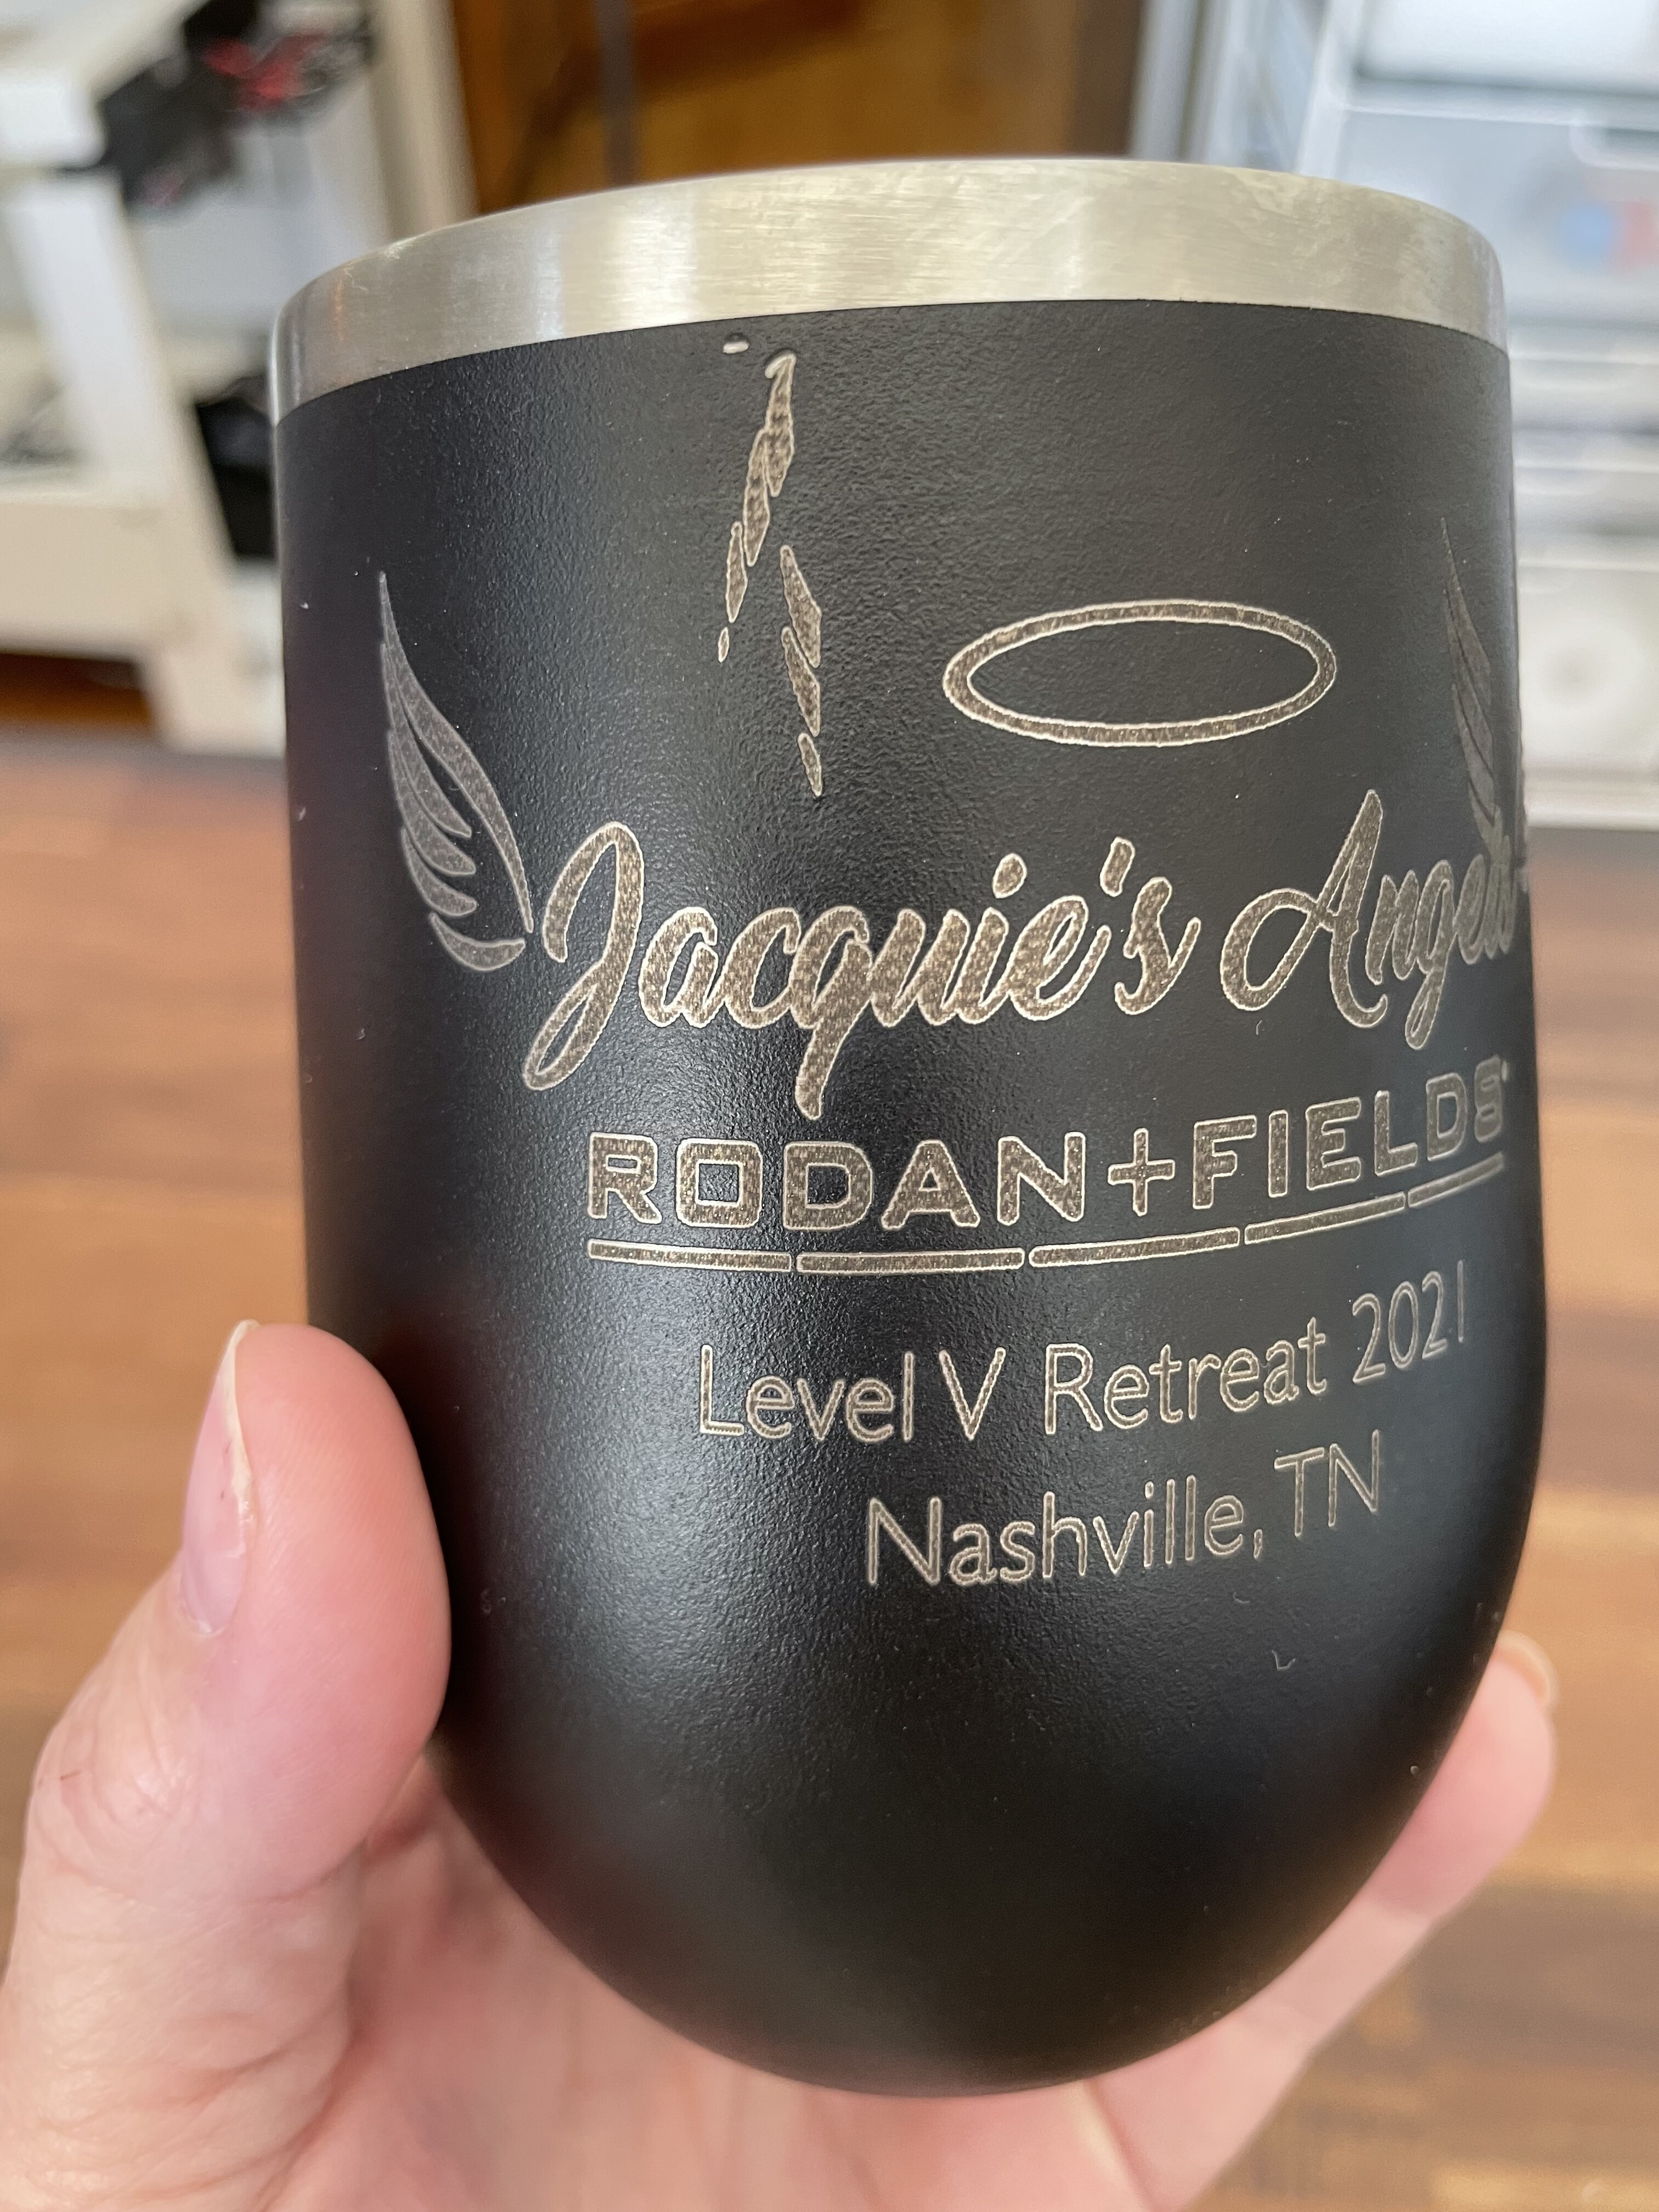
Hi, I have been using Lightburn for about a year now and have been able to figure out most of my issues on my own, but this one has me stumped. I have a logo file sent to me by a customer that wants it on a tumbler. Using photoshop, I filled in all of the areas with the color black and saved it as a png. (this has worked in the past) But, when I import the png and attempt to engrave it, the laser engraves an exterior outline for each part of the design while the interior of the design is hardly engraved at all. When looking at the file, there is no outline, only a solid black design. I’ve never run into this issue and I’m stumped. Any suggestions?
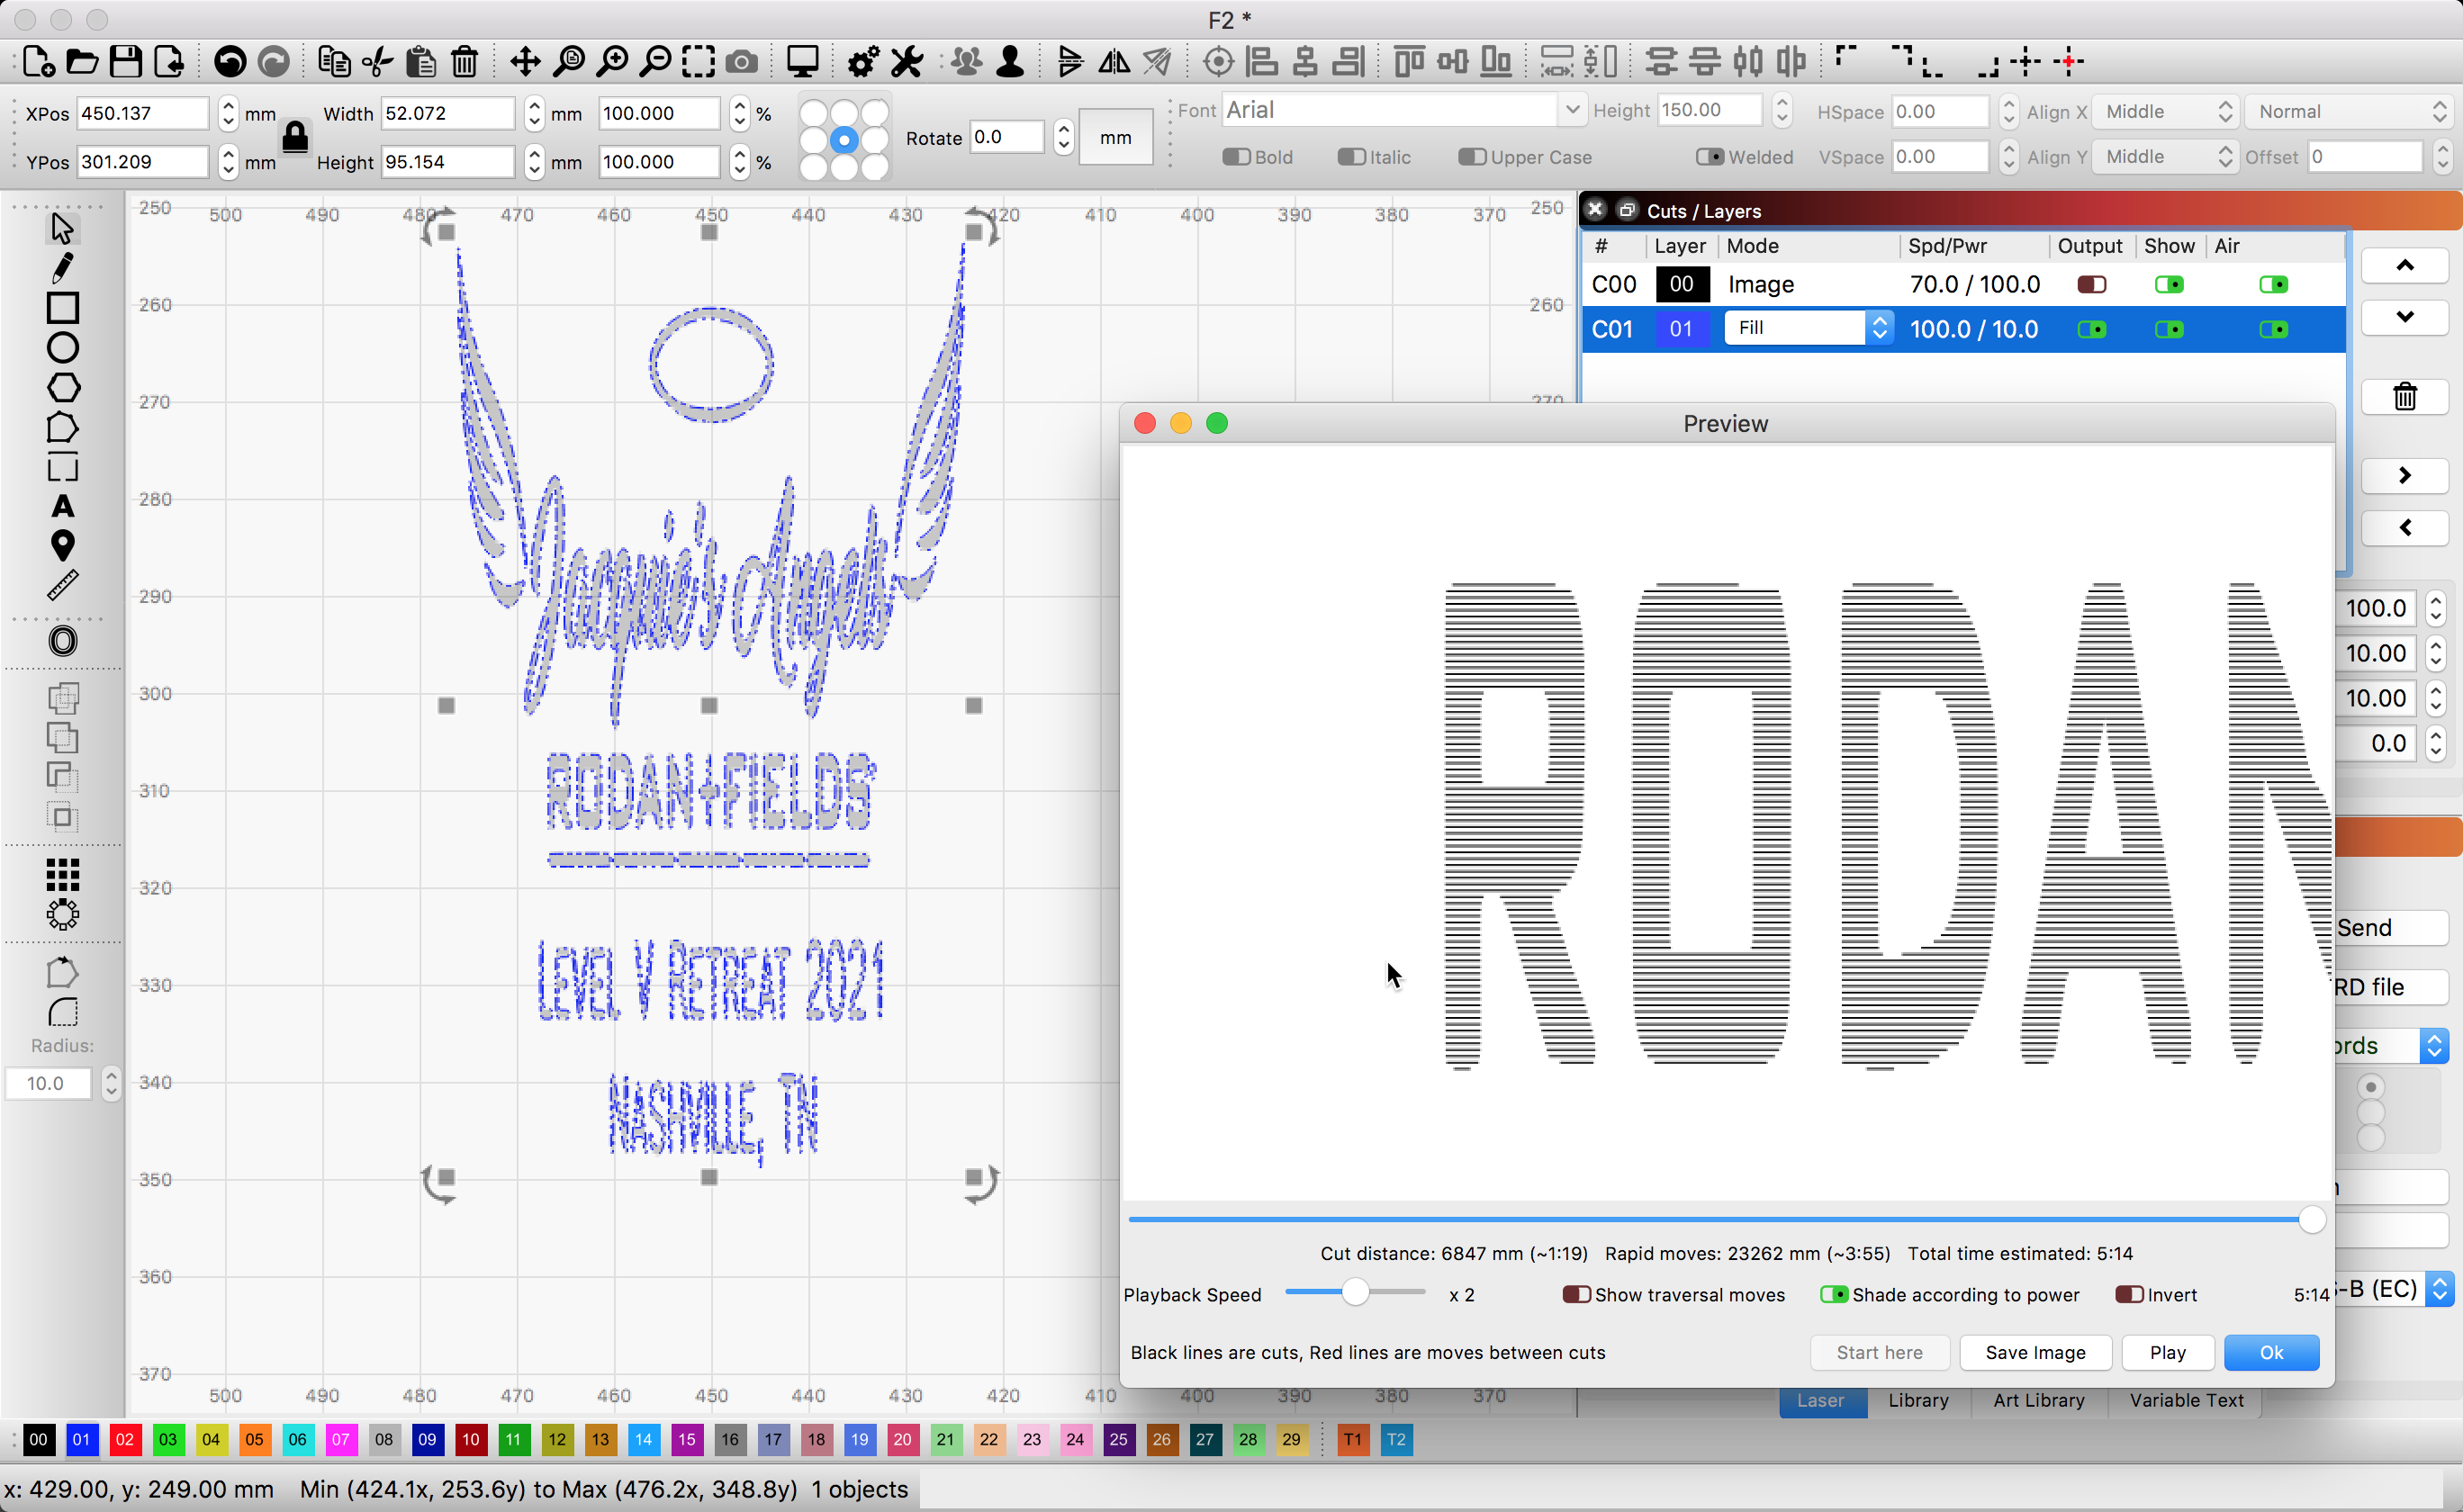
You have the image mode set to Stucki dithering. For a black/white image with no gray scale you should use “threshold” instead. That’s probably the source of the trouble.
I’ll also mention that 600dpi is extremely optimistic for your CO2 laser and about 1/2 that around 300 dpi would probably be more realistic.
I am seeing this images does have some artifacts. I might look to produce this as vector art to provide crisp boundaries for each shape. There is no shading in this art, so a vector fill would be my personal choice.
Thank you so much for your quick reply, but I’m afraid I have no idea what you just said. LOL Will the trace image and fill create the vector fill you mentioned? Will that eliminate the outline effect I am getting, or do I use both the original image and then the vector fill. I’m a totally self taught newbie so I’m sorry if I’m asking dumb questions. And Yes thanks Hank, although I have no idea what that means overdriving the tube, I will adjust it. 85% sound ok? You guys are the best for helping me figure this one out!!!
No worries. We all started this journey at some point, you are fine. Yes, that is the process to create exactly what I show in the last image above.
Yes, using vectors should give a clean, consistent burn without the “outline effect” you see when using your image. For this, you do not need to use your image after trace.
Think of it as going as fast as your car can go, all the time. Not good for the car and will most probably shorten life. In this case…the laser tube. More is not always better. It is always best to run anything south of full blast, at least until you become comfortable knowing the result.
Let me point you to some additional resources that should help.
Start with this:
And here is an overview from our in-progress documentation: Redirecting...
When you adjust power you are adjusting the current through the tube and CO2 laser tubes can be very easily damaged (as in have very short lives) if the current through them exceeds their comfort level.
When the current exceeds their maximum ratings the lifespan plummets dramatically.
The specifications for the 80 watt tube in my machine are “28 milliamps absolute maximum” and “25 milliamps maximum recommended for long tube life”.
The problem is that many machines (like mine) will reach their “absolute max current” at around 80% indicated and “recommended safe” at around 70% indicated. So it’s easy to unknowingly be cooking your tube by running your jobs anywhere near 100% power.
That “absolute max percentage” can vary a lot between individual machines so my max % may be quite different from your max % for safe operation.
Many folks install a milliamp meter on the machine so they can see how much current the tube actually draws and what percent indicated in Lightburn is safe.
If you want to know more about that a search for “milliamp meter” on this site will probably get you lots more info.
TLDR;
Having said all that, if it was MY machine and I hadn’t measured it yet I would probably run my jobs at 70% power or less until I had verified the current.
Man you guys are AWESOME!!! And to think I have been afraid to post on the site for fear you would shake your head and laugh! LOL
I know there is SOOOO much I do not know and you guys have given me a ton of info in just these few short hours. Thank you so, very much!!!
One last thing, are you aware of any issues with the newest release of lightburn? When I tried to send this to the laser after upgrading it hangs and never starts engraving. I had to switch to my other account and an old computer to get it to laser. I’ll be happy to open a new ticket if this is not the place to ask this question!
You are welcome, we want all to feel welcome. There is a large and growing knowledge base in these posts, so search is a friend you should visit often. It can really help speed the learning process.
As for “issues” with the latest…, we are aware of some issues and are working to resolve. With our latest, 9.24 release, you should be able to use ‘Send’ to transfer a named file on to the controller and run from the lasers HMI panel screen (Human to Machine Interface).
You can also roll back to 9.20 or earlier from this Older Version link if this does not resolve the issue you are experiencing.