Hi there, I have created artwork in Illustrator and have imported it into Lightburn. I attempted to use the Lightburn camera to cut the artwork. My laser is a Thunder Laser mini 60 and I am working on a mac. The camera that I am using is a 5mp 60. I placed my a copy of my artwork on my laser bed and then imported the same artwork into Lightburn. I could see my artwork that was placed in the laser with my camera. This is how it looked from the camera’s perspective. The red line is where my laser will cut.
Any suggestions? When I mounted my camera on my laser I did angle it so that I could see the whole laser bed. Would that be the reason my cuts are off? I read that my camera has a fish eye lens so I calibrated it accordingly. I also had a lot of trouble calibrating my camera. I was lucky to get the calibration readings to .3. I had to rotate the board with the dots to get some low readings. Was that an ok thing to do? Thanks for any advise!
Sorry, I forgot to mention that when I see my artwork registration marks through the Lighburn camera and I use the Click to Move tool to move the laser head to those marks, the laser head is slightly off. I think this might be part of the same problem. Thanks!
It means the camera has moved since you did the alignment, or the alignment might’ve been slightly off to begin with. For what you’re trying to do here (cutting out a printed design) the Print & Cut feature might be a better choice - it’s easier to get an exact cutout that way.
Thanks Oz! I also tried to do a Print and Cut. Since I don’t have a light on my laser head, it’s hard to see if my laser is exactly on top of my registration marks on my laser bed so I am using my Lightburn “Click to Move” tool, while looking at my camera to move my laser over the registration marks on my printed material that is on the bed, but that brings up the same problem.
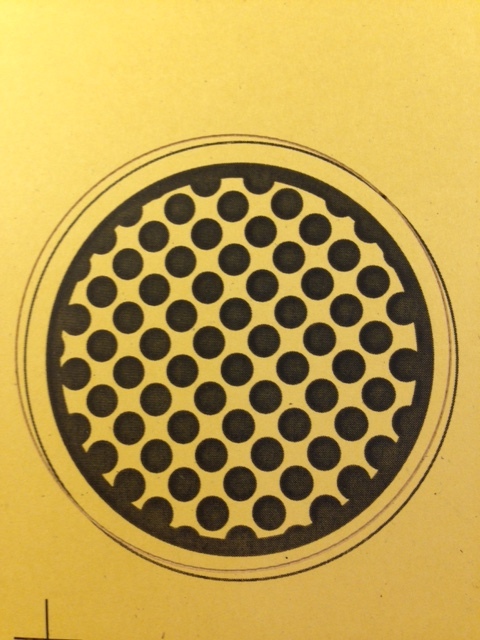
So should I redo my camera alignment and my camera calibration or just the alignment? With what I have been reading on your site. It sounds like I don’t have to calibrate my camera within the laser bed. I can calibrate it anywhere. Does it make a difference how far the dotted pattern is from the camera or is the most important thing just getting a low Image Score when I am calibrating the camera?
Also, does it make a difference if my camera is not looking strait down at the cutting area? Can it be mounted at an angle?
Camera can be mounted at an angle, that’s fine. The dot pattern has to be roughly 1/3rd of the picture when you capture, so the system can measure the curvature properly. If the dot pattern is too small, the measurements won’t be as accurate. You only have to do this once, and low scores are the important part.
After that, every time you capture the background, the camera and the surface of your material have to be in the same place as they were when you did the alignment. If you raise / lower the Z, that’s fine, as long as the top of the material is at the exact same height as the material when you burned the markers.
Lid hinges and struts often have a bit of play in them, and that can cause the alignment to vary a few mm too. Putting shims in the hinges to prevent the lid from sliding side to side, and using a small steel cable or brace to make sure the lid opens to the same exact place can help as well.
Okay, I think my camera is stuck to my laser lid pretty well. There is no give to it and the laser hood has hydraulic lifts and they seem very sturdy when the lid is open but I will check them again and make sure that I open it to the same height every time. The braces are a great idea, thought!
I have only been cutting heavy paper when I do my camera alignment and all my test cuts have been on heavy paper as well. My bed does not go up and down so I won’t have that problem unless I change to a thicker or thinner material, correct?
So should I redo the camera alignment and the camera calibration to solve this problem?
You shouldn’t need to redo the lens calibration, but the alignment couldn’t hurt to do again. Use the largest scale value that will comfortably fit in the machine, as that will help reduce the error from clicking the markers a little inaccurately.