J’utilise un Omtech K40+ sur GRBL avec Lightburn à jour, branché directement sur un pc portable Windows 11 branché sur secteur. Je sécurise mes supports avec des cales adaptées pour éviter le déplacement en cours de gravure.
Je rencontre plusieurs problèmes :
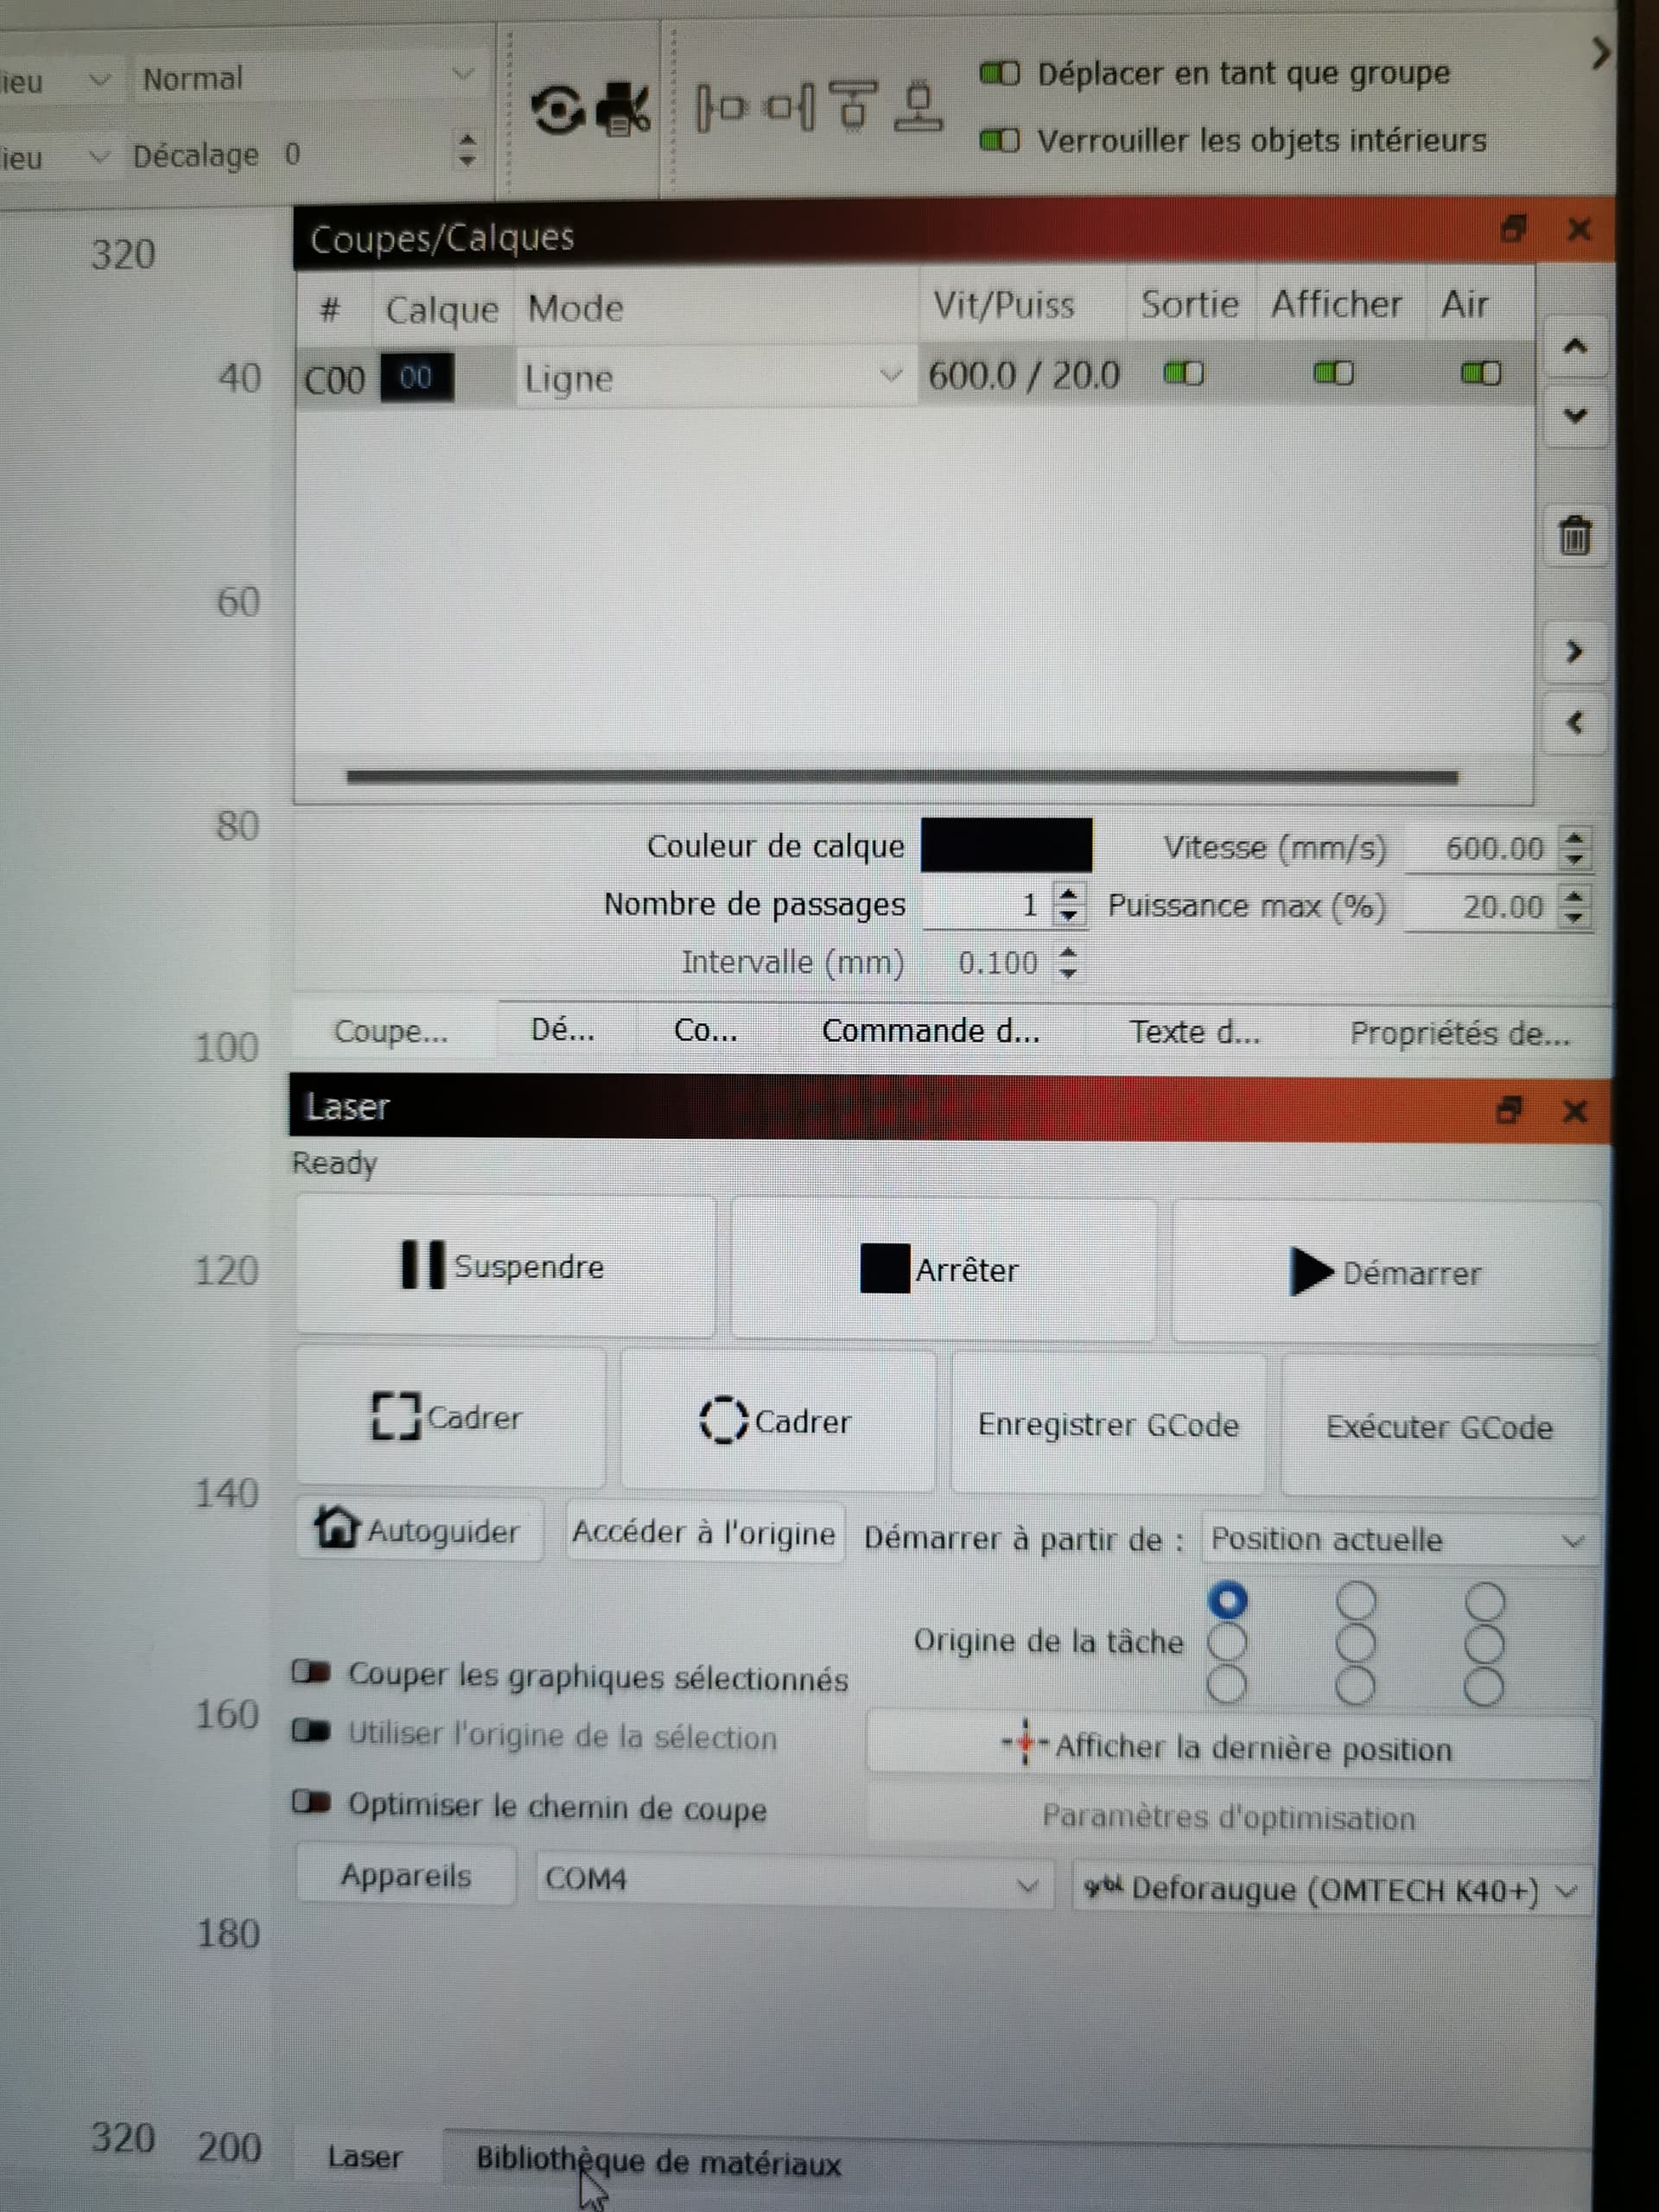
. Parfois, même avec tous les calques en bon ordre et la prévisualisation vérifiée (y compris via animation), la machine “oublie” mon calque de découpe un essai sur deux
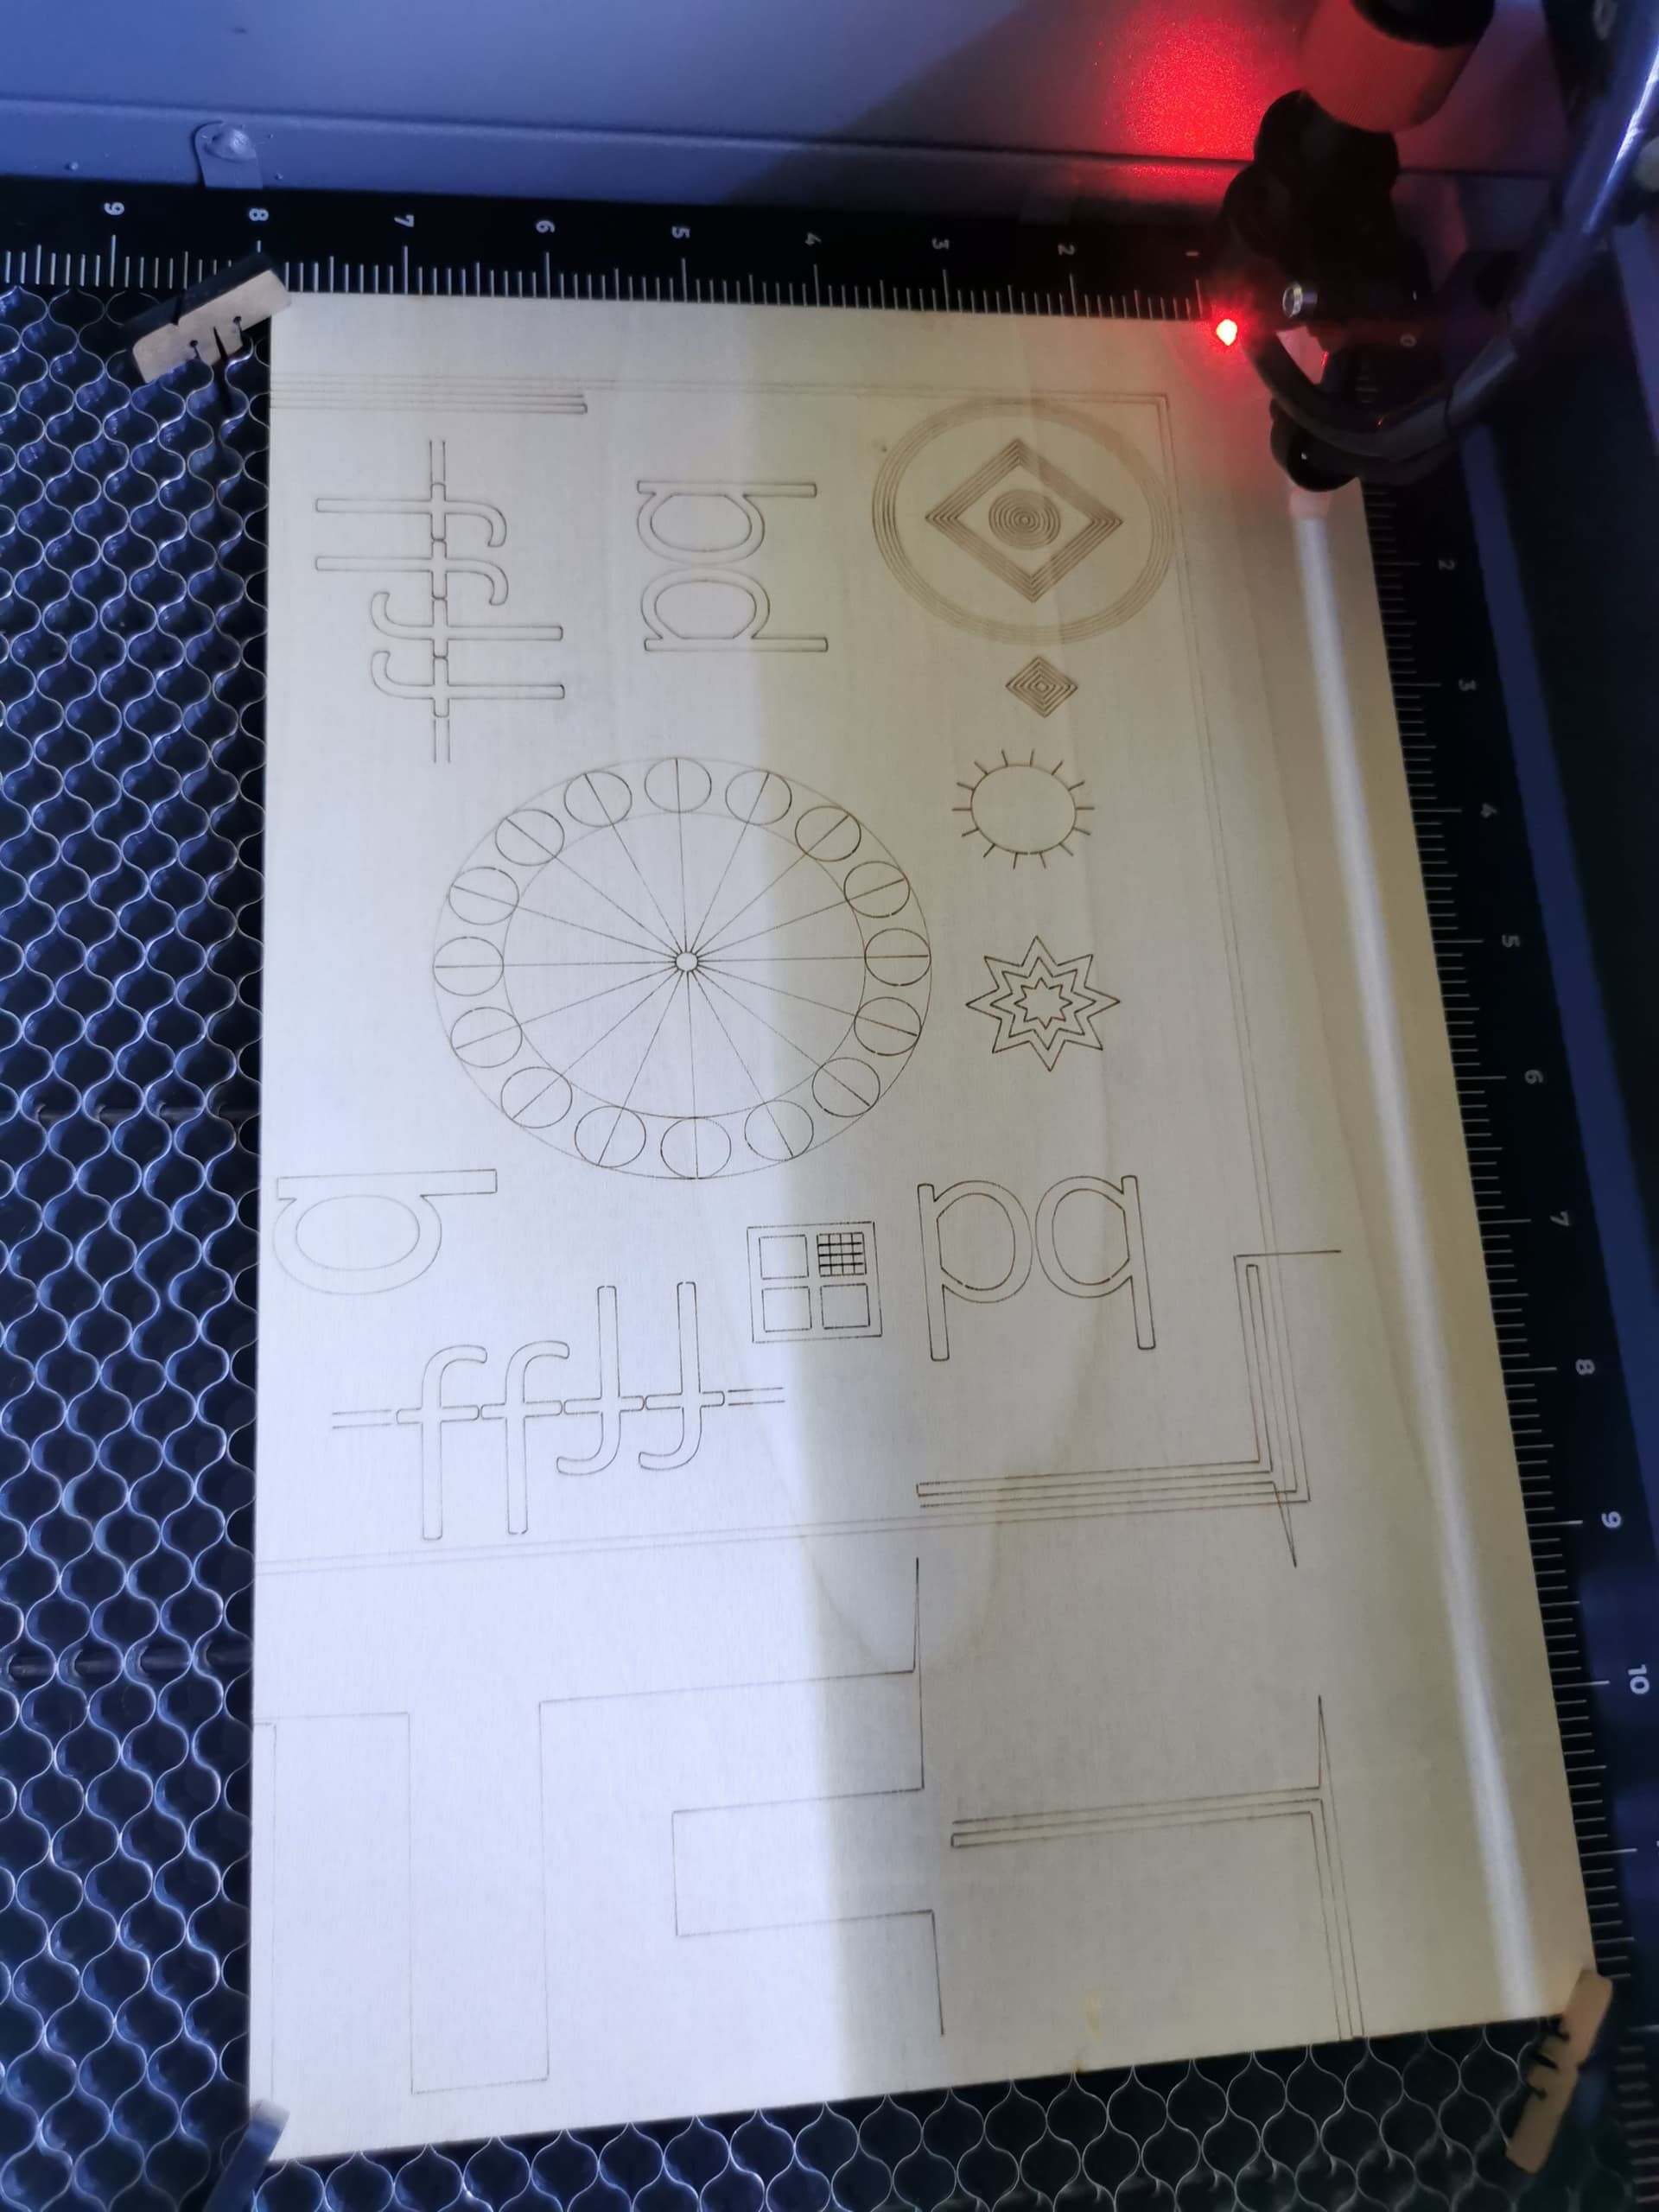
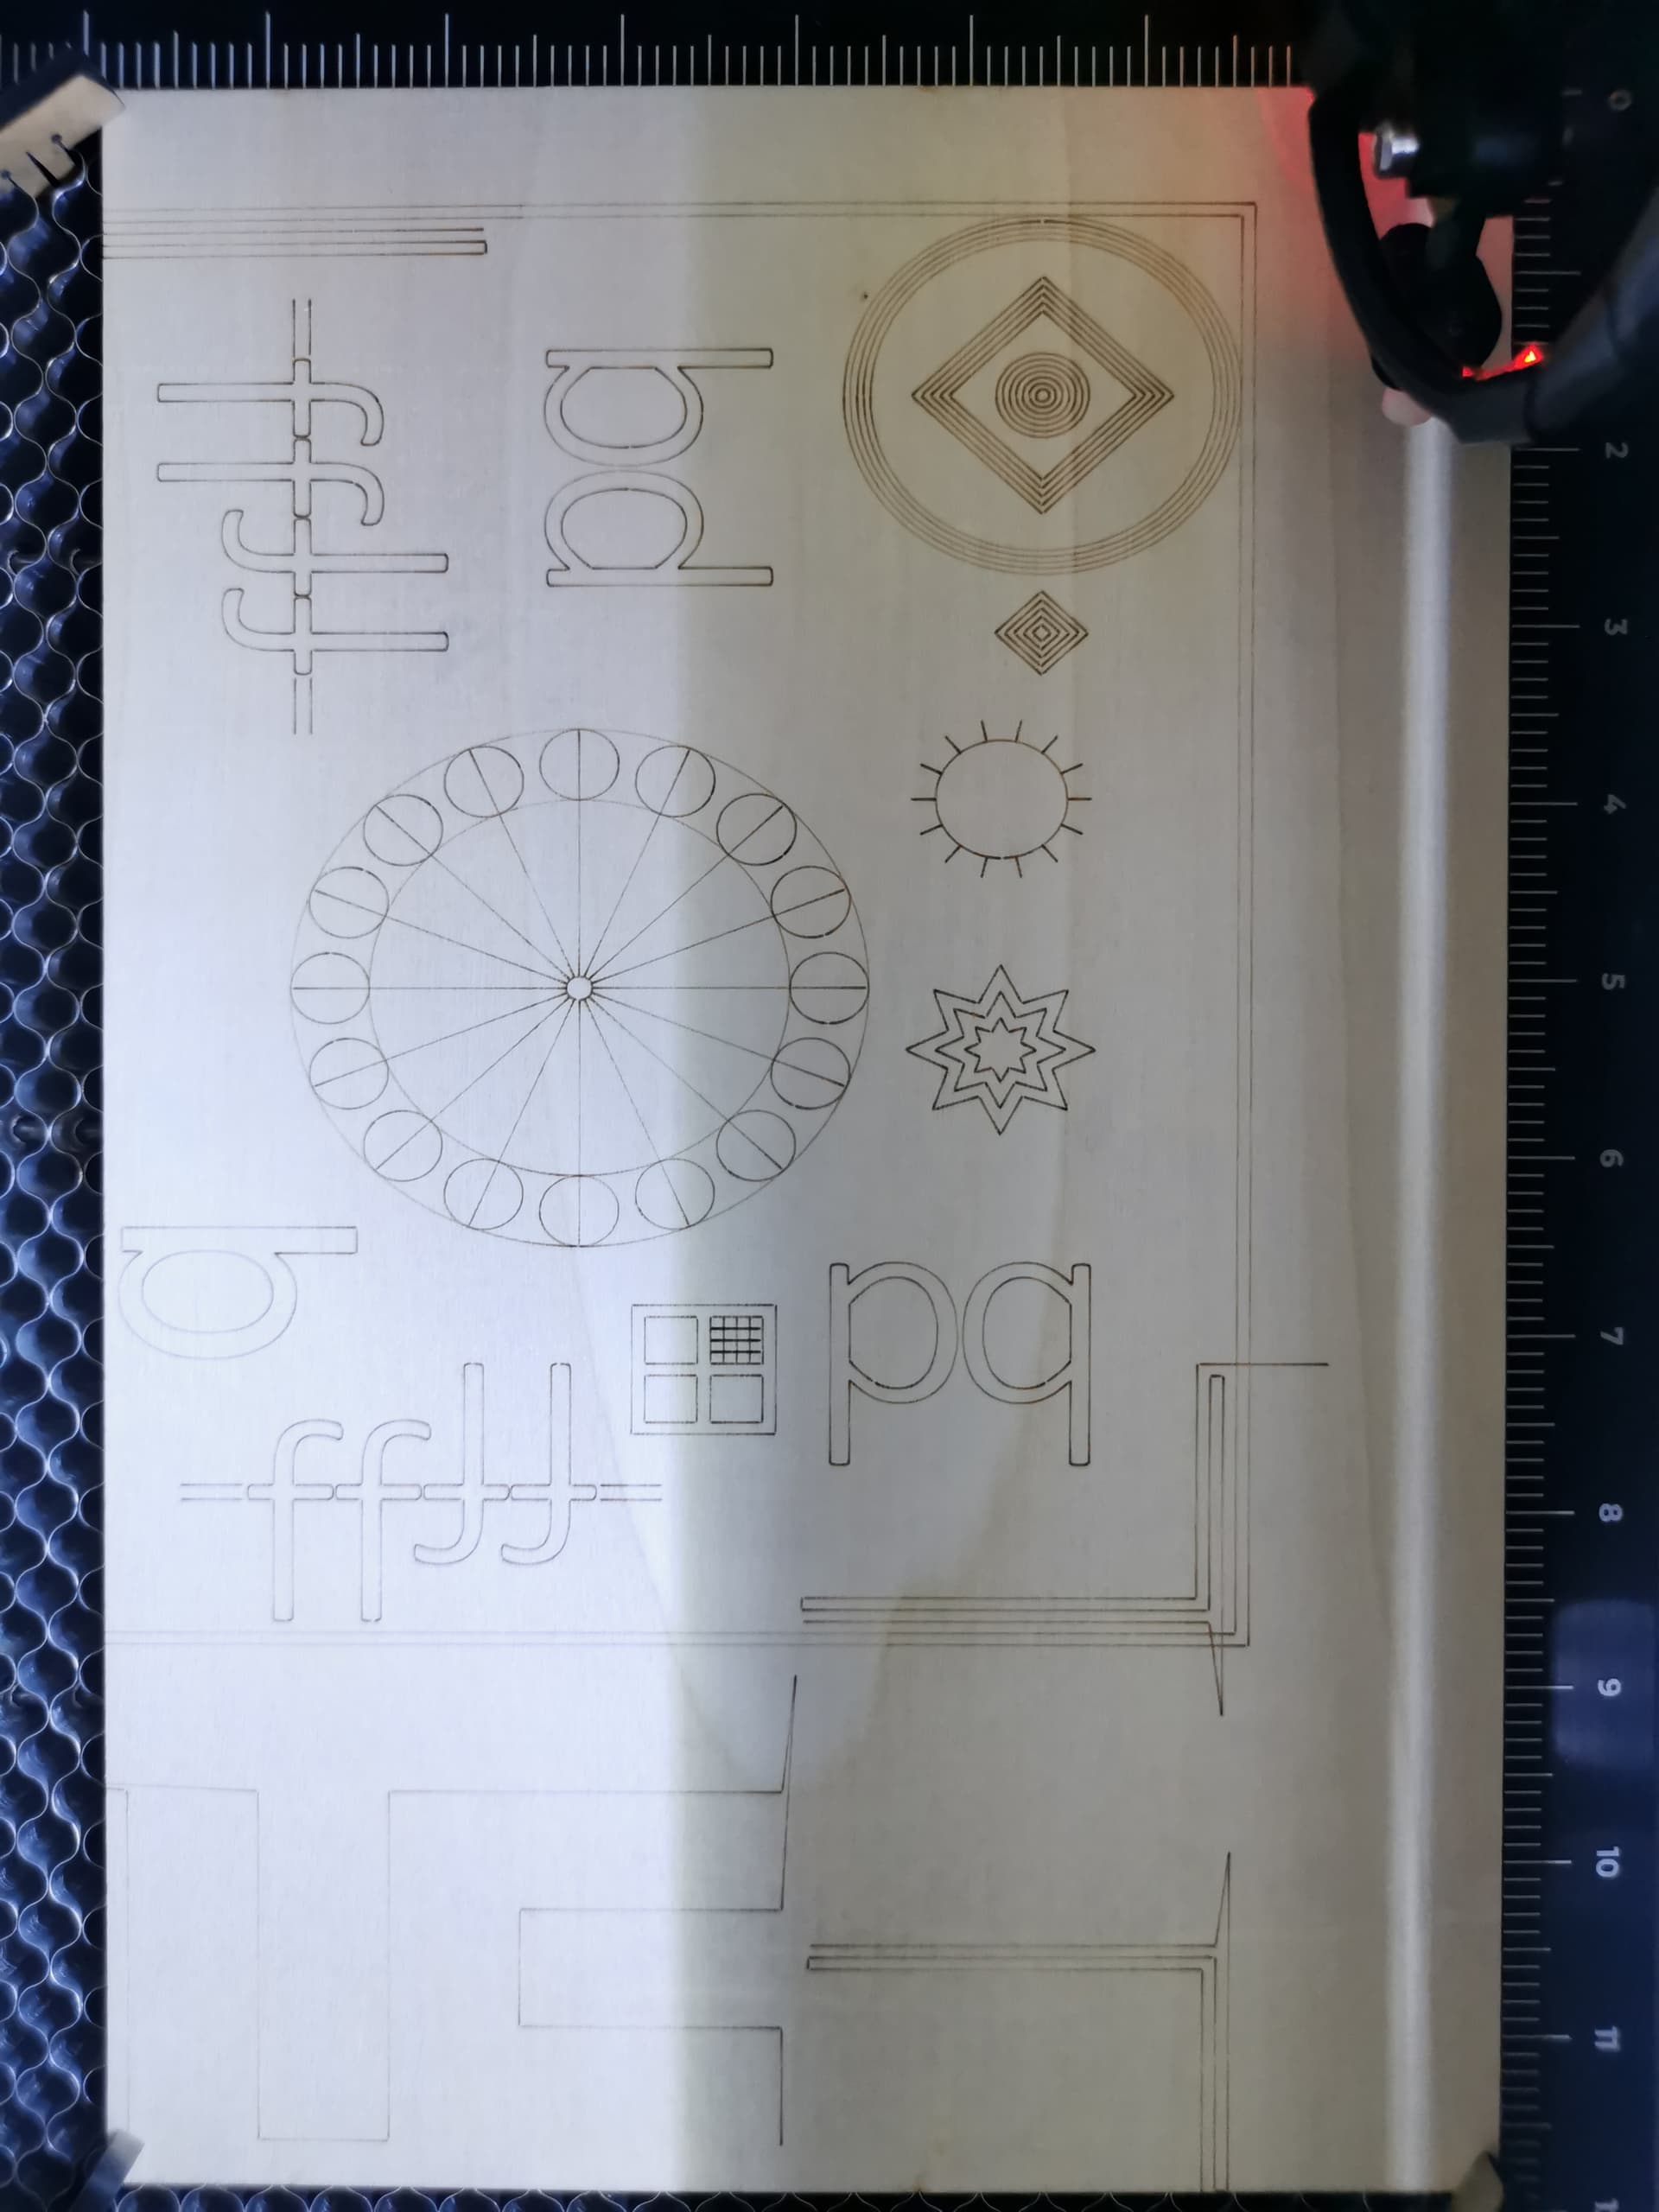
. Mais le problème qui me gêne le plus, c’est cette partie non gravée en haut (et parfois non), que je ne comprend pas, et le décalage vers la droite qui arrive parfois (et parfois non) sans que je sache pourquoi.
J’ai vérifié sur la grille LB, via l’aperçu, le laser est en bonne place à l’origine, j’ai même fait un test à blanc pour vérifier que le laser ne dépasse pas du support pendant son tracé externe du projet, j’ai testé aussi en décalant l’image à graver sur la gauche (et c’est même pire…). Cette fois ce n’est pas la batterie/mise en veille du pc portable. Je ne sais pas quoi faire d’autre et mes recherches préliminaires sur google n’ont rien donné (mais je n’ai peut être pas les bons mots-clés), je suis assez désemparée.
Est-ce que quelqu’un a une idée de ce qui pourrait causer ça ?
//
Hi,
I use an OMTech K40+ with GRBL and latest Lightburn version, plug on a laptop running Windows 11, plugged into mains. I secure my supports with suitable wedges to prevent them from moving during engraving.
I have two issues :
.Sometimes, even with all the layers in good order and the preview checked (including via animation), the machine “forgets” my cutting layer every other try
. But the problem that bothers me the most is this part not engraved at the top (and sometimes not), which I don’t understand, and the shift to the right which sometimes happens (and sometimes doesn’t) without me knowing why.
I checked on the LB grid, via the preview, the laser is in a good place at the origin, I even did a blank test to check that the laser does not protrude from the support during its external tracing of the project , I also tested by shifting the image to be burned to the left (and it’s even worse…). This time it’s not the battery/laptop standby. I don’t know what else to do and my preliminary searches on google turned up nothing (but maybe I don’t have the right keywords), I’m quite helpless.
Does anyone have any idea what could be causing this?
Bonjour,
Personne n’a d’idée de ce qui pourrait causer ces problèmes ? C’est vraiment très handicapant. Je vais tenter en changeant de cable usb…
///
Hi,
Does anyone have any idea what could be causing these issues? It’s really very debilitating. I’m going to try changing the USB cable…
Not realy. I try with the same material, same image, same file, same laser setting, same place on the laser bed… and the results may vary.
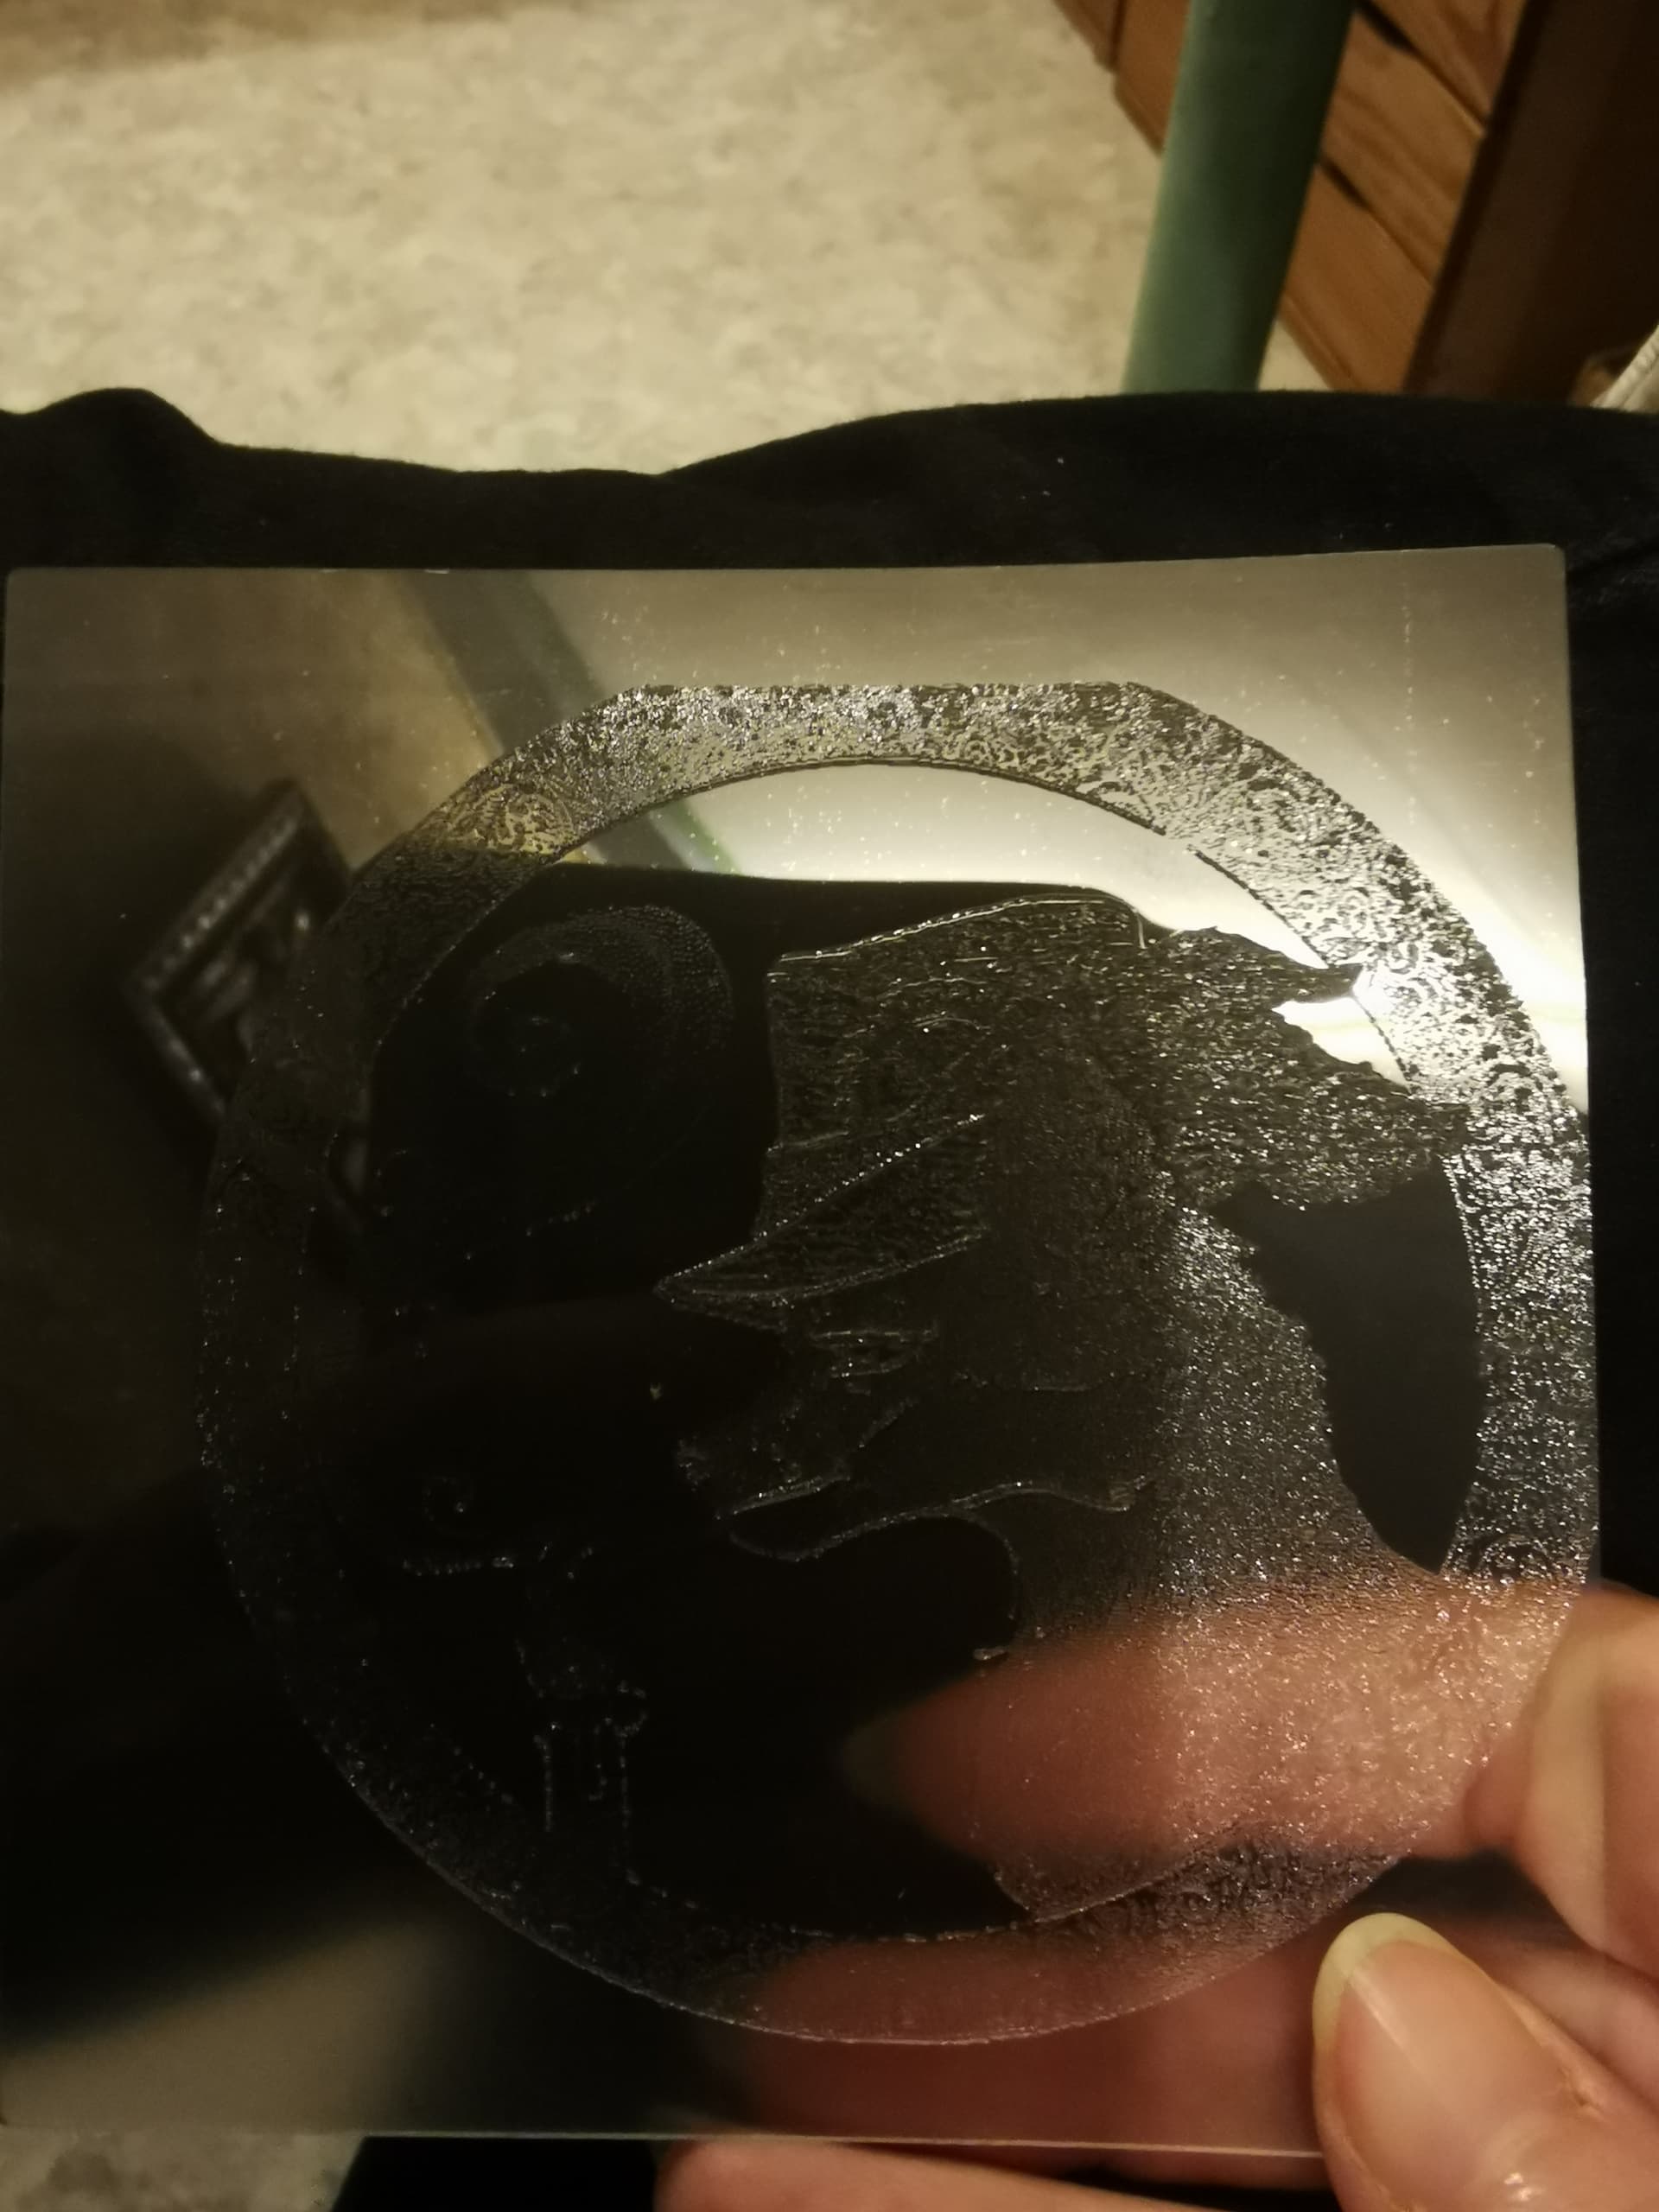
The engraving is clean but offbeat to the right and lastly, to the top. My last try was even tilted.
The laser is nearly new, my first attempts were suitable for scaling grids, and then it started to do more and more weird things.
Does this machine have a red dot pointer? If it is the type that is beside the laser head at an angle, they are notoriously inaccurate. Any time you change the focus height, the dot position changes. They also get bumped out of position very easily.
Have you checked mirror alignment? If alignment is off it will not work correctly.
There could be play in the gantry if things are shifting.
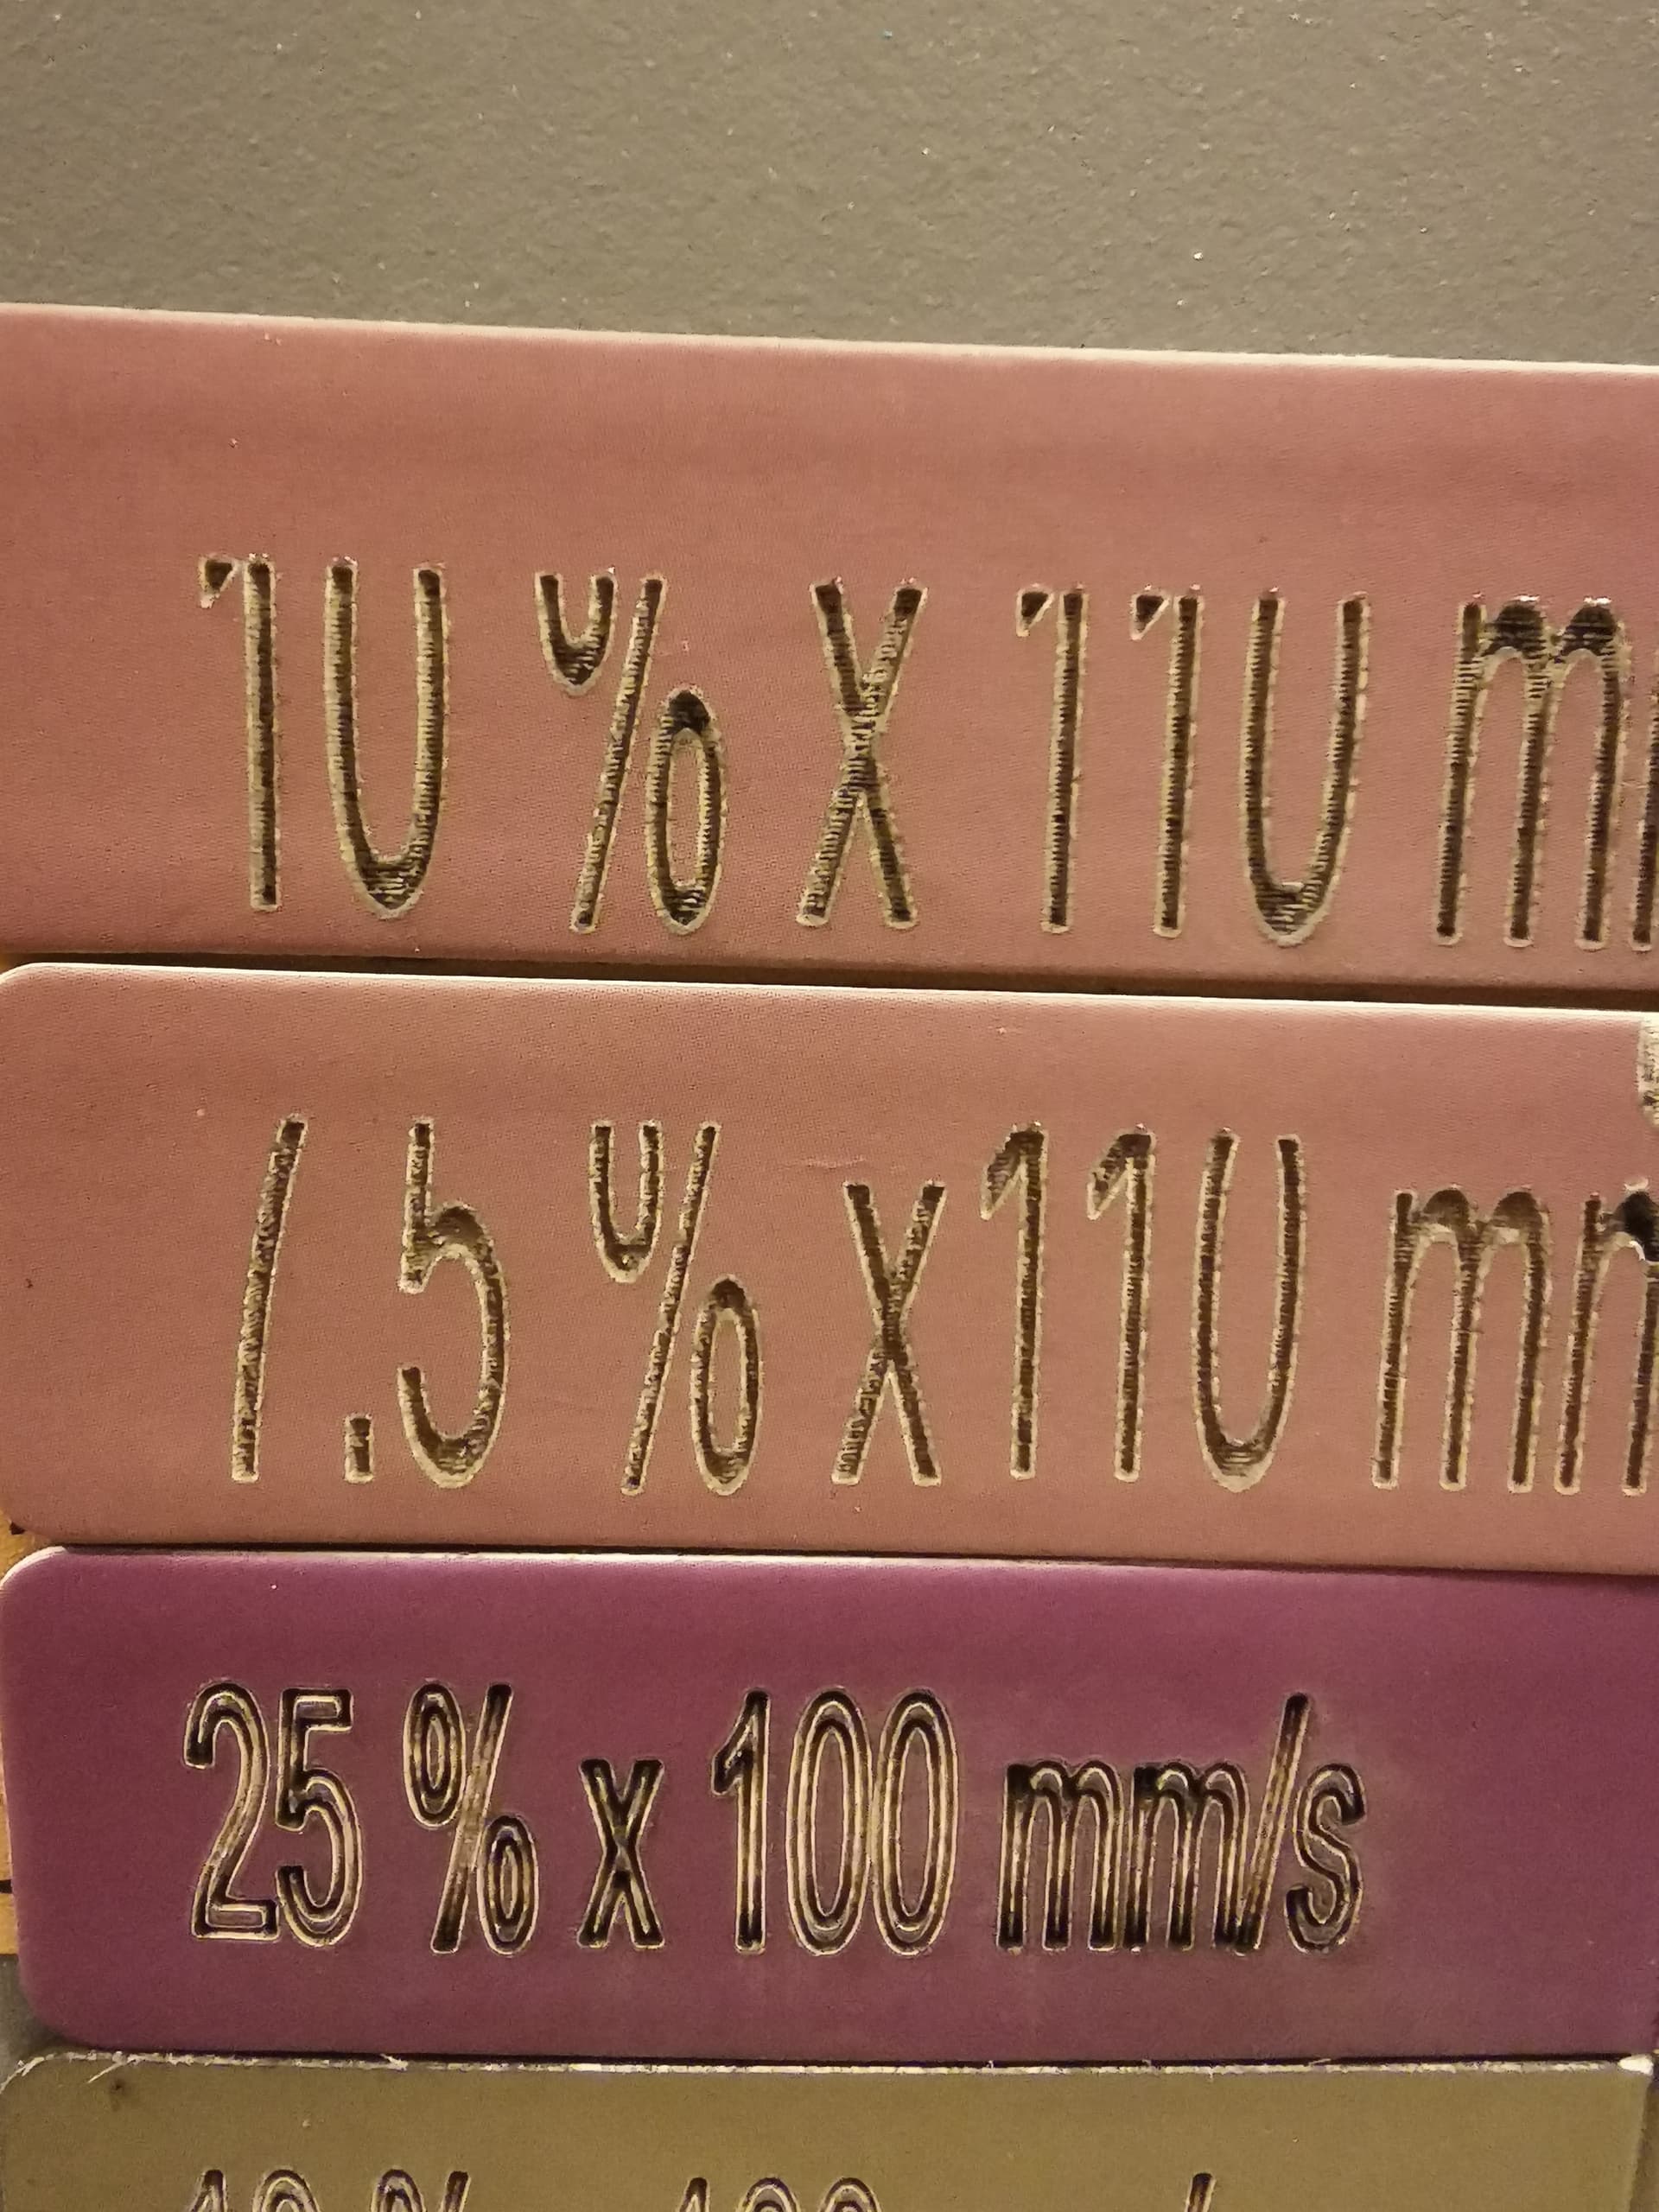
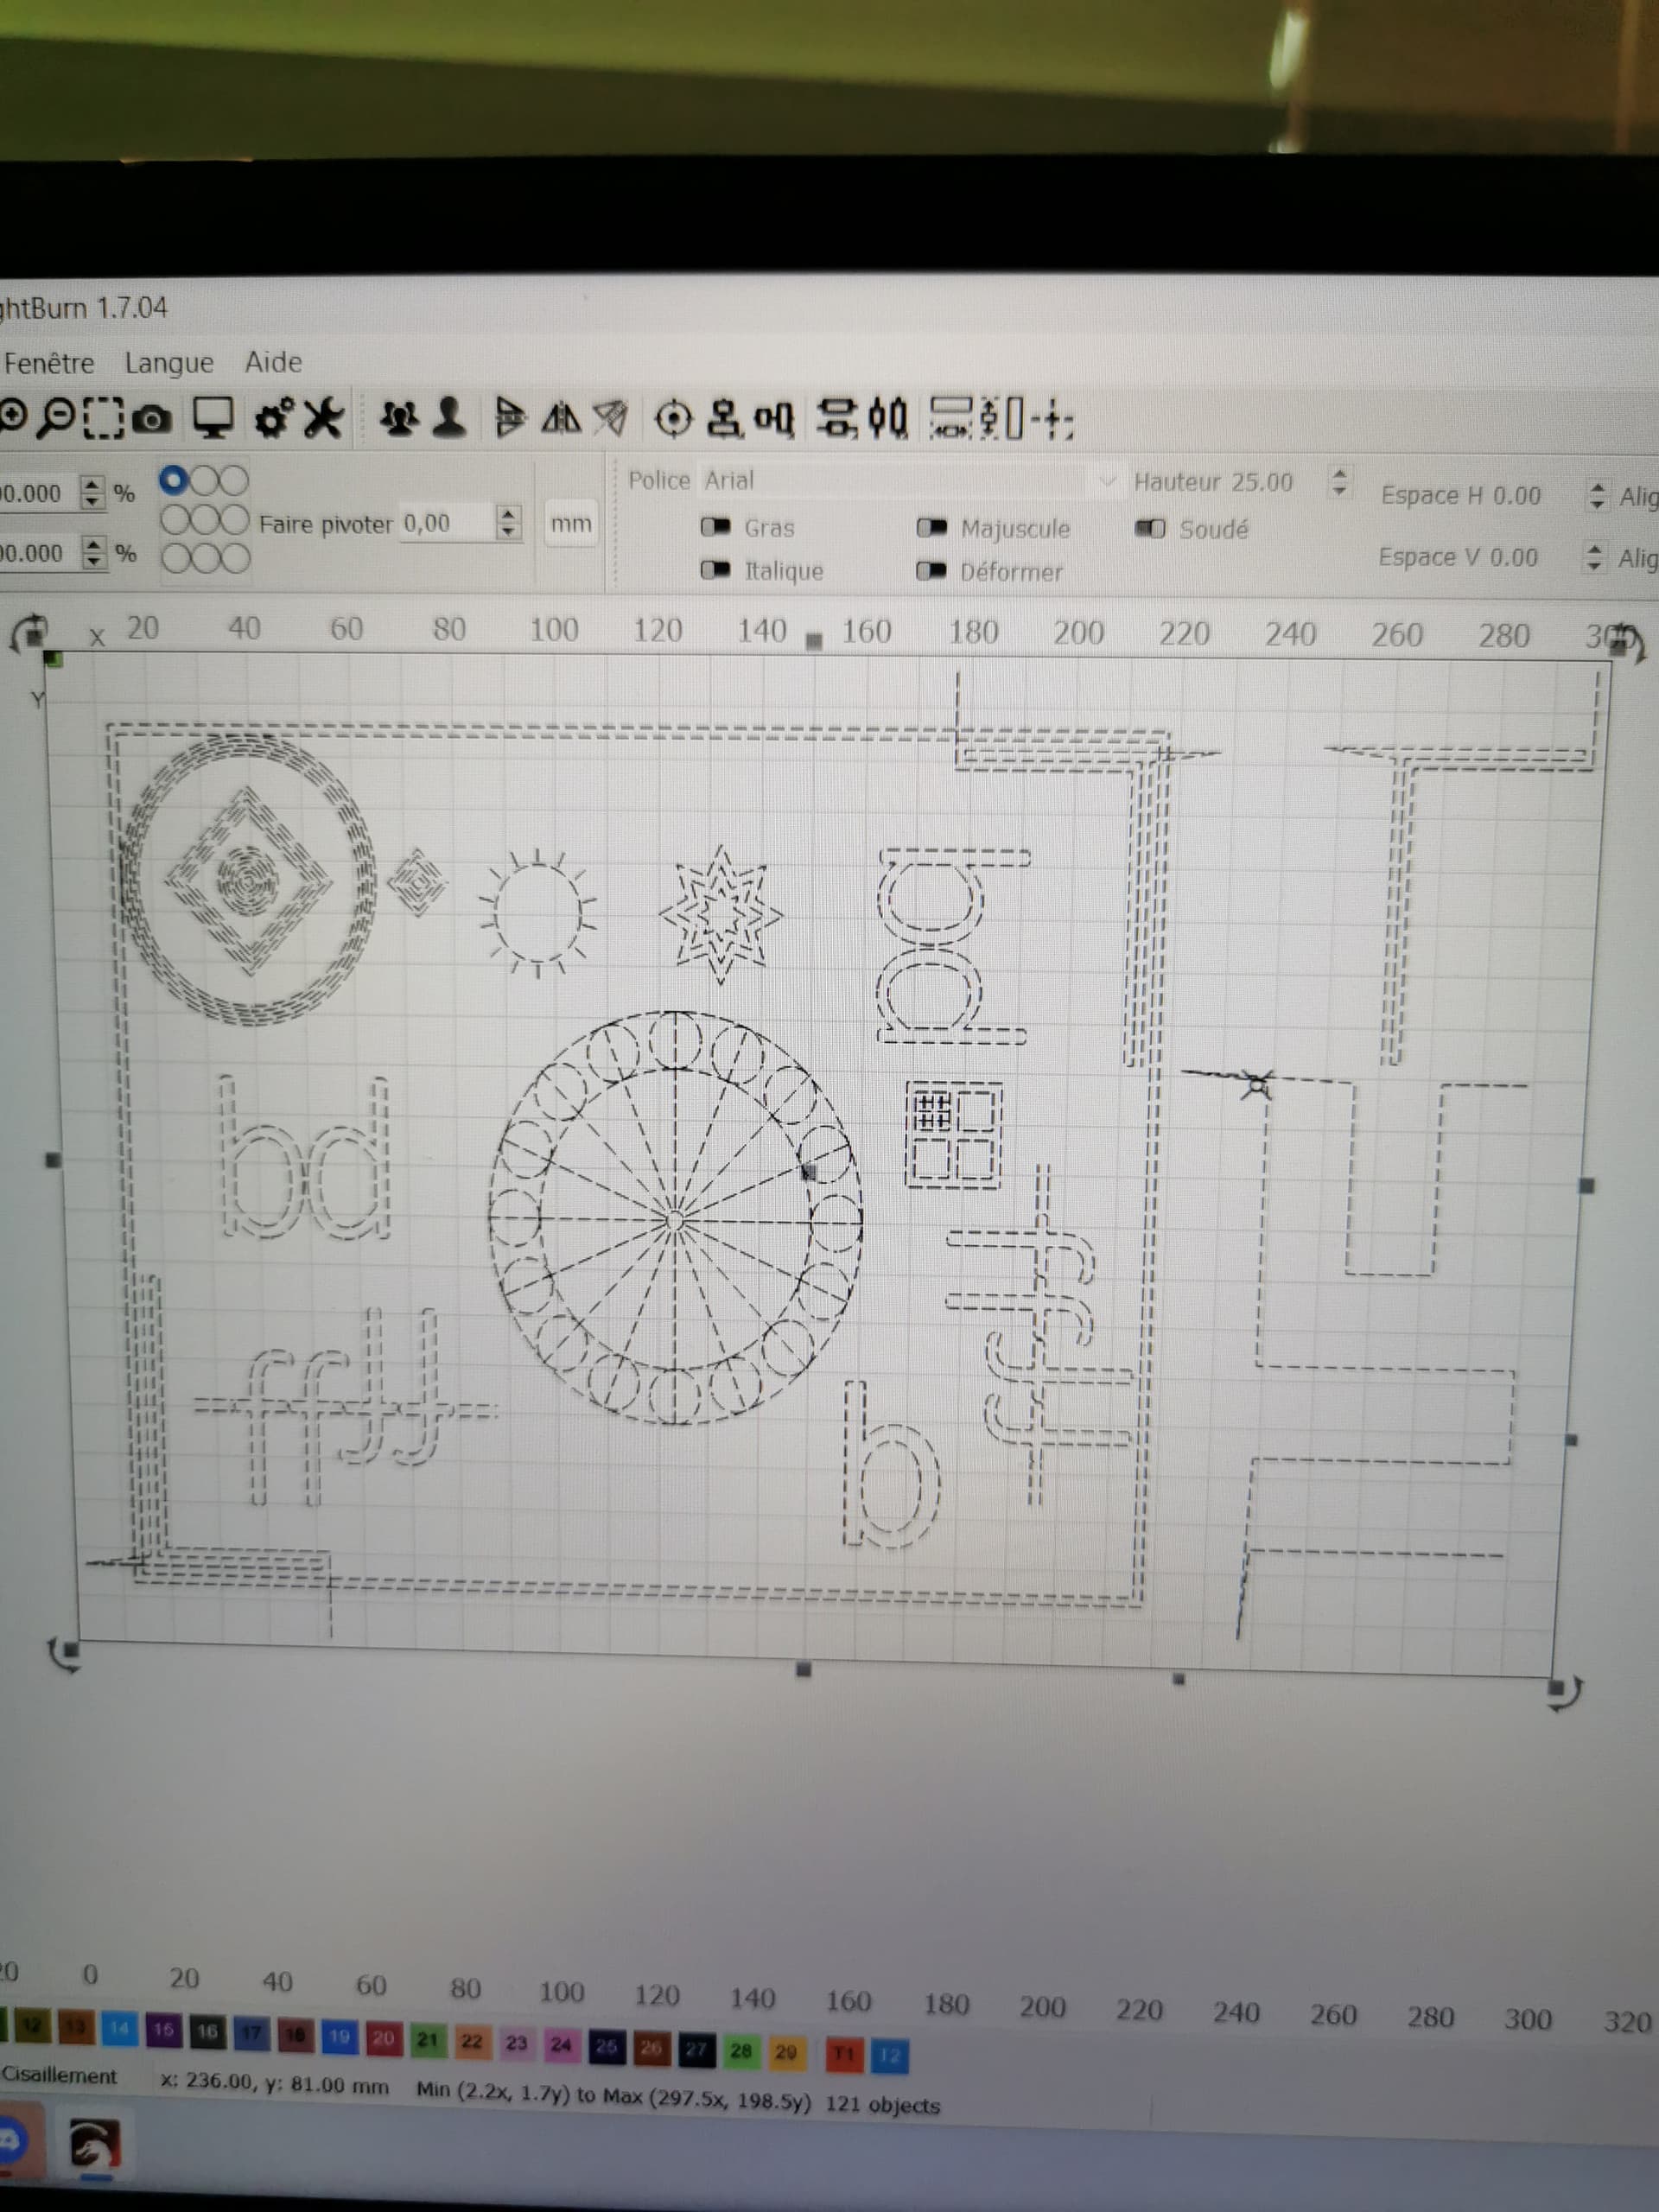
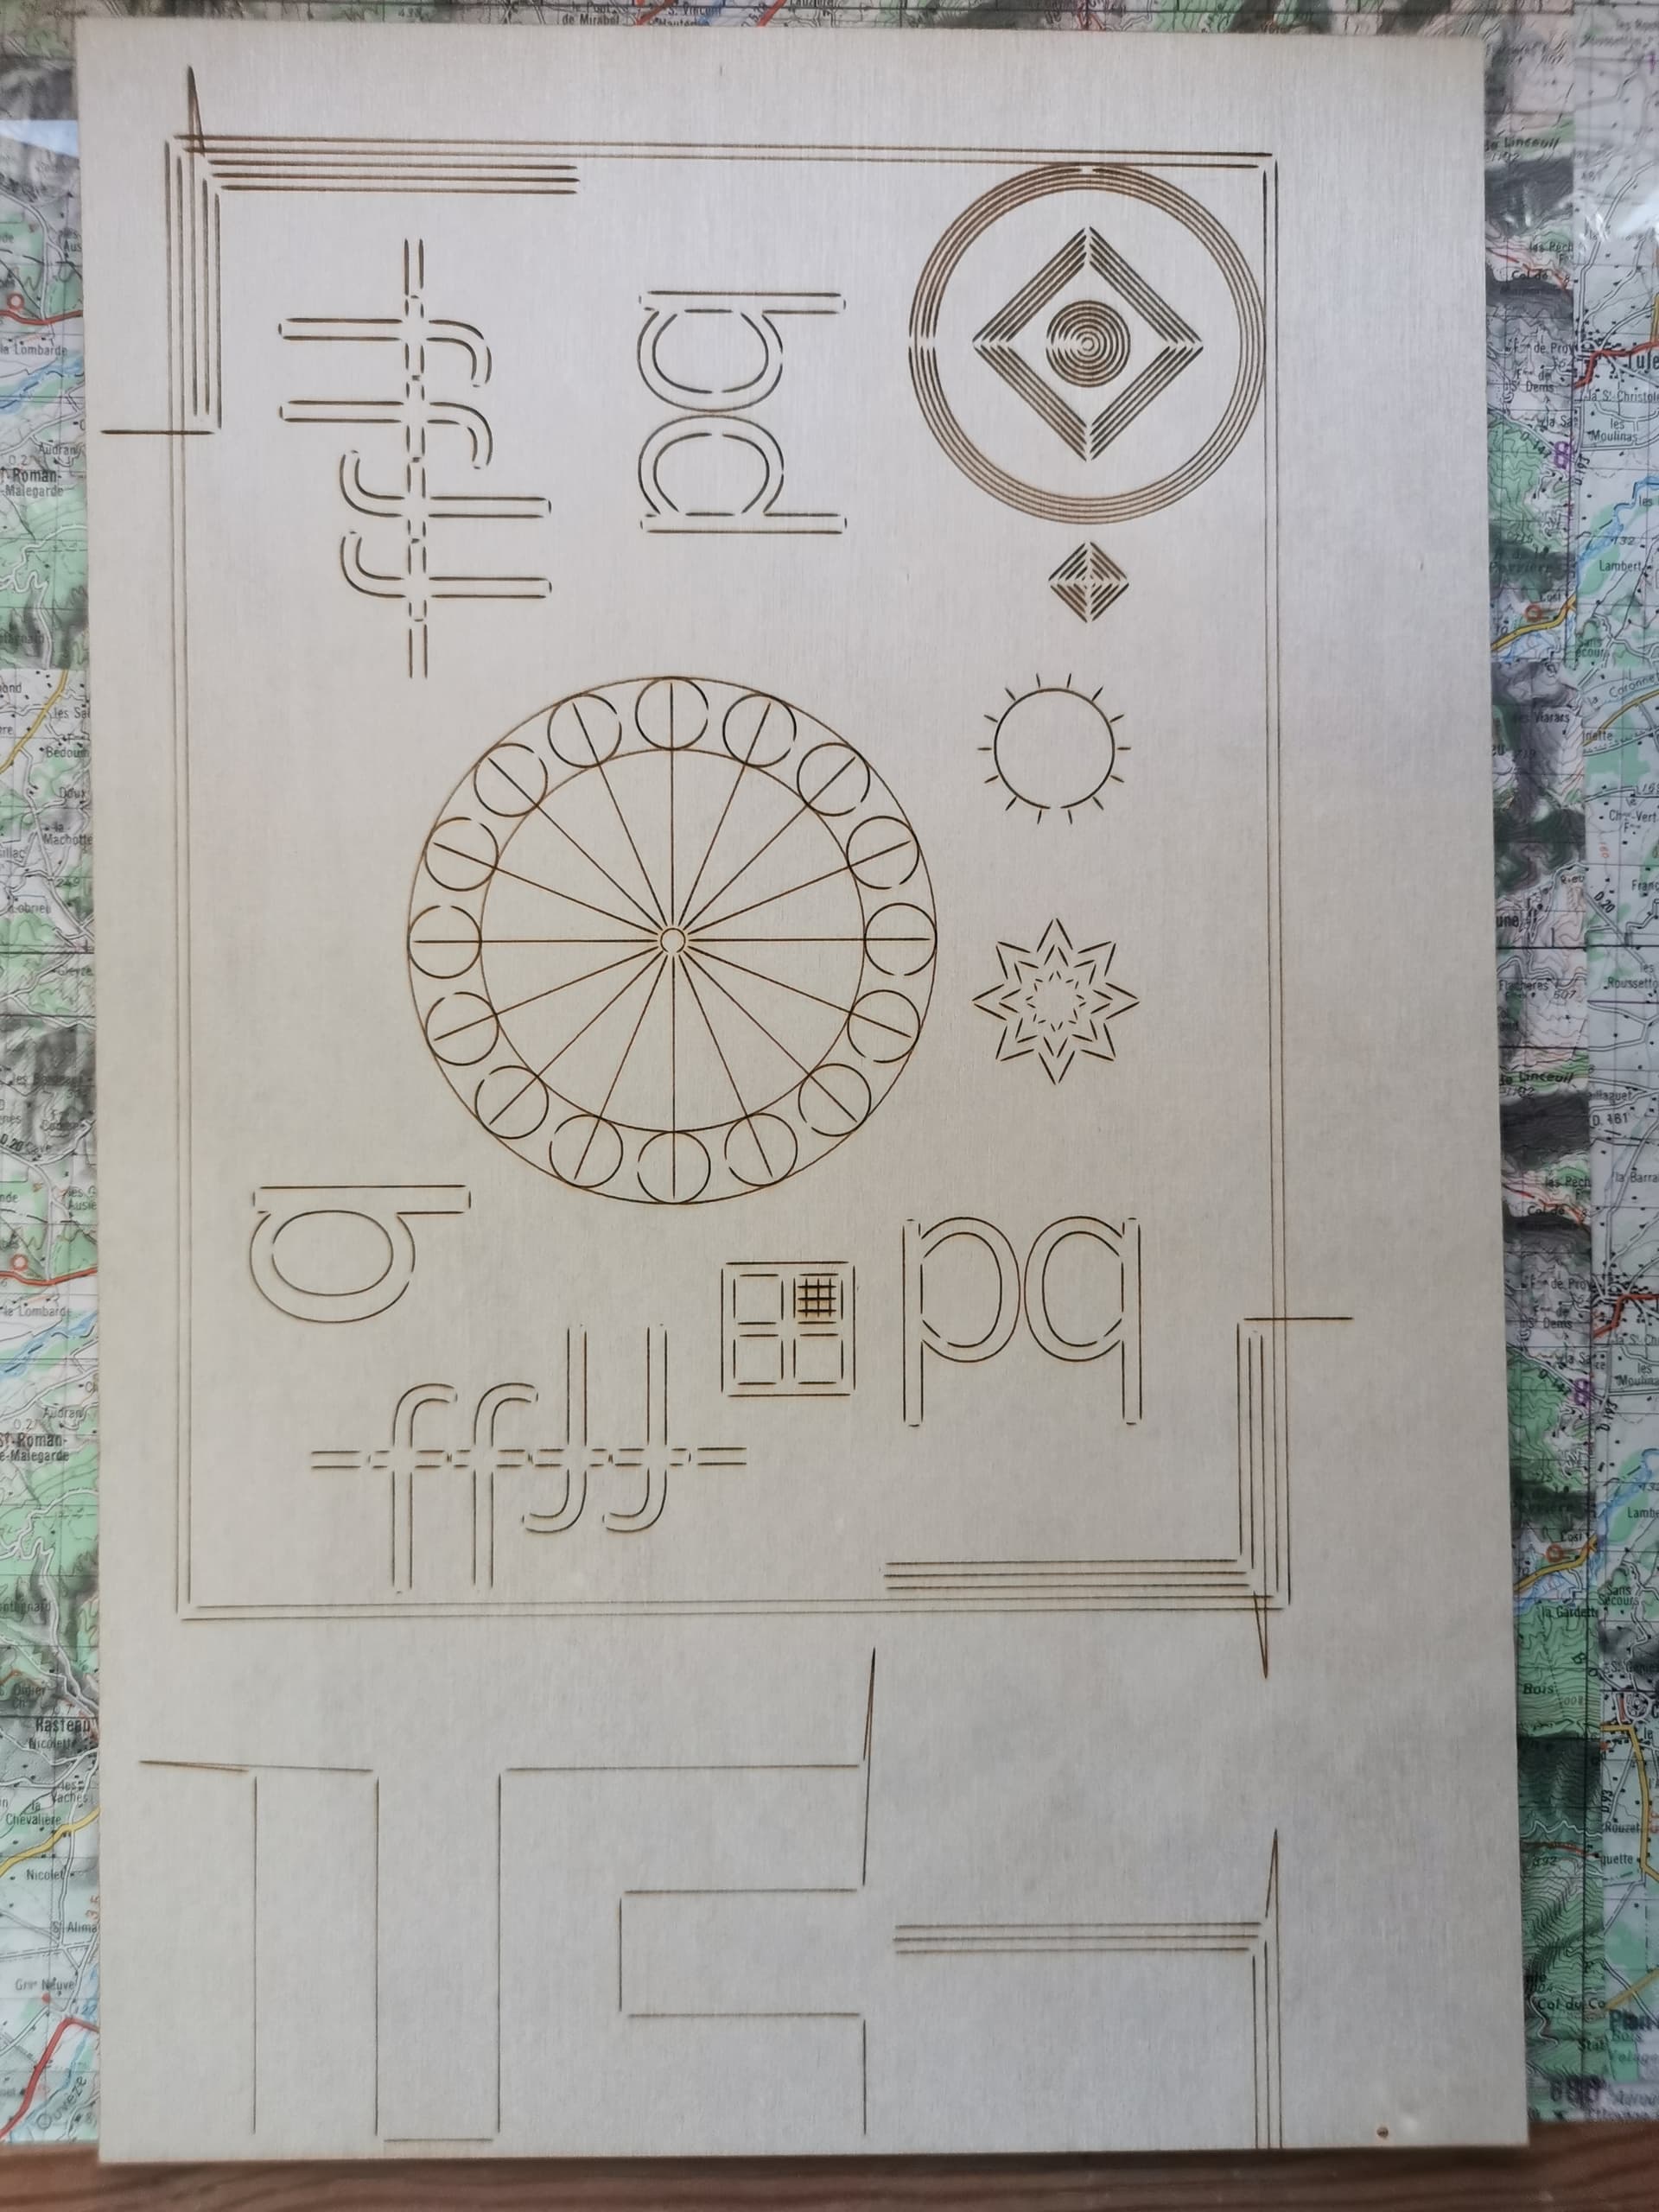
Run this file on cardboard, scale it to fit your laser bed, turn off optimizations and run at high speed with enough power to get good marking on the cardboard. Then post a quality photo of the results. This will tell us if there is play that needs to be addressed. BacklashTest.lbrn2 (65.5 KB)
Hello and happy holidays to you (sorry I was with family for Christmas).
I changed the usb cable for a short, good quality one plugged directly into my pc.
I also did Windows and Lightburn most re
cent updates.
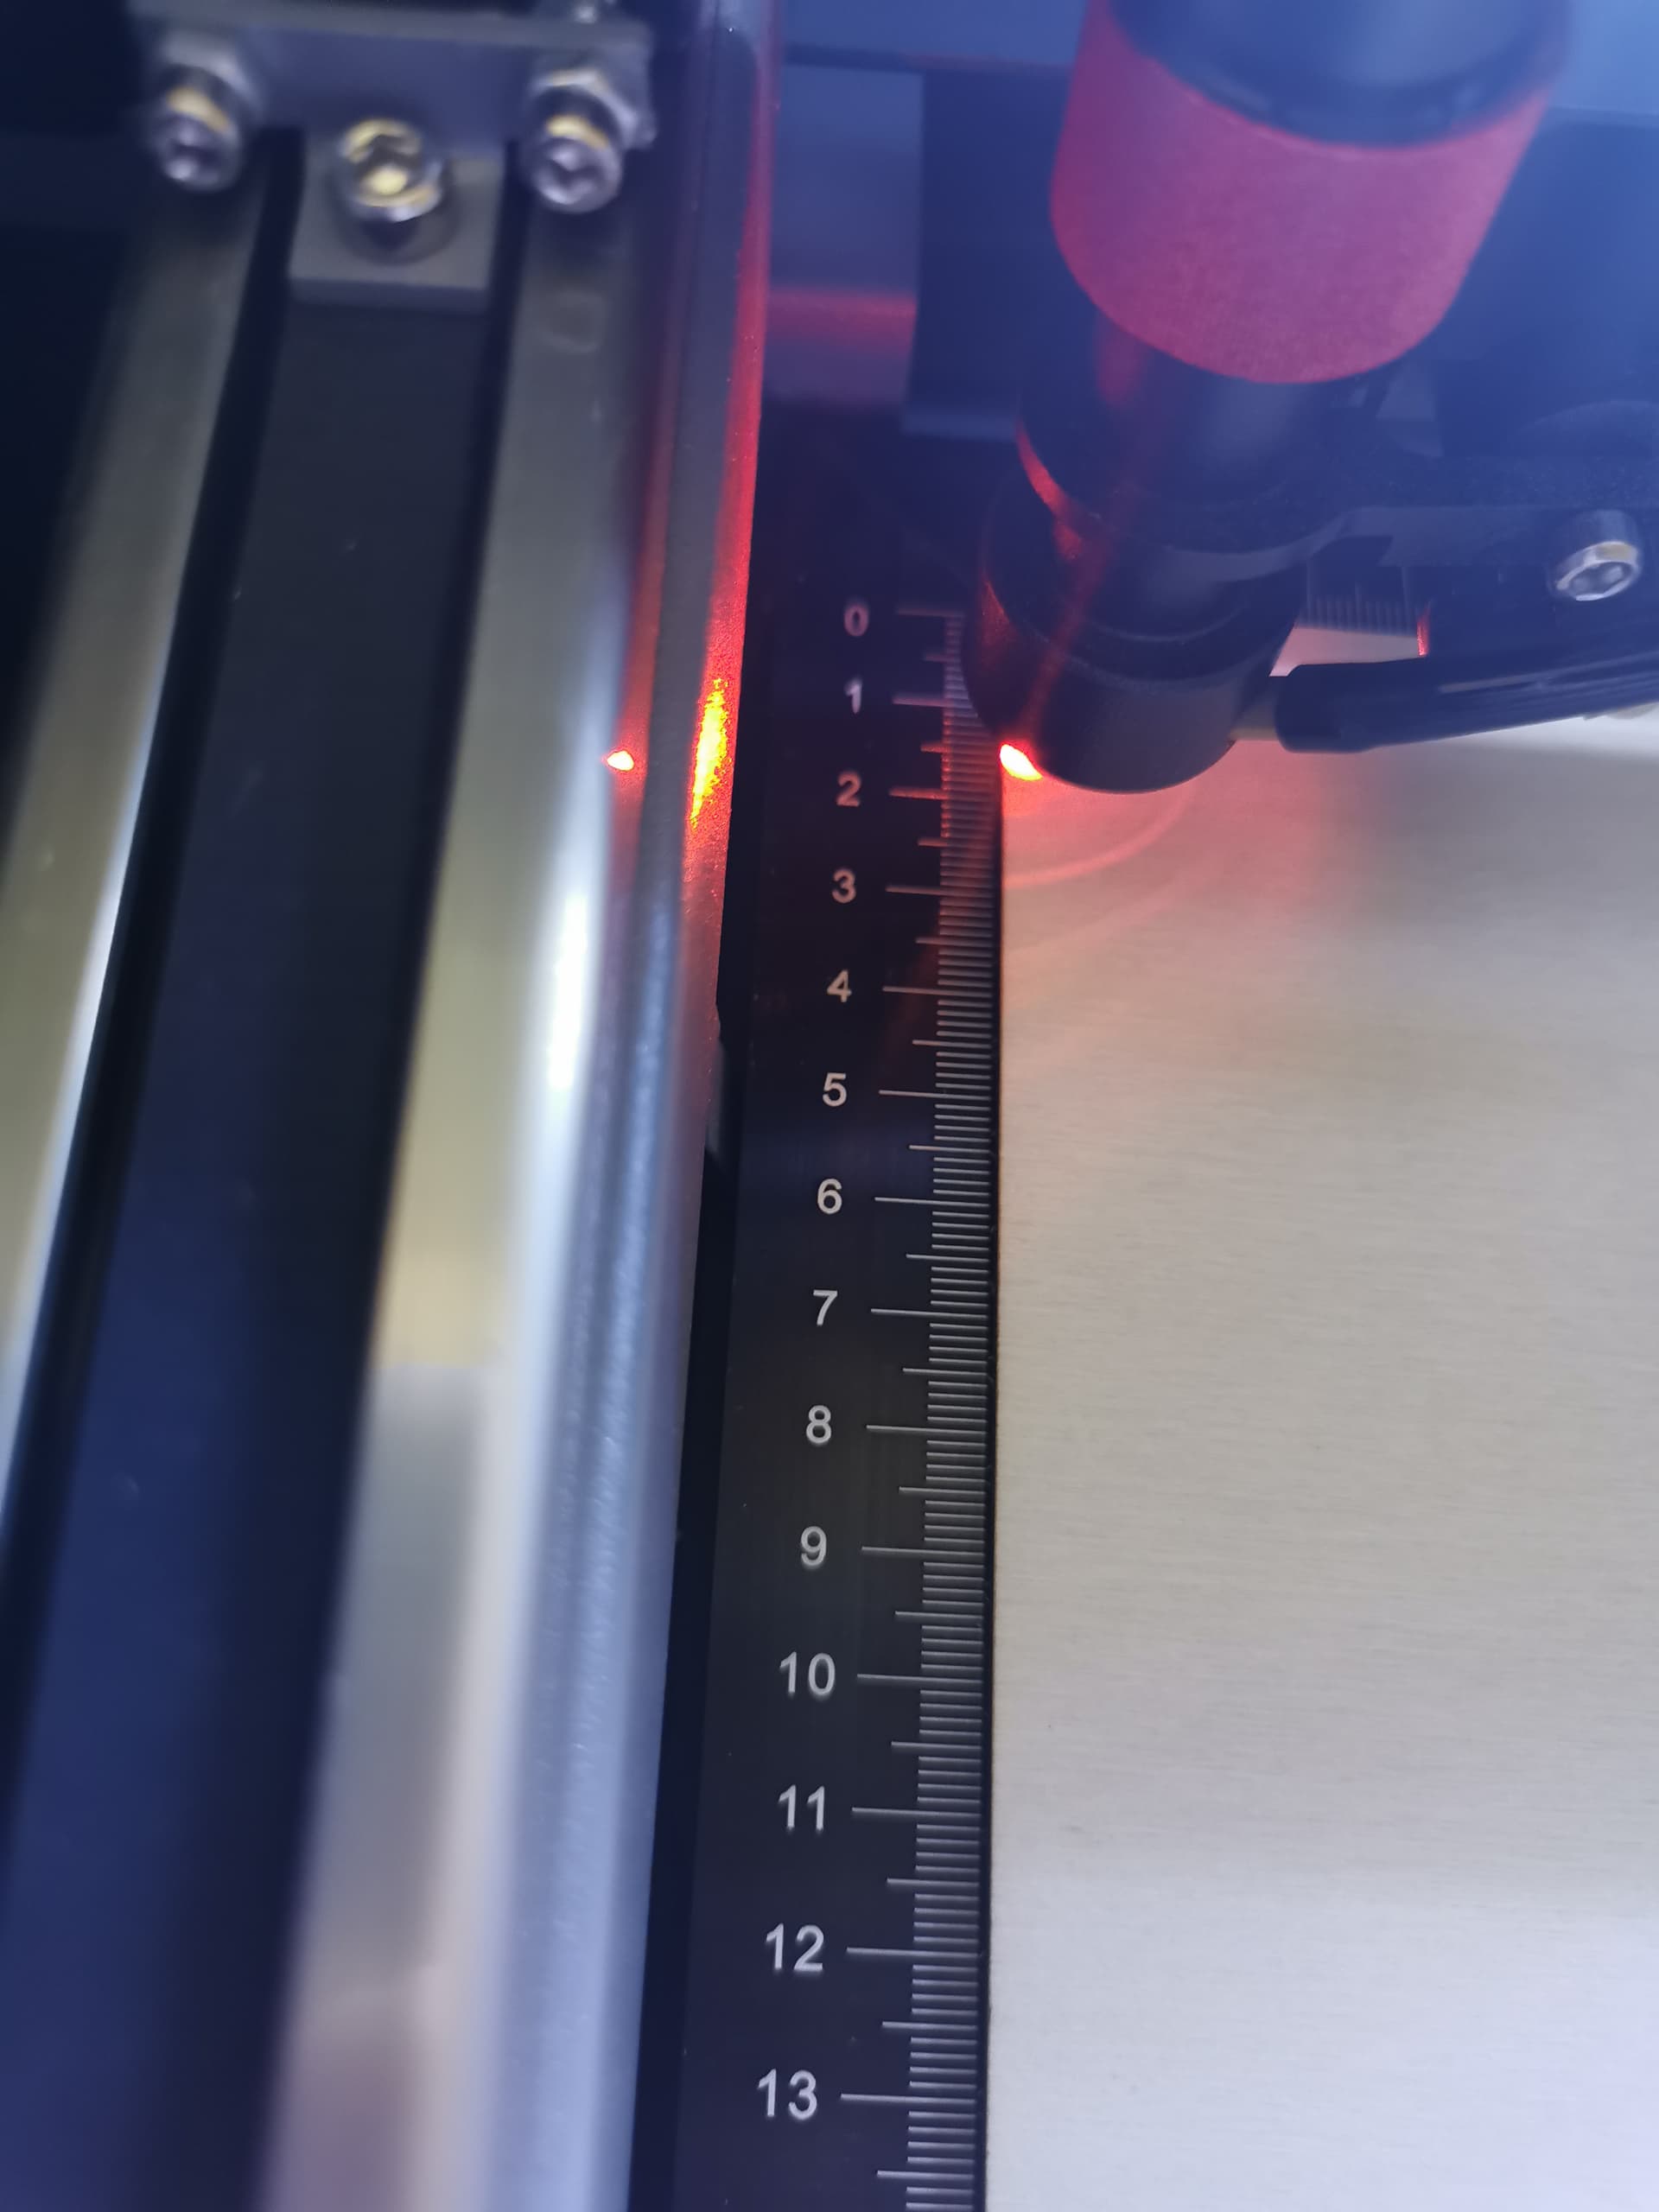
My machine has a vertical laser pointer (next to it is air assist).
I checked the alignment of the mirrors (the red dot seems precise and correctly spaced using the template provided with the device).
I followed your instructions (attached the result).
No need to apologize for that. It’s that time of year. I hope it was a wonderful time for you and your family.
What I see in the test results is that your X and Y axes are not symmetrical. There doesn’t appear to be any significant play in your machine though, which is good.
Let’s try and find out why your circles are ovals. With your machine connected and turned on, In the console window type $$ and press enter. Copy and paste the results for us to look at.
Before we go any further I need to verify that I’m seeing what you’re seeing. It appears to me that the circles are oval shaped. If this is what you see as well, proceed. If this is not what you see let me know.
I’m not finding what I was expecting to see. I was expecting $100 & $101 to have slightly different values from one another. They are the same value. Those are the steps per rotation setting for X and Y. That would account for the oval circles.
The only thing that stands out to me is $120 & $121 those are the acceleration values for X and Y. I would expect them to be the same and they also seem a little high. As an experiment go to the Edit menu> Machine Settings then click save to file. Pick a location and save. After that, in the window, you may need to scroll down, expand outputs setup. There will probably be an error message asking if you’re sure you want to do this. Click yes.
Scroll down to X acceleration ($120) and change the value to 1000, click the write button, then scroll to Y acceleration($121) and enter 1000 there also. Click the write button again then click OK.
After this, run the test file again and see if the circles are round. If they are, great! Test your bookmark file again.
If there is no change to the circles, go back to machine settings and select load from file and load the file you saved earlier.
The only other thing I can think of at this time if it’s still not correct is a calibration may be needed.
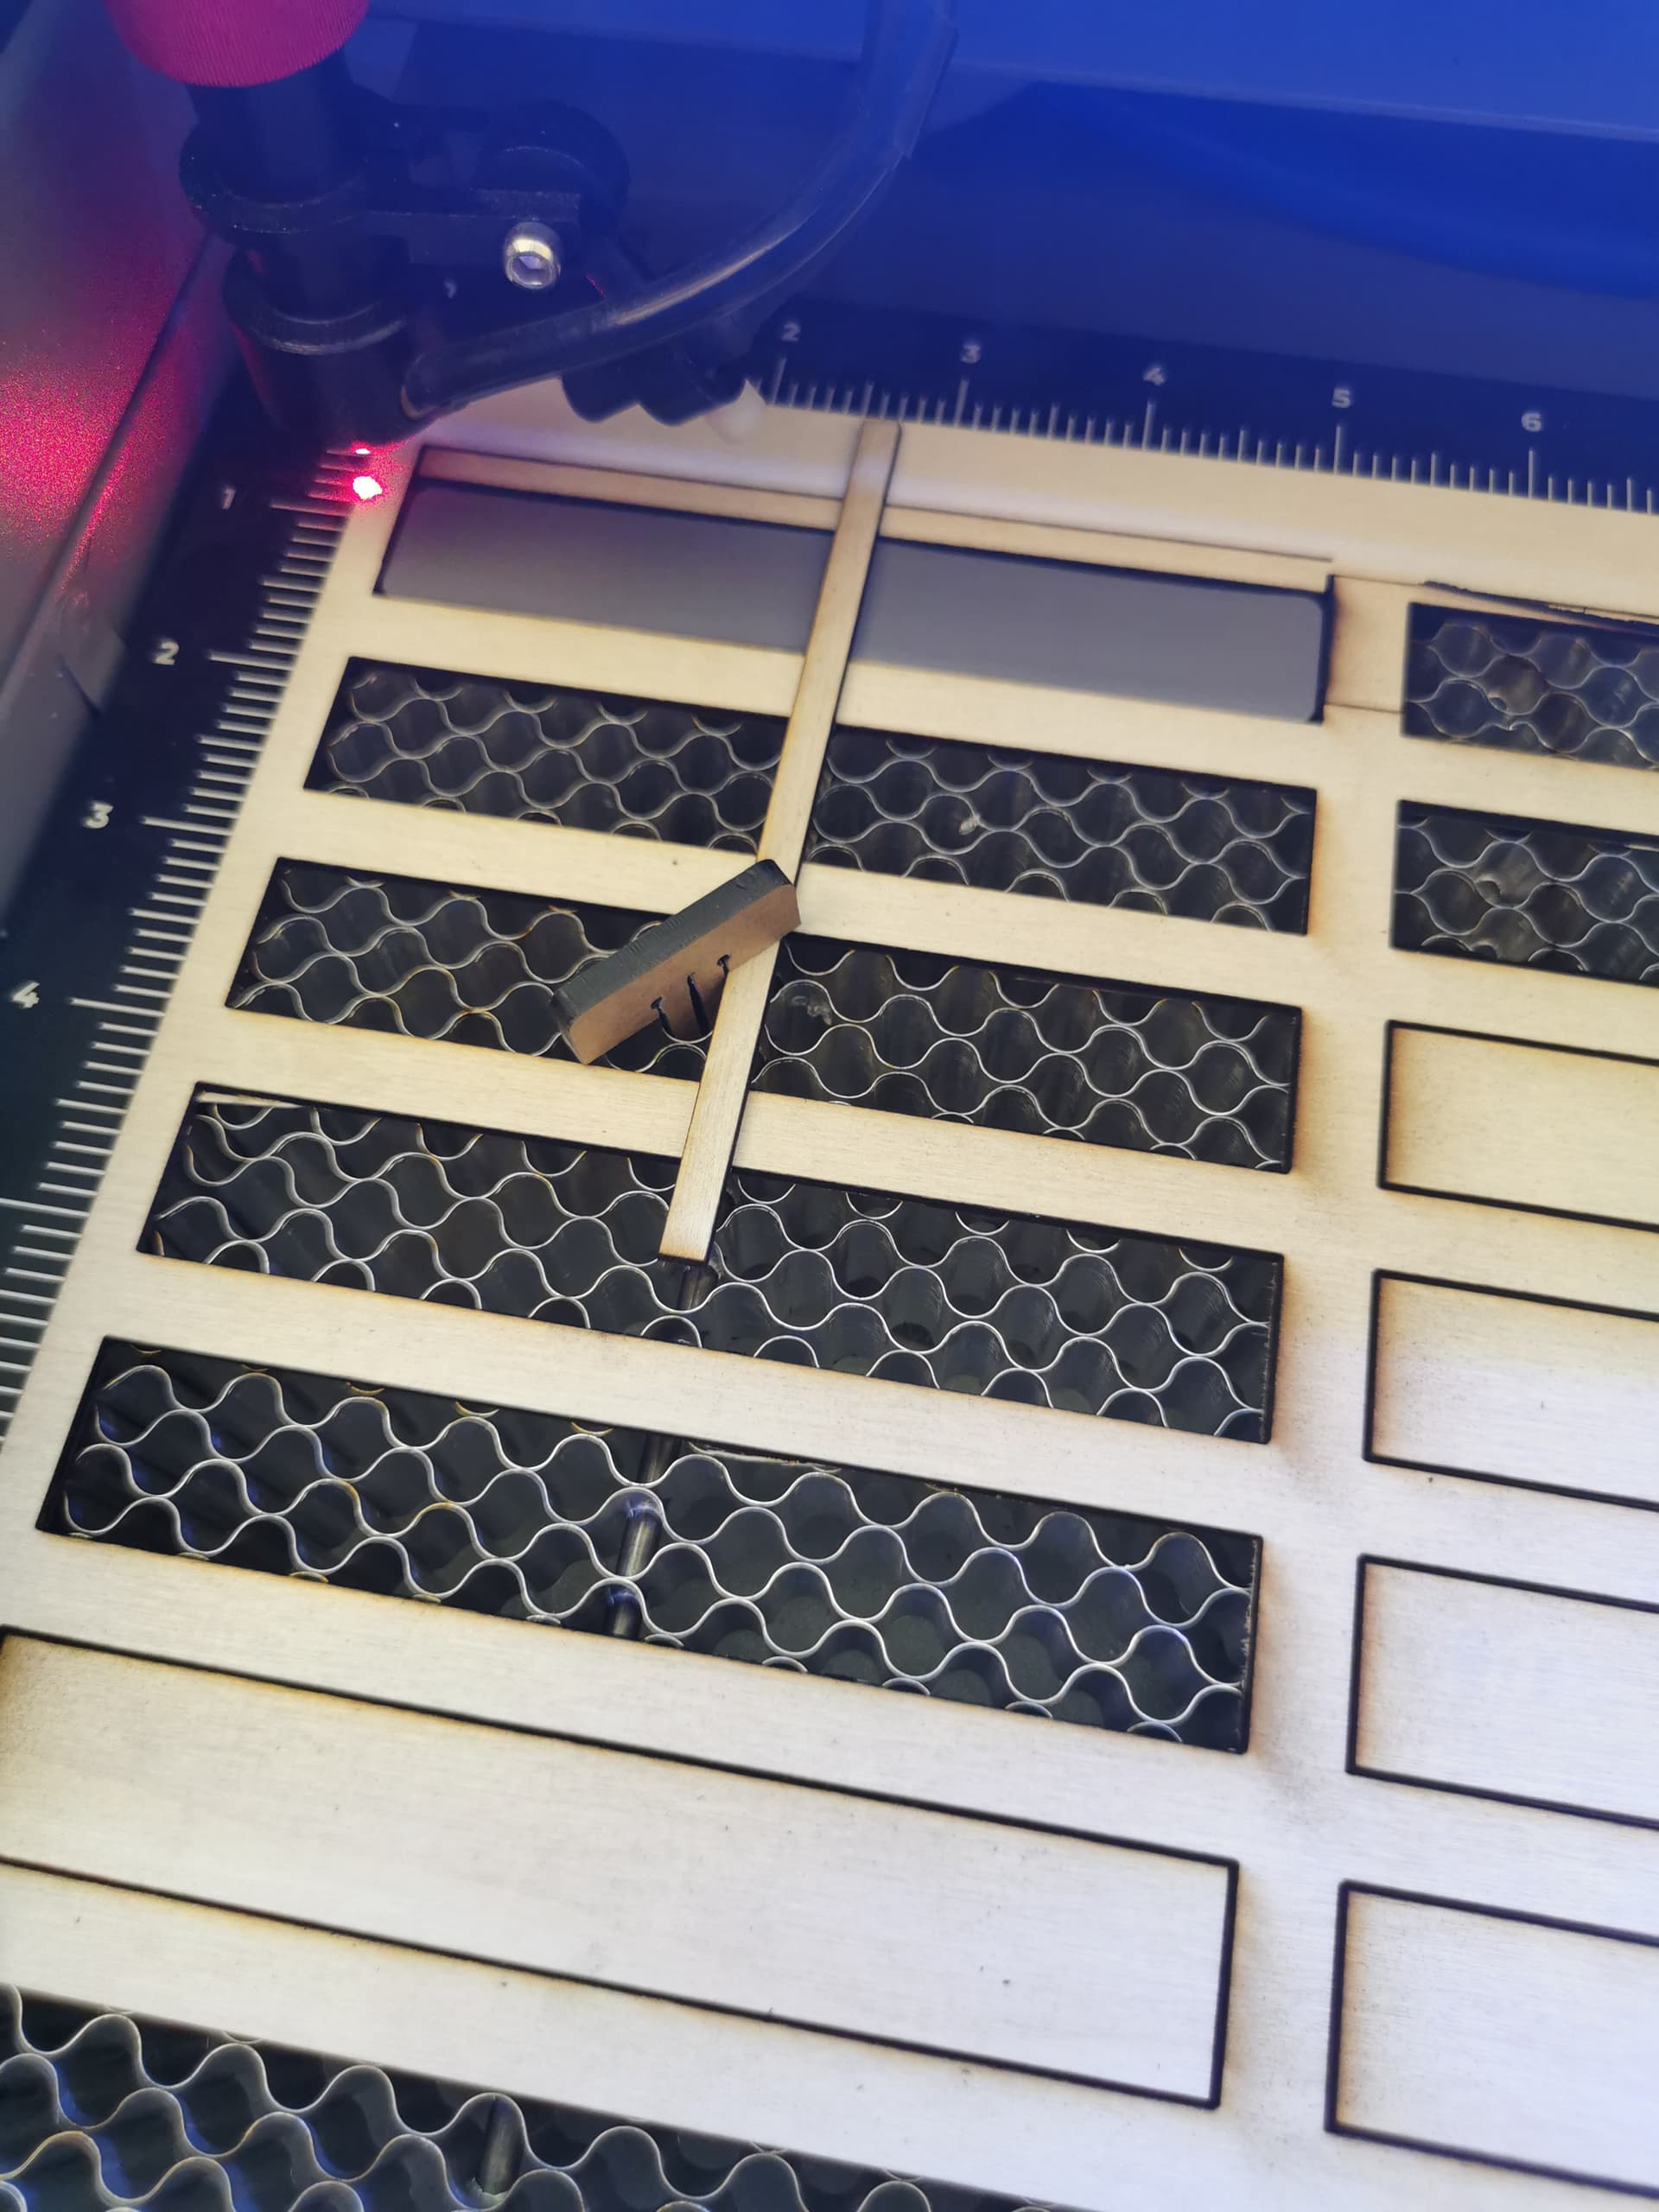
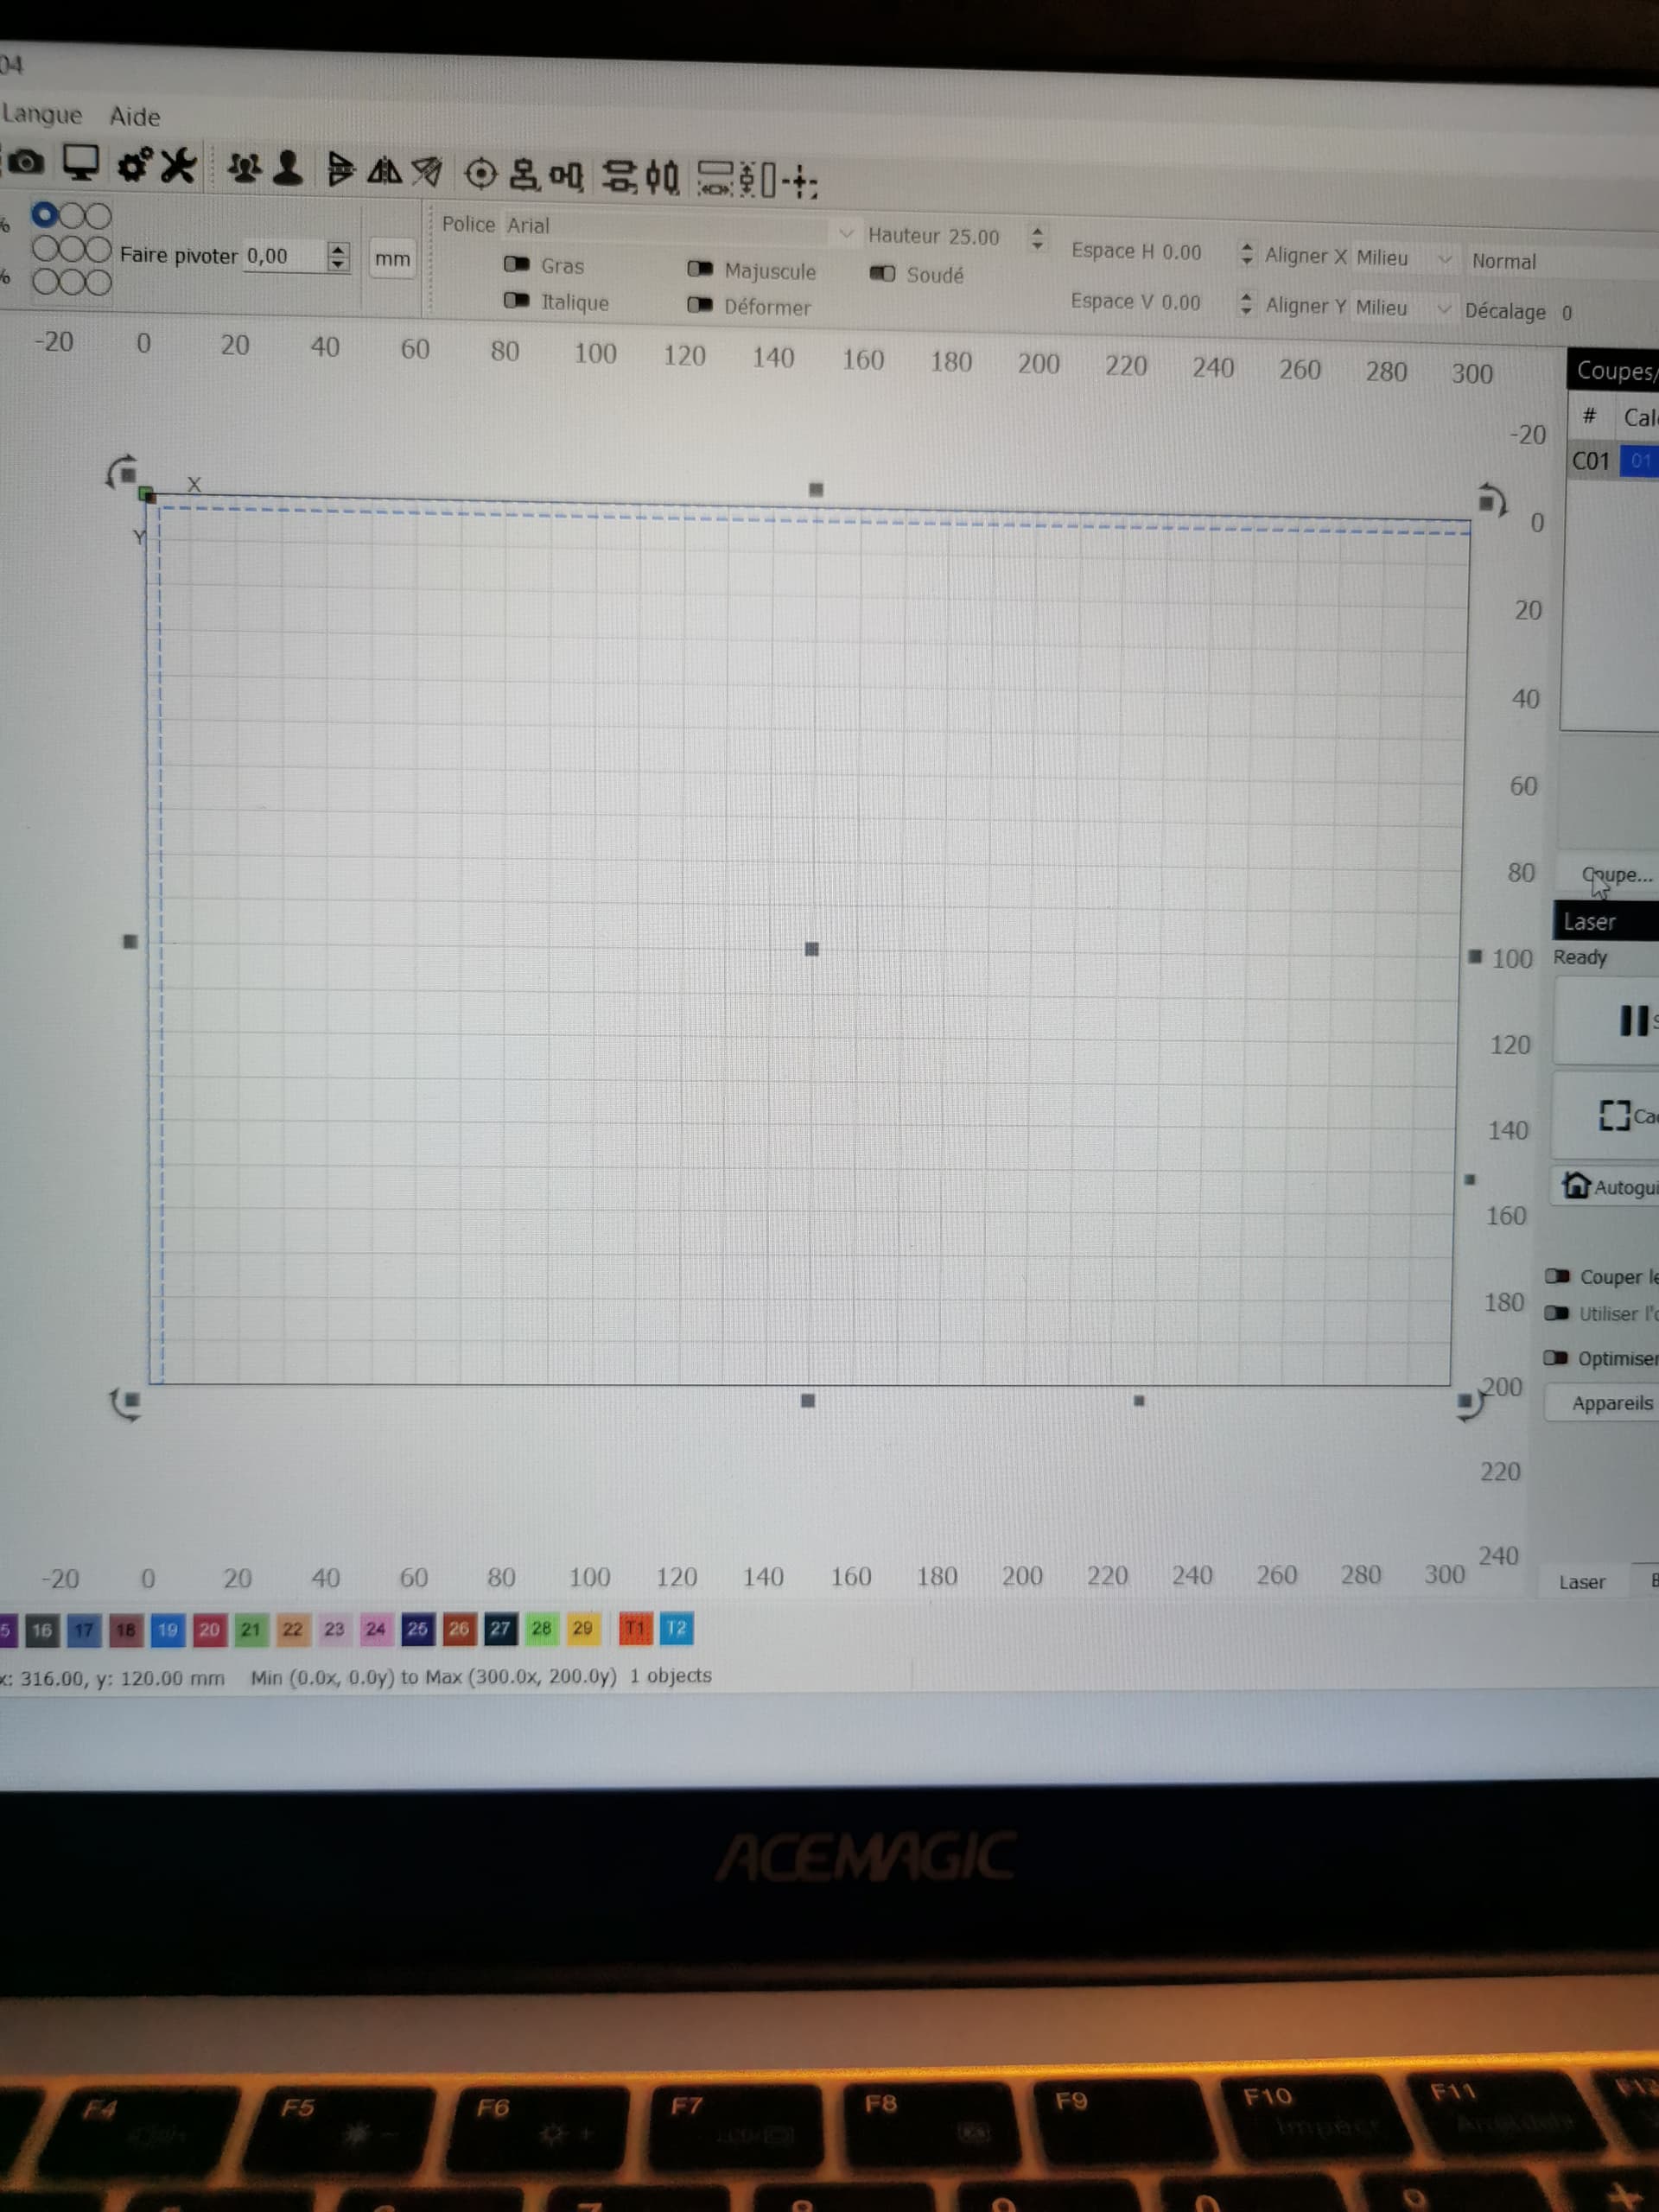
I’m not sure what you’re showing in the screen picture. I would cut a line at the exact edge of the work area rather than a little smaller like this shows.
On many machines the honeycomb bed does not align with the actual work area. You need to make spacers or devise some other method of defining your actual work area. The honeycomb must also be fixed in place to use such things. If it is able to move, your accuracy is gone.