Interrupted cut / Resume job workarounds GRBL

I am running a Ortur laser master 2, and have had a fair number of interruption issues. 98% of these issues were due to having a loose belt, which I resolved. However recently on a 7.5 hour job it got interrupted at ~25% completion. This is obviously not ideal and as anyone who has had an interruption issue knows this is a huge pain. So I spent the day trying to figure out the best way to resume from the stopped position (or very near) and this is what I came up with.

TLDR instructions at the bottom.
my final workaround solution is specific to GRBL machines, for anything else I doubt it would work.

The problem pt 1: The Ortur machines are particularly prone to interruption issues due to the safety feature built in that turns the diode power off if the machine gets stalled out at all, which is .really good for not burning the house down certainly, but still its not less annoying when you come to find out that the last 3 hours you thought the machine had been running and it didnā€™t move. (again this is a funky belt / hardware issue more than software issue but cheap machines mean workarounds in my experience)

The problem pt 2: Lightburn has no resume from last line feature.
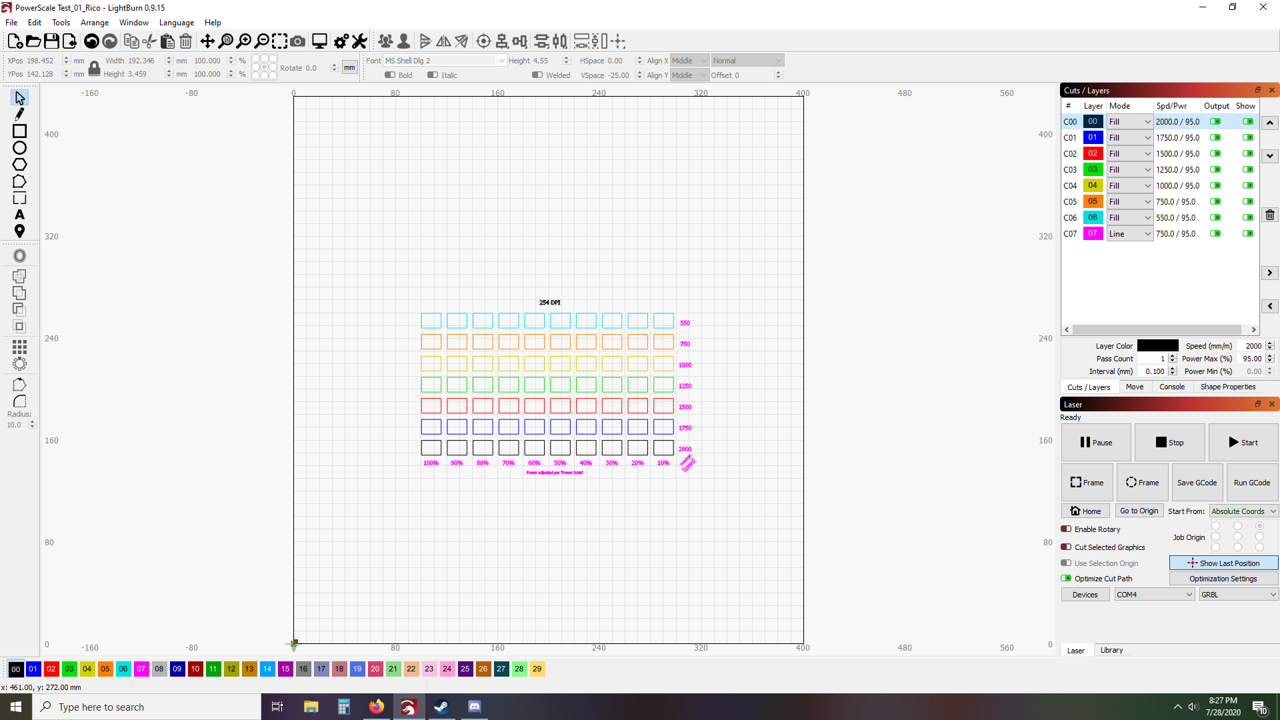
pt 2.5: The way lightburn produces the gcode is it uses relative position instructions based off of the origin position of the job. (from the best that I can understand after some time troubleshooting - ill get into the specifics in a little)
pt 2.6: Lightburn is way better in just about every other way than not having the resume from last line feature so not using the software is kinda out of the question. (looking at you laserGRBL)

Things that I tried and dont like - Running the machine with the diode off until the resume point - takes forever with a big job and requires you to sit and hit the button at the right time, otherwise its start over againā€¦ too much human error and I have my machine in a solid vented enclosure so I cant watch it as it runs.

Start the job with the opposite scan angle - better than the first bad option but similar bone to pick about being attentive and watching the machine so I can hit the button at the right point but cant watch the machine through an opaque box.

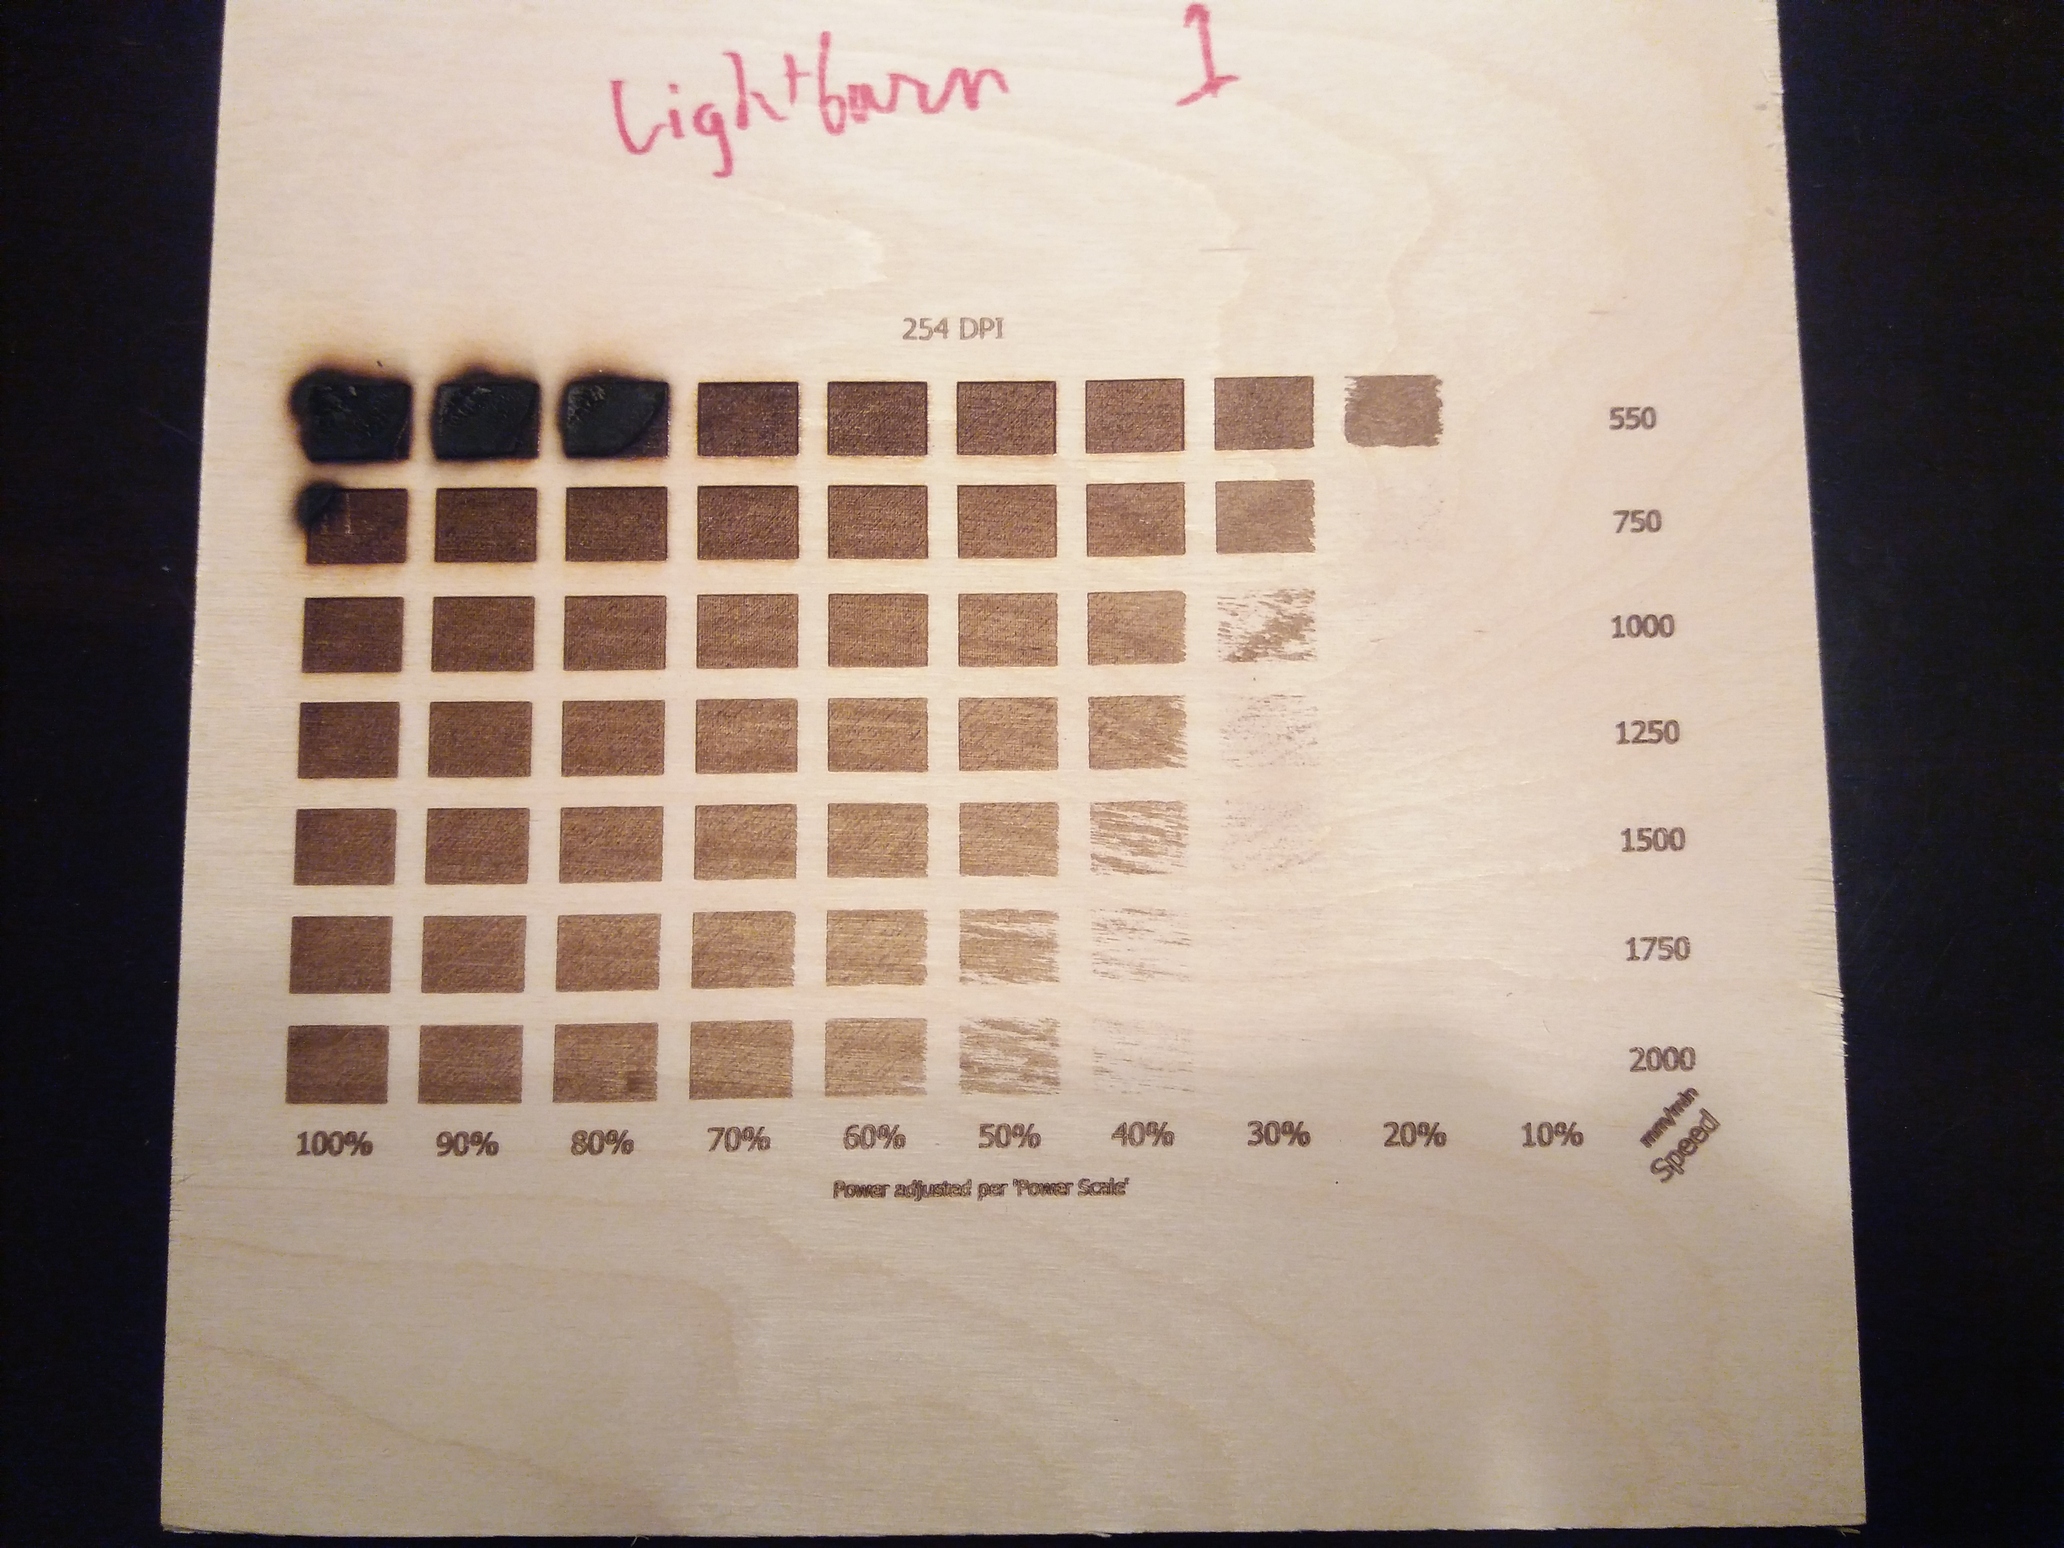
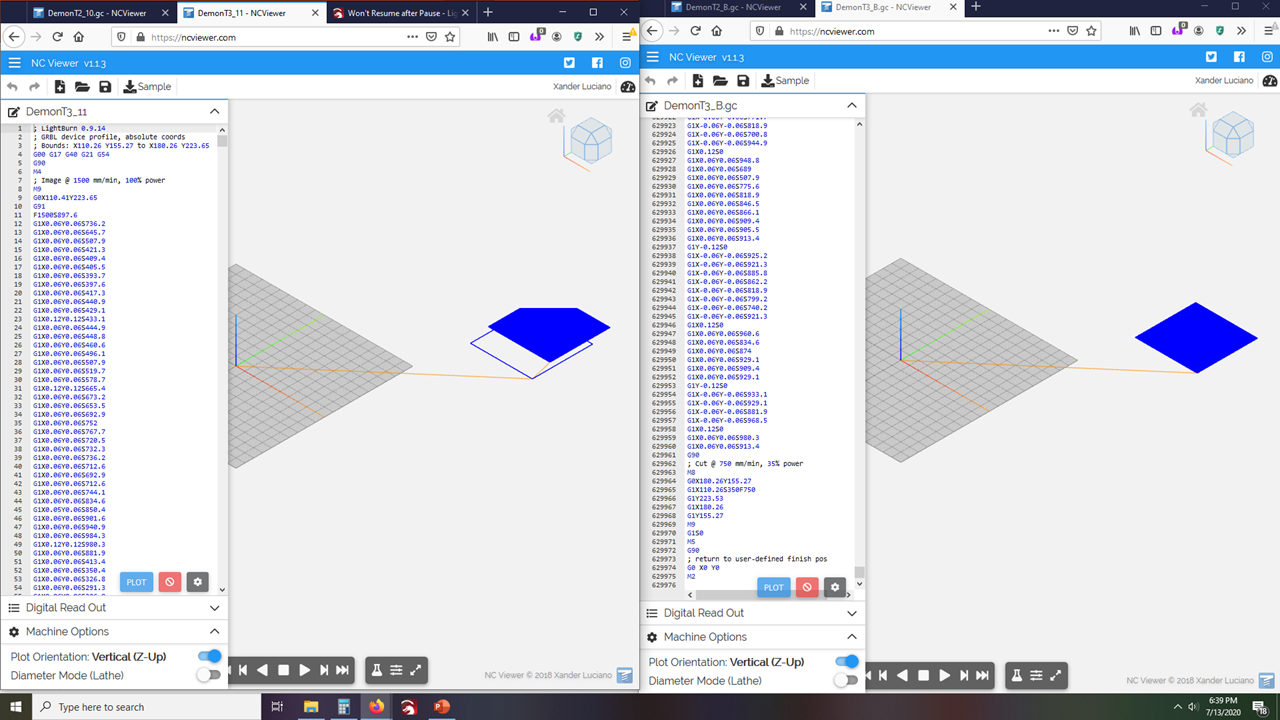
(this was my initial hope and what I spent a lot of time trouble shooting) - save out the gcode and cut out the percent of lines that were already cut (to a close point). To preface this I have spent the last couple years running CNC turret punches at various industrial scales and to make a long story short, at one job instead of the programmers doing their jobs and making good code the operators had to optimize the gcode by hand. So I have a fair bit of experience getting into g code and fixing errors by hand, granted turrets are much different than lasersā€¦ But I am not afraid of getting down and dirty with some g code. After some time figuring out which lines were necessary to get the machine running at the correct settings I noticed that the machine was just not running in the correct position for the job. after comparing the basic saved output from lightburn and the code with 11% removed in ncviewer I finally figured out that lightburn uses relative programming instead of absolute programming so this will probably never work. the photo attached is the two versions of the code being displayed, on the left is the code with the top 11% removed from the code and the right is the original. They both have an outline of the image as a line cut, and you can see that the line cut is in the correct position, as the code resets the relative position for the new sub task in the job.

After I realized that there was probably no way for me to extract out the previously ran lines from the code I realized that I probably will have to look outside the software to get the specific function. Thus I am back at laserGRBL which I know has a resume feature from last cut line (or x lines before). Due to the aforementioned superiority and ease of lightburn I did not want to abandon the software completely as I do lots of raster scanning with image traces over the raster, and lightburn is just better for finessing the image in greyscale and making that code (code optimization is real and amazing). So I ended up getting the job set in lightburn but instead of running the job in lightburn I save out the code and run it in laserGRBL. I have only made one experiment with this method but so far it has worked like a charm. To get the gcode exported from lightburn into laserGRBL you have to open the code and resave it as a .nc file. other than that there was no issue between the two software, and from what I could see the results were identical running the same code from one software to the other.

I know this was a rather long winded post but I hope that the information is helpful to anyone else that might be having interruption issues, and if I have interpreted anything wrong in my trouble shooting or someone has an idea how to do something better I would love to hear it!

TLDR workaround: Make edits and adjustments to the image in lightburn, save the gcode. open the gcode in notepad++ save as an nc file (regular notepad would probably work for this too) then run the code using laserGRBL

LightBurn will let you save a .nc file directly, you just have to add the extension yourself, or it defaults to .gc.

We are planning to add a feature that will give you a ā€˜Run from hereā€™ button in the preview window. In this way, you can drag the preview time to any point you like, then click ā€˜Run from hereā€™ and the system would generate the machine code from that point forward, for GCode or DSP systems alike.

LightBurn generates raster GCode as relative moves because they tend to be smaller than absolute, so it saves bandwidth. Iā€™ve considered making individual lines run in relative mode, but then switching to absolute for the move to the next line, as this would make it much easier to cut the GCode.

Cant believe I didnt try to export it as an nc file directly myself - I was adding the extension by hand in 3rd party software anywaysā€¦ :sweat_smile:

The ā€˜run from hereā€™ feature sounds like a great solution! I remember reading on an older post that you all were working on the resume / start mid job issue and its nice to hear a little bit more about it! A thought that could potentially provide easier utility of the feature is if you could ā€˜run from hereā€™ from an entered percent. Although I suppose one could just make a good estimation of the percent complete based on the estimated time so it may be a redundant idea.

I figured there was a reason that the code was produced in relative coordinates, that totally makes sense. I am partial to having access to the machine functionality through the code directly so I would love to see that implemented. It reminds me of how macros work on turret punches (in a very simplified way) cut a ā€œpatternā€ for A distance starting at B position which is defined at an absolute X/Y position.

I really appreciate the feedback and community engagement you have! Thank you for all you do!

I suppose the work around you have suggested (using lasergbrl to actually do the final engrave) also works for those of us who may want to start a large project but not have time to complete itā€¦ Say overnight.

I assume we could start the gcode running and then ā€˜interruptā€™ the job ourselves and then start it again in the morning etc.

Is my thinking joined up on this?

Yeah! in laserGRBL while the job is running, you can hit the stop button. and then hit the start button and a dialog box pops up asking if you want to restart from the beginning, from the last line cut or elsewhere. Now I assume that this line position is stored in cached memory so if you close the software and turn your machine off I doubt the position will be saved, however if you stop the cut and put your computer to sleep with the software still open I believe this should work. I would do some playing with it before a serious attempt is made, just to make sure the logic actually follows.

Defo going to try thisā€¦ Often donā€™t get time start jobs the evening but have to put them off as they will run beyond a reasonable time (bed time!)ā€¦

ā€¦ This could solve the issueā€¦ Start the job and run for a few hoursā€¦ Press stopā€¦ Shut off the laser but keep laptop in sleep modeā€¦

Restart in morning.

Hmmmm, interesting

Ok so I finally got not lazy and did some testing between lightburn and laserGRBL I have to say I was kinda surprised at the difference in the results. I got the cut set in lightburn and exported the Gcode, then ran it in lightburn first (lightburn 1). Then flipped the board and ran the exported gcode in GRBL (lasergrbl 2). I noticed that one side of the blank boards that I have seem smoother than the other so I figured I had to run it again but reverse to make sure that the results were not due to the material finish or just difference between ply. So I ran the program again in lightburn and laserGRBL on the reverse smooth and rough sides from the fist piece.
note the weird little line in the 550/30 square on lightburn 4 is operator error not software related

These are the settings I used for the four cuts all of the fills were ran at 45 degrees

As far as the naming convention goes the number associated with the piece is the order I ran the jobs in. From what I can tell it appears that laserGRBL pushes more power through the laser than LightBurn does. This seems to be consistent across the power levels as well, as the higher power boxes are consistently deeper in the GRBL pieces, and more quickly show good test squares on the lower power end. My best guess for cause of the difference in the results is that LightBurn somehow has a power control that is not present in the Gcode but still feeds information to the machine. I may try running the saved Gcode in lightburn tomorrow to see if the results are consistent with what I have seen.

Thatā€™s interestingā€¦ So in essence lasergbrl appears to output a higher laser power (or maybe slower speed) than Lightburn.

Hmmmm

I donā€™t believe itā€™s a speed issue, or if it is it is a very subtle difference in speed. Iā€™m going to run it one more time in LightBurn today using the gcode I have been using in laserGRBL, and will try to get the exact time in the from LightBurn. My laserGRBL times have been consistently 2:24 (LightBurn projects 2:25 and change which is similar to the laserGRBL projection)

The key difference is likely LaserGRBL using M3 mode (constant power), and LightBurn using M4 (variable power by speed). Turn on overscanning on the fill layer and the variable power mode will affect the start / ends of the cuts much less.

Lasergrbl can also run in M4 mode if selected to do so, but if Gcode is exported from Lightburn, one can assume the commands are issued in M4 mode? Specially as LaserGrbl becomes more a sender than a generator?

I never ran this experiment but will give it a try.

Yes, thatā€™s correct. If youā€™re exporting from LightBurn and just sending from LaserGRBL, it would just be the sender being used.

Right so fundamentally, and although wood is not a great material to test because of the grain, they should be similar results?
Any post processing on Gcode that Lightburn and or Lasergrbl might be doing while parsing it and sending the stream to the controller?

LightBurn does no processing at all of the GCode while sending. Not sure about LaserGRBL.

Yeah all the code is generated in LightBurn. Ill dig into LaserGRBL forums when I get a chance tonight to see if I can find anything on the topic of post-processing while streaming. I had considered that I may have divergent step calibrations in the two software, however this does not seem to be the case.

Both lightburn and lasergrbl read the steps from the EEPROM GRBL settings
So they shouldnt change across the paltforms

I would atribute some of the changes to the wood grain, but not such a diference in outcome
Trying to think of another more consistent material you could try the same on, to be 100% sure, but besides tile, or MDF (Which is a problematic material on its own) cant think of anything off the top of my head

Although the little wood cards that come with the machine arent bad, but too small.

Yeah I was expecting some variation from the wood grain as well, although the differences remained consistent in the retrial that I did, which suggests that it is not the graining that is the cause of the differences. Another interesting thing to note that is perhaps less visable in the pictures I posted is that in the LaserGRBL boxes the scoring from the laser leaves a distinct vertical / horizontal grid pattern as opposed to a 45Deg pattern. this is confusing to me as it was ran at 45deg for all of the jobs. This scoring pattern does appear a little bit in the LightBurn tests but not nearly as clearly in any of the test boxes.

I will rerun this on some different material as time allows to see if I still get the same results.

I realize this is an older thread, but the next release of LightBurn will have the ability to start a job partway through.

5 Likes

Youā€™re amazing, and I wish most software had half the support you put into LightBurn.

2 Likes